User Identity Methods for IPSec and GRE Tunnels
To steer tunnel traffic and identify users, you can use one of the following methods:
Netskope strongly recommends installing and configuring the Netskope Client to facilitate certificate distribution on devices and provide coverage for remote users. The Netskope Client provides user identification directly to Netskope so you don't have to implement authentication on the IPSec or GRE tunnel. If you install the Netskope Client, it can send device and user info to the Netskope Cloud and show user-facing notifications that occur from policy violations.
To enable user notifications:
Go to Settings > Security Cloud Platform > Devices.
Click Client Configurations.
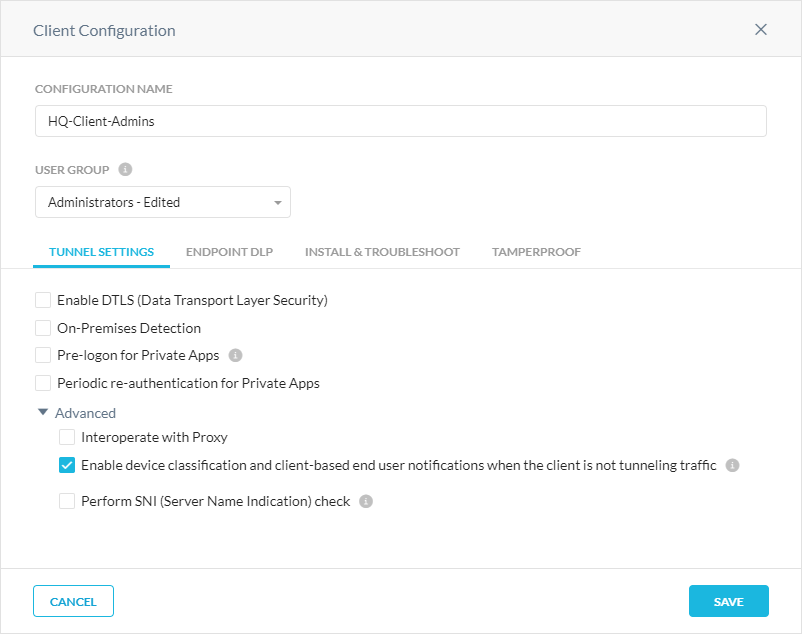
Click the Netskope Client Configuration with the users you want to send notifications to when they trigger a policy violation.
In the Client Configuration window, under Tunnel Settings, select Enable device classification and client-based end user notifications when the client is not tunneling traffic.
Note
Netskope Client supports multi-user concurrent log in. However, it doesn't support multi-user concurrent login if you select Enable device classification and client-based end user notifications when the client is not tunneling traffic.
When the Netskope Client detects an IPSec or GRE tunnel, it disables the data tunnel (i.e., TLS tunnel) to the Netskope cloud but continues sending user identity to Netskope and facilitates user notifications on the endpoint. However, you can only view one user's login information. If you installed the Netskope Client in multi-user mode on a multi-user device (e.g., terminal server), then when multiple users log in to the device at the same time, Netskope only logs and reports the first user as the one associated with the device.
Also, If you have Netskope Cloud Firewall and are using the Netskope Client, you can leverage user- and group-based policies.
You only need to provision certificates on user devices that don't have the Netskope Client.
To download the Netskope root CA certificate and provision it on your user's device:
Go to Settings > Manage > Certificates to download the certificates.
Click the Signing CA tab.
In Netskope Certificate, for Root CA, click
 .
.
Provision the certificate on your user's device. See the product documentation of their device to learn more.
If you don't use the Netskope Client, you can use SAML to authenticate a user with your Identity Provider (IdP) before their traffic is tunneled via IPSec or GRE. You must integrate Netskope as an authentication mode for an IdP. This method acts as an authentication module taking Netskope's framework and an IdP's auth assertion after authentication. To learn more: Forward Proxy Authentication.
Watch a video about forward proxy SAML authentication configuration for IPSec:
Enabling SAML Authentication
To enable SAML authentication for your tunnels:
Go to Settings > Security Cloud Platform > Forward Proxy > Authentication.
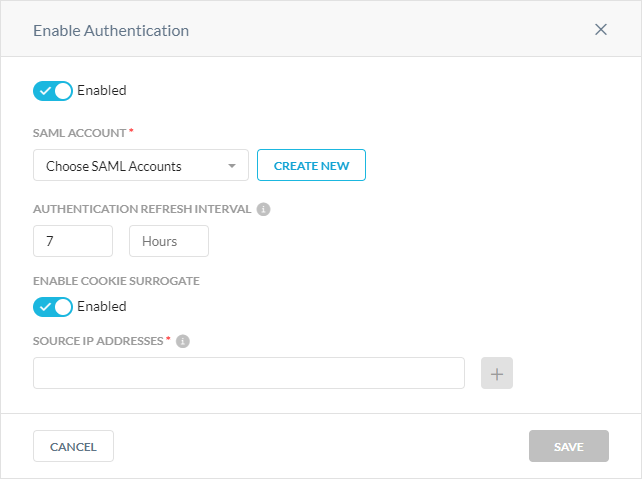
In Authentication, click Enable Authentication.
In the Enable Authentication window, select Enabled.

Under SAML Account, click Create New.
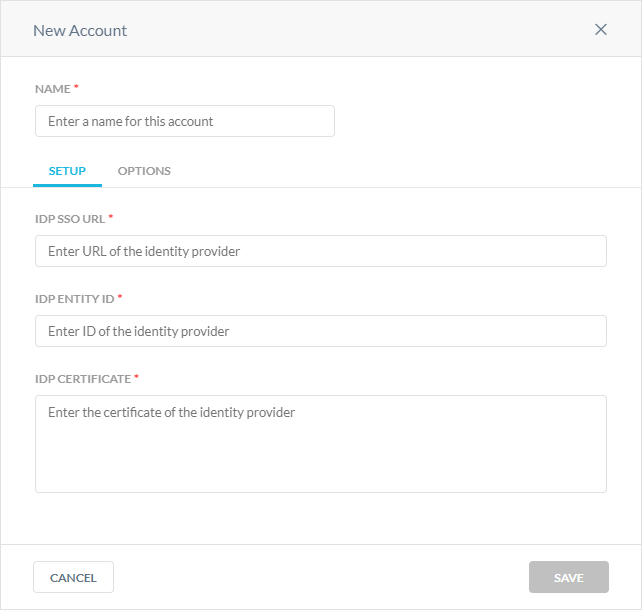
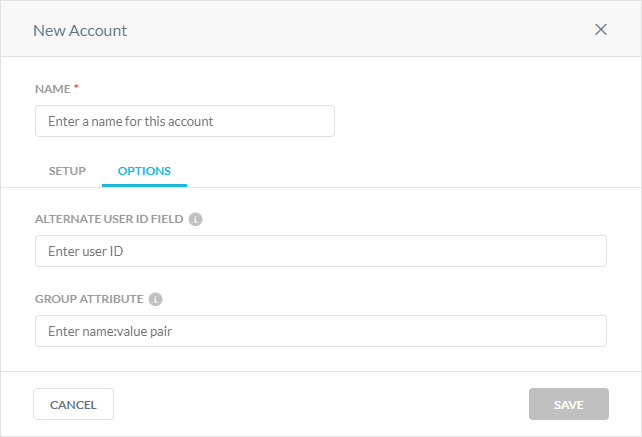
In the New Account window:
Name: Enter a name identifying the SAML account.
In the Setup tab:
IdP SSO URL: Contact your third-party IdP and enter the unique IdP login URL.
IdP Entity ID: Enter the globally unique ID for your SAML entity.
IdP Certificate: Copy and paste the PEM format certificate of the third-party IdP. Netskope needs this information to validate the signature of the SAML assertion.
In the Options tab:
Alternate User ID Field: Netskope looks at the NameID field in the SAML assertion to get the user identity. If you want to use another field for user identification, enter the name of the SAML attribute.
Group Attribute: Enter your name:value pair to identify and describe your entities user group and role memberships.
Click Save.
Configuring the Authentication Bypass Settings
After enabling SAML authentication for your tunnels, you can specify domains, web categories, and network IP addresses that don't require user authentication.
Adding a Domain Bypass
To add a domain bypass:
Go to Settings > Security Cloud Platform > Forward Proxy > Authentication.
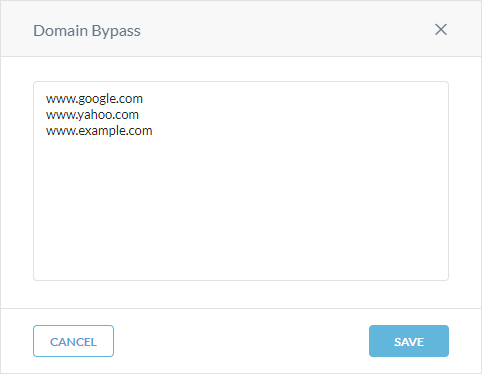
In Bypass Settings, under Domain Bypass, click Edit.
In the Domain Bypass window, add the URLs you want to bypass from the tunnels. Separate each URL entry with a comma or by adding it to a new line.
Tip
Netskope recommends adding your IdP domains.
Click Save.
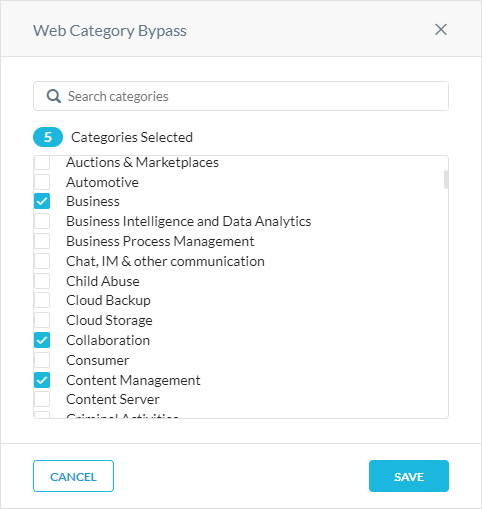
Adding a Web Category Bypass
To add a web category bypass:
Adding a Source IP Address Bypass
To add a source IP address bypass:
Go to Settings > Security Cloud Platform > Forward Proxy > Authentication.
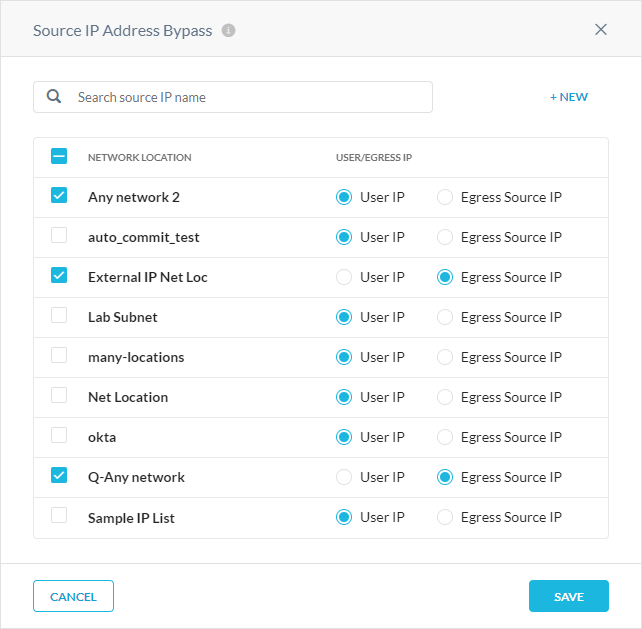
In Bypass Settings, under Source IP Address Bypass, click Edit.
In the Source IP Address Bypass window, select the network locations you want to bypass from the tunnels. You can choose to bypass either the User IP or Egress IP of the network.
If you want to add a network location, click +New. See Network Location Profile.
Click Save.
