Okta Plugin for User Risk Exchange
This document explains how to configure Okta with User Risk Exchange in the Netskope Cloud Exchange platform. This integration enables seeing multiple connected systems’ risk values for individual users and groups.
To complete this configuration, you need:
A Netskope tenant (or multiple, for example, production and development/test instances)
A Netskope Cloud Exchange tenant with the User Risk Exchange module already configured.
Okta Domain and API Token for perform group operations.
No special license (Advanced Threat Protection) is needed.
Obtain an Okta Domain and create an API token.
Configure the Okta plugin.
Configure Actions for the Okta plugin.
Validate the Okta plugin.
Click play to watch a video.
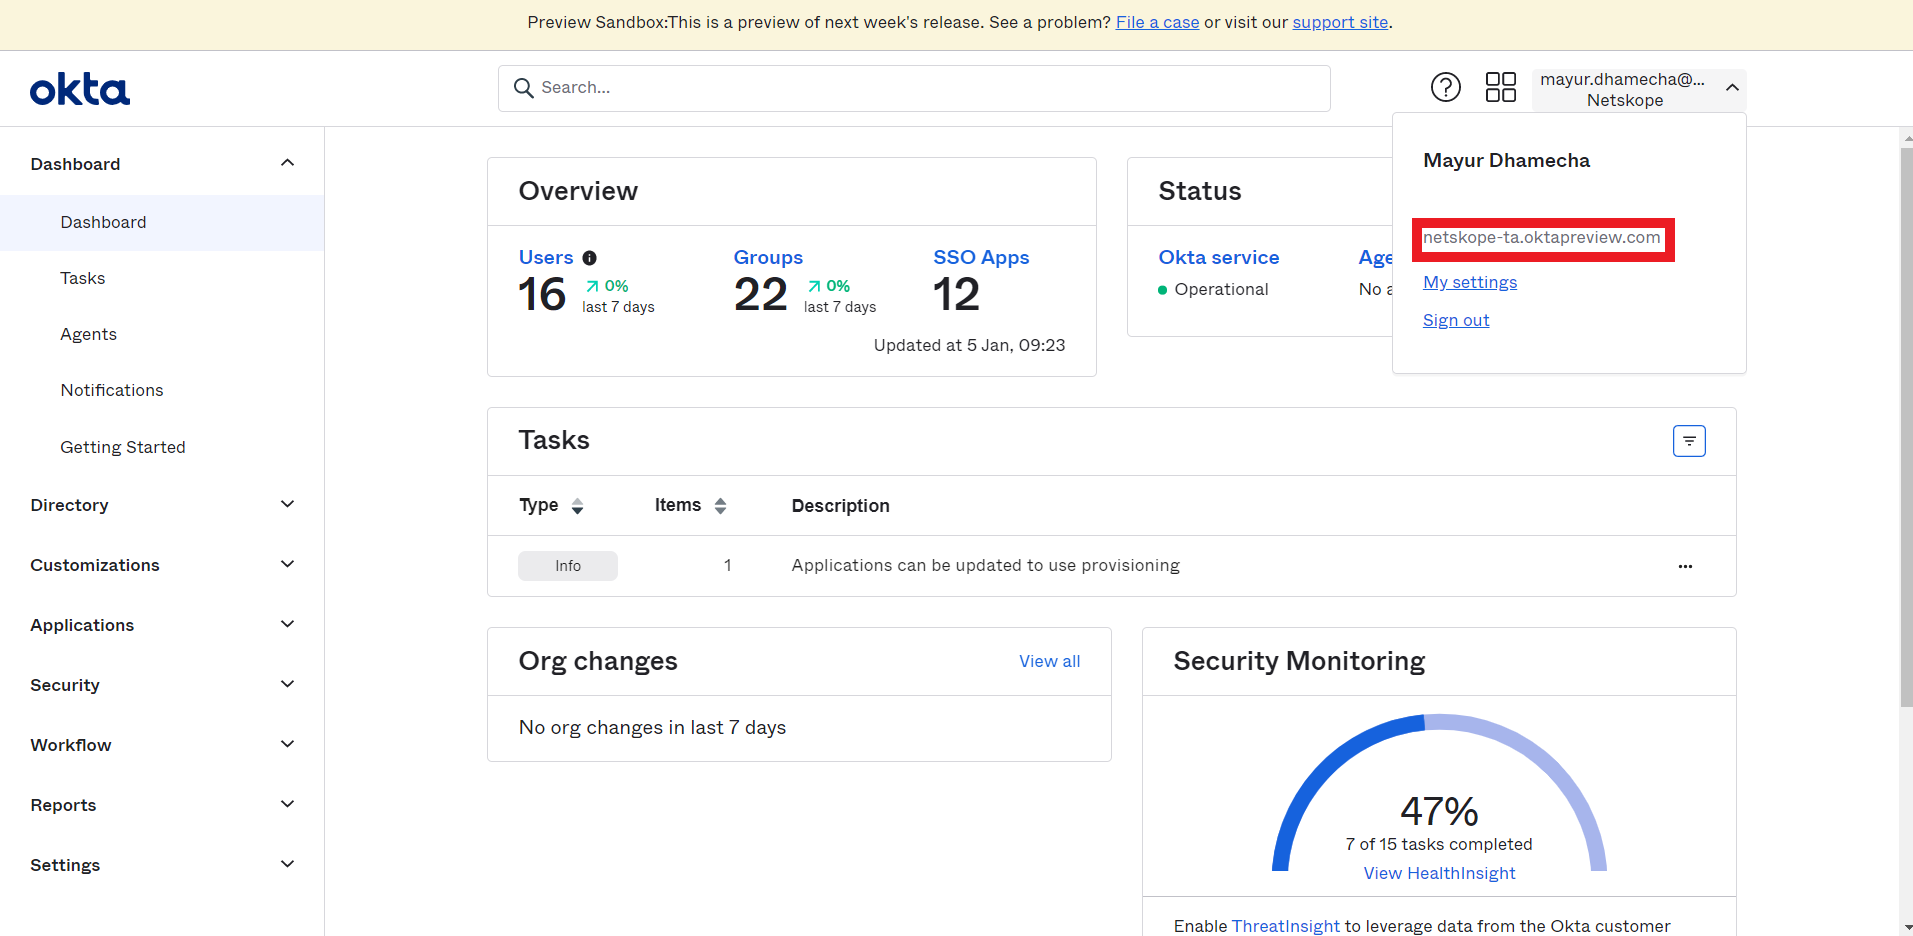
Log in to Okta.
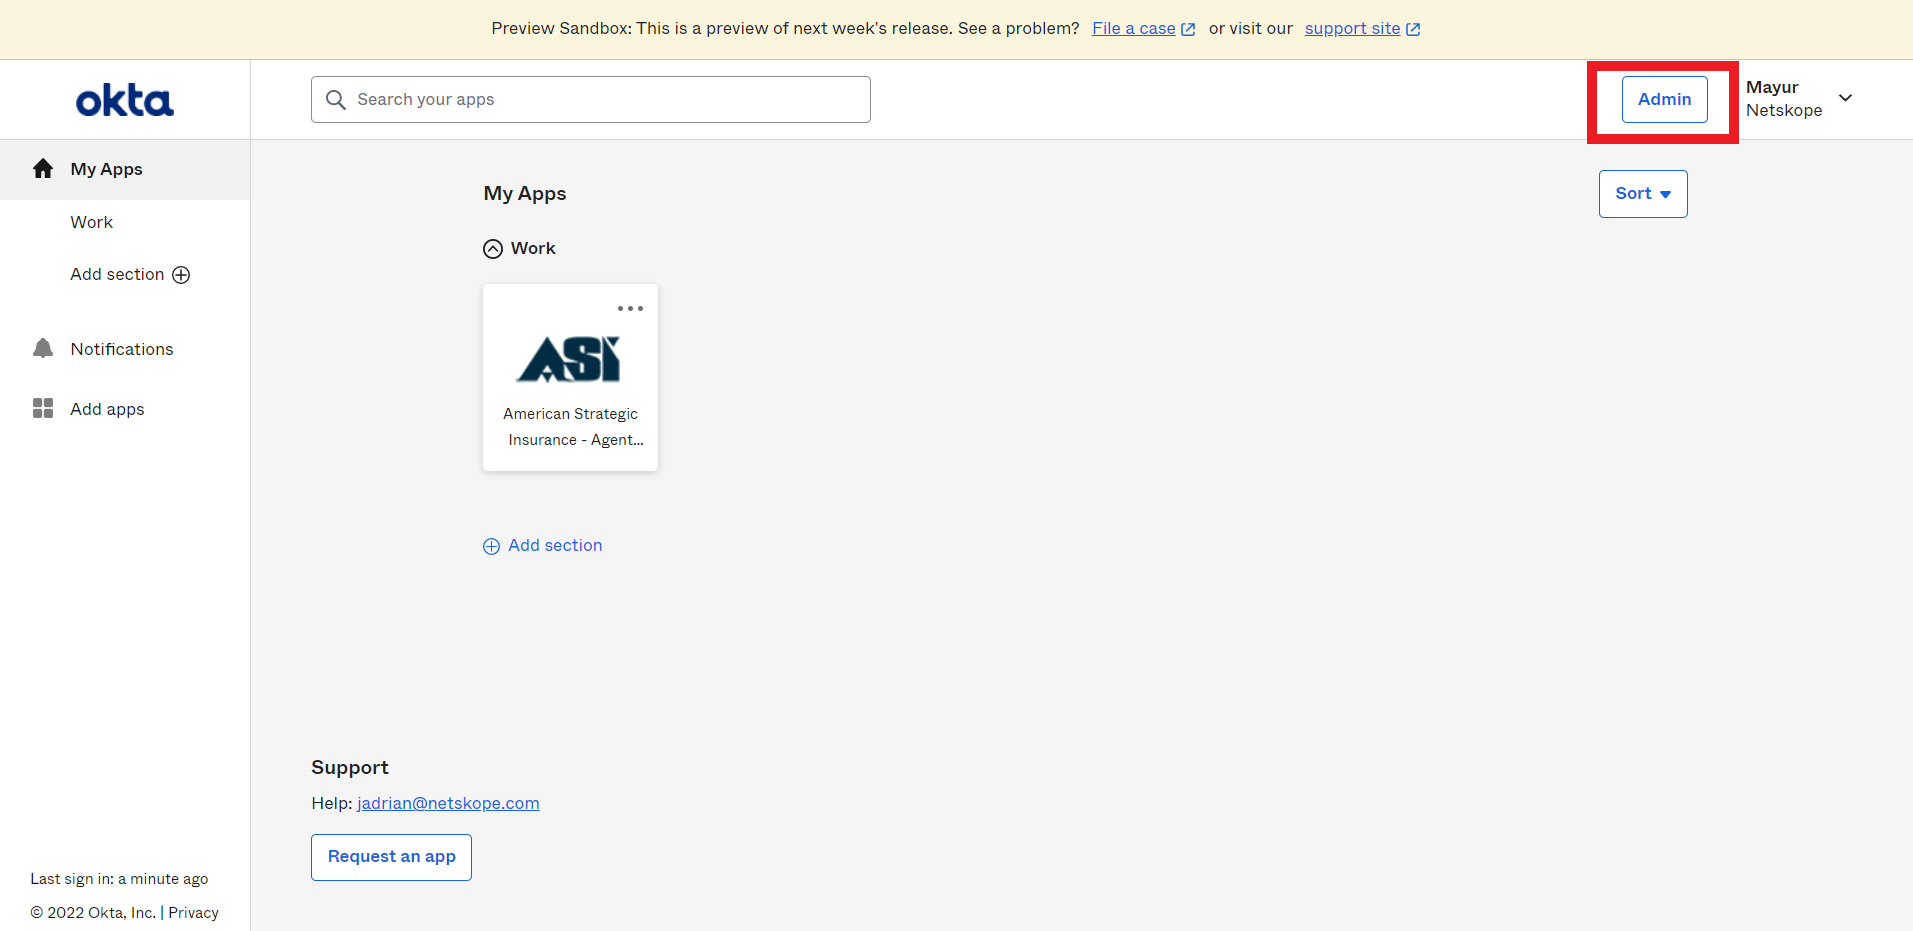
Click Admin.
Click on the downward arrow in the right upper corner.
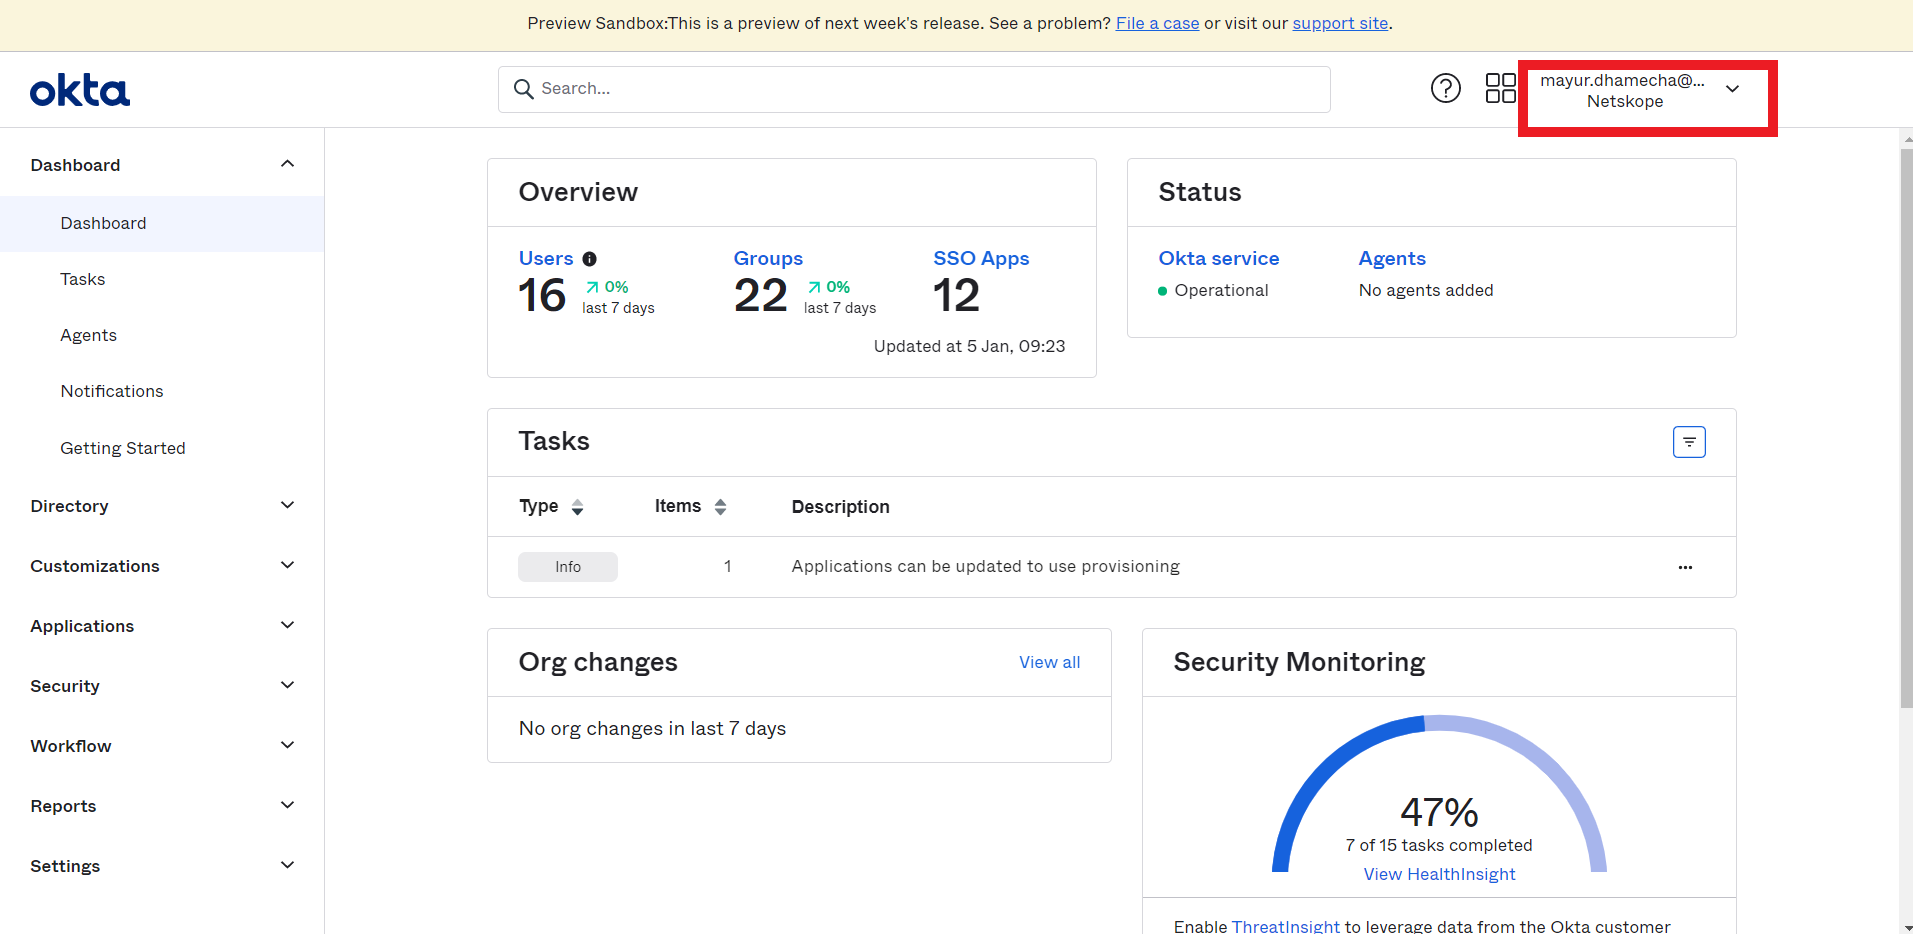
Copy the Okta domain.
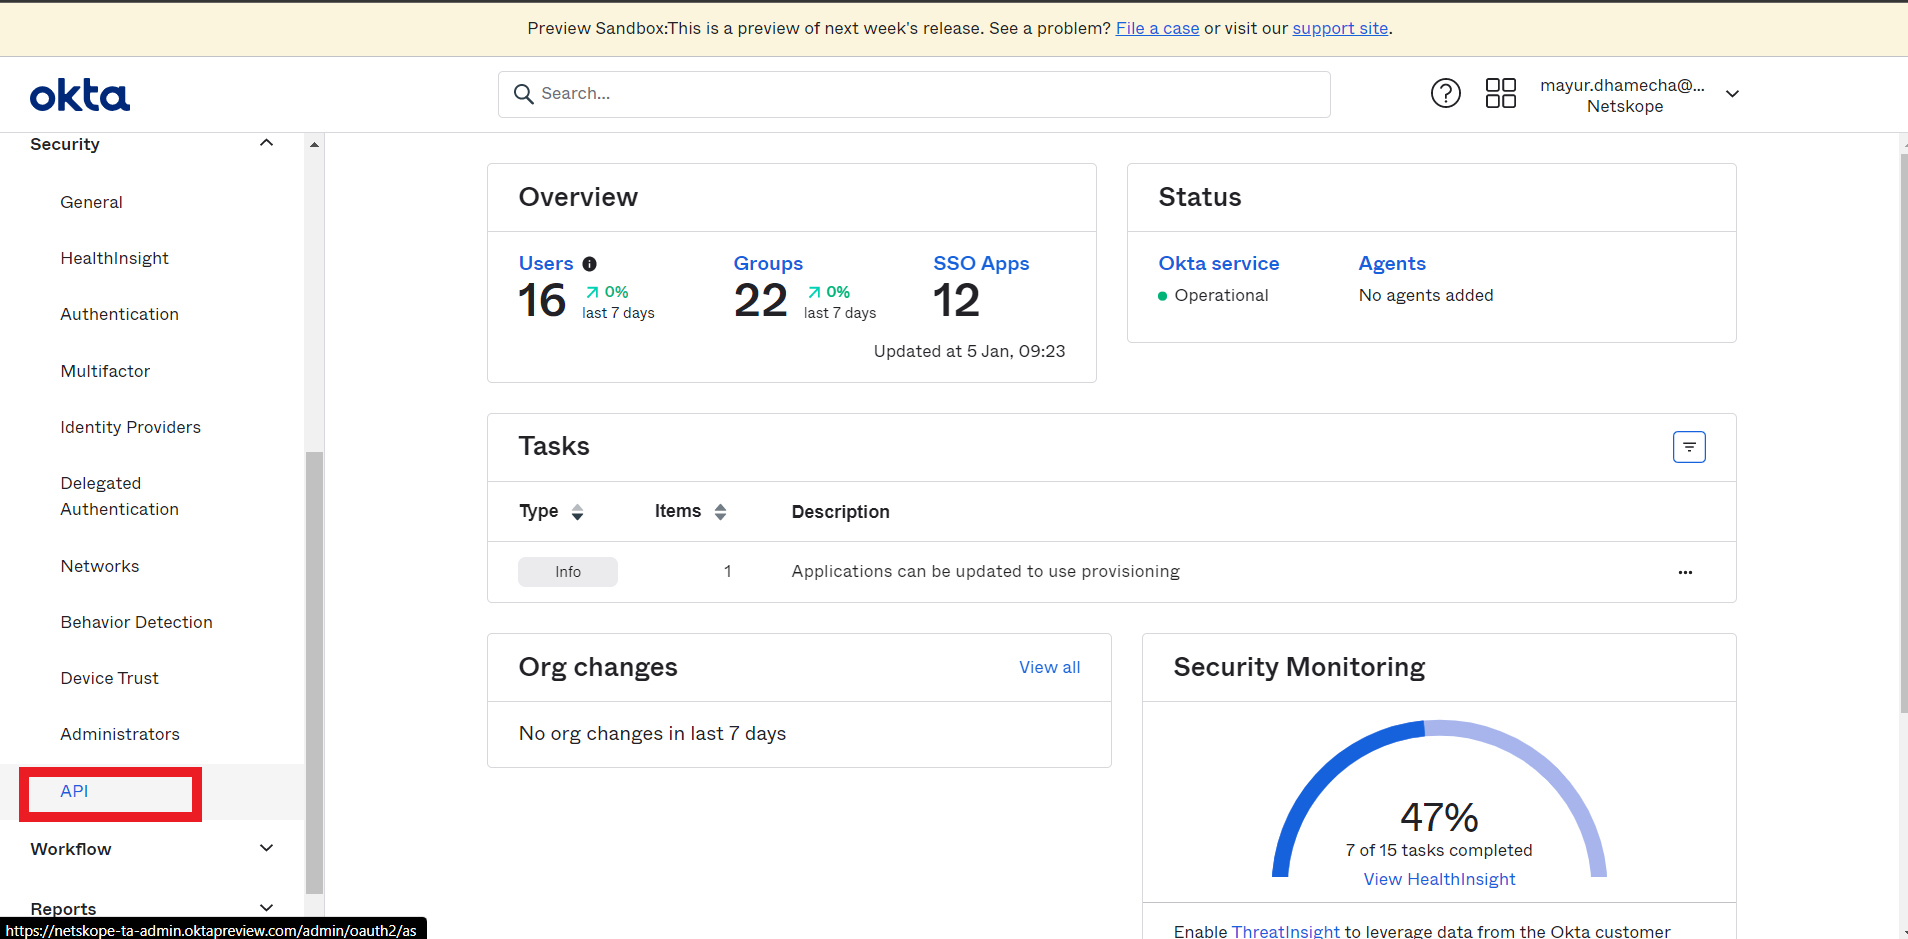
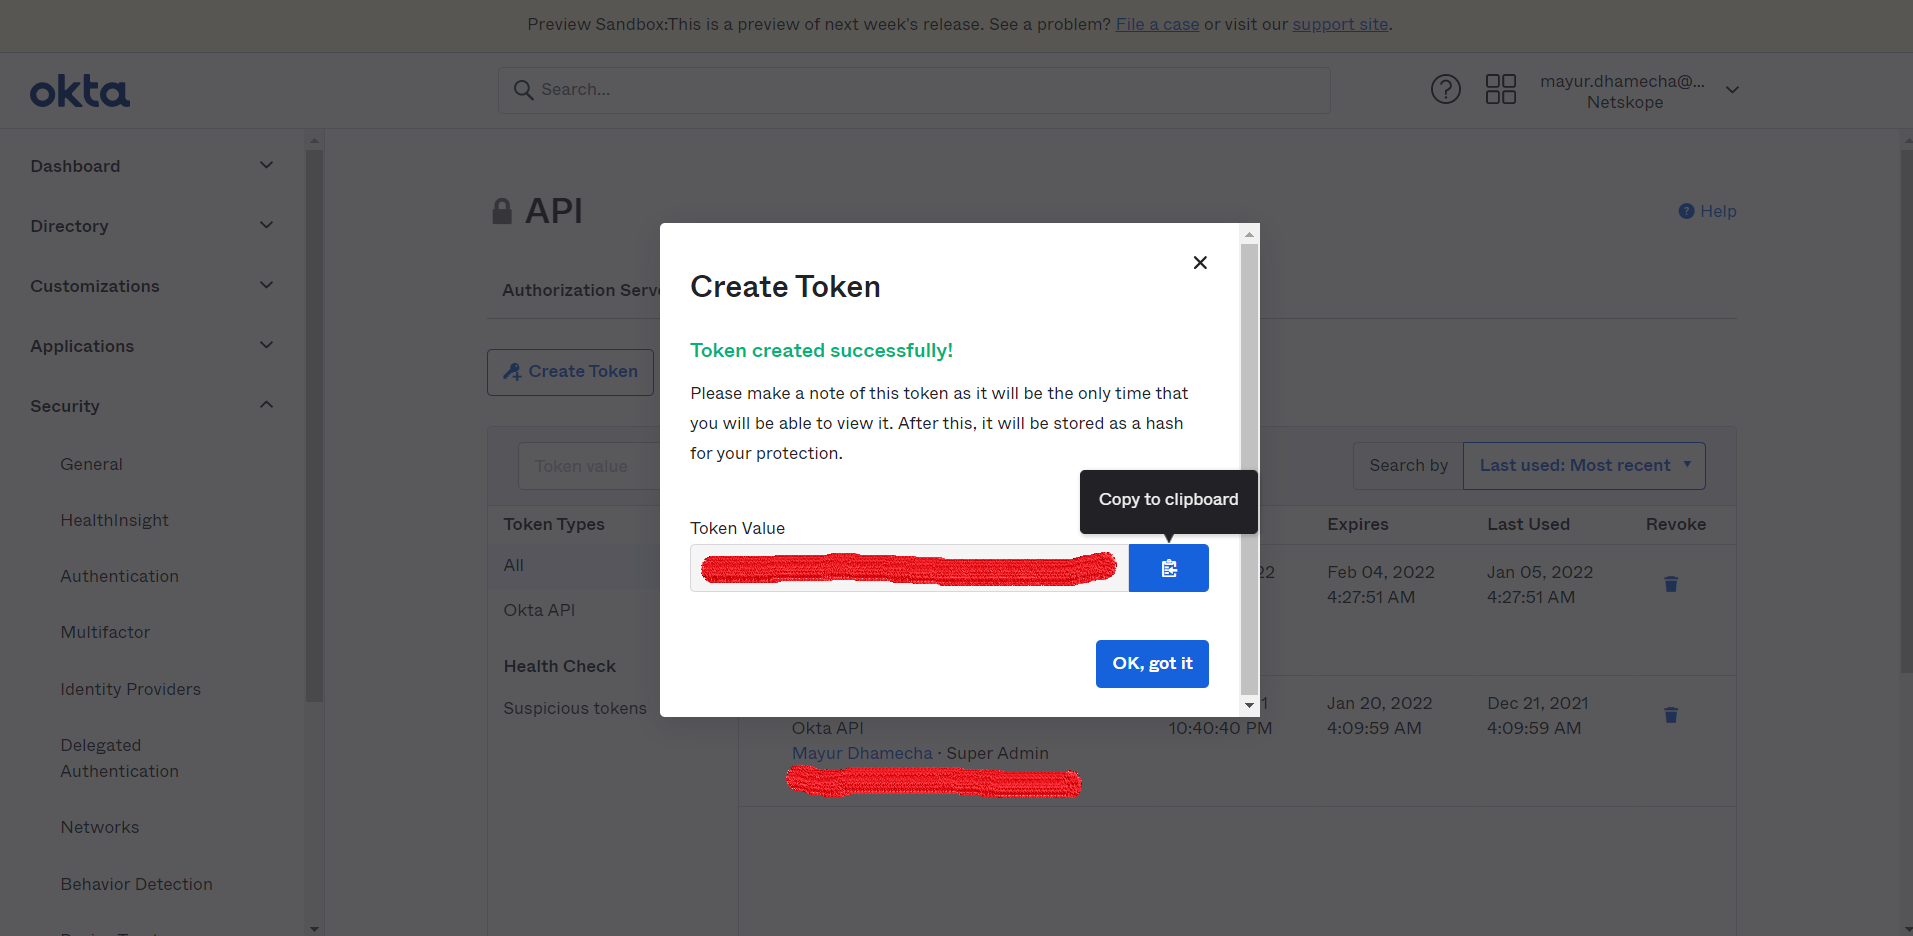
Go to Security > API.
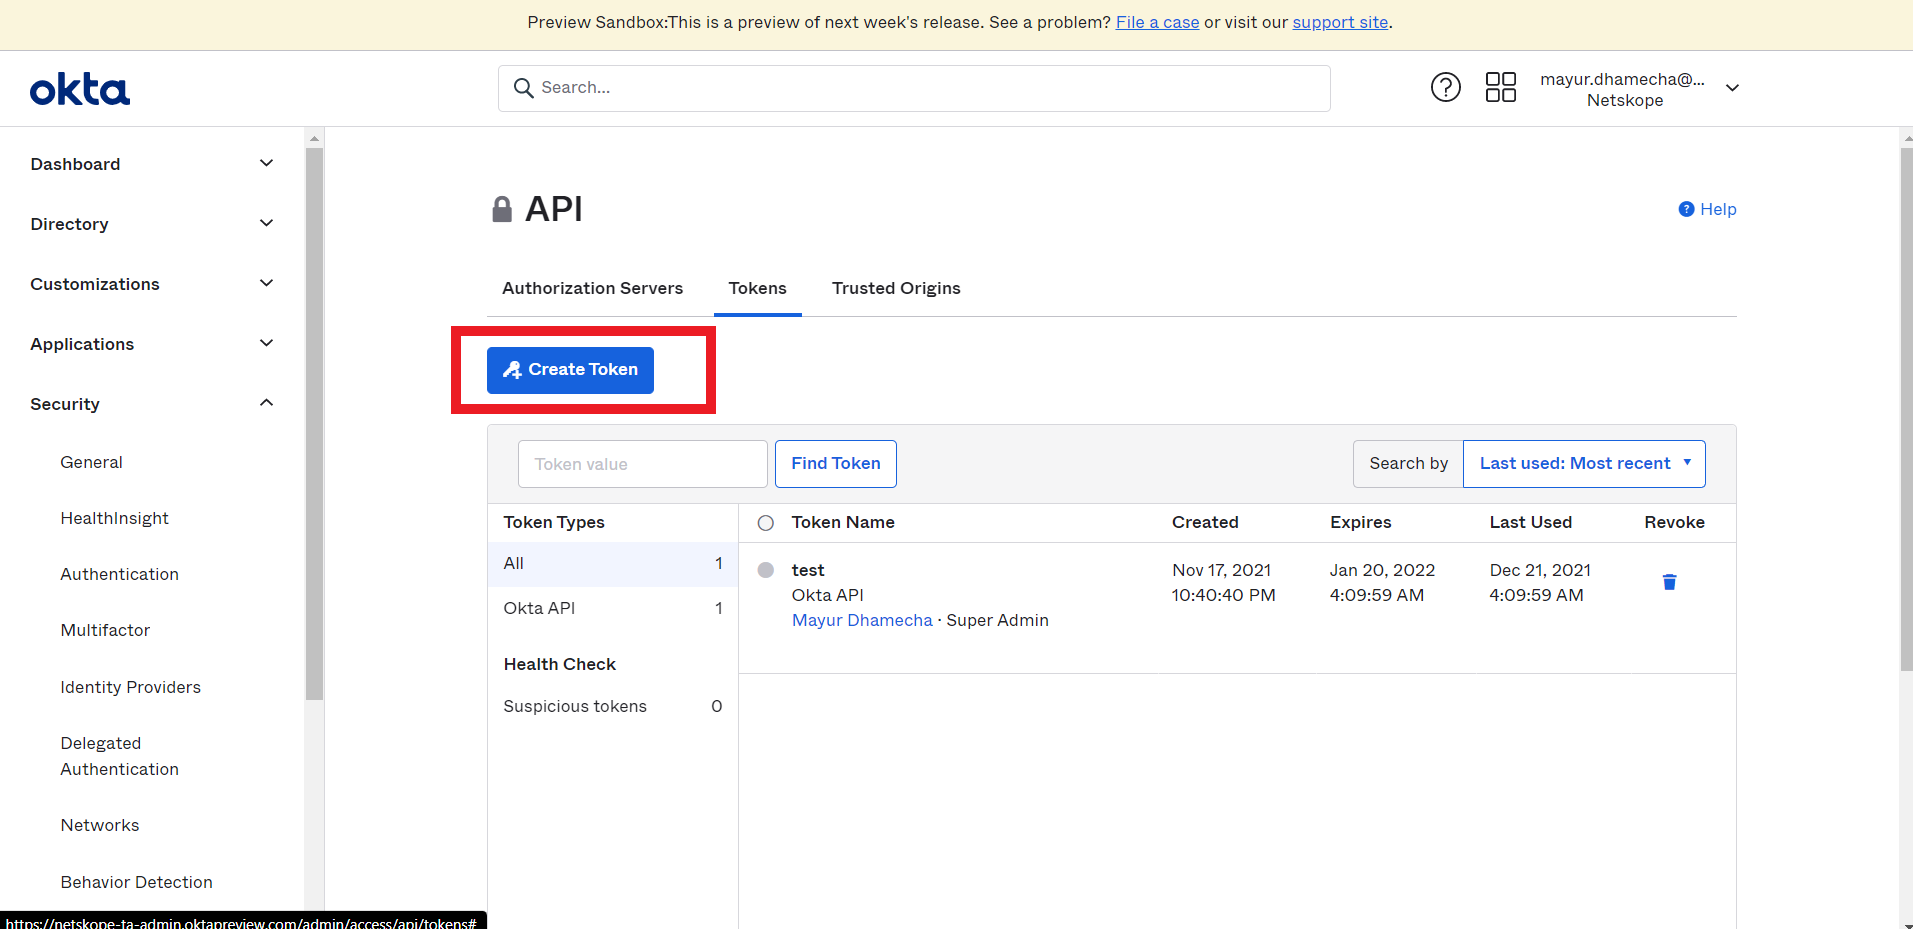
Click Create Token.
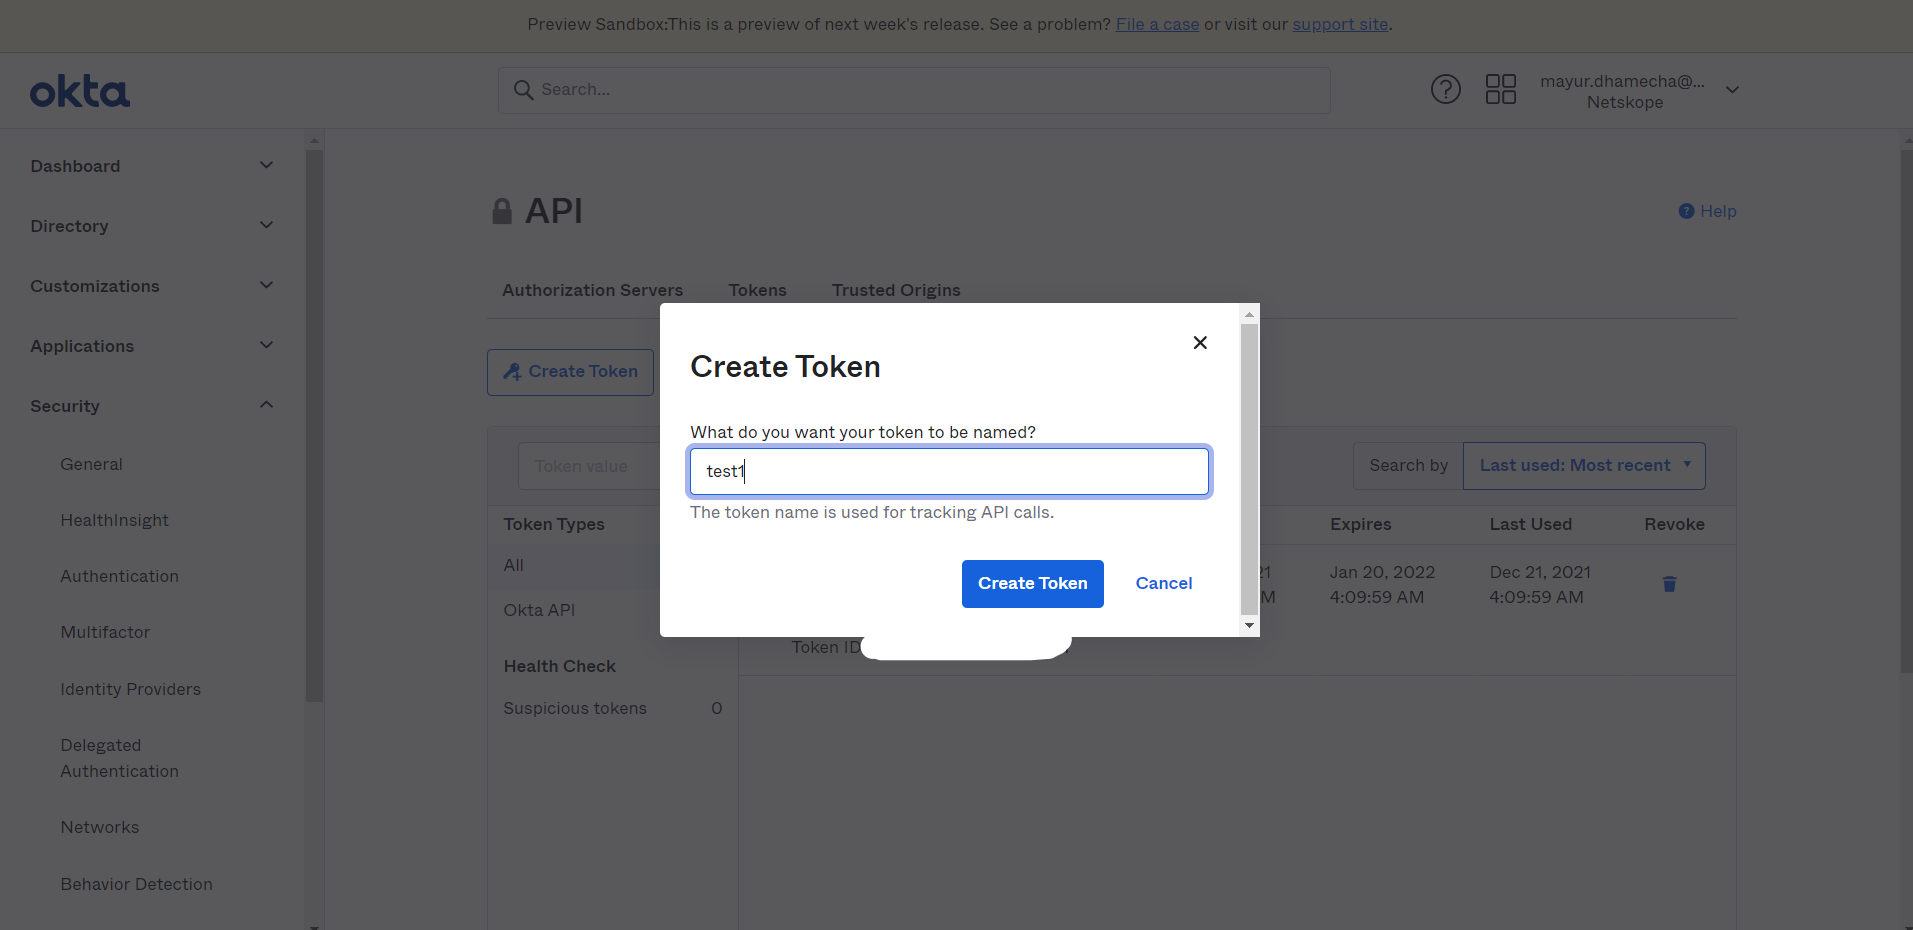
Enter a token name and click Create Token
Copy the token value. You need this to configure the Okta plugin.
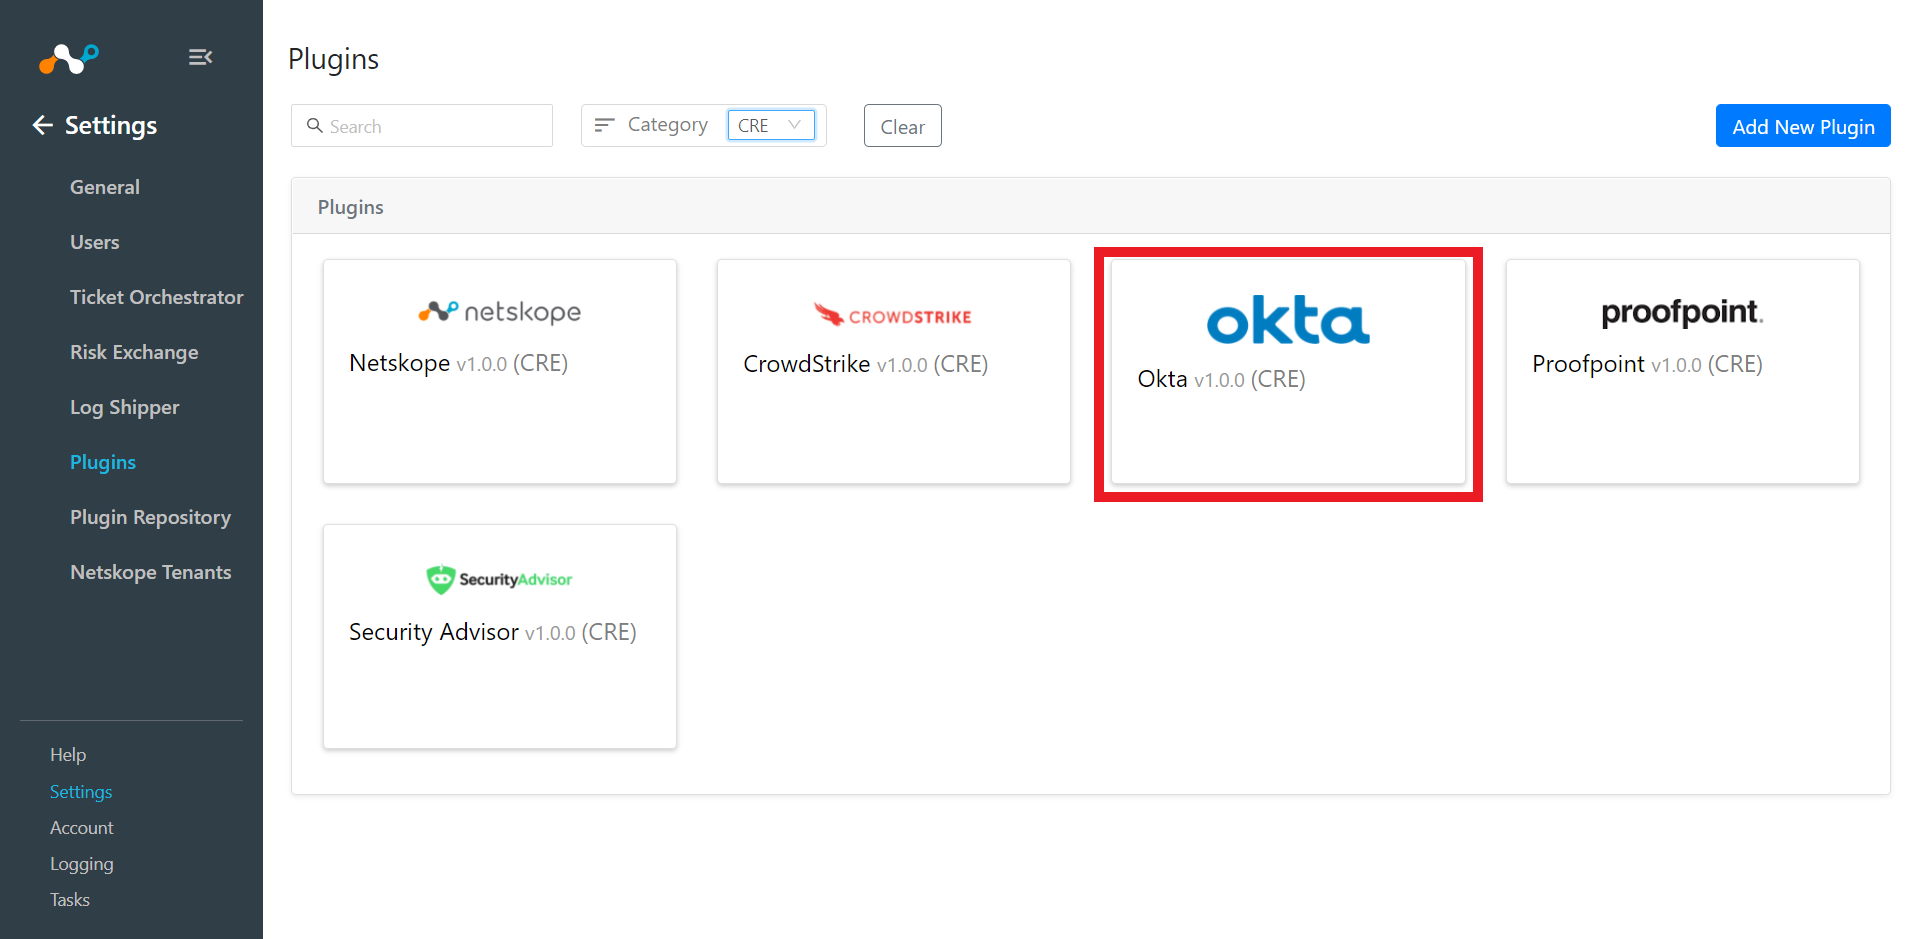
Go to Settings > Plugins.
Search for and select the Okta box to open the plugin creation dialog.
Enter a Configuration Name
Keep the Sync Interval default.
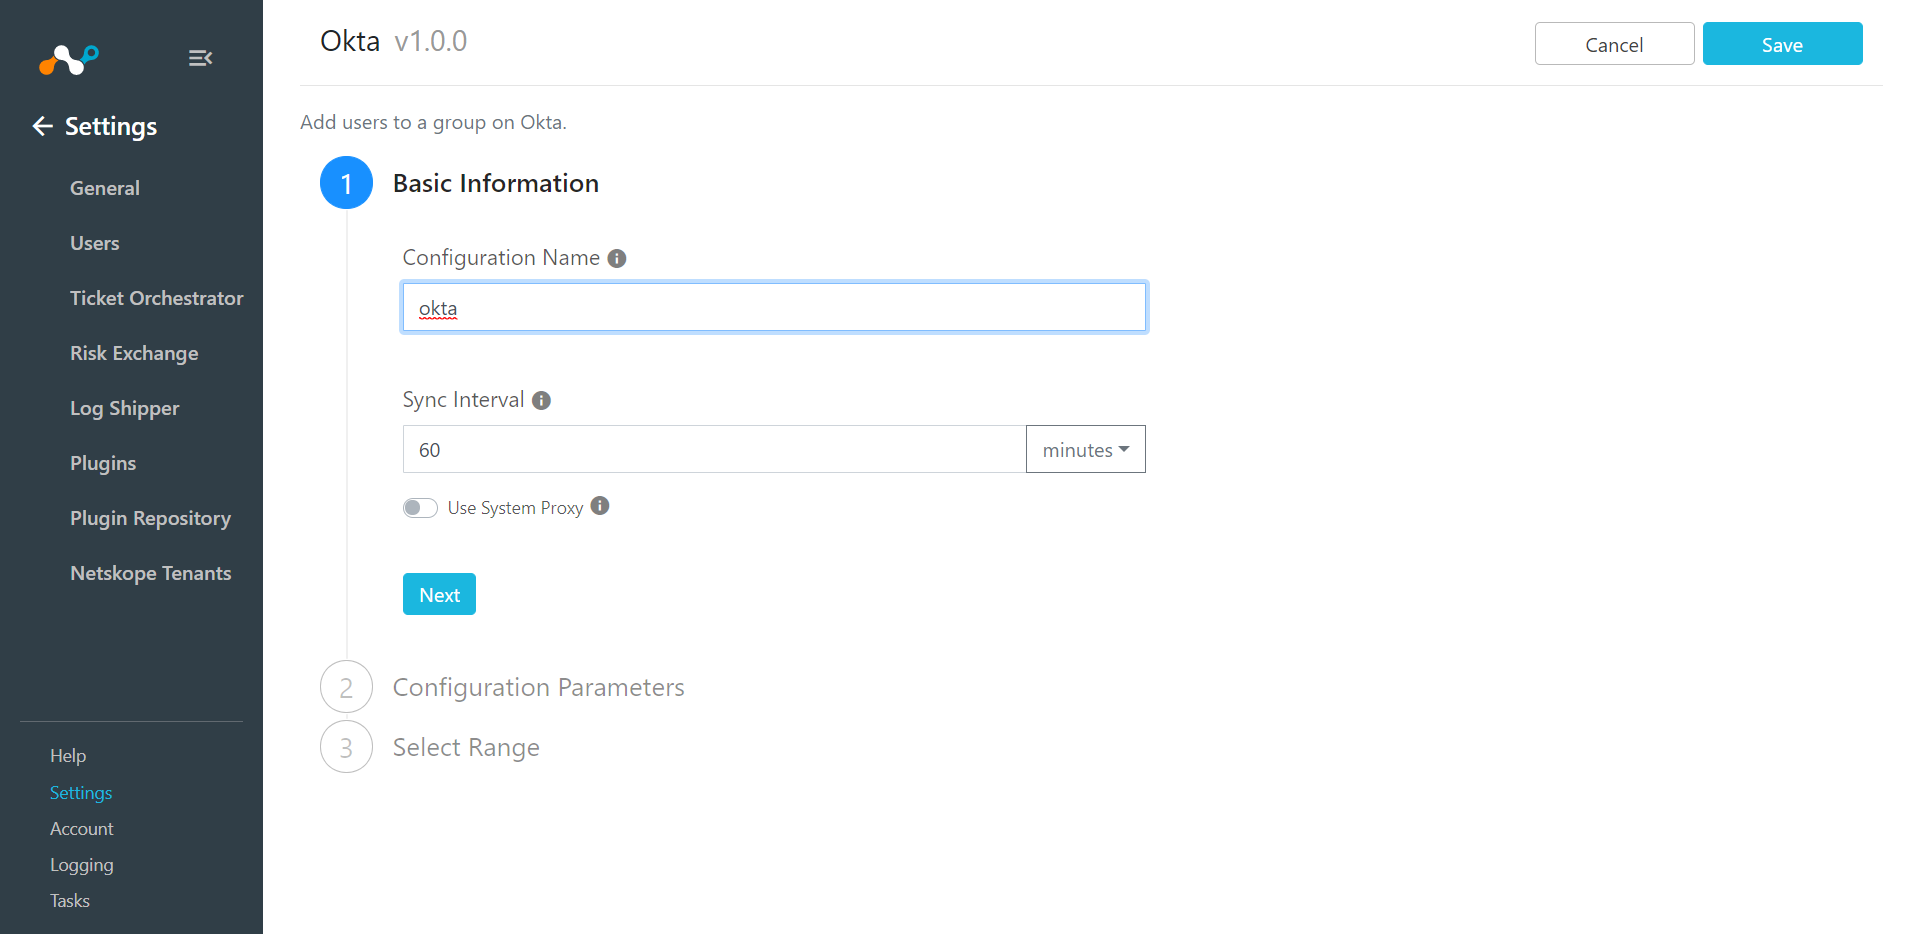
Click Next.
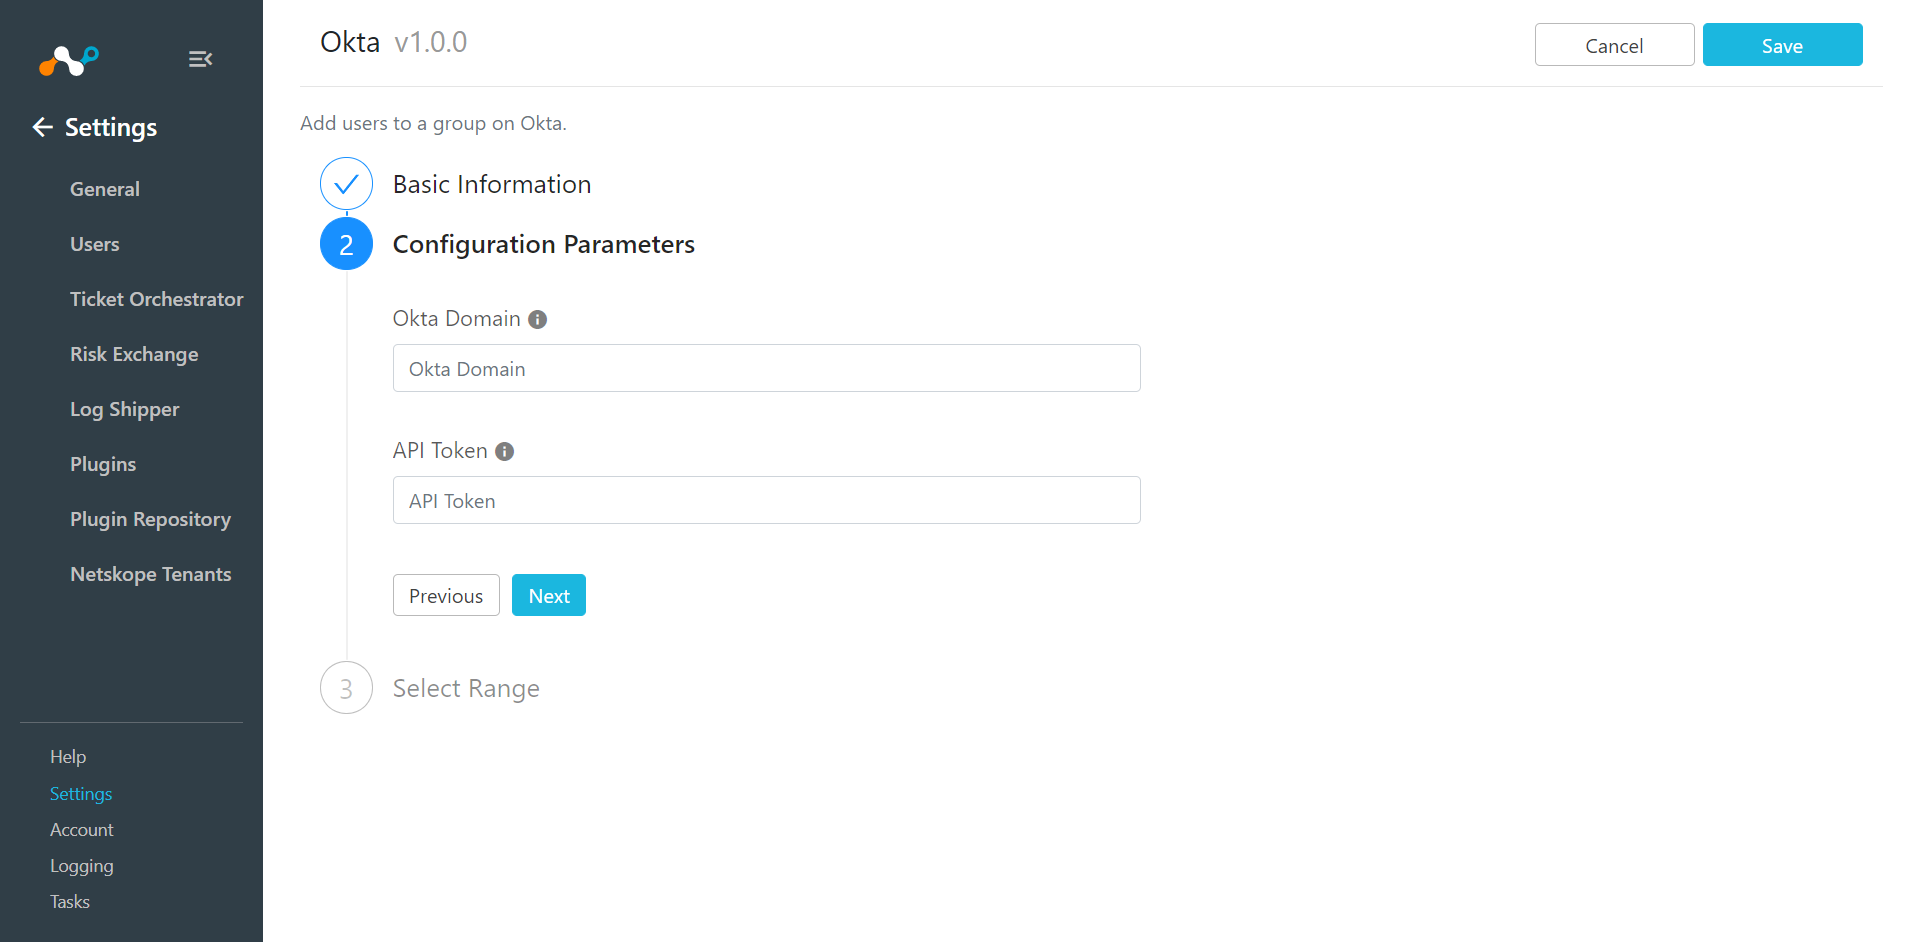
Enter your Okta Domain and the API Token obtained in the previous section.
Click Next.
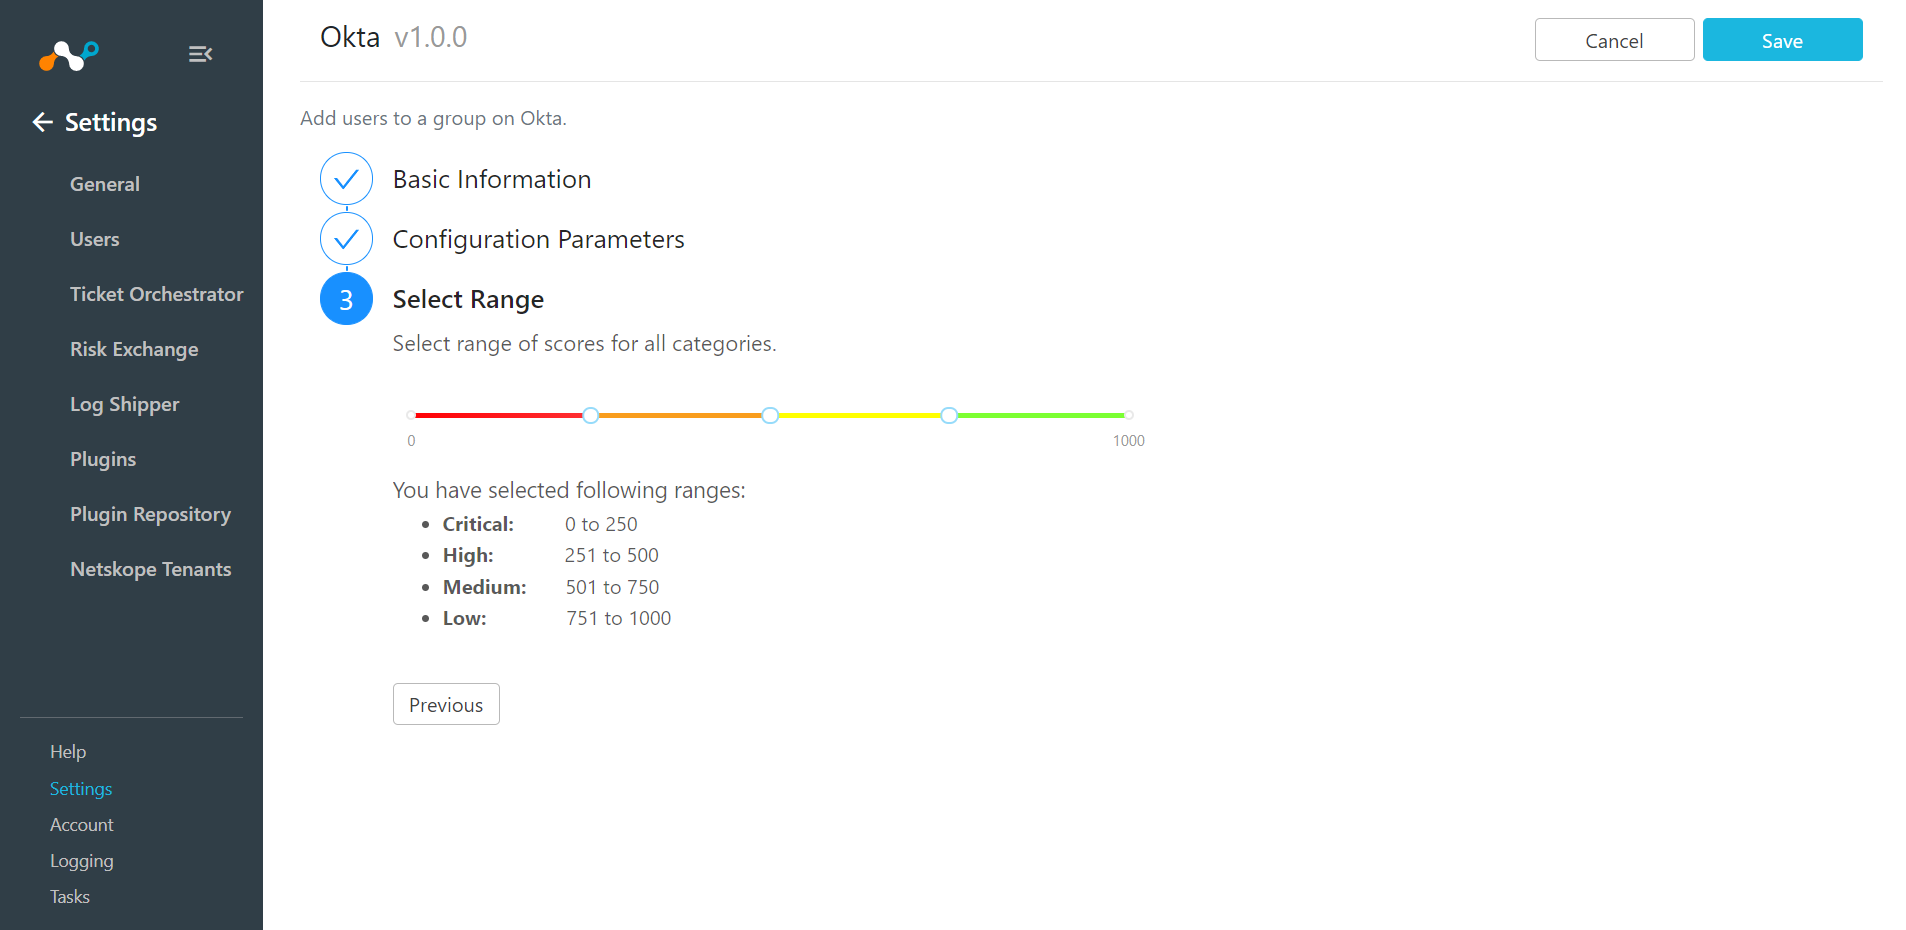
Keep the Select Range default because the Okta plugin does not support fetching user scores.
Click Save.
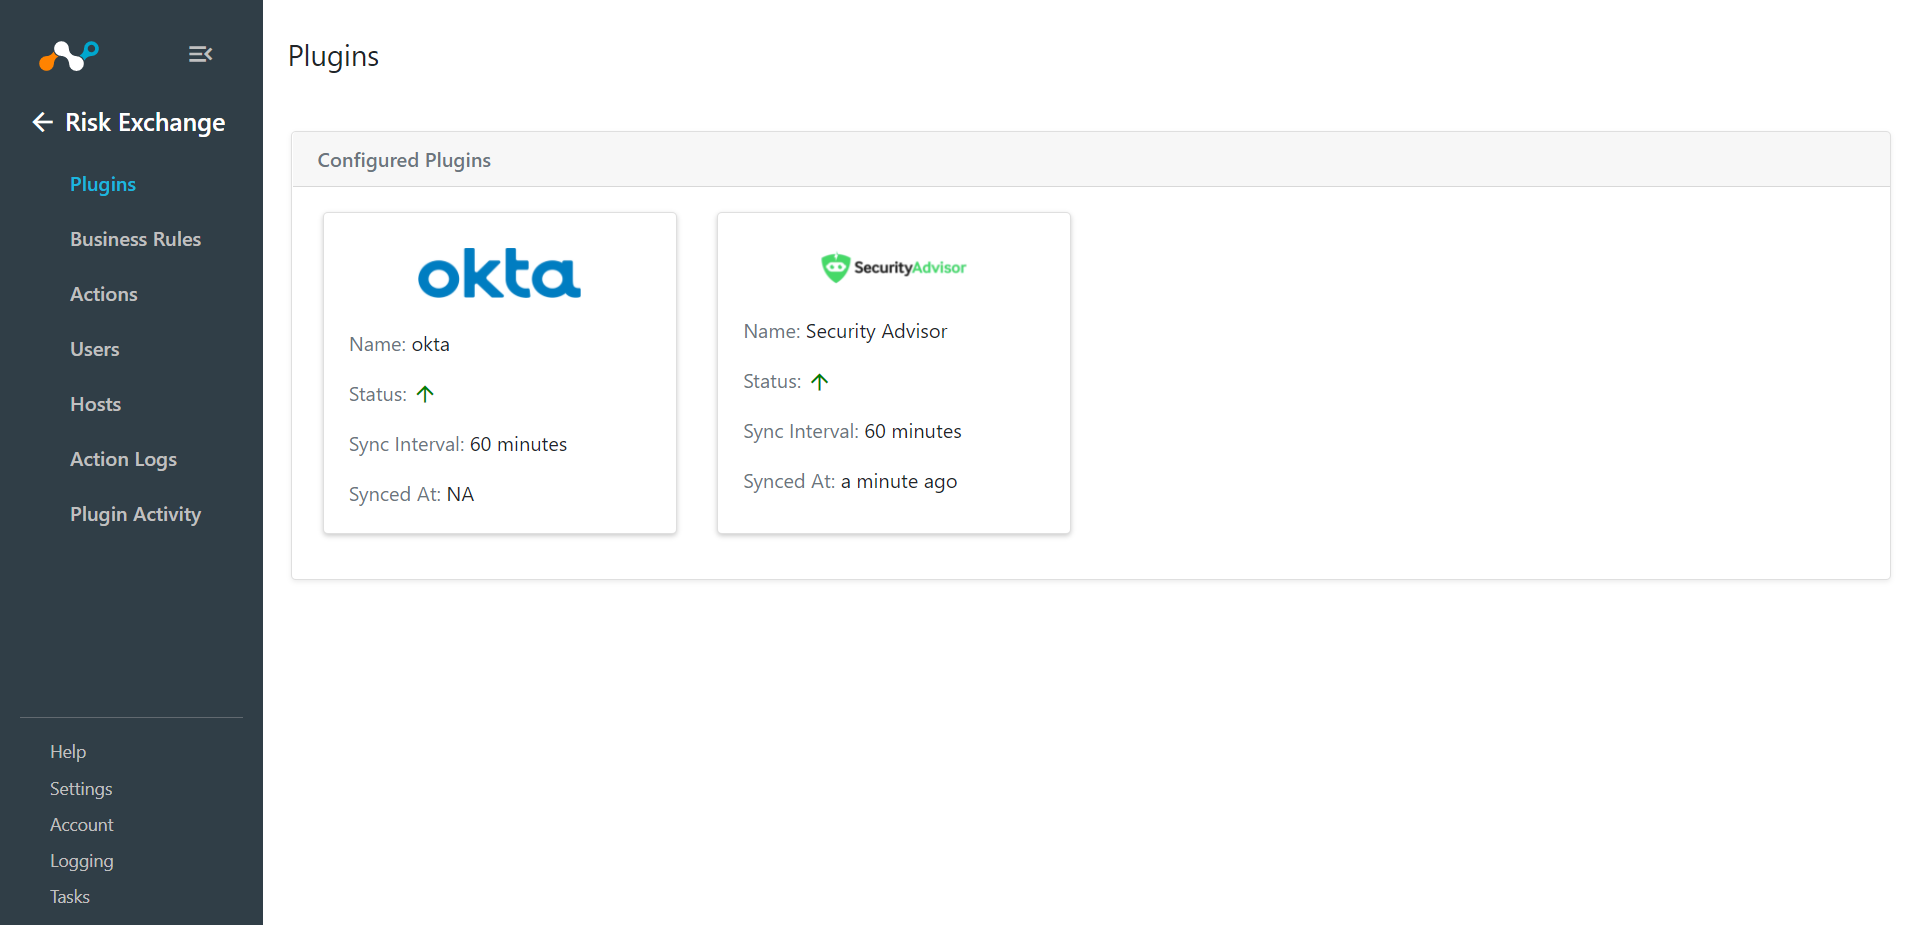
Go to User Risk Exchange and click Actions.
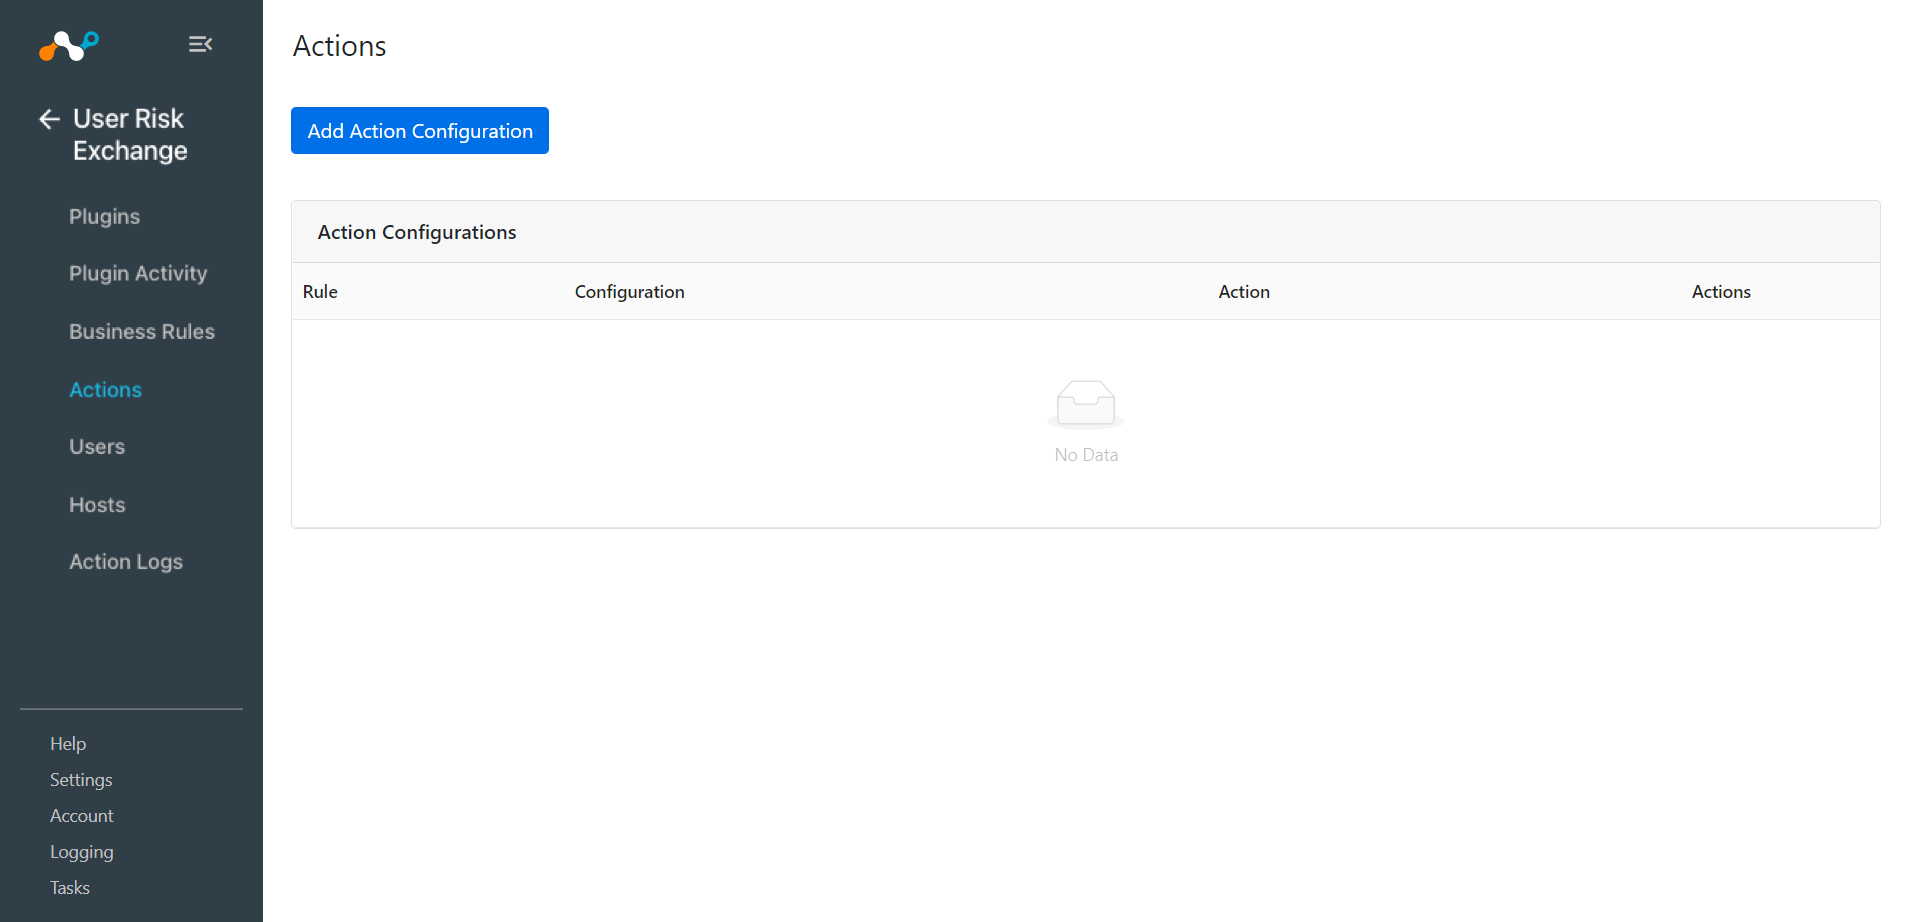
Click Add Action Configuration.
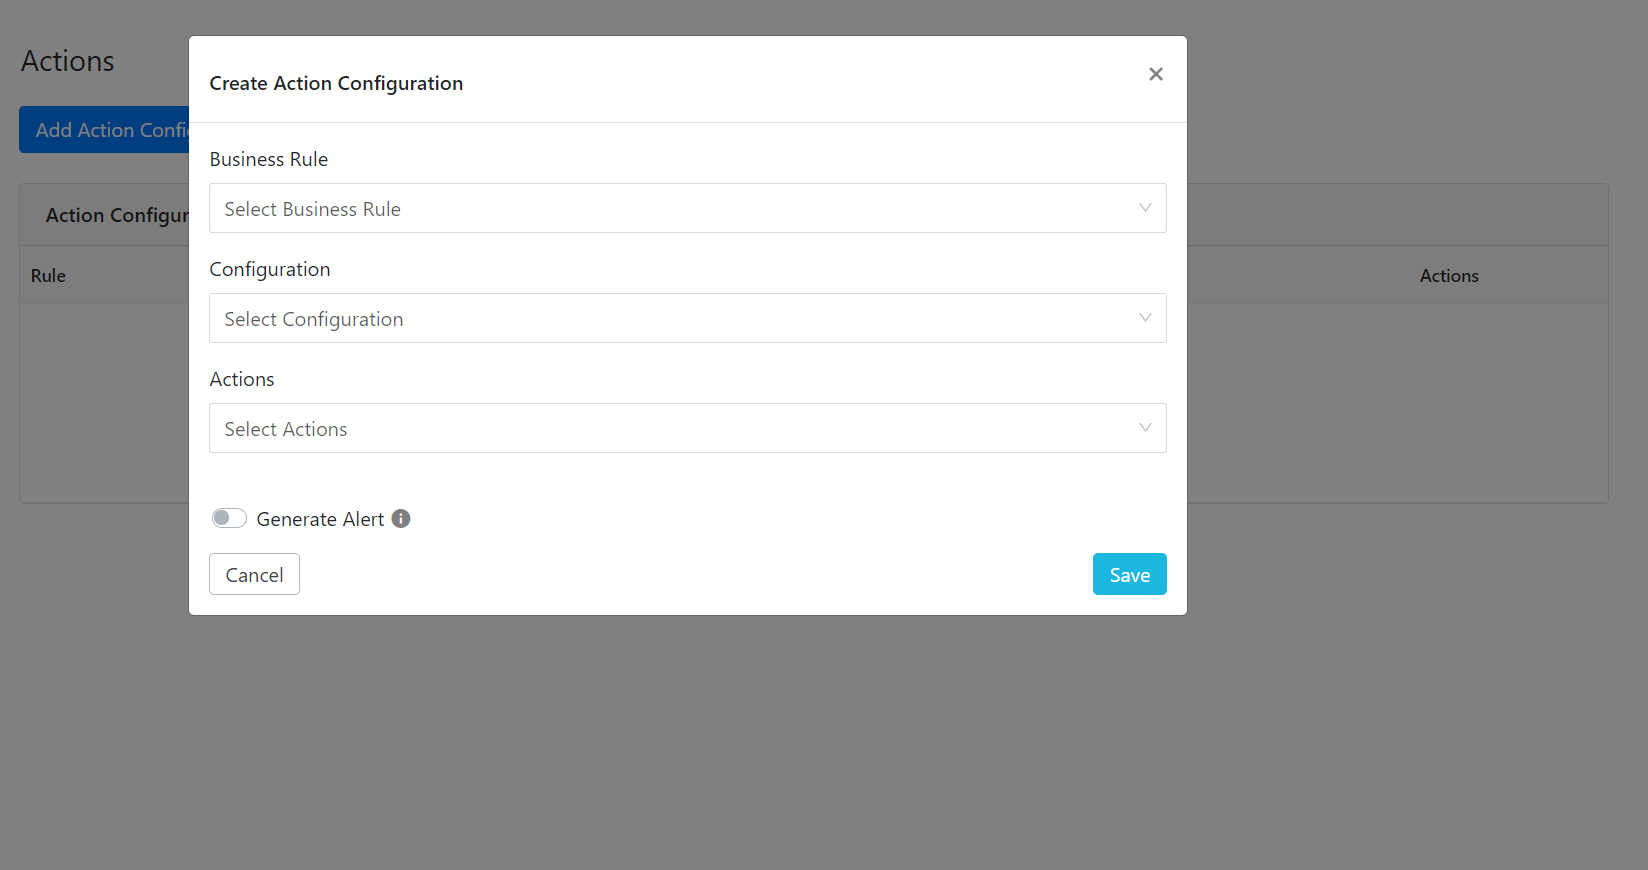
Click the Business rule dropdown list and choose the appropriate Business rule.
Select the Configuration dropdown list and choose Okta.
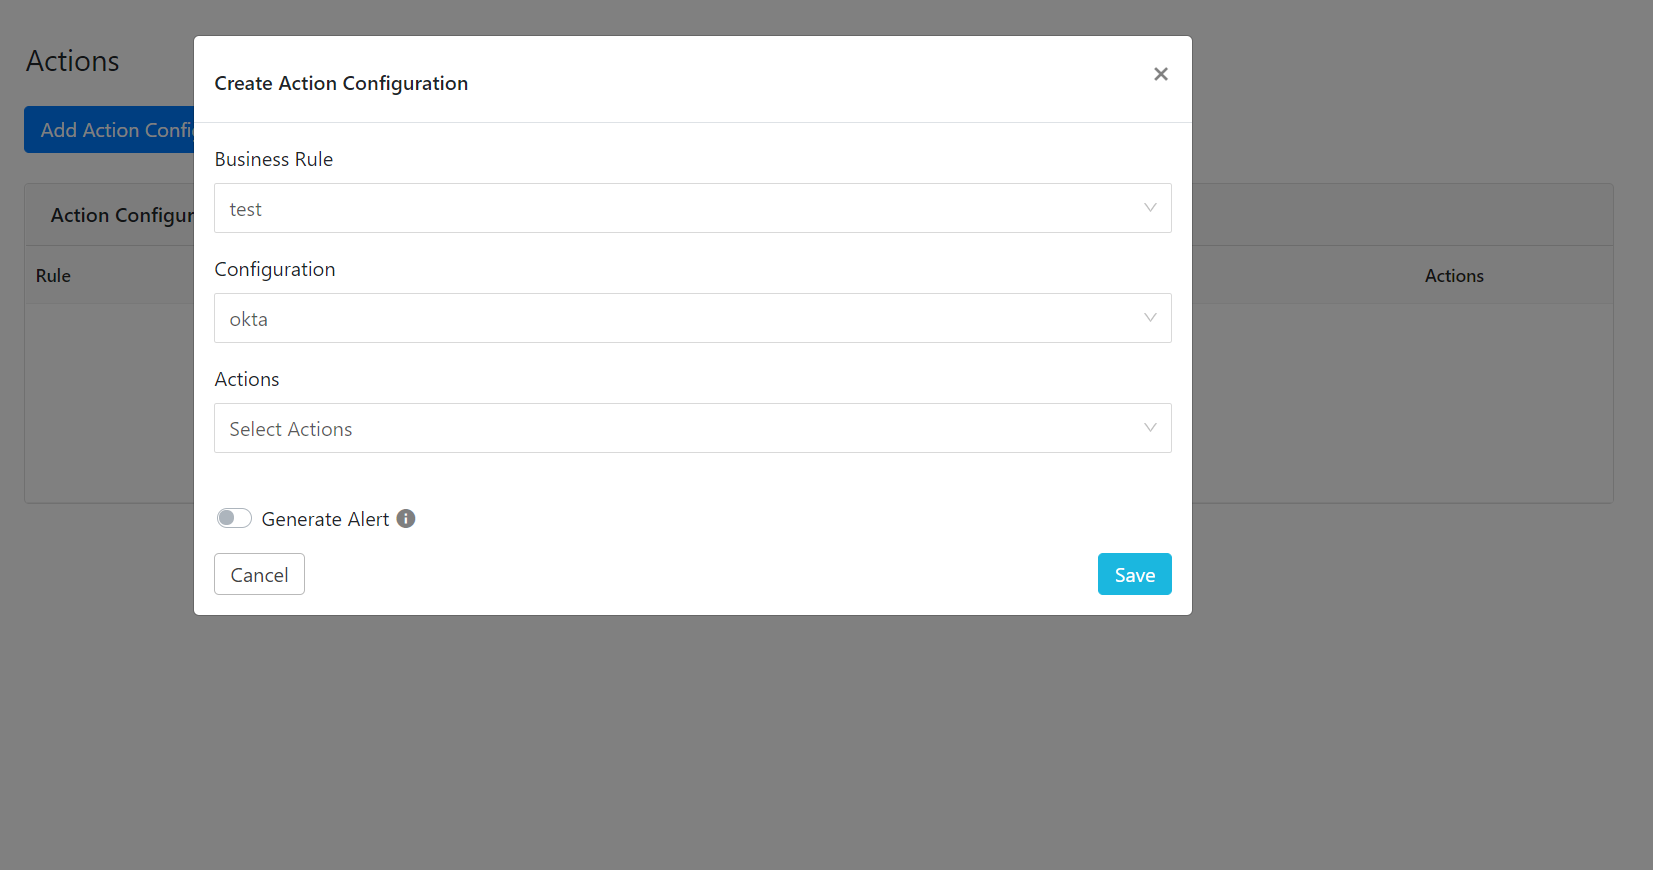
Select Actions from the dropdown list and choose (Add to Group, Remove to Group or No Action).
Add to Group : When triggered, users are added to that group.
Remove to Group : When triggered, users are removed from that group.
No Action : This does not perform any actions on users.
From the Group dropdown list, select a Group Name, or select Create new group from the Group dropdown list. Enter the Group Name if you want to create a new group in Okta.
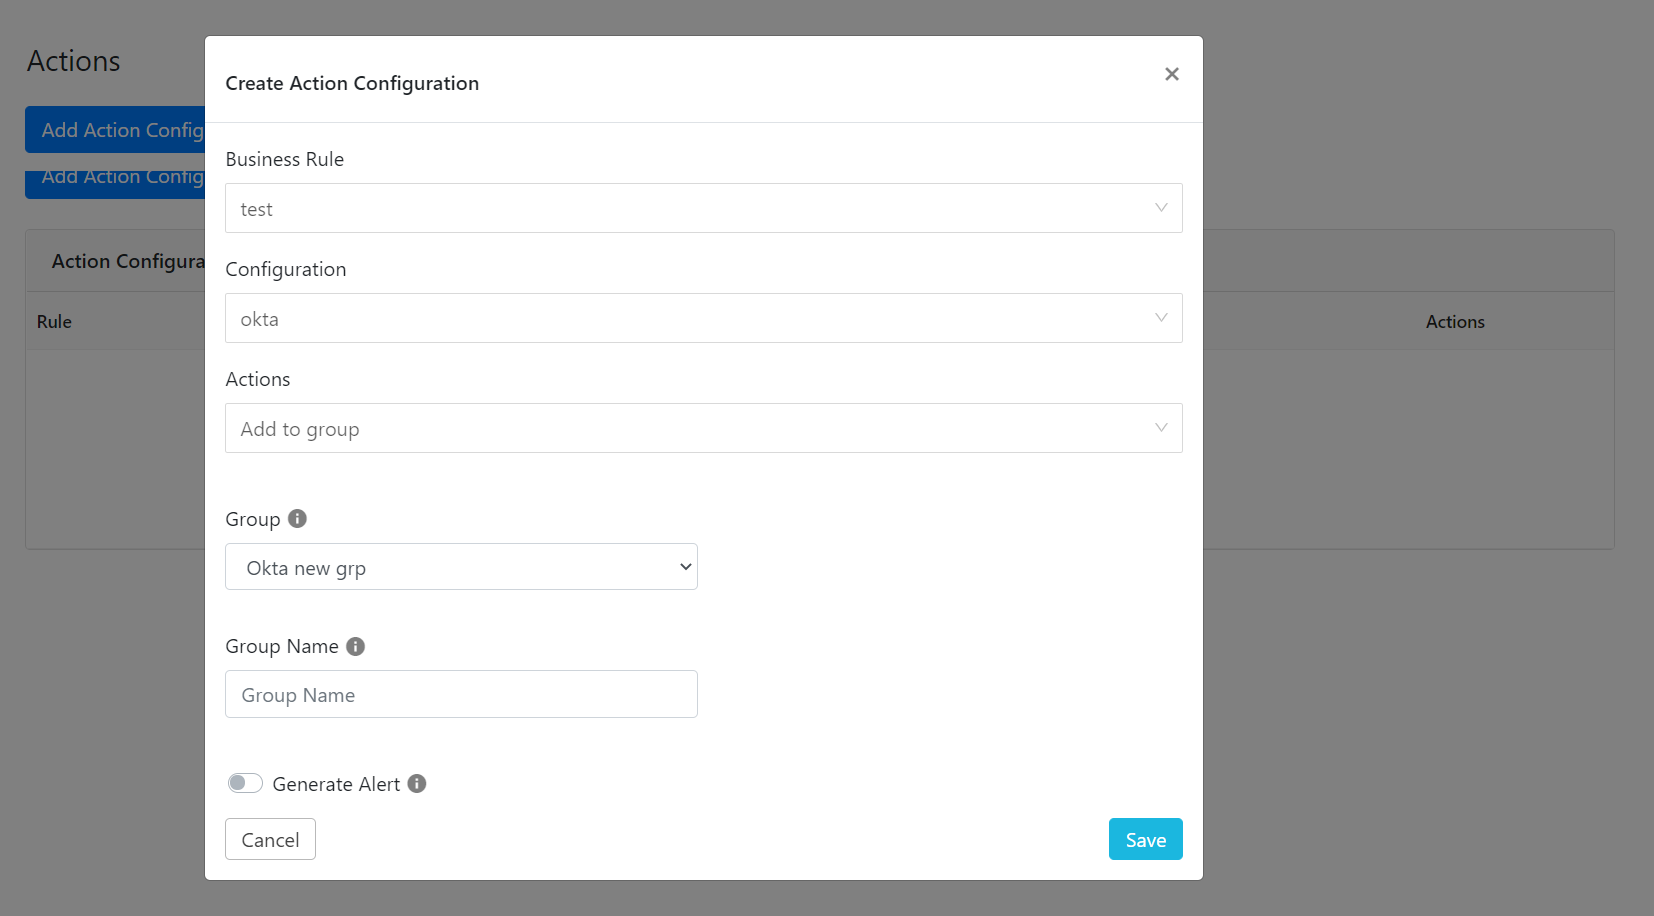
Click Save.
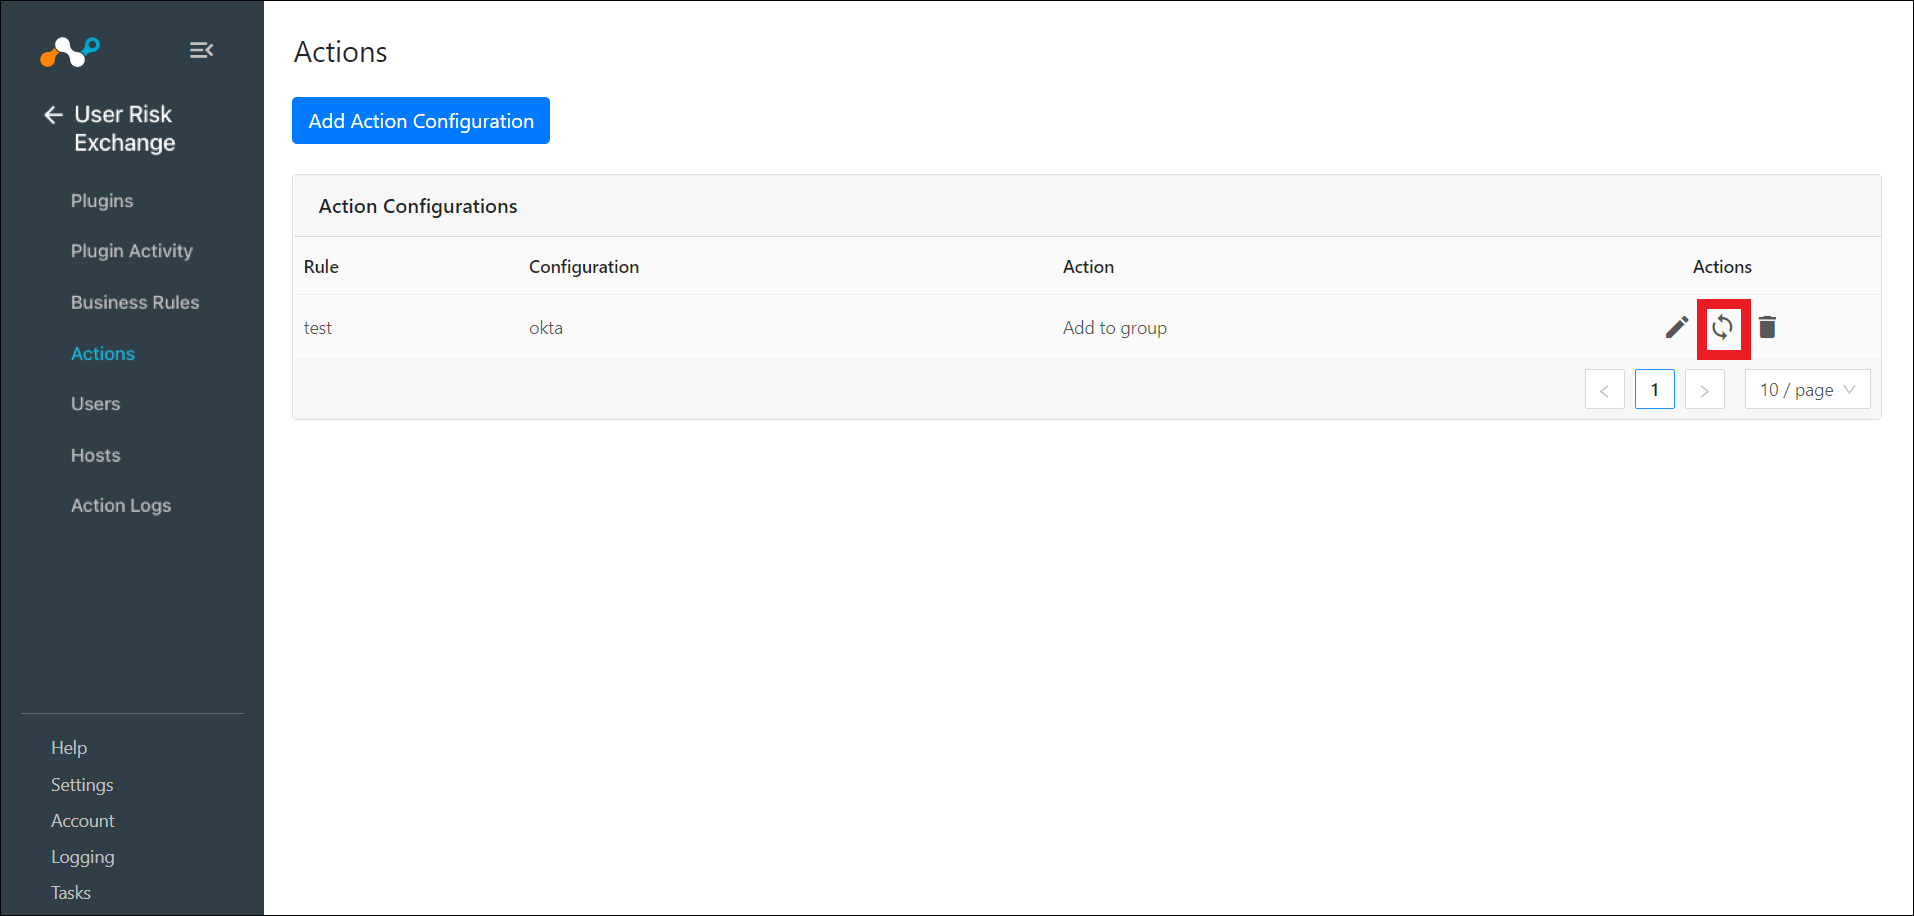
Click Sync to perform the action manually.
Enter the days, then click Fetch to see the number of users will be affected by this action.
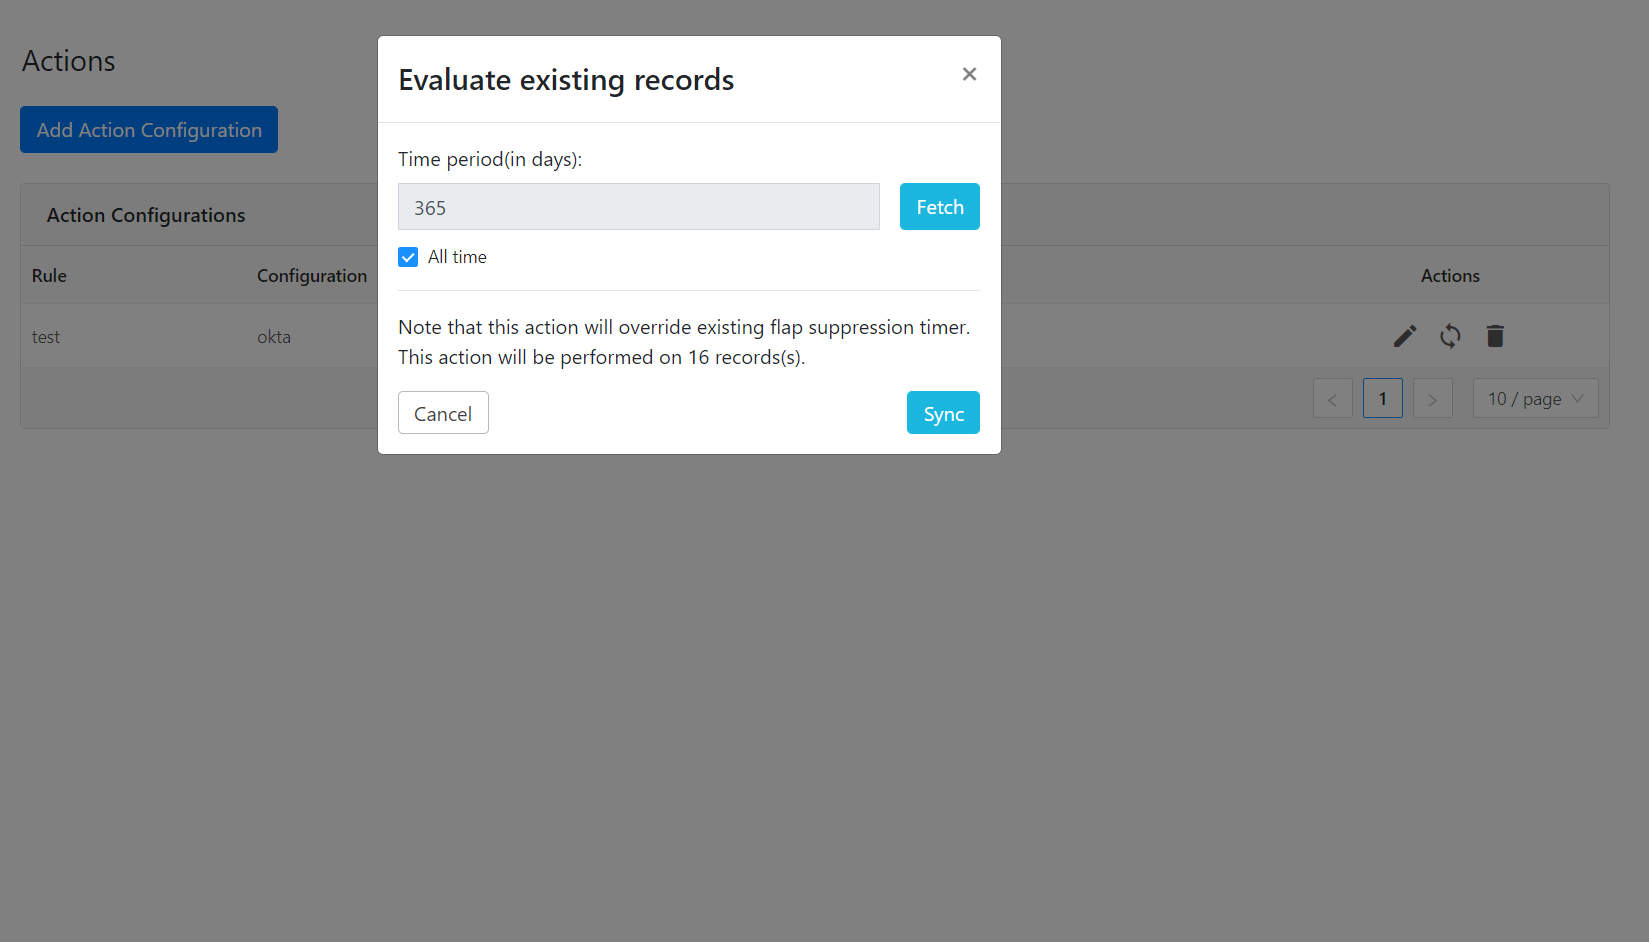
Click Sync for performing actions.
To validate the plugin workflow, you can check in Netskope Cloud Exchange and in the Okta Platform.
To validate in Cloud Exchange:
In Cloud Exchange, go to Action Logs.
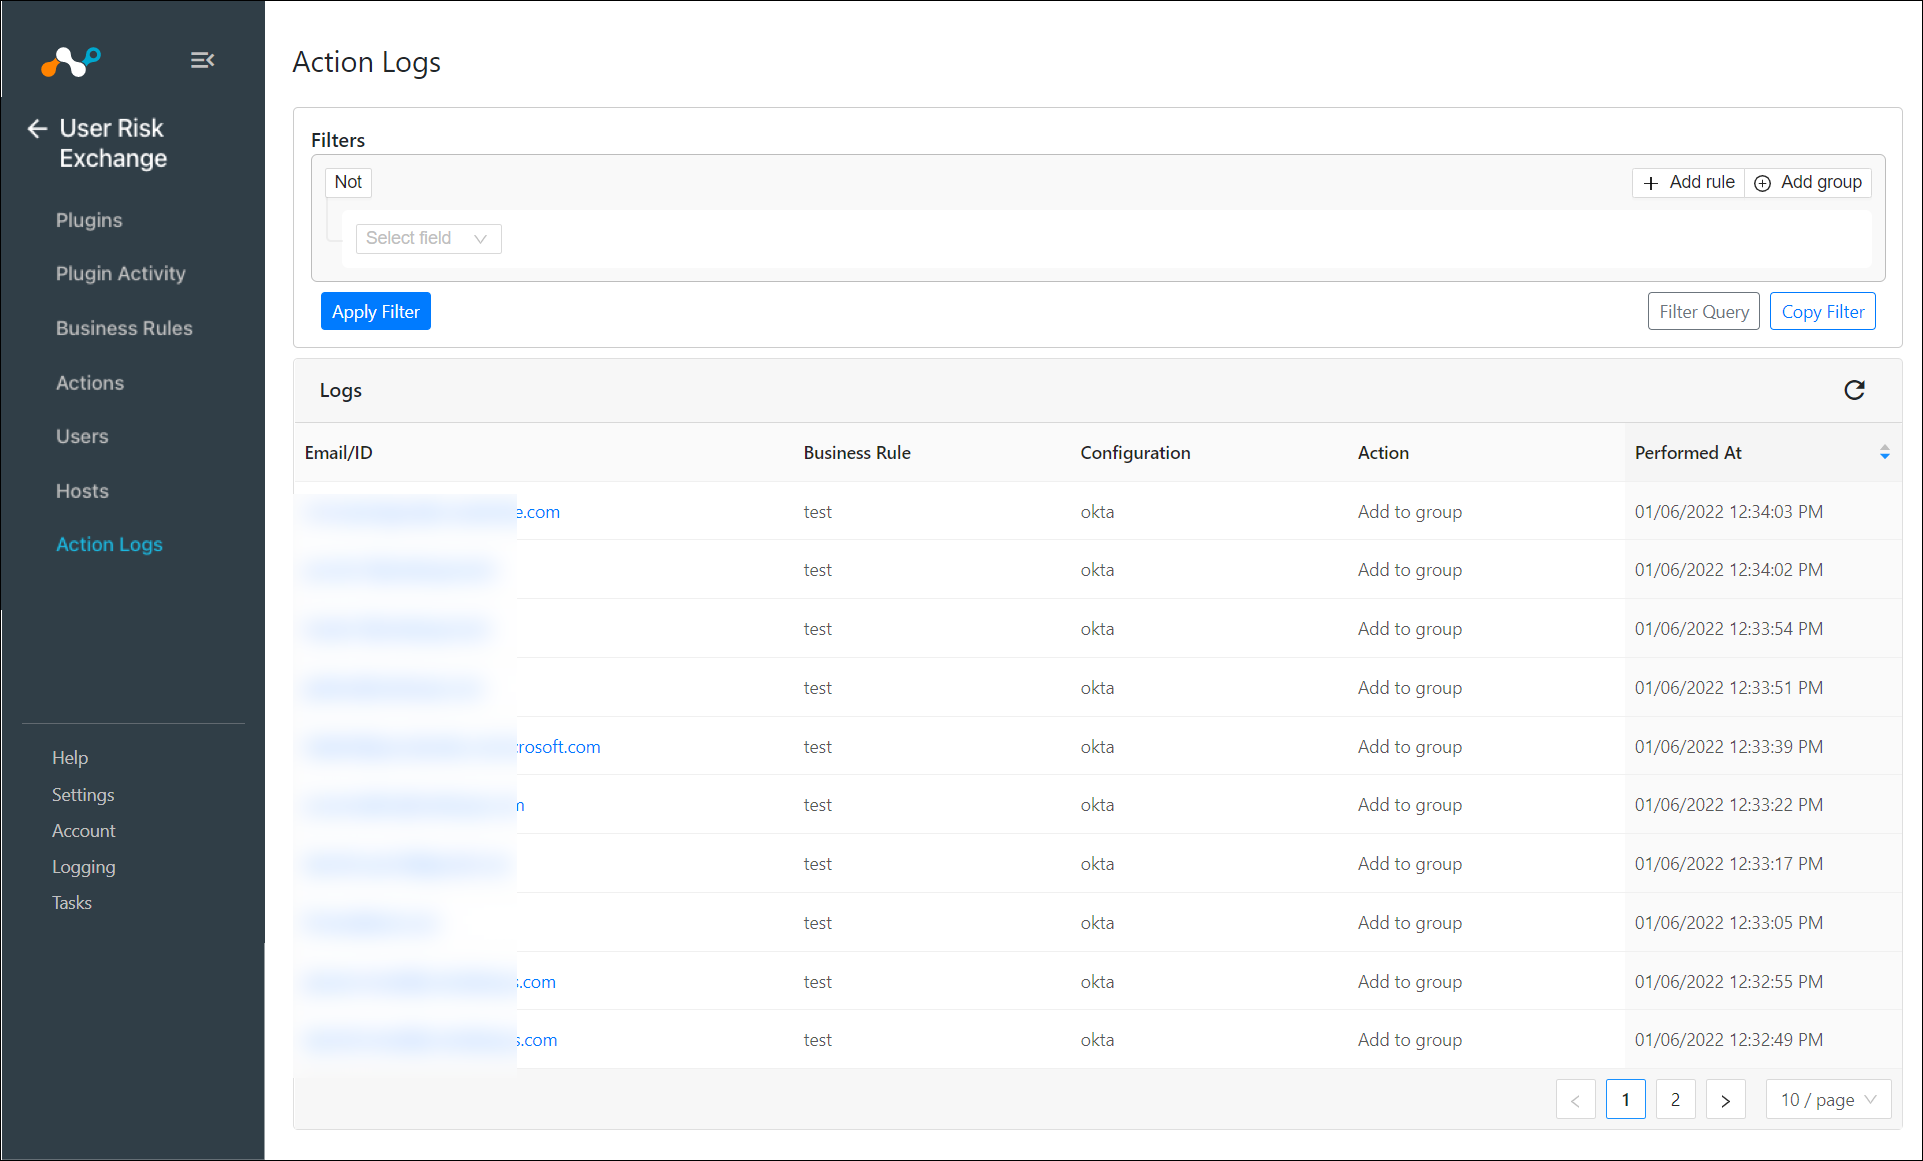 |
To validate in Okta:
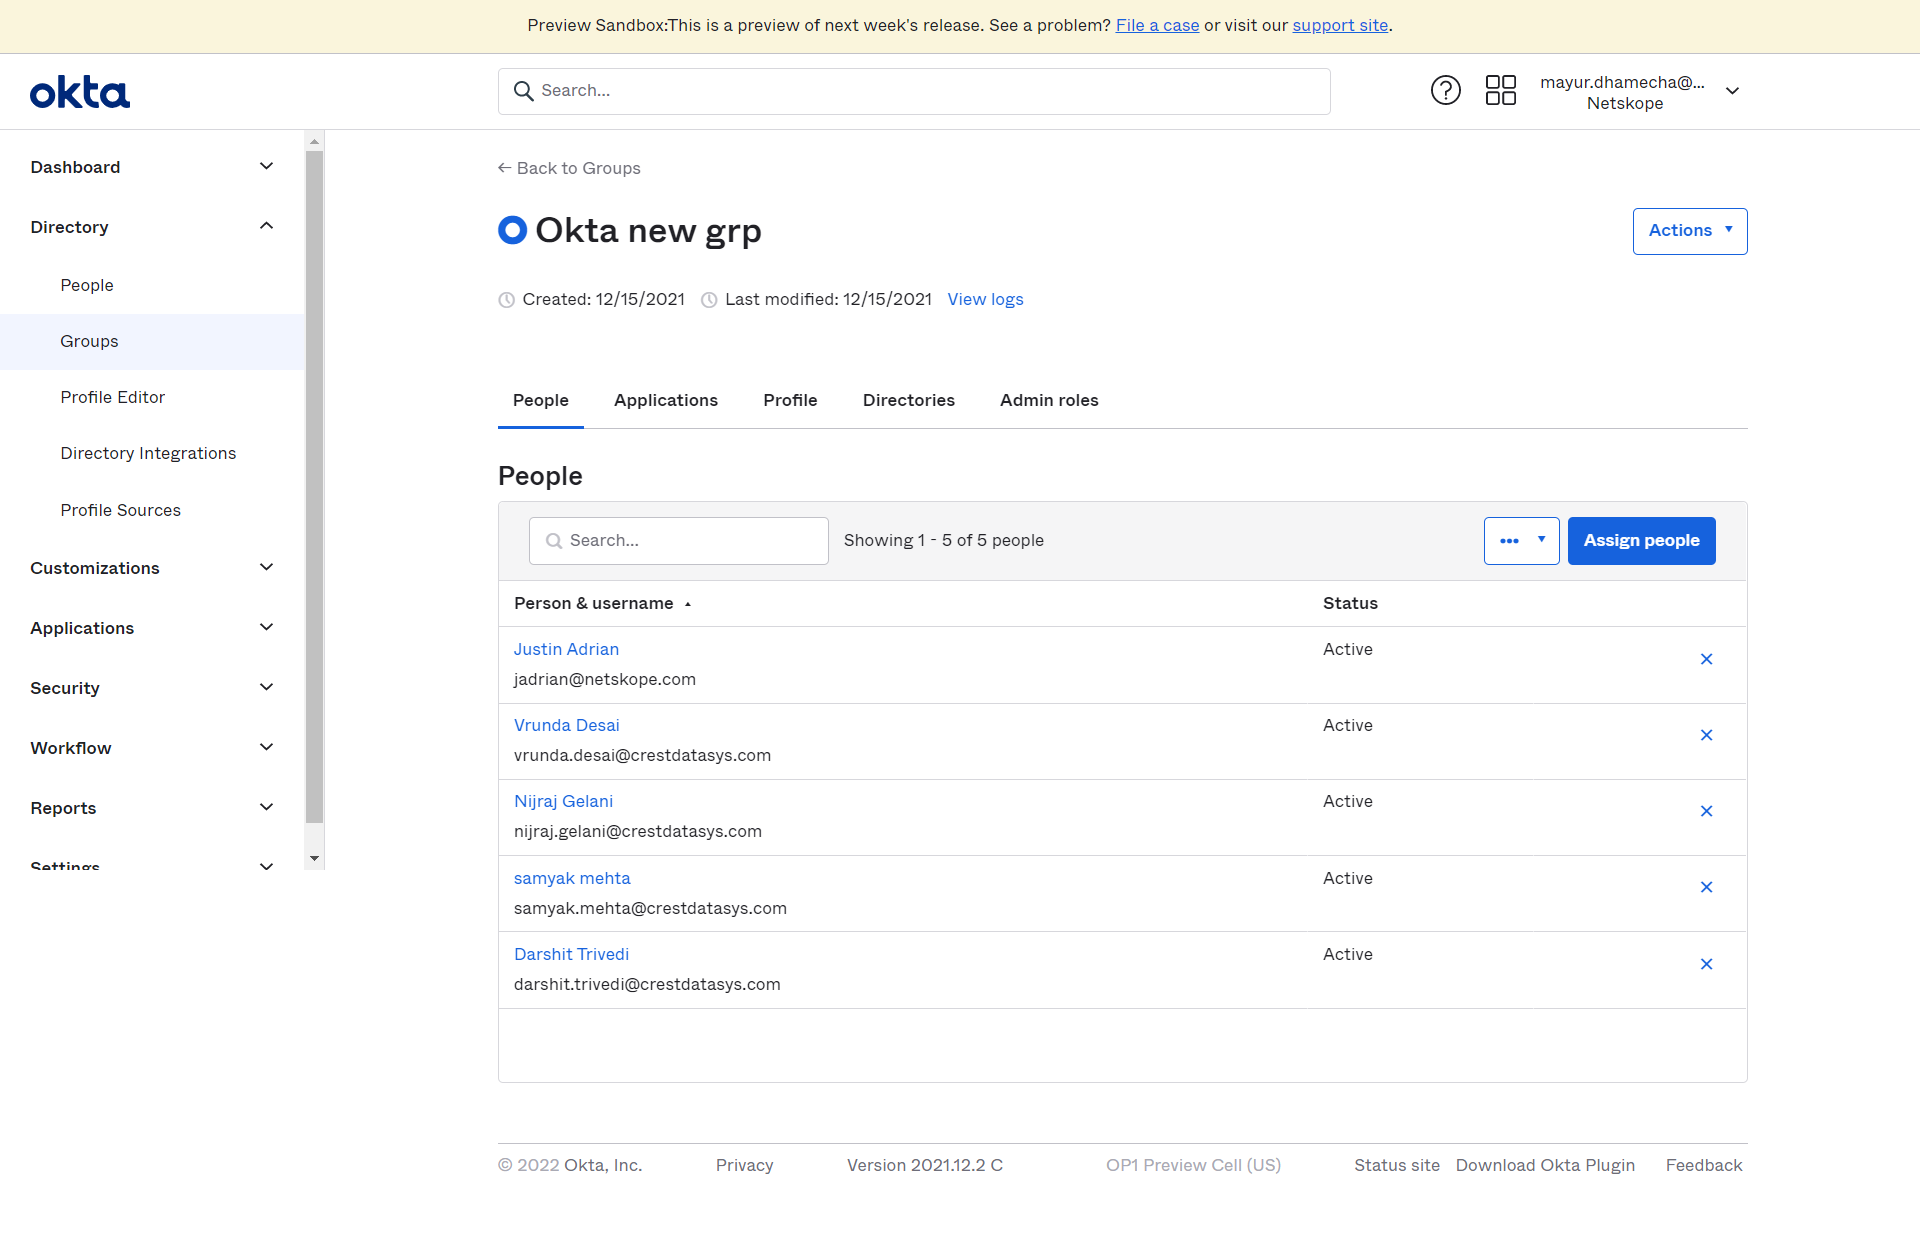
Open the Okta Admin section.
Click Groups. Find the group you selected in the Business Rules for Okta.
