DNS Profile
Note
This feature is available with IPSec, GRE, or Netskope Client traffic steering methods.
DNS profiles allow you to control, inspect, and log all or blocked DNS traffic. When configuring a DNS profile, you can configure the actions taken for specific domain categories and choose to allow or block specific domains. Additionally, you can choose to block all DNS tunnels and select DNS tunnels to exempt.
To create a DNS profile:
Navigate to Policies > DNS.
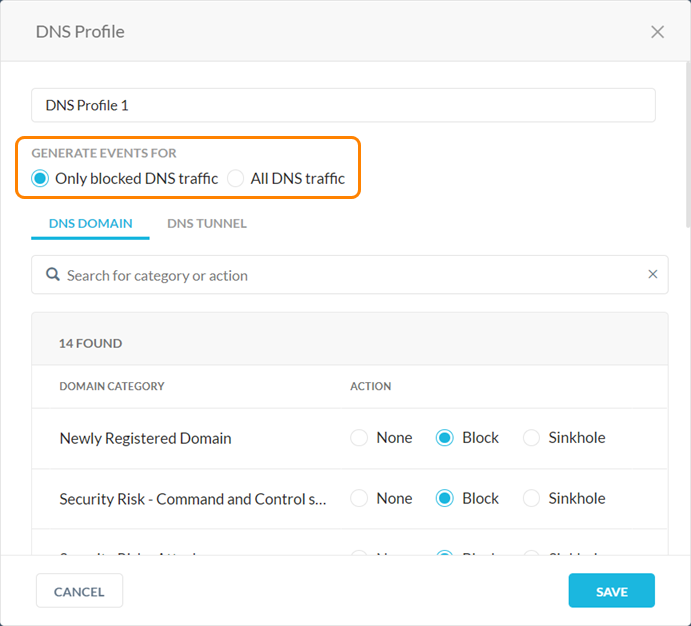
Click New DNS Profile. The DNS Profile page appears.
Enter a name for the DNS profile.
Select if you want to generate events for Only blocked DNS traffic or All DNS traffic.

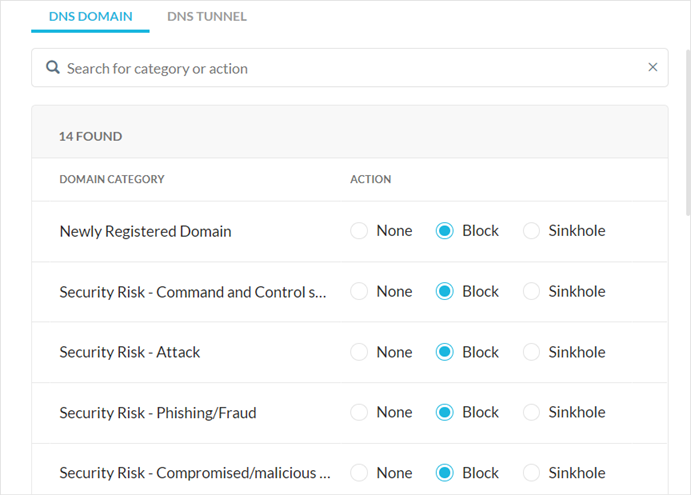
Under the DNS Domain tab, you can do the following:
This section allows you to configure actions for the available domain categories. You can also search for a category or action.
Available actions include None, Block, or Sinkhole. If the detected DNS traffic doesn’t match any of the domain categories, then Netskope will take no action.

If you chose Sinkhole as the action for a domain category, enter a Sinkhole IP Address.

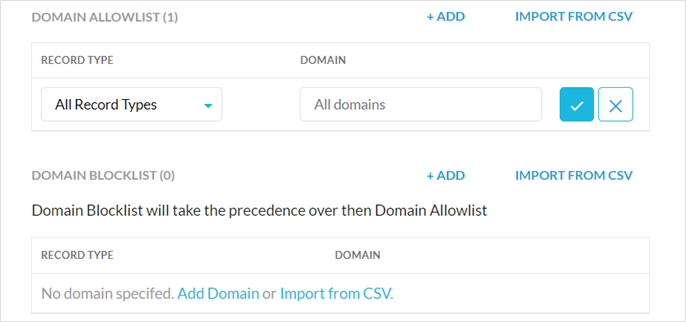
For the Domain Allowlist and Domain Blocklist fields, you can specify the domains you want to allow or block all DNS requests from.
For the domain, you must specify the Record Type or choose All Record Types. You can click + Add to add more domains or click Import From CSV to upload a CSV file (the maximum upload is 8 MB).
Note
The Domain Blocklist takes precedence over the Domain Allowlist.

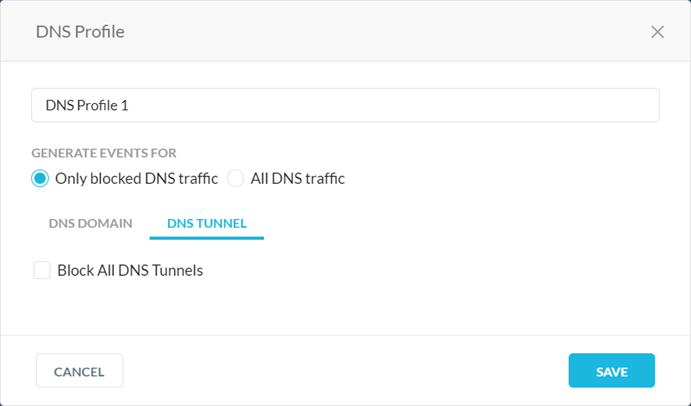
Under the DNS Tunnel tab, you can enable Block All DNS Tunnels.

If you enable Block All DNS Tunnels, you can also configure the DNS Tunnel Allowlist. Select or search for DNS tunnels from the dropdown list.

Click Save to save the DNS profile.
After you create a DNS profile, you must add it to a Real-time Protection policy. To learn more: Real-time Protection Policies.