Privacy Notice
Administrators have the ability to enable, customize, and disable a privacy notice to the Netskope UI.
If the tenant contains legal and/or restricted information, the privacy notice protects the organization against improper use of the information system. Enabling privacy notice strengthens the security posture for the organization.
Enabling and Disabling Privacy Notice
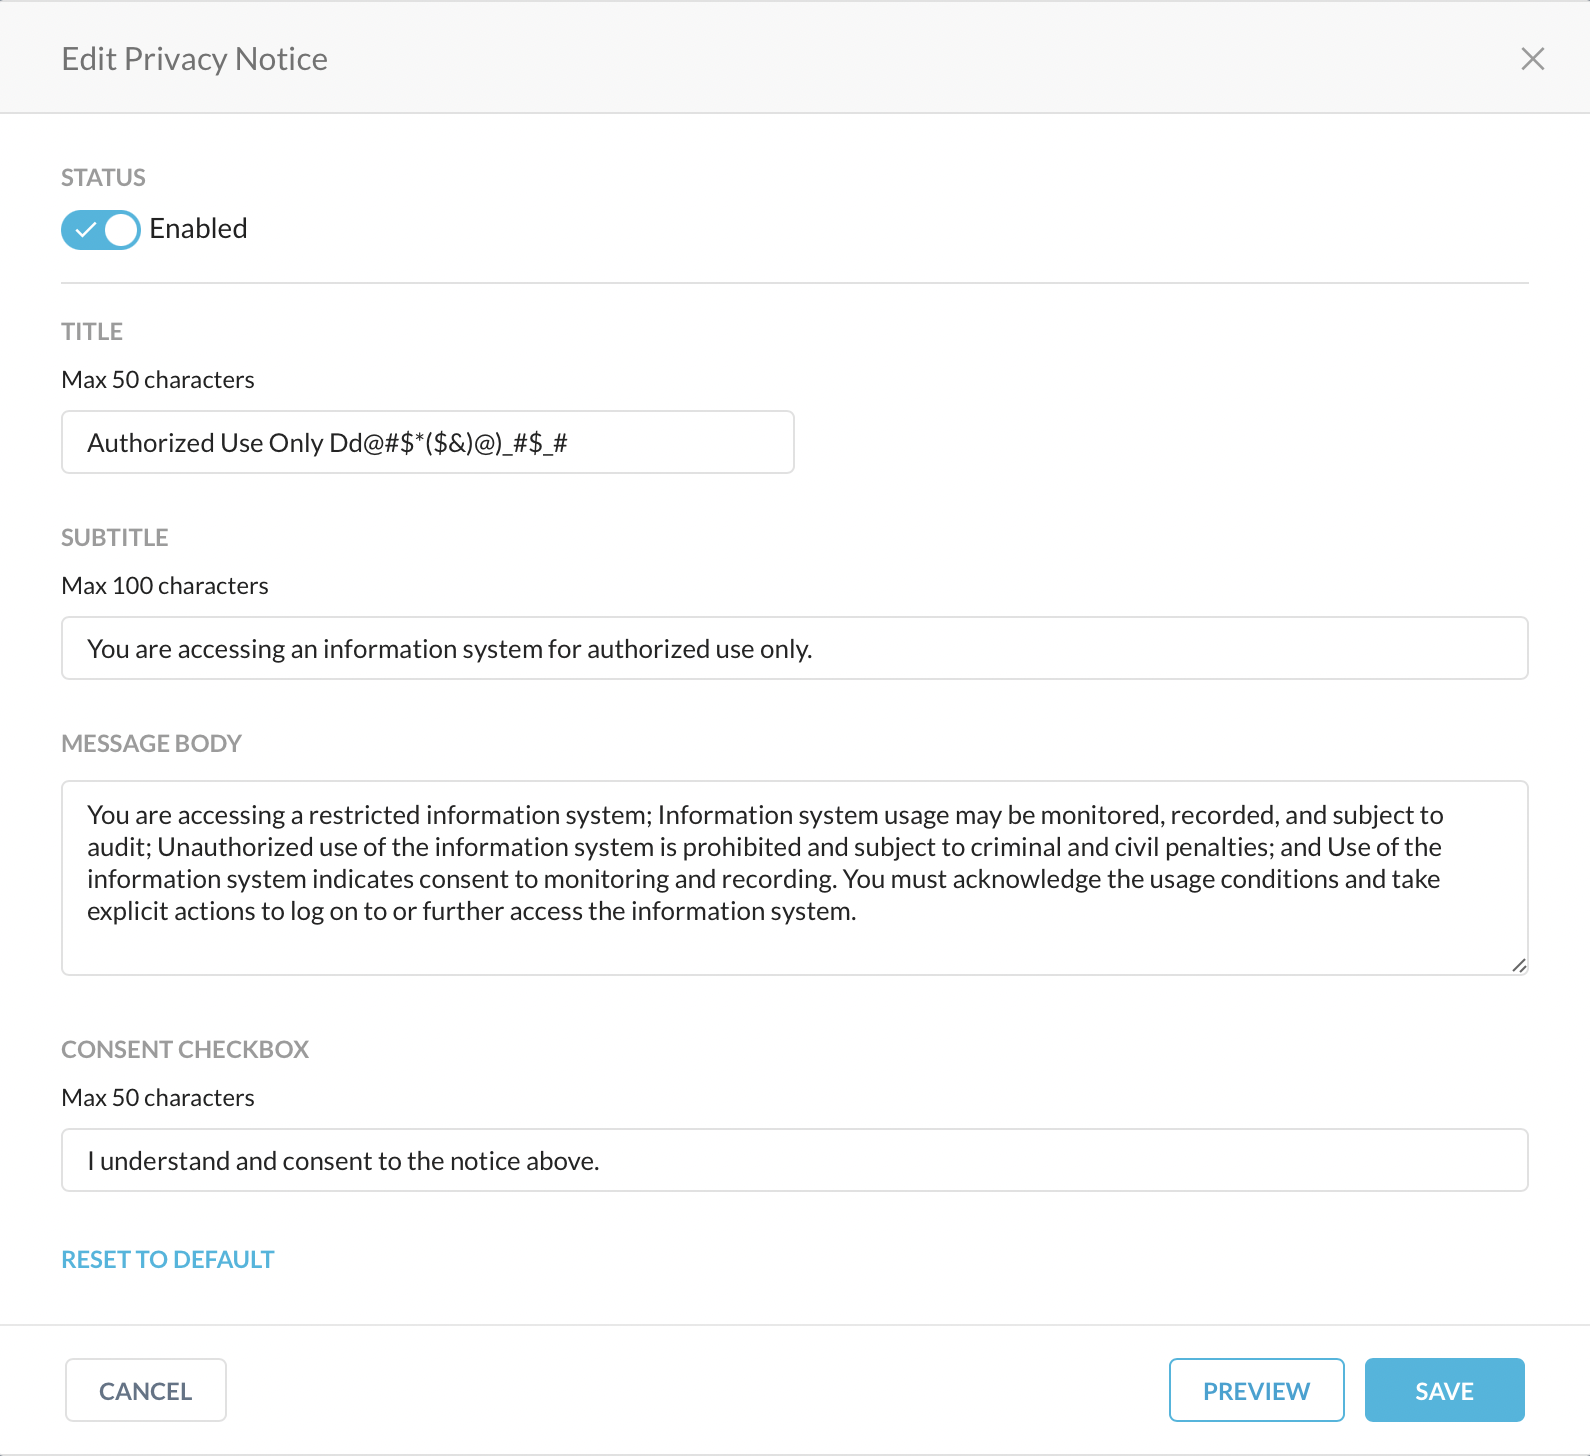
Enabling the privacy notice displays the fields that are customizable and will appear on the organization’s user interface.
To enable the privacy notice:
Log in to the Netskope UI.
Go to Settings > Administration > Privacy Notice.
Click Edit.

Under Status, click the gray toggle button to Enable or Disable the privacy notice.

Customize Privacy Notice
After enabling the privacy notice, the administrator can customize the Title, Subtitle, Message Body, and Consent Checkbox to better fit the tenant.
To customize a privacy notice:
Log in to your Netskope tenant.
Go to Settings > Administration > Privacy Notice.
Click Edit.

Under Status, click the gray toggle button to Enable the privacy notice.

Once enabled, the field will be accessible to edit.

Tip
To restore to the default settings, click the Reset to Default link below the Consent Checkbox section.