Google Cloud SCC Plugin for Log Shipper
This document explains how to configure your Google Cloud SCC integration with the Log Shipper module of the Netskope Cloud Exchange platform. This integration allows ingestion of Netskope alerts and events into your Goggle Cloud SCC tenant.
To complete this configuration, you need:
A Netskope Tenant (or multiple, for example, production and development/test instances).
A Netskope Cloud Exchange tenant with the Log Shipper module already configured.
Google Cloud Platform credentials with specified roles on a particular project.
Note
Verify your Google Cloud SCC instance permissions are secure and not set up for open public access. Only allow access to your cloud storage instance from your Cloud Exchange Host and any other addresses that need access.
Obtain Google Cloud SCC credentials.
Configure a Log Shipper Mapping File.
Configure the Google Cloud SCC Plugin.
Configure the Log Shipper Business Rules for Google Cloud SCC.
Configure Log Shipper SIEM Mappings for Google Cloud SCC.
Validate the Google Cloud SCC plugin.
Click play to watch a video.
Log in to Google Cloud Platform at https://console.cloud.google.com/.
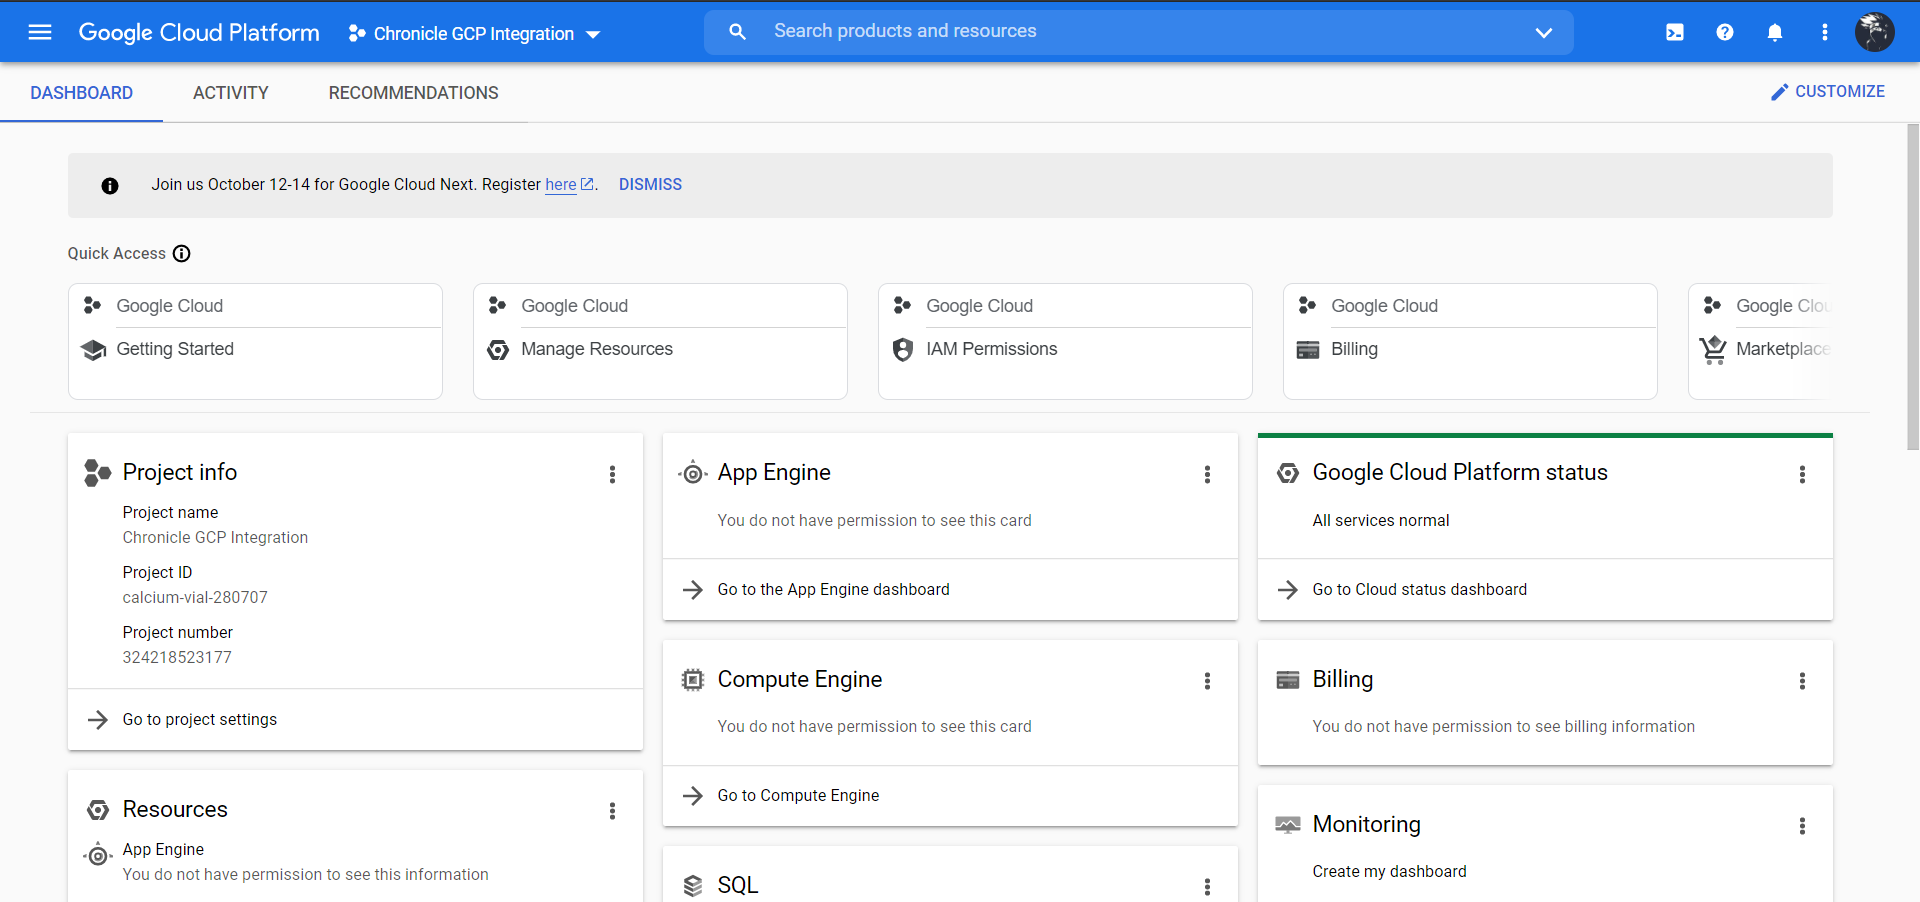
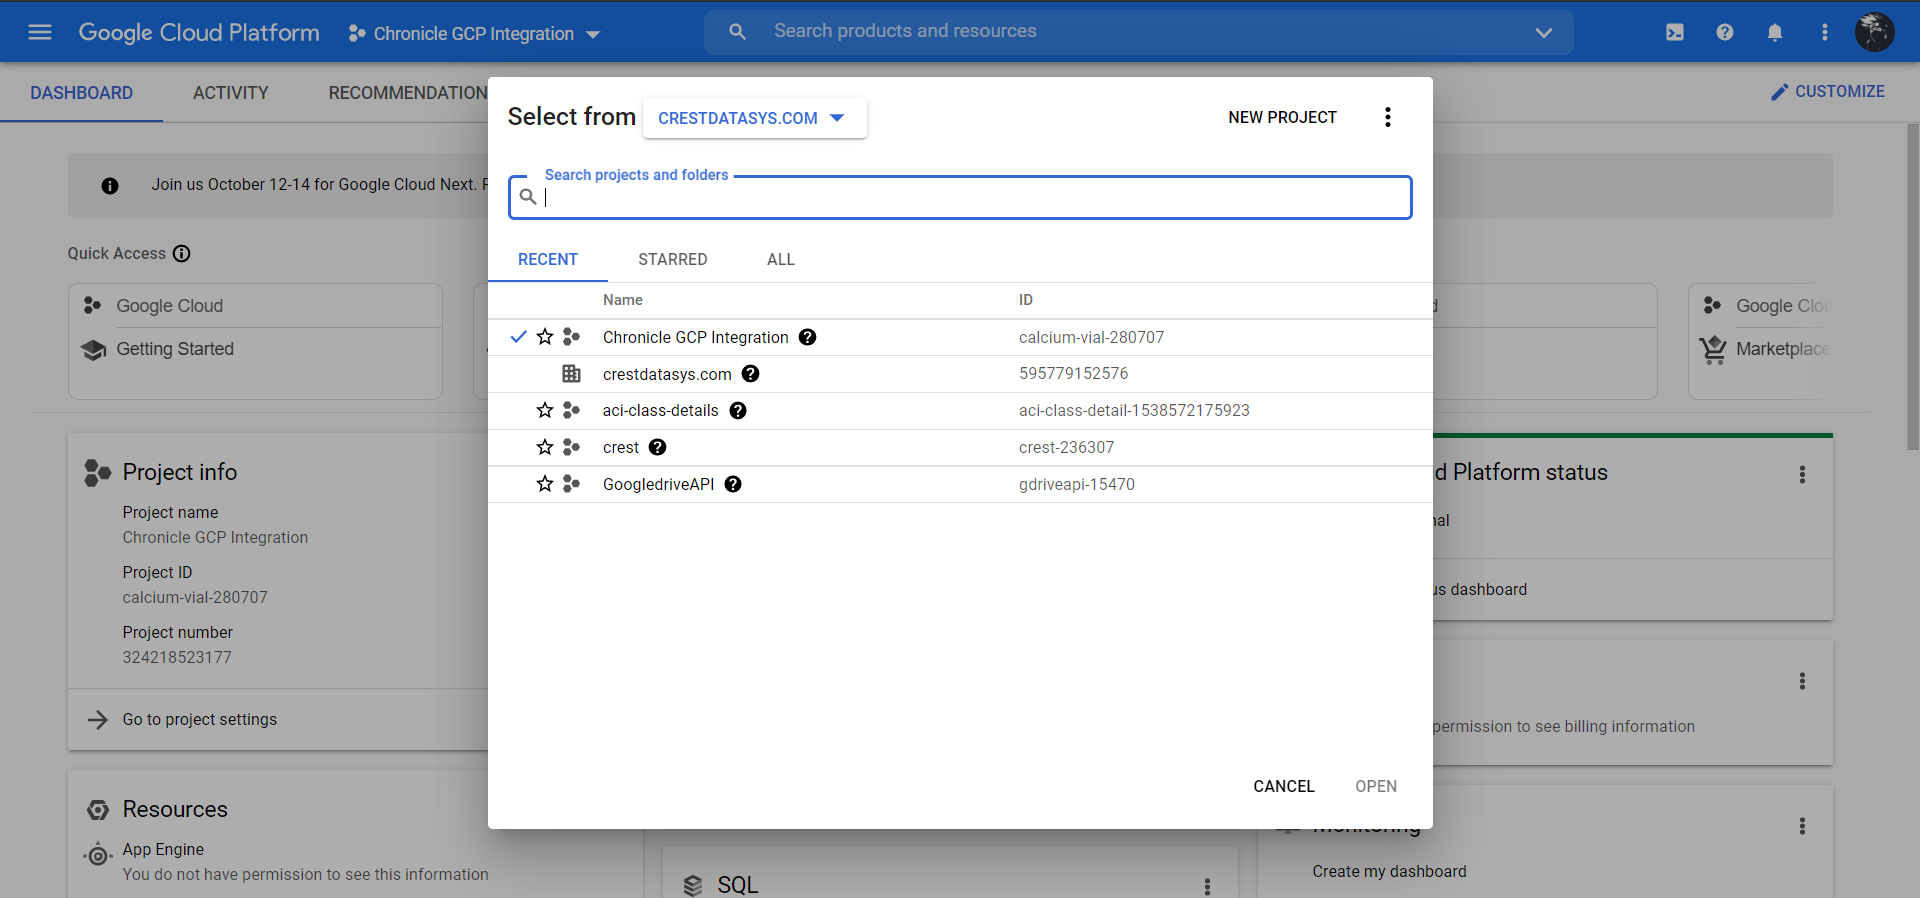
Select your Project and click Open.
Go to IAM & Admin Service Accounts.
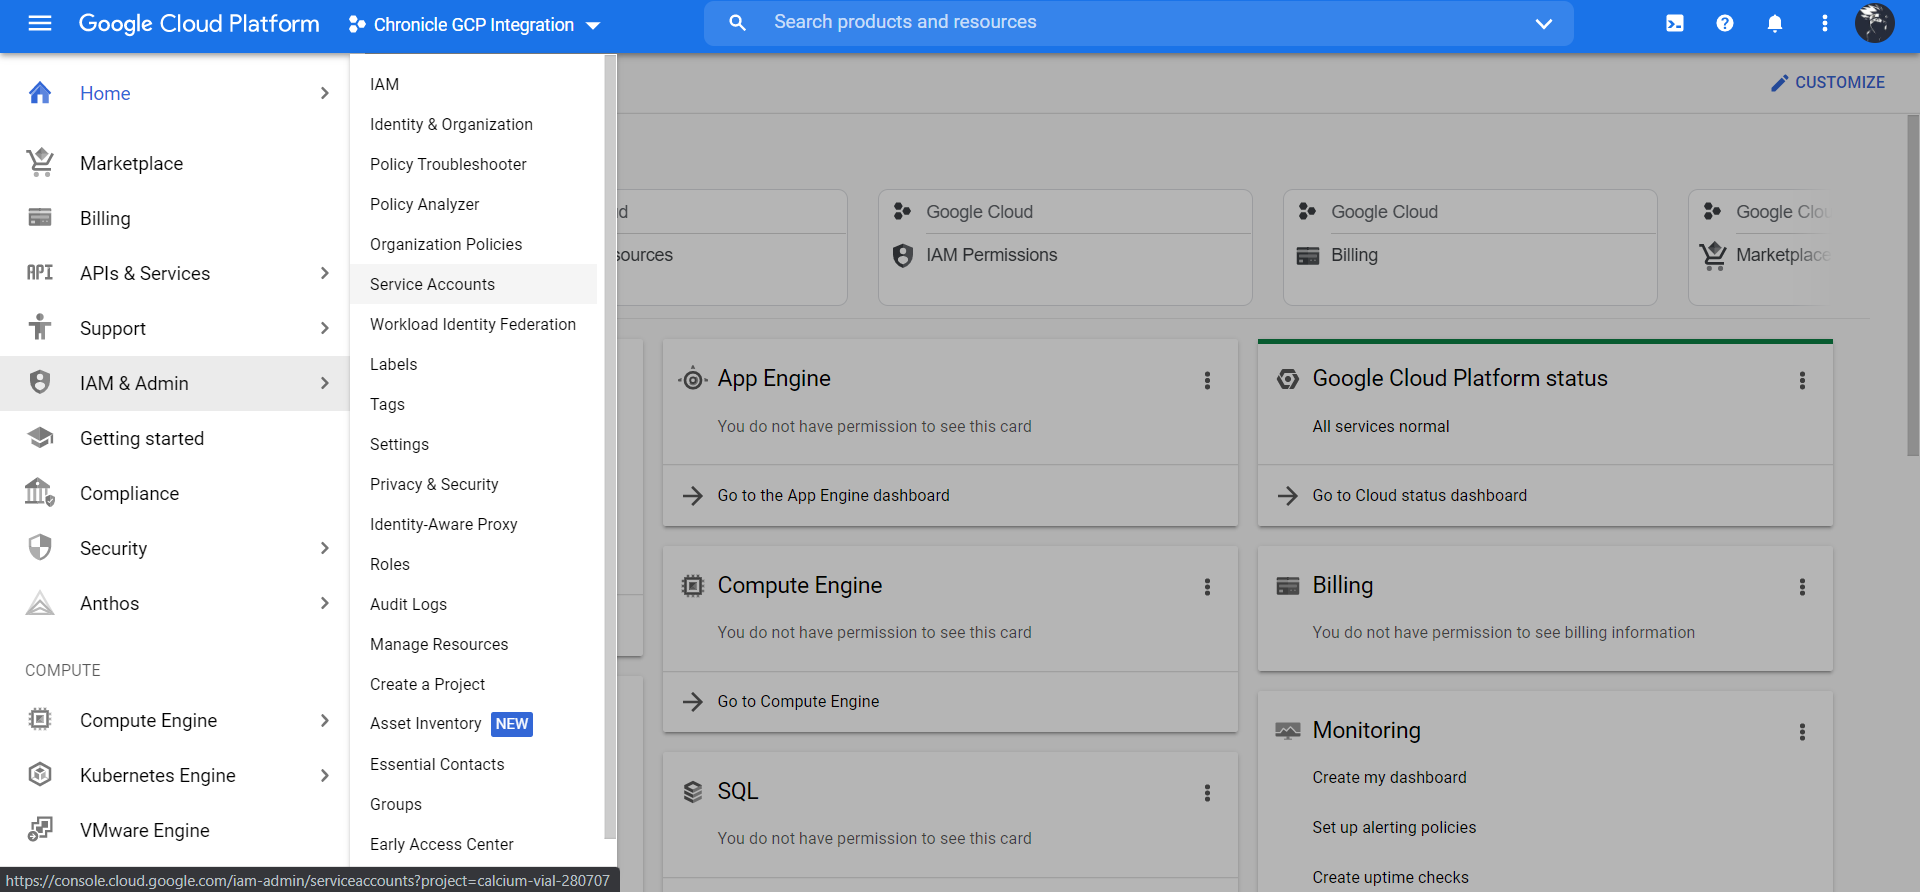
Click + Create Service Account.
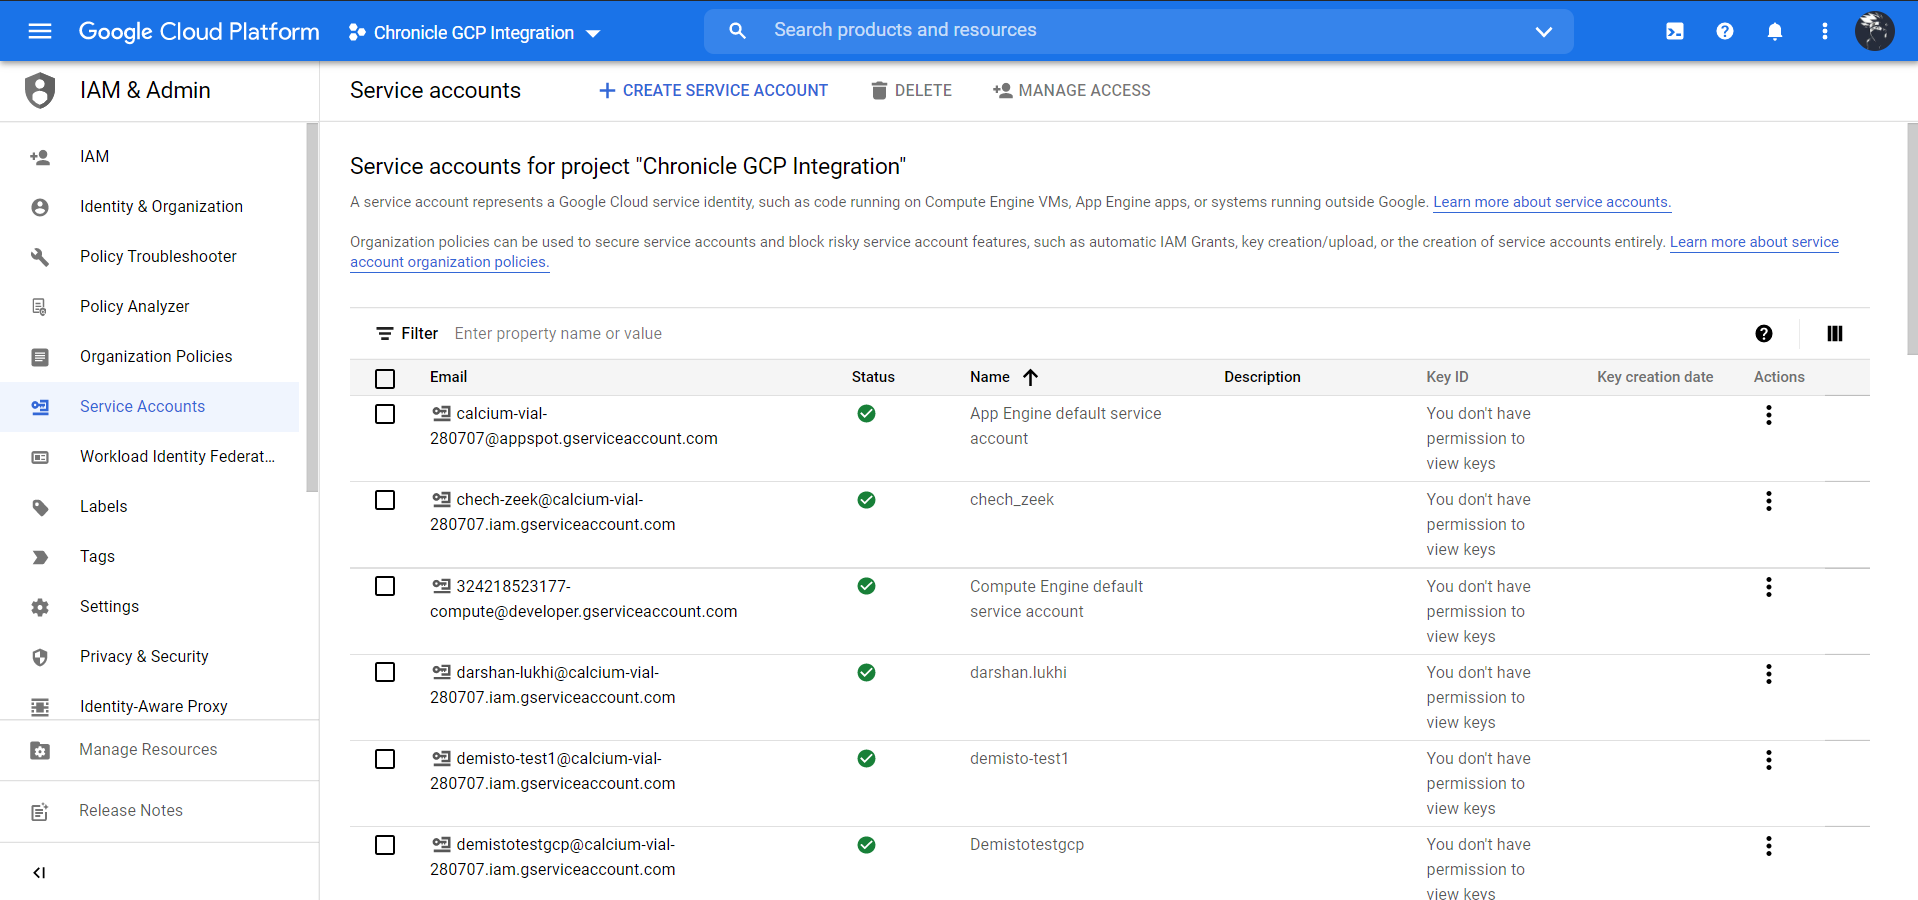
Enter a Service account name and Service account description, and then click Create and Continue.
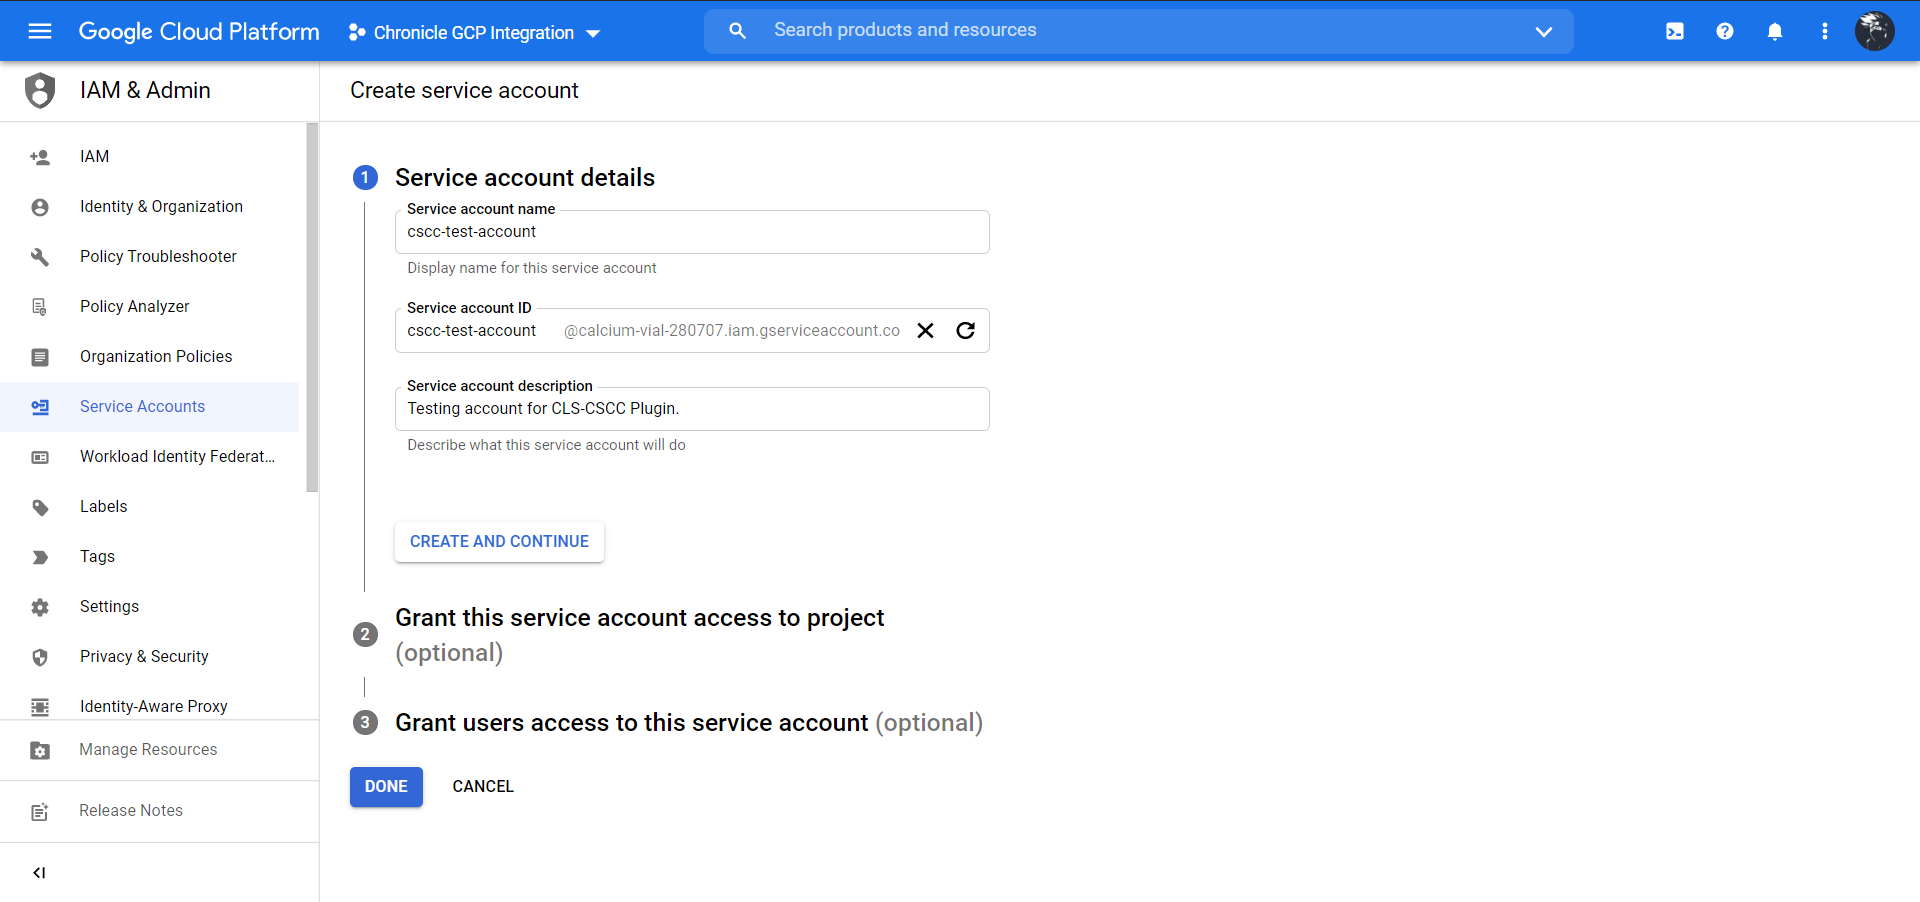
Click Continue.
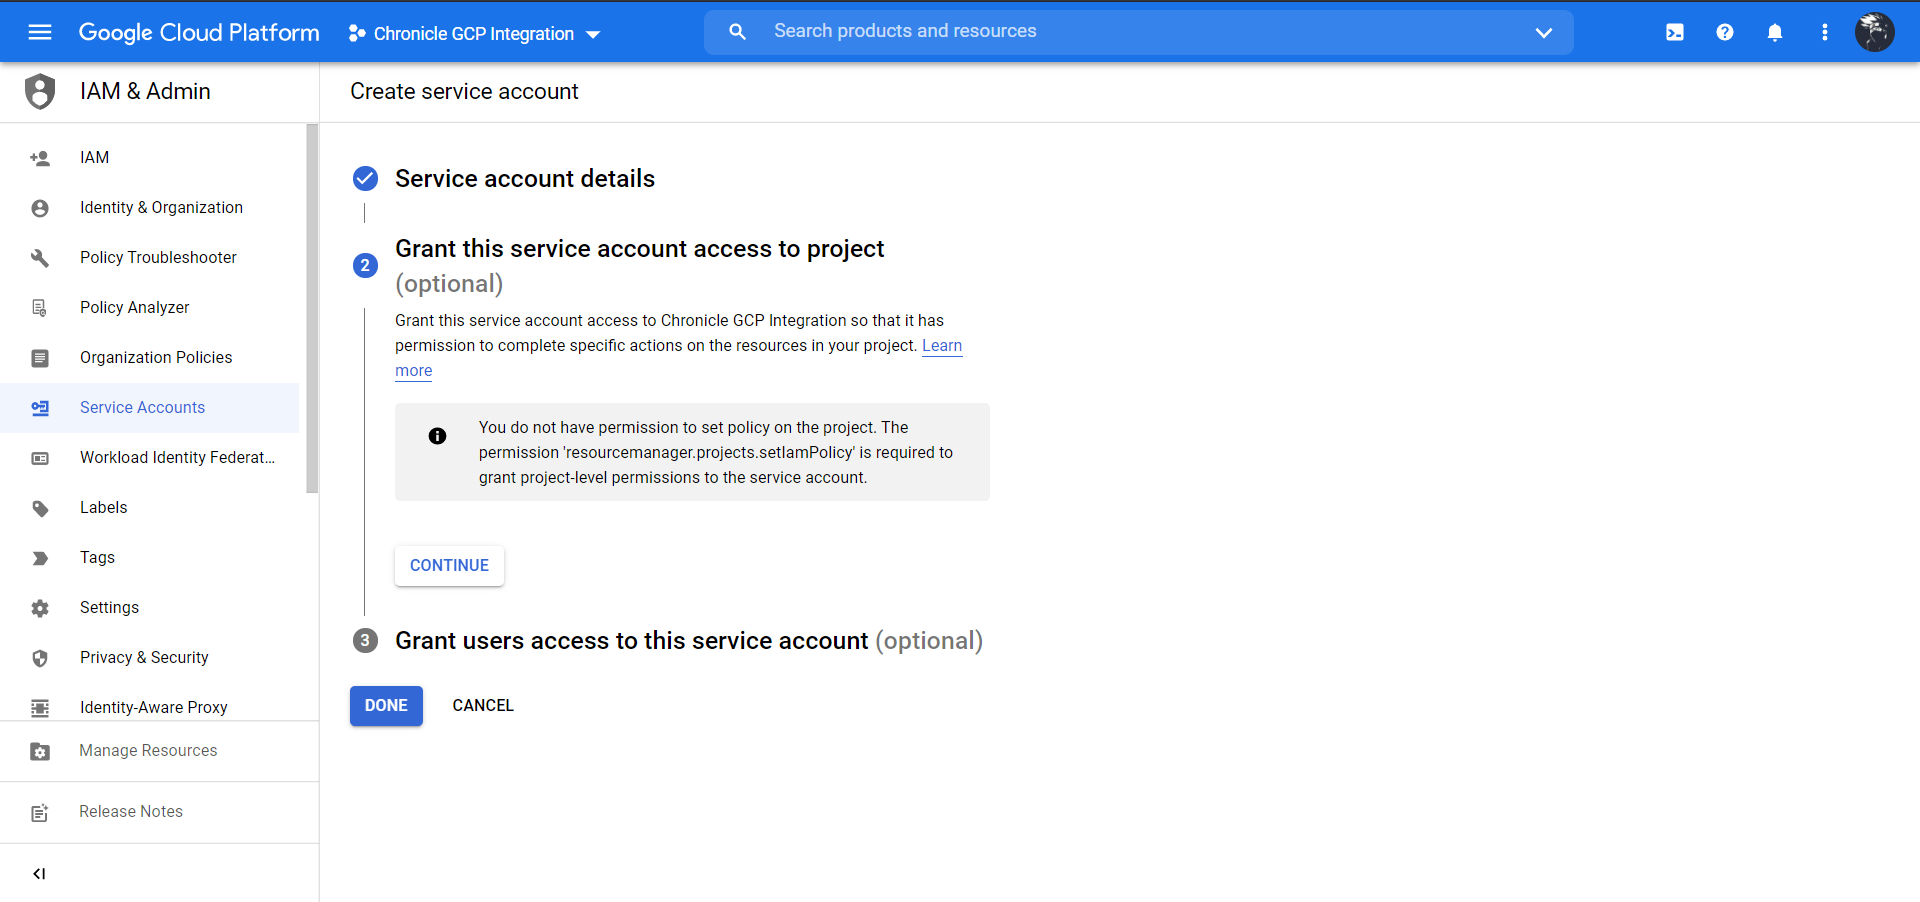
Click Done.
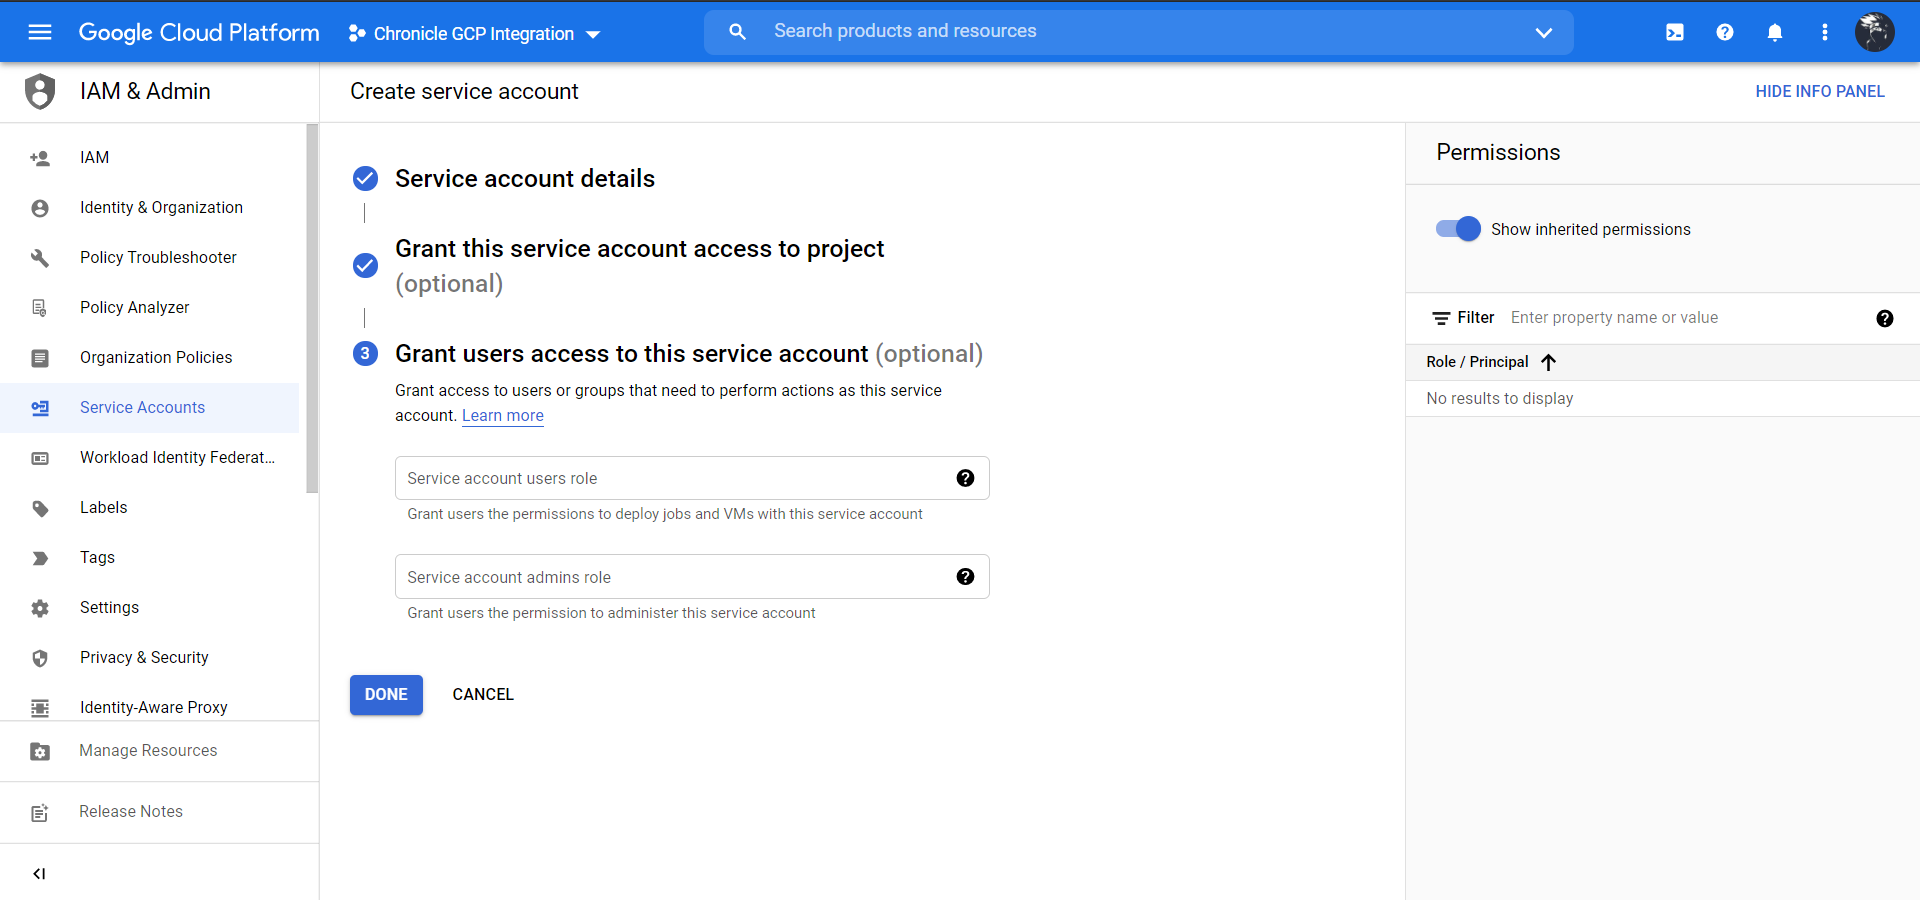
Click the 3 dots under Action.
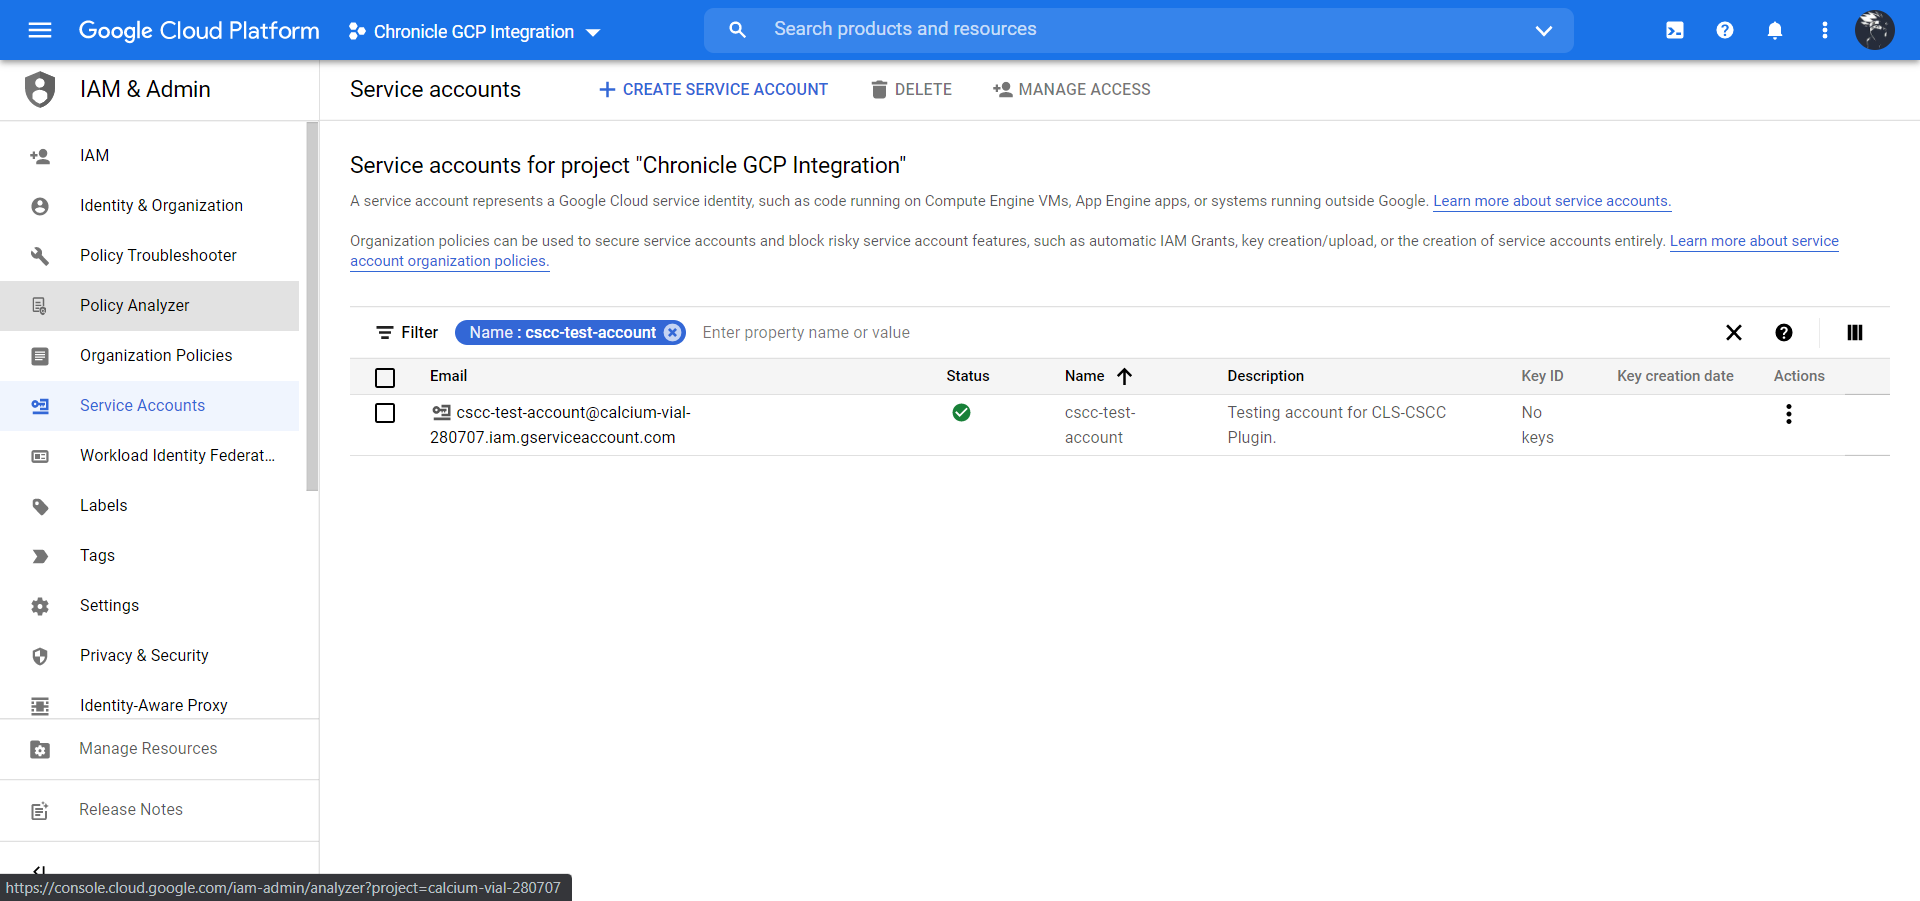
Click Manage Keys.
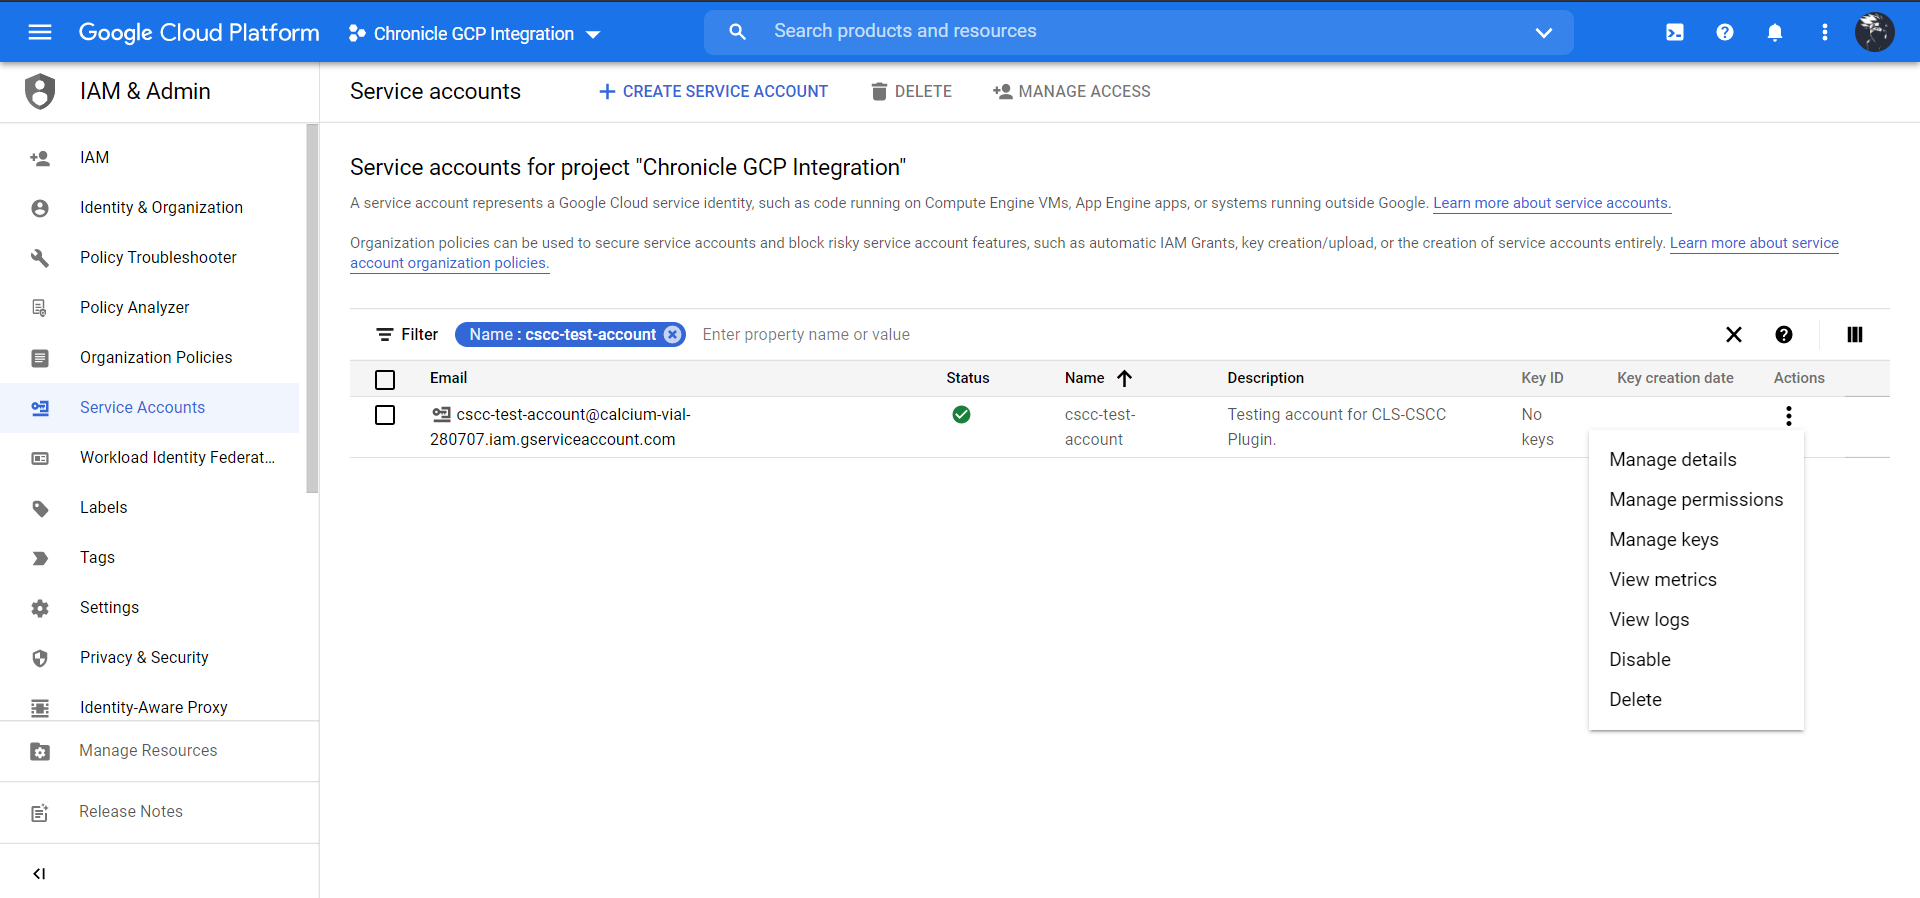
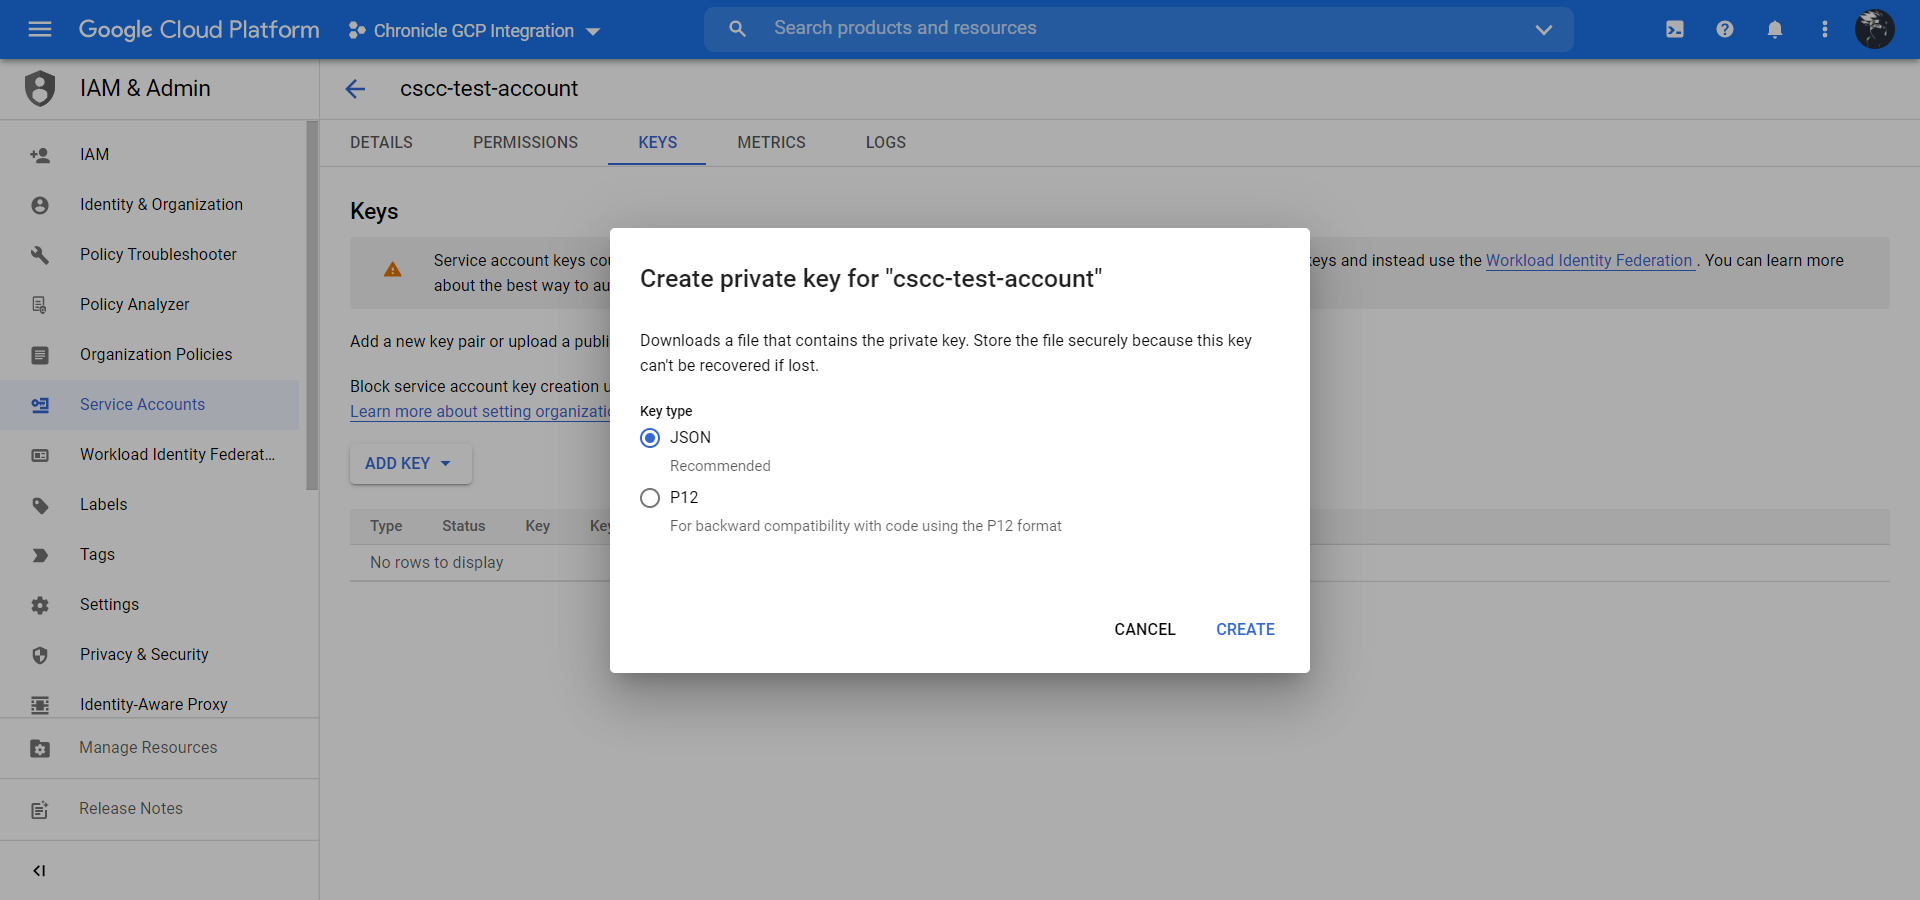
Click Add Key and then click Create new key.
Select JSON and click Create to download the key to your local device.
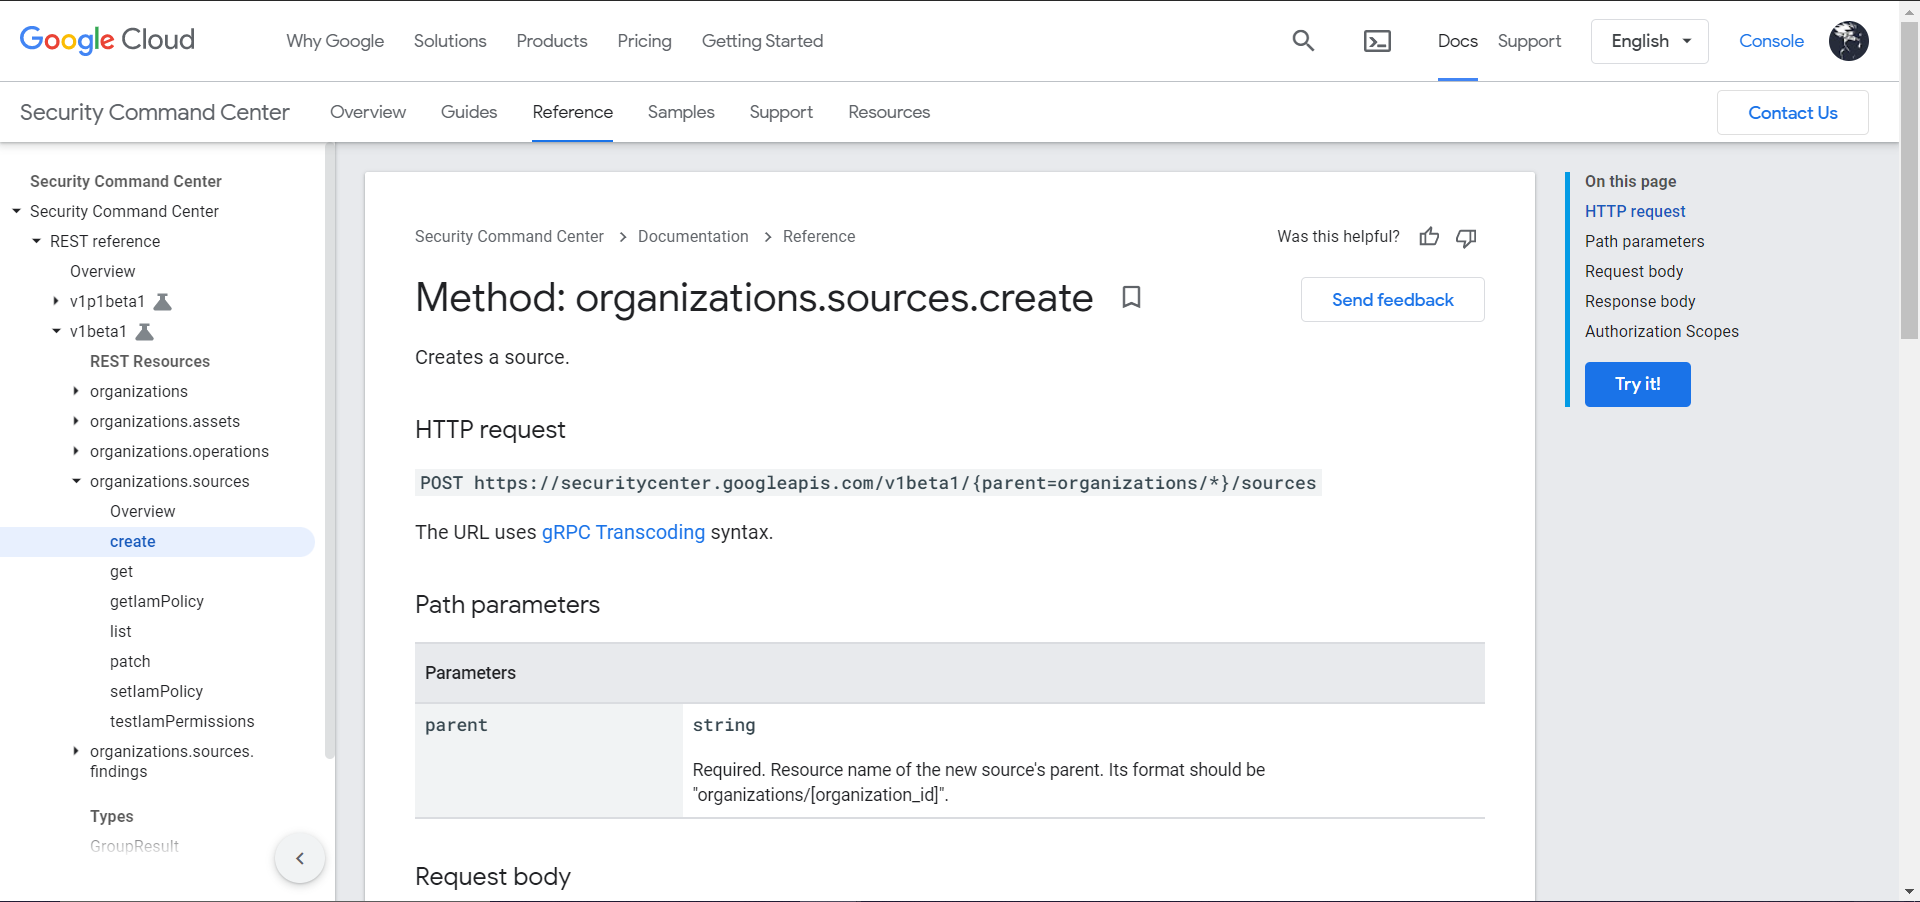
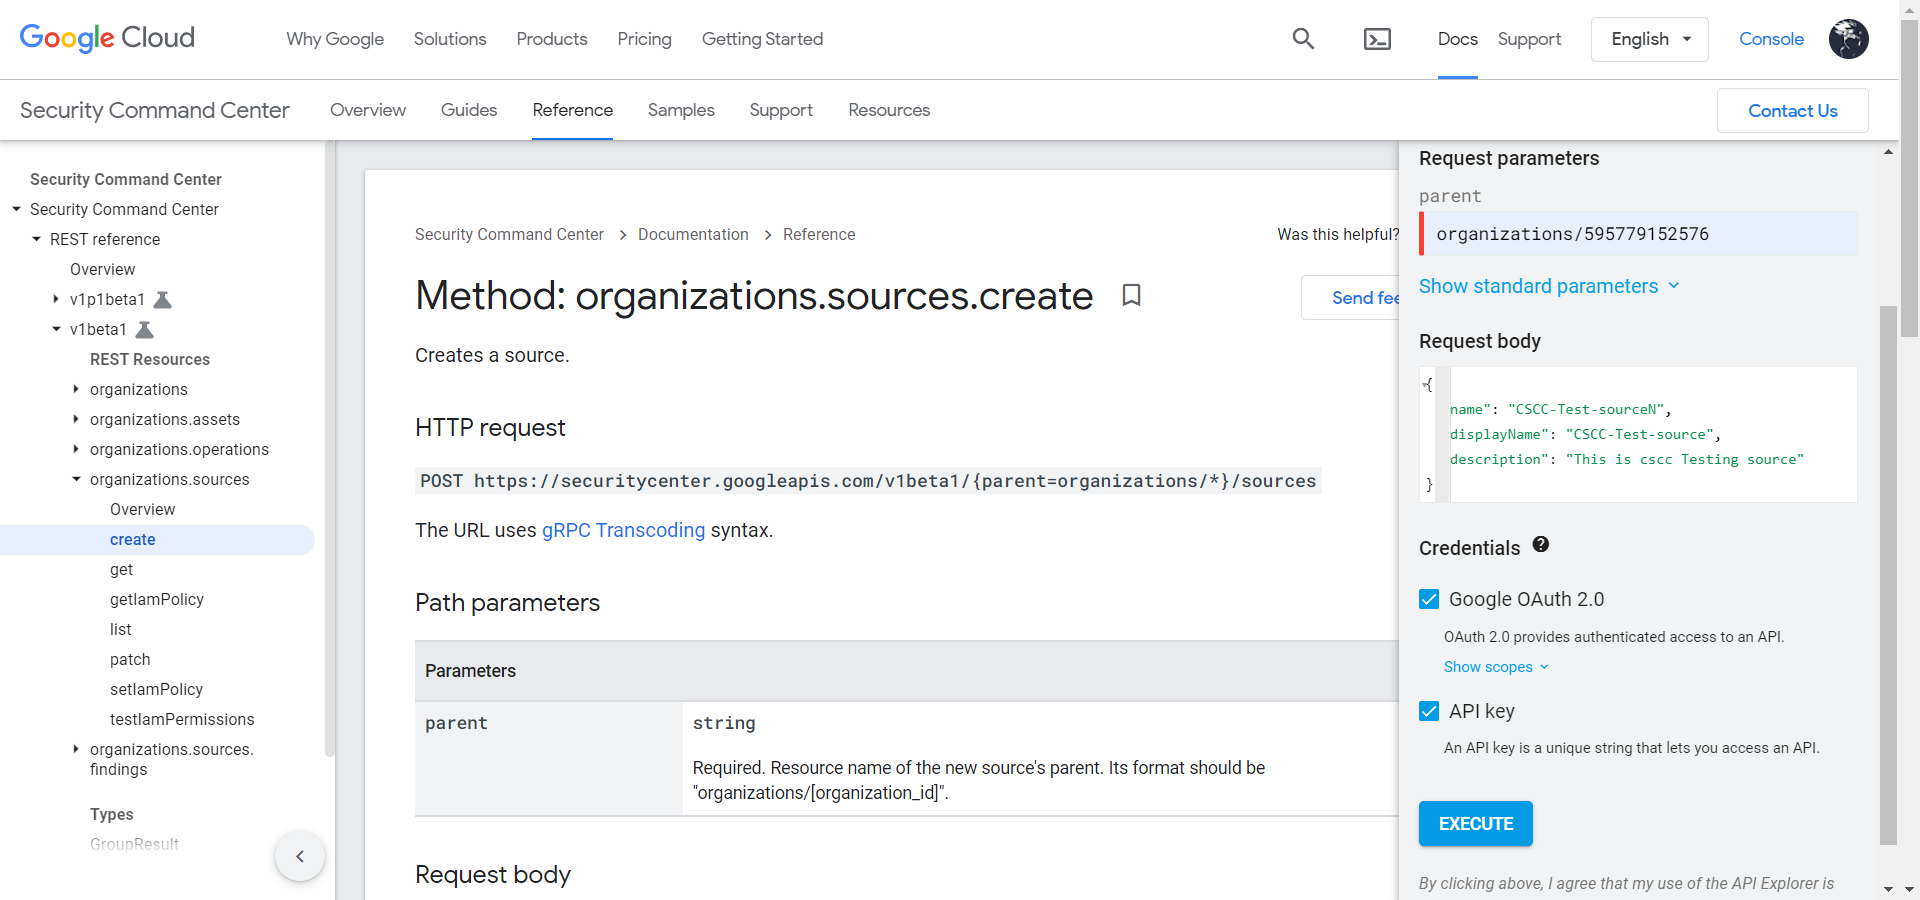
Click Try It. Enter Parent and Request Body data, check Google OAuth 2.0 and API Key, and then click Execute.
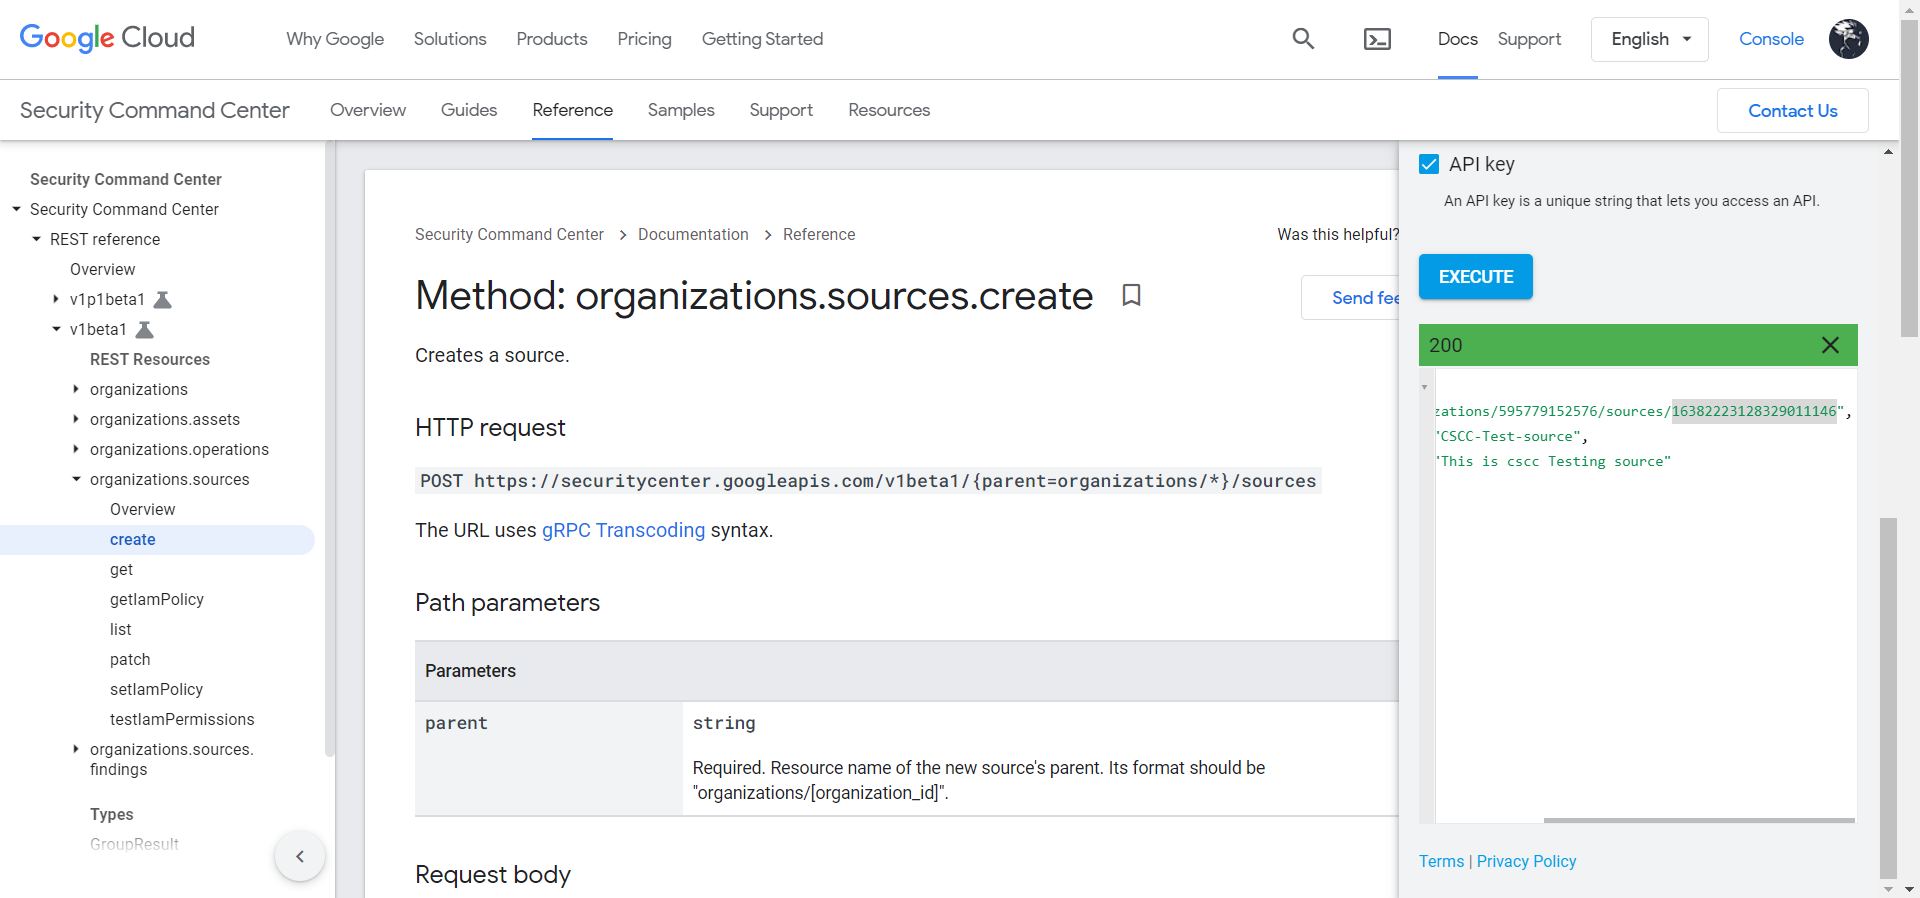
Note the Save Source ID specified in name in the response.
Log Shipper comes up with a default mapping file for the CSCC plugin. This mapping file does not need to be modified to ingest all Netskope alerts and events on GCP.
If only specific, or additional, alerts and events fields are desired on GCP, then create a new mapping file and add those fields into the contents of the default mapping file so Log Shipper will ingest only those attributes defined in the custom file.
In Cloud Exchange, go to Settings > Plugins.
Search for and select the Google Cloud SCC box to open the plugin creation pages.
Enter a Configuration Name.
Select a valid Mapping. (Default Mapping for all plugins are available).
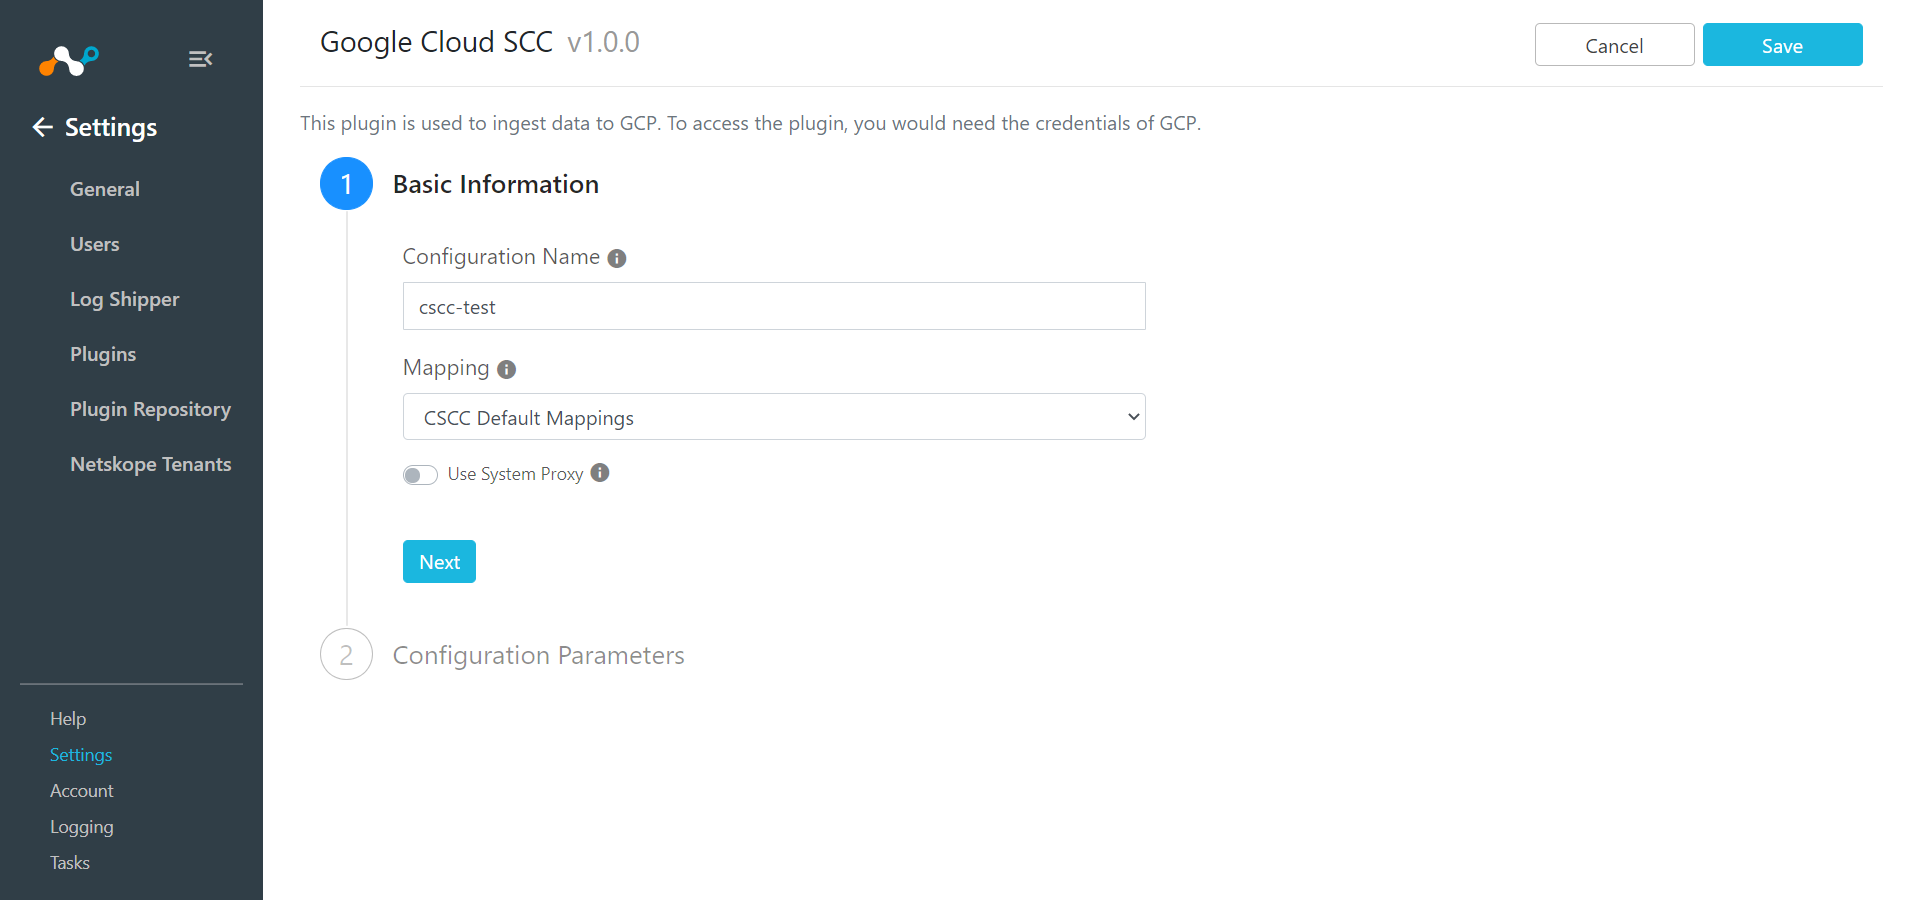
Click Next.
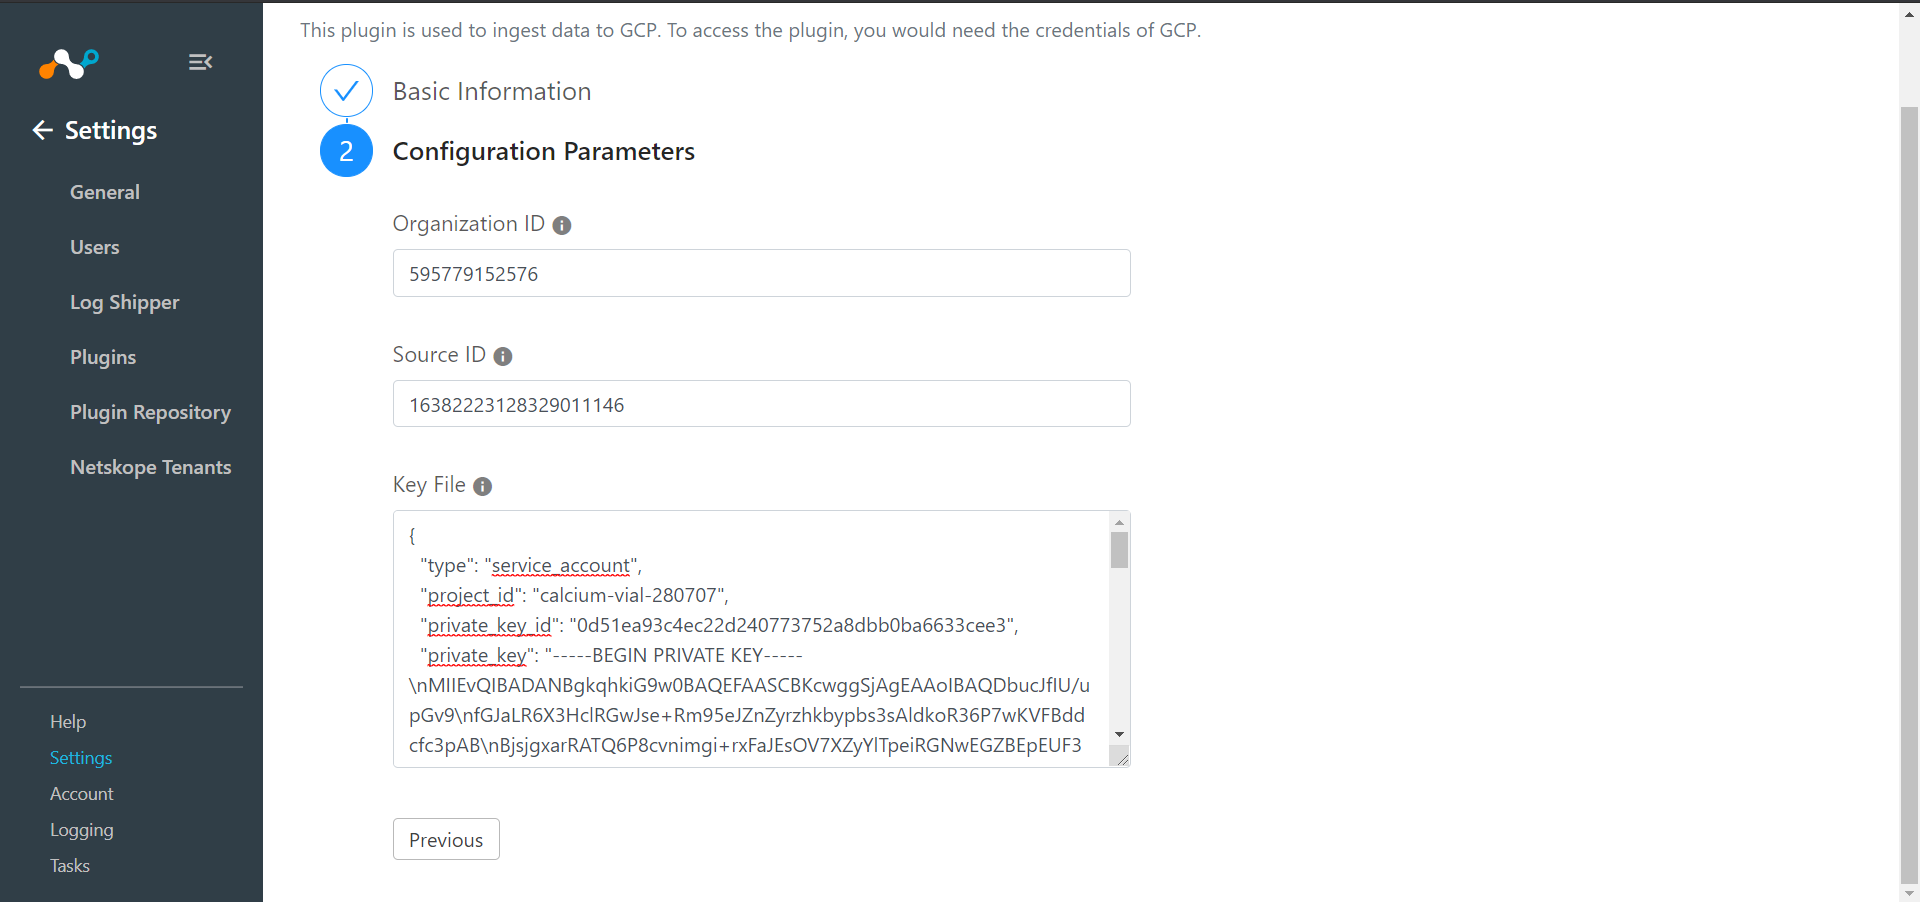
Enter your Organization ID, Source ID, and Key File.
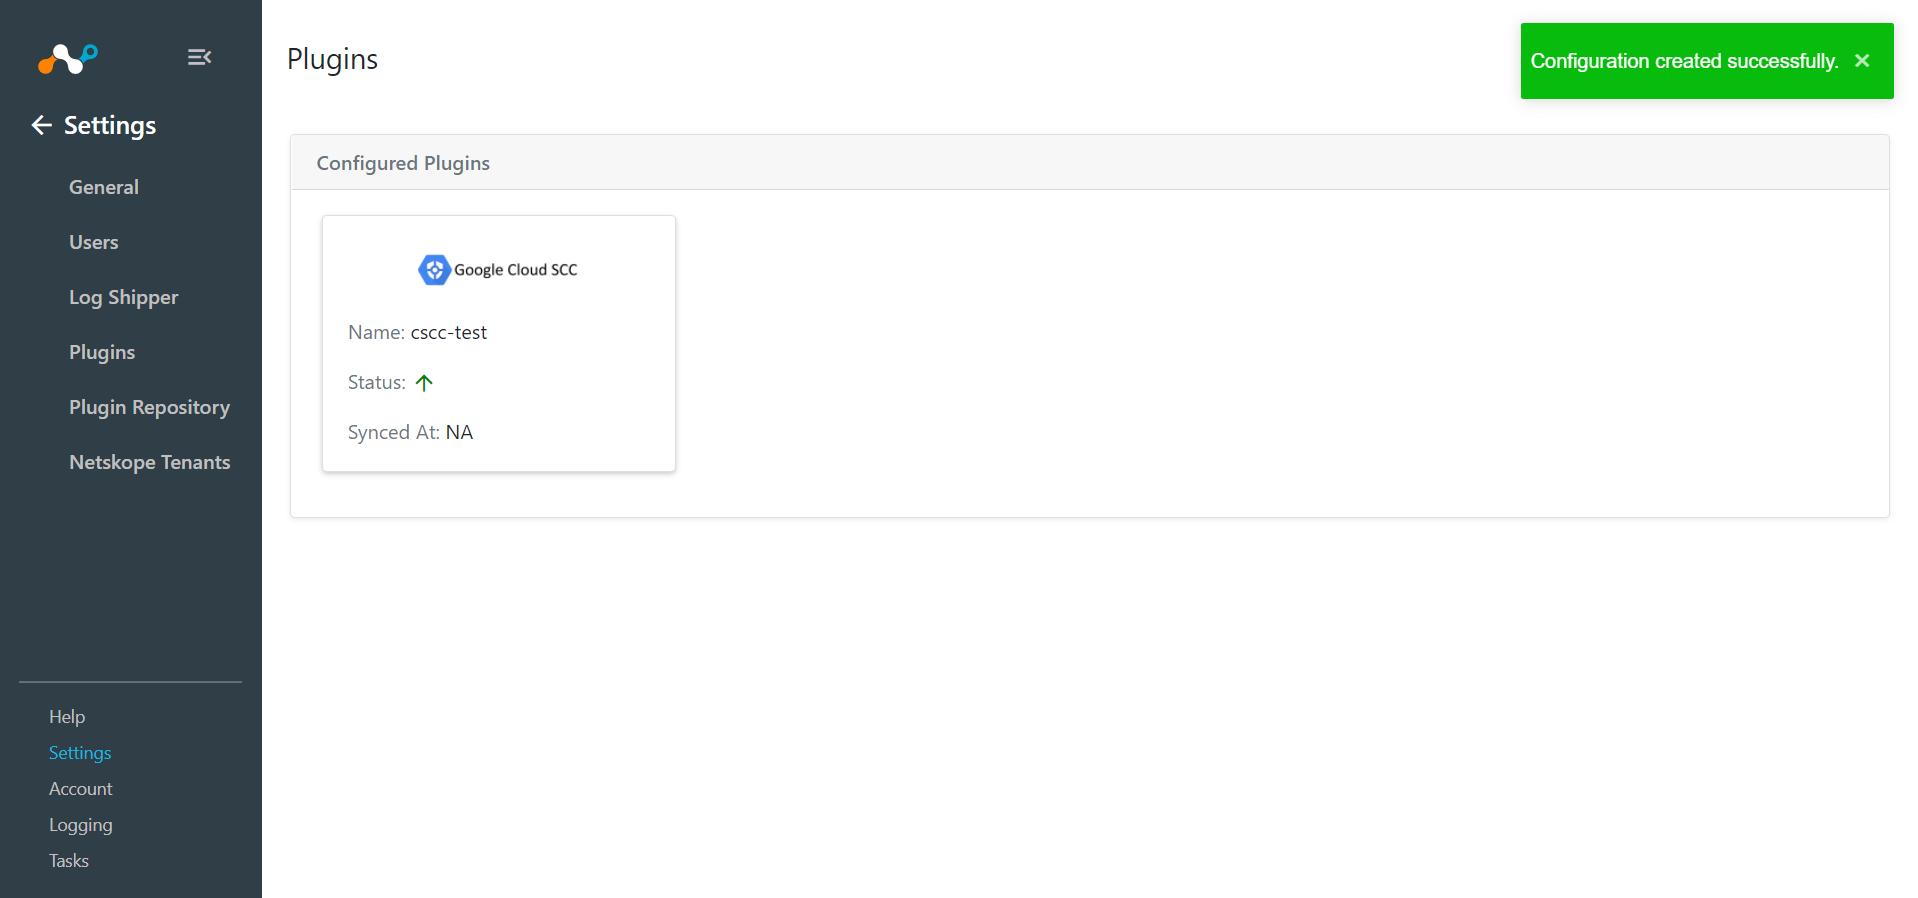
Click Save.
Skip this step if you do not want to filter out alerts or events before ingestion.
Go to Log Shipper > Business Rules.
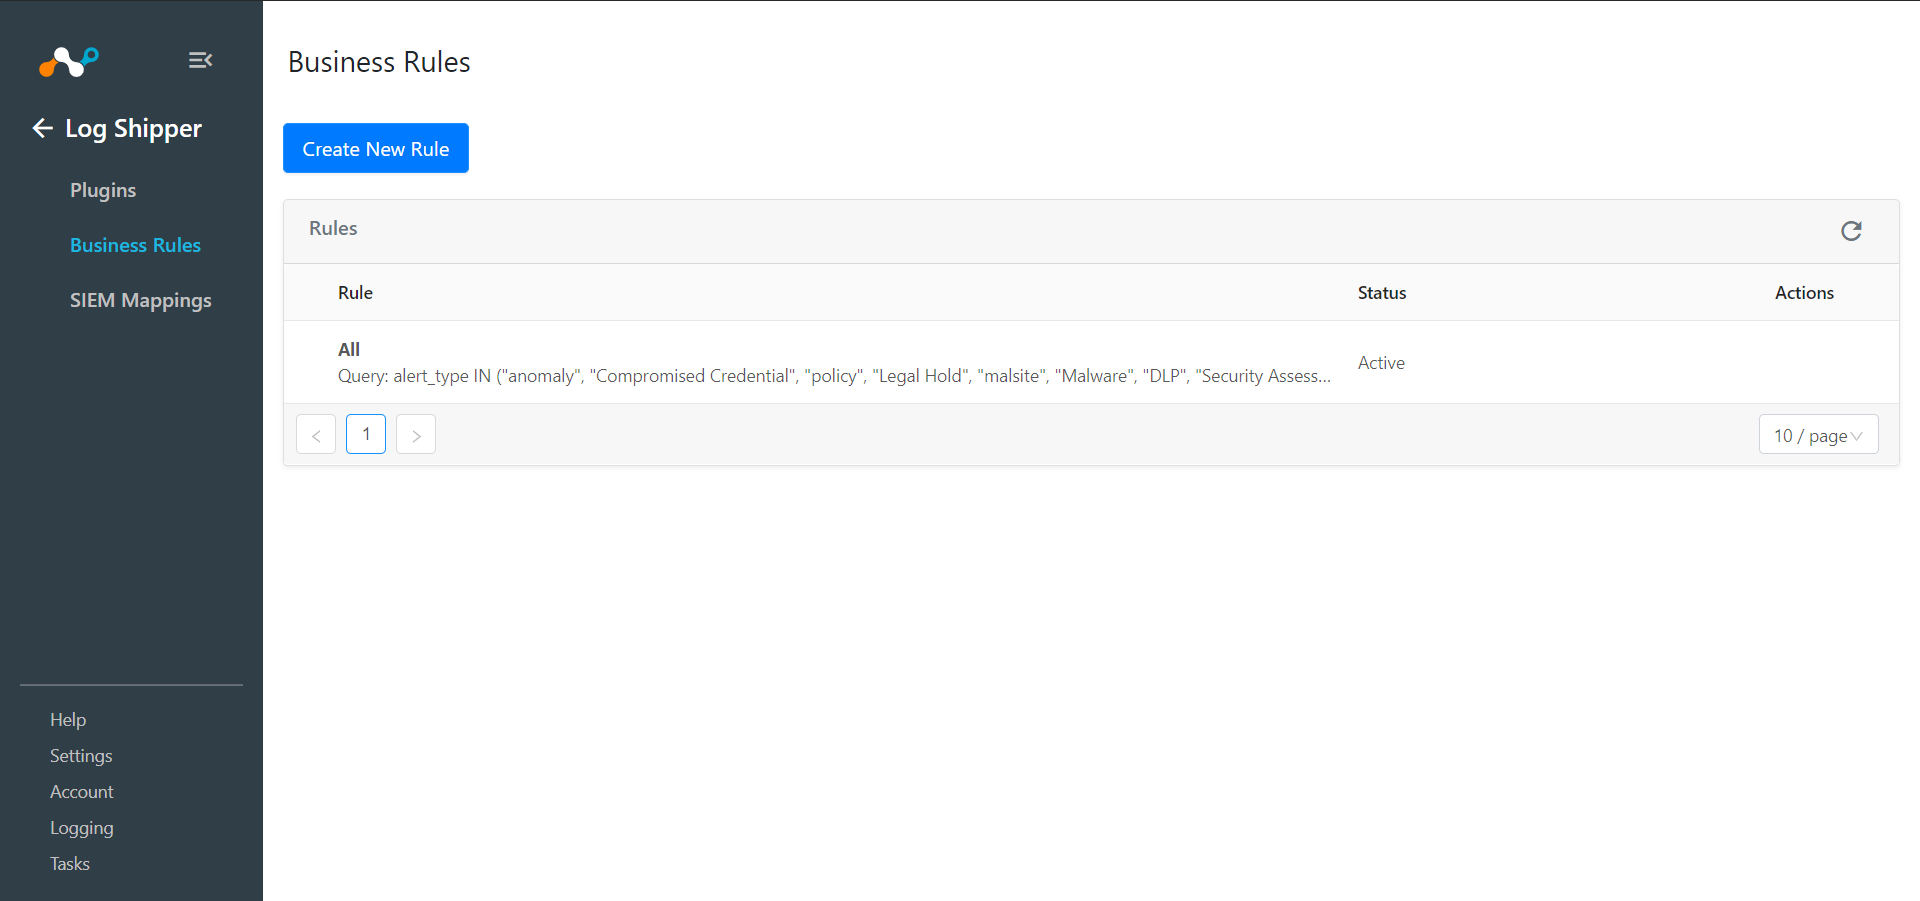
Click on the Create New Rule.
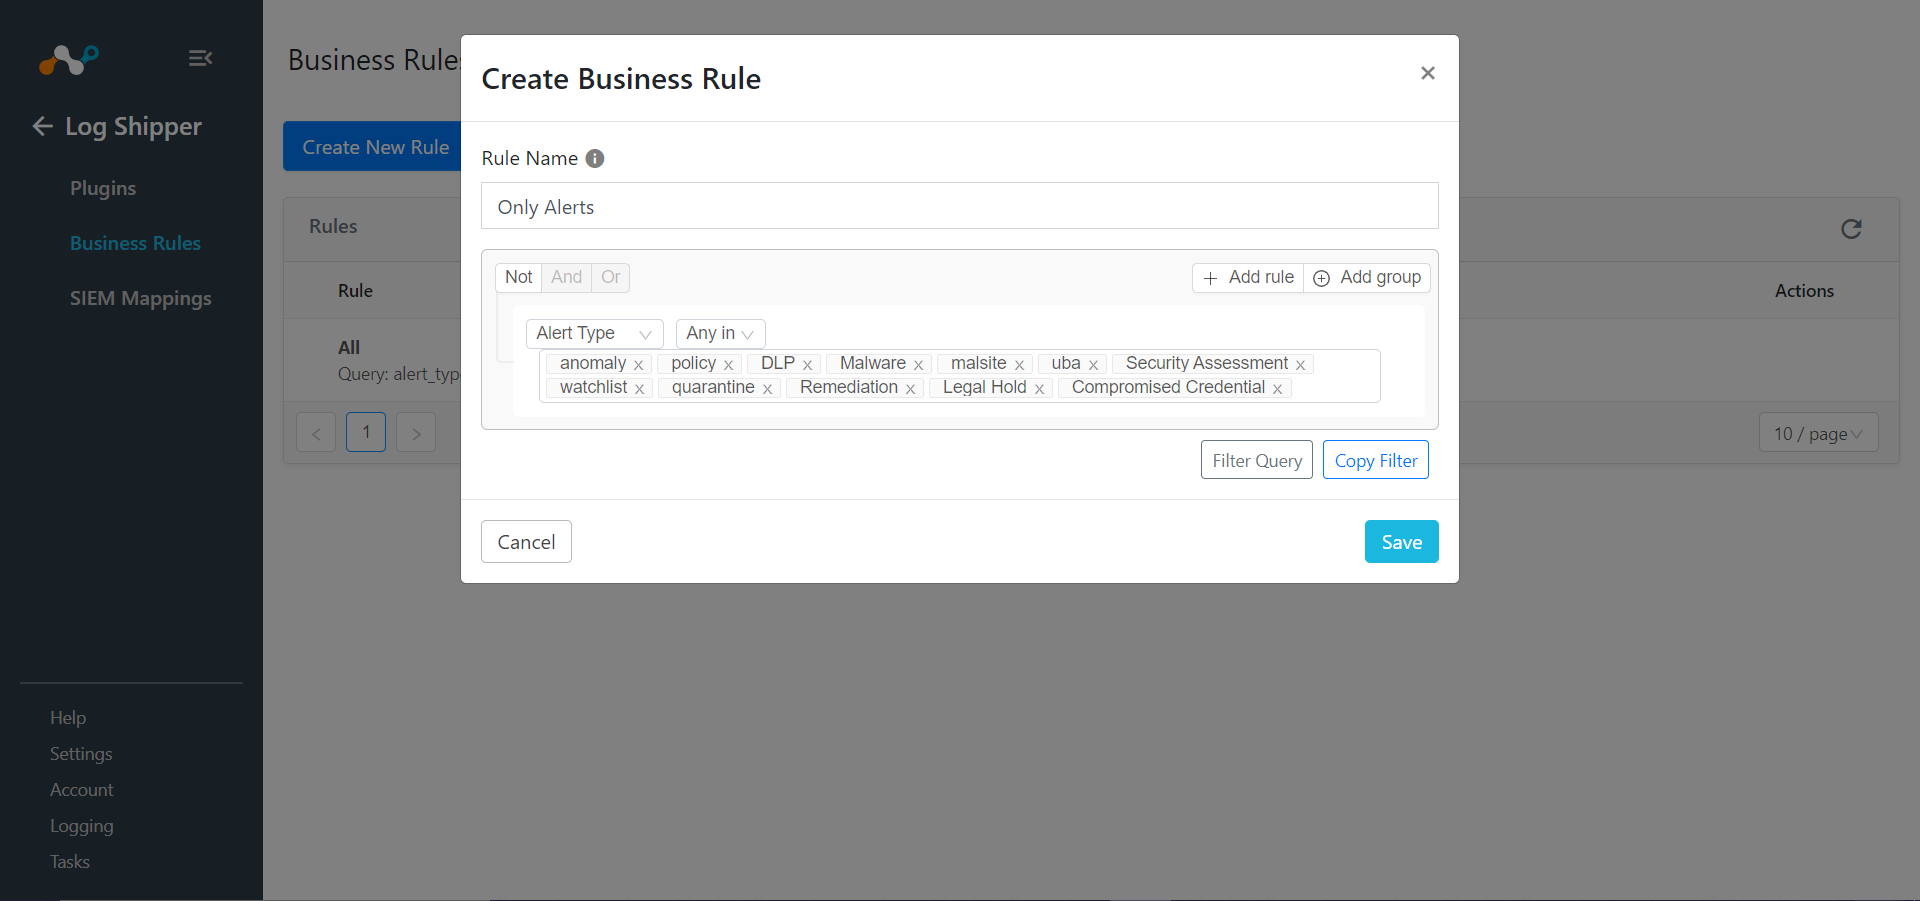
Enter a Rule Name and select the filters to use.
Click Save.
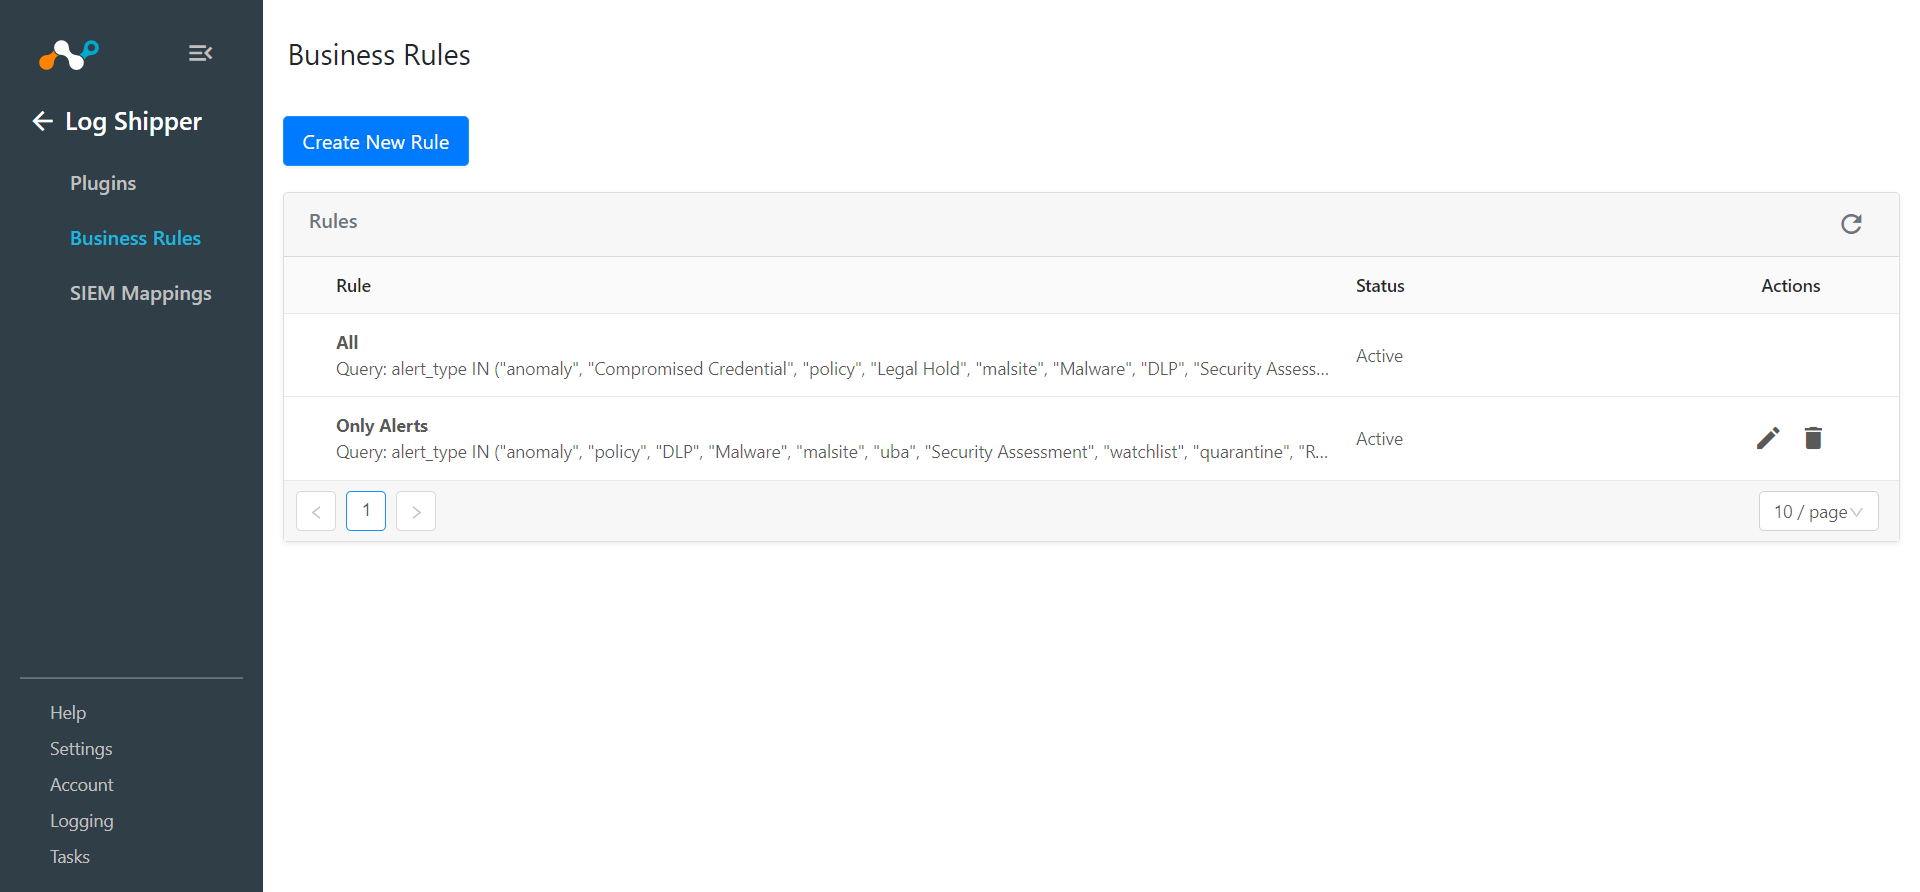
Go to Log Shipper > SIEM Mappings and click Add SIEM Mapping.
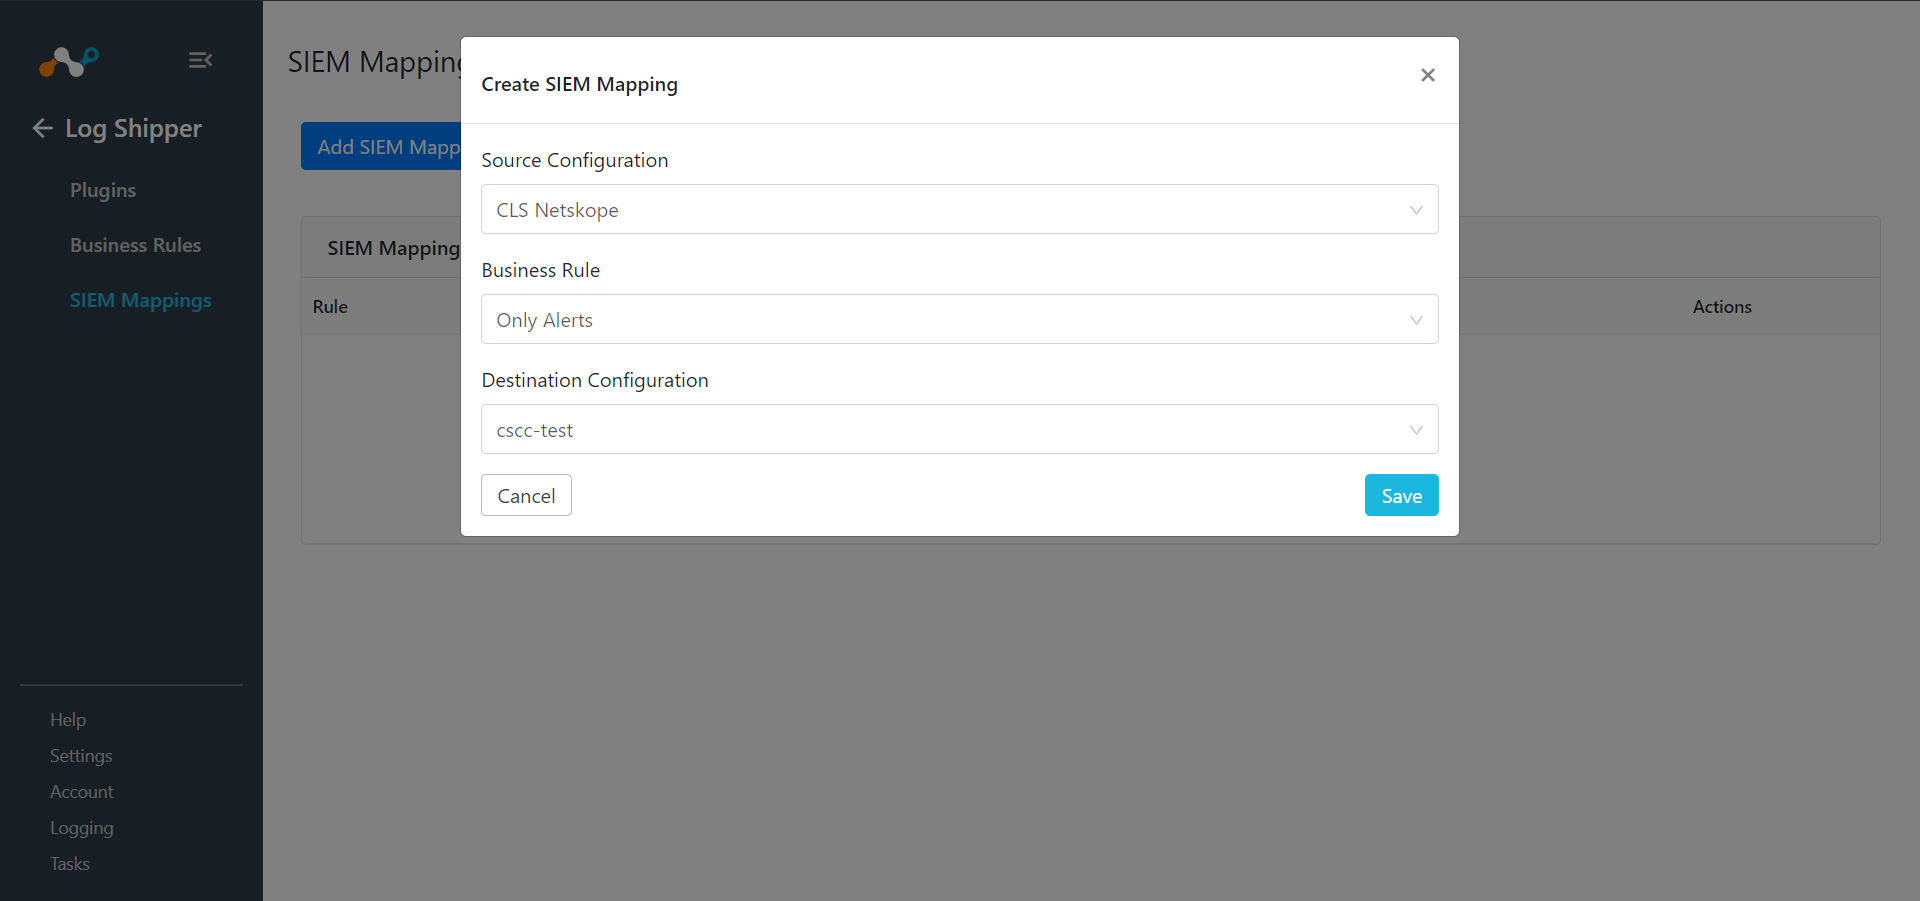
Select a Source Configuration, Business Rule, and Destination Configuration.
Click Save.
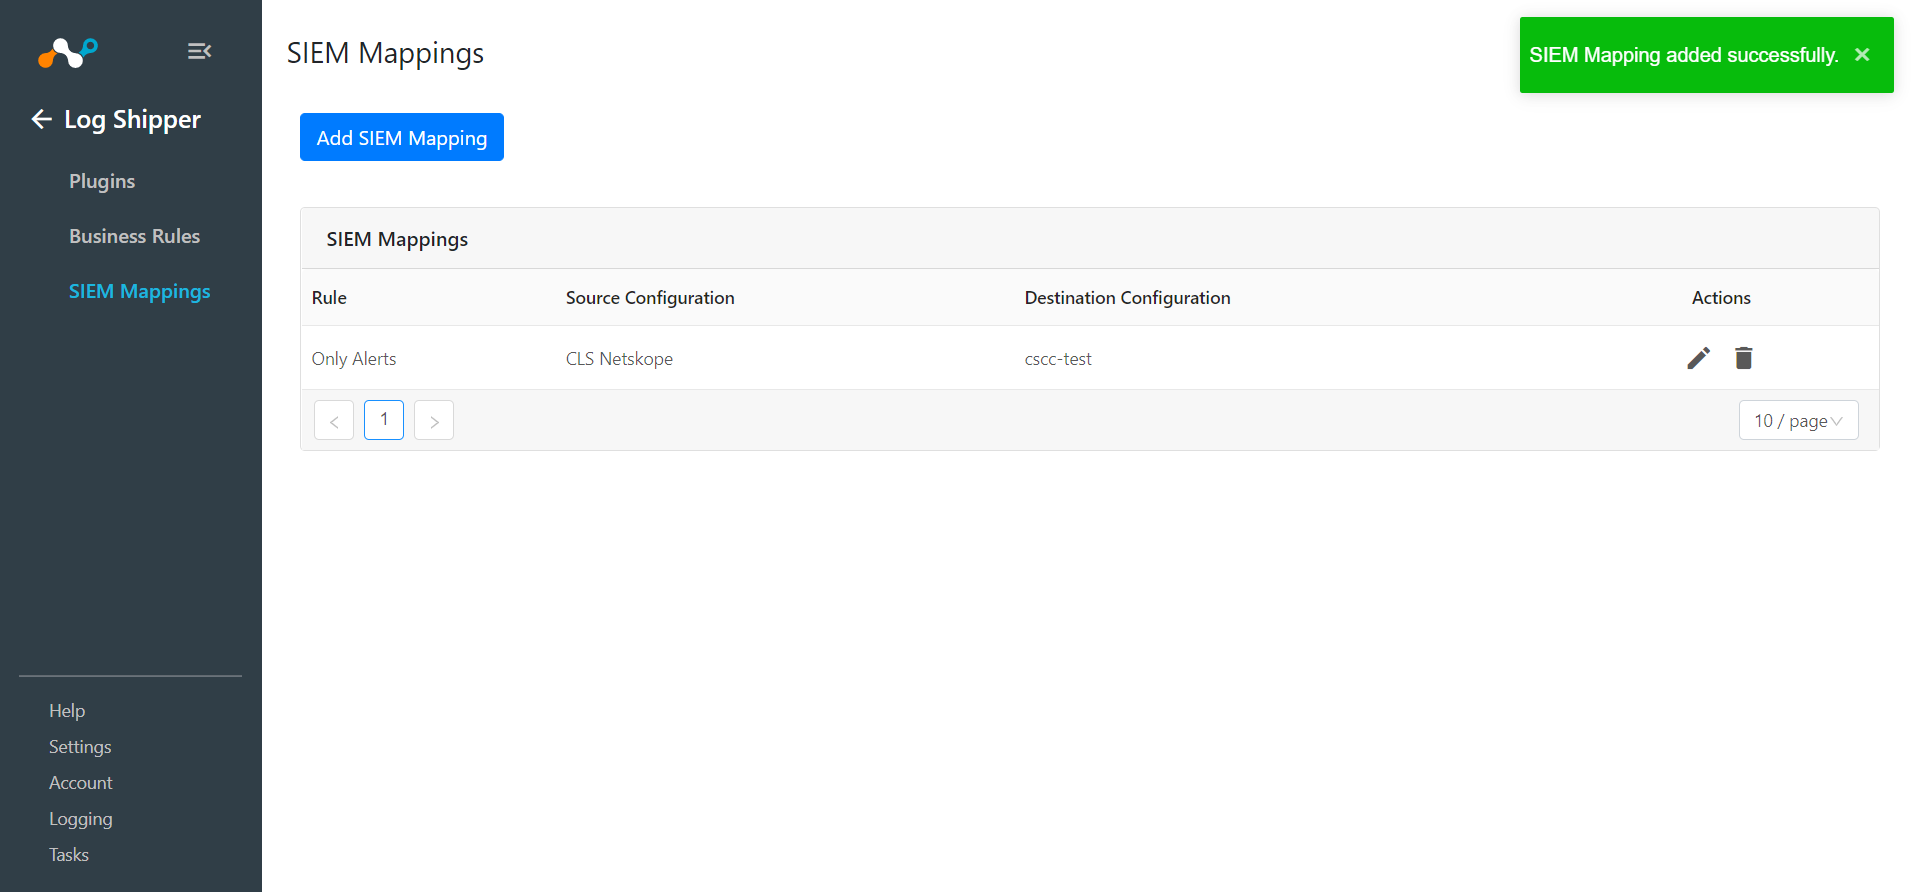
To validate the plugin workflow, you can check from Netskope Cloud Exchange and from your GCP instance.
To validate from Netskope Cloud Exchange, go to Logging.
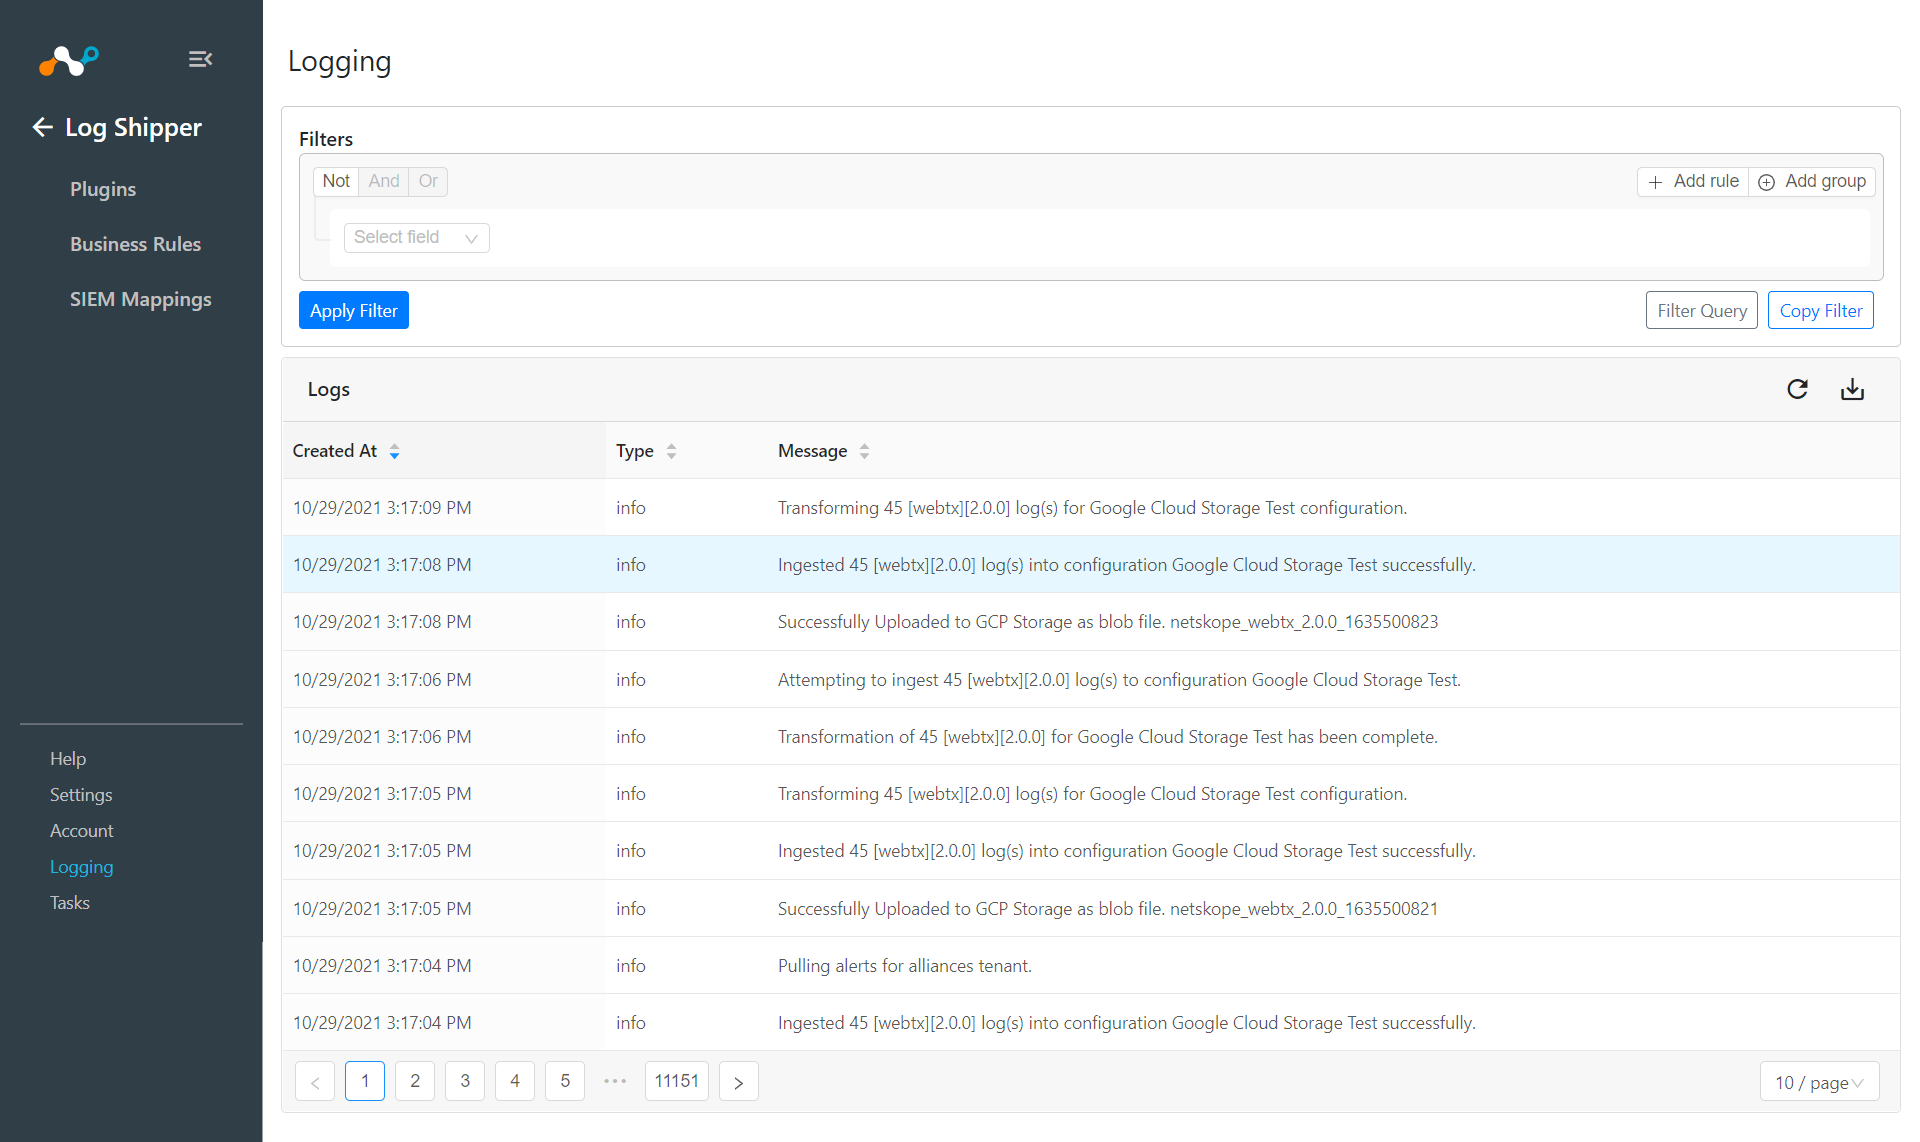 |
To validate from the Google Cloud Platform:
Log in to Google Cloud Platform https://console.cloud.google.com/.
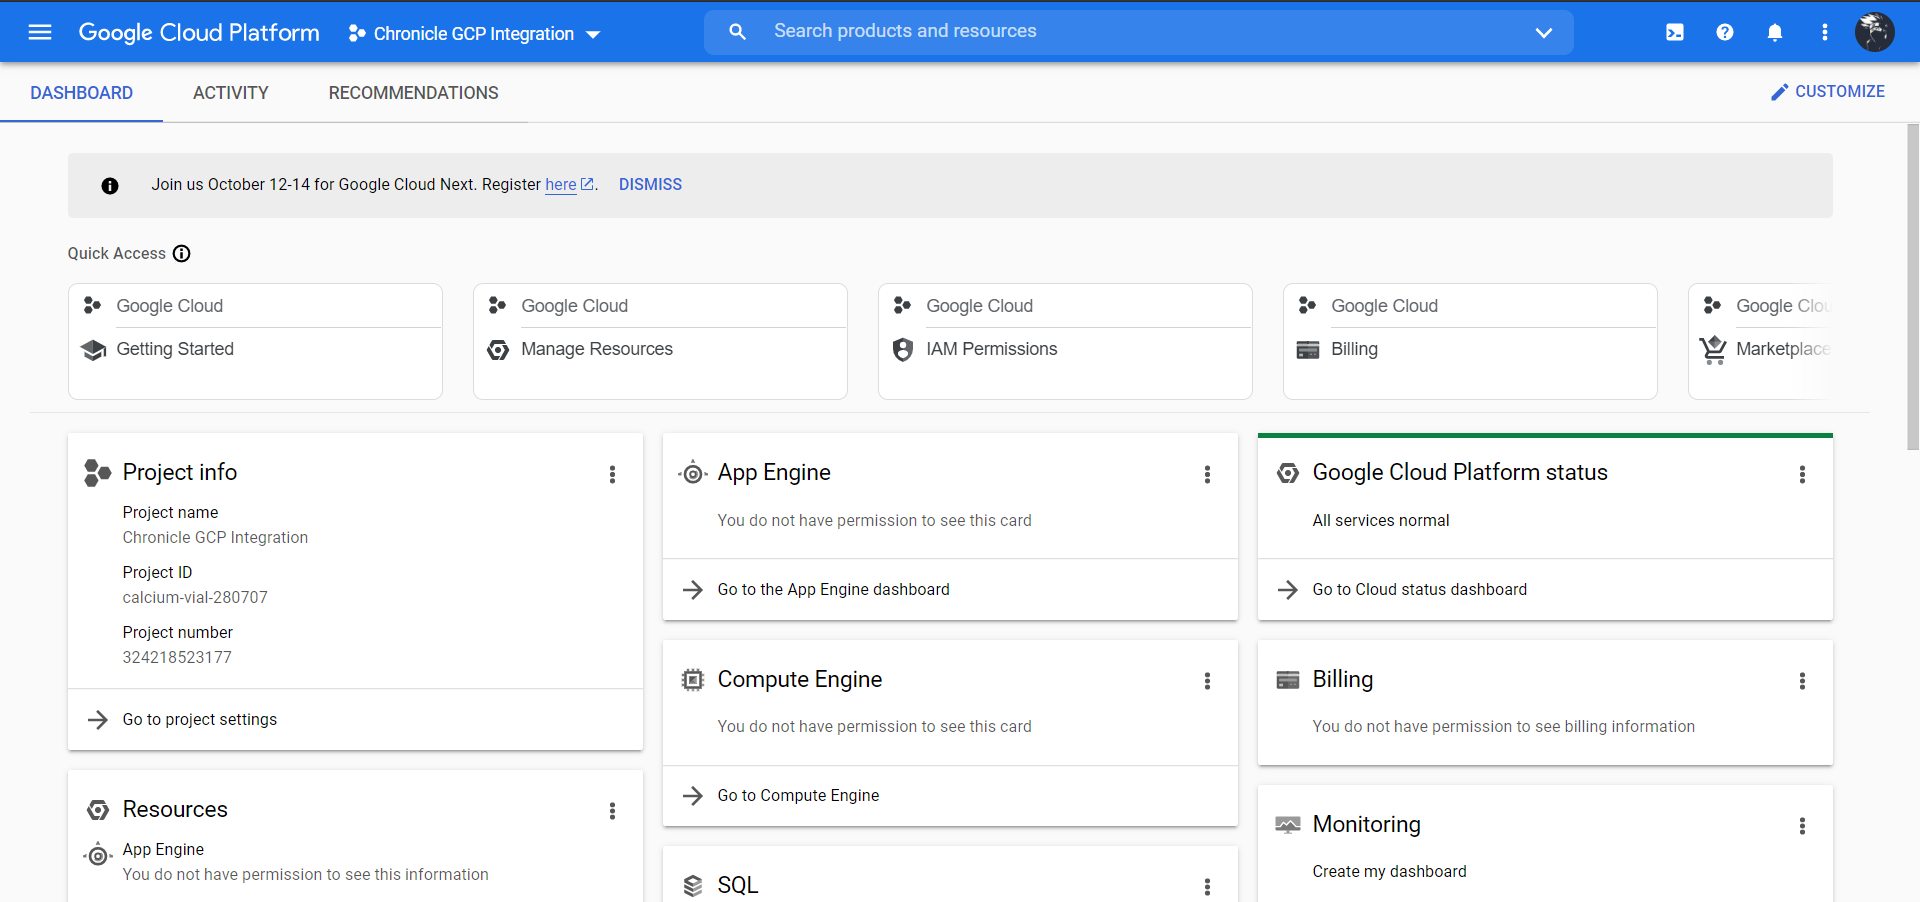
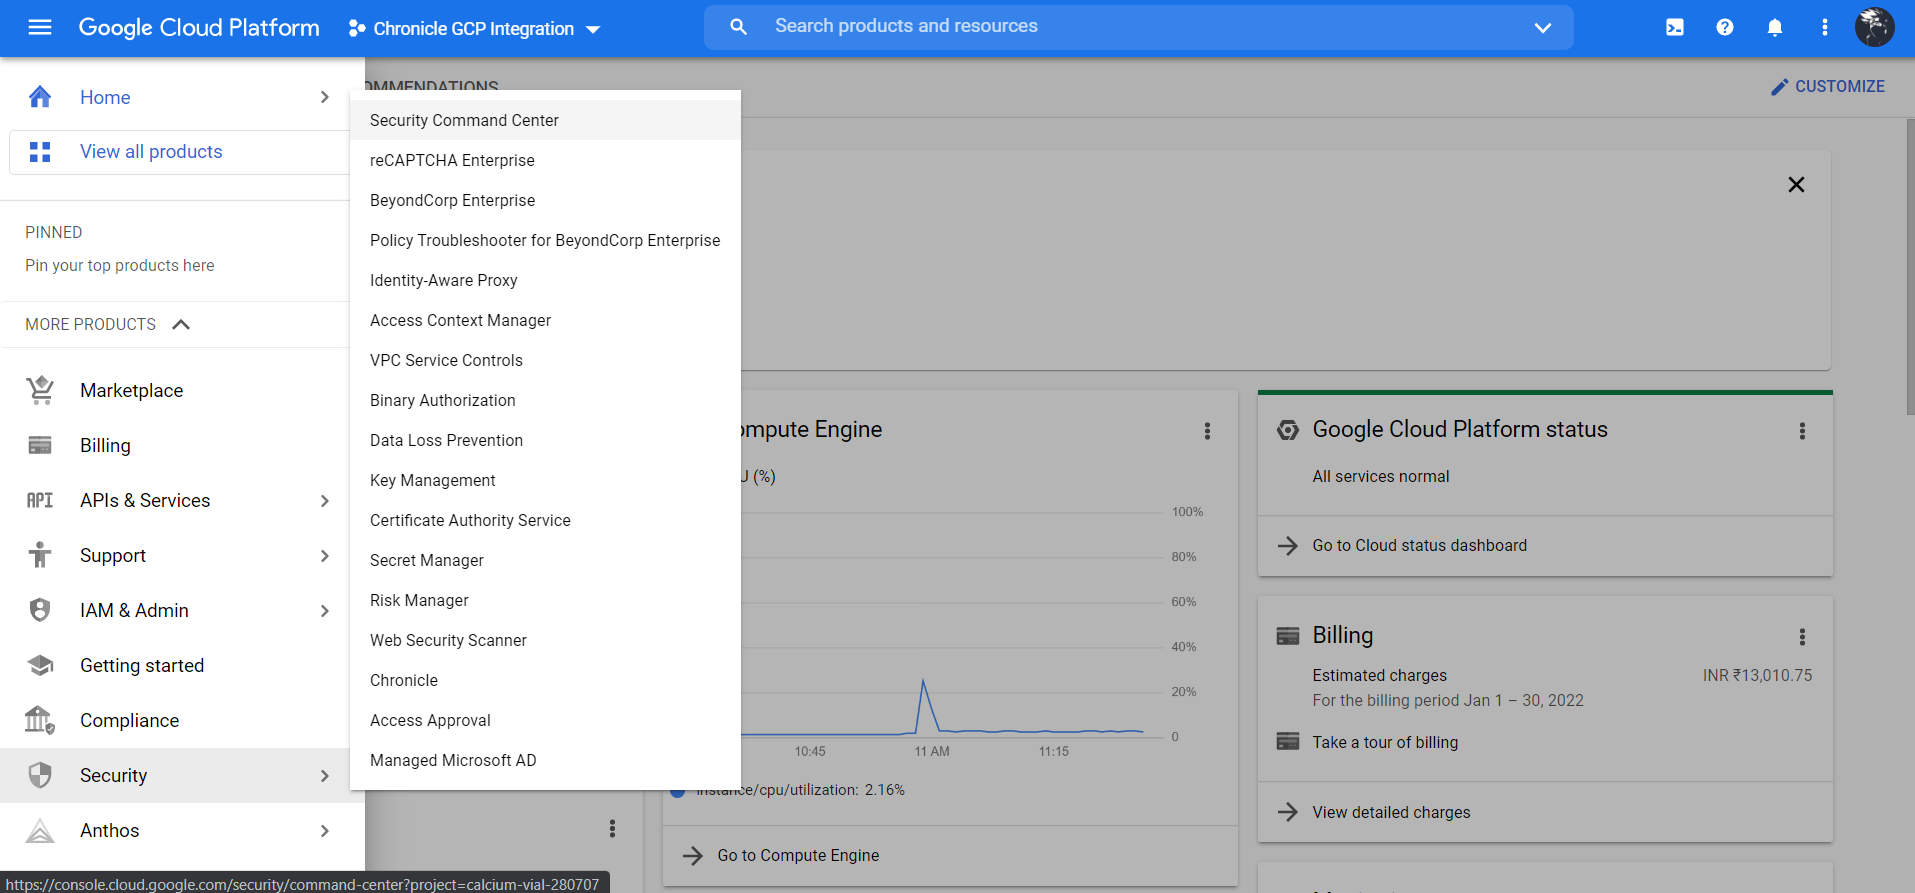
Go to Security Security Command Center.
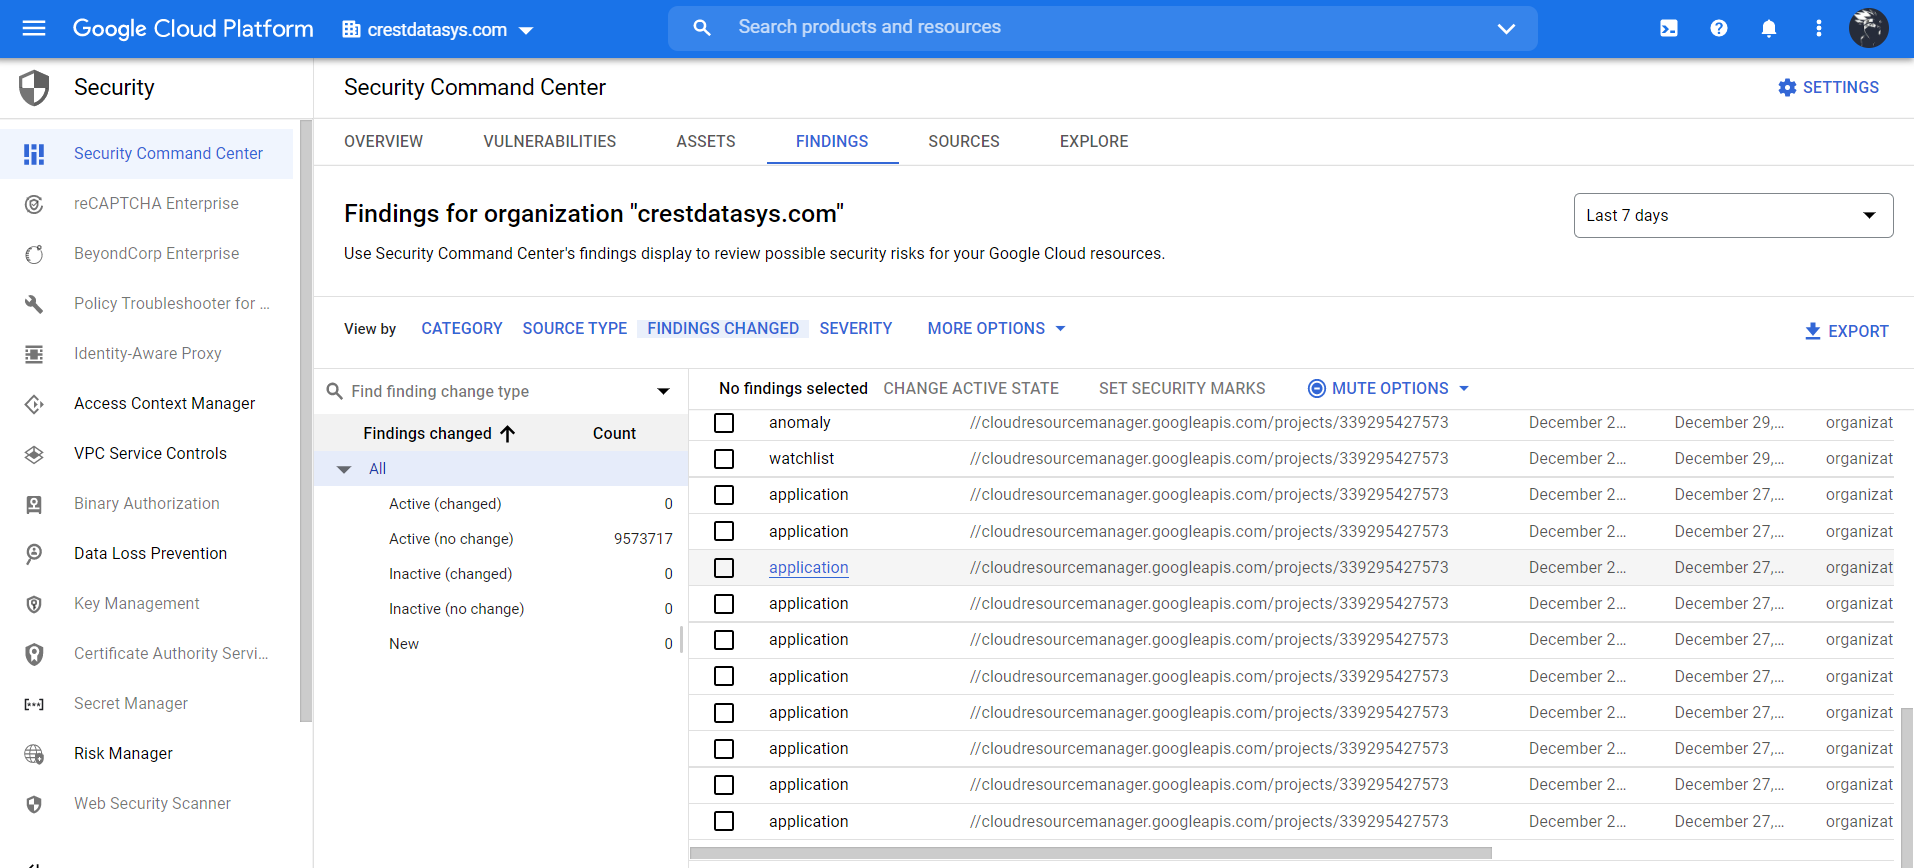
Go to the Findings Tab and View by Findings Changed.
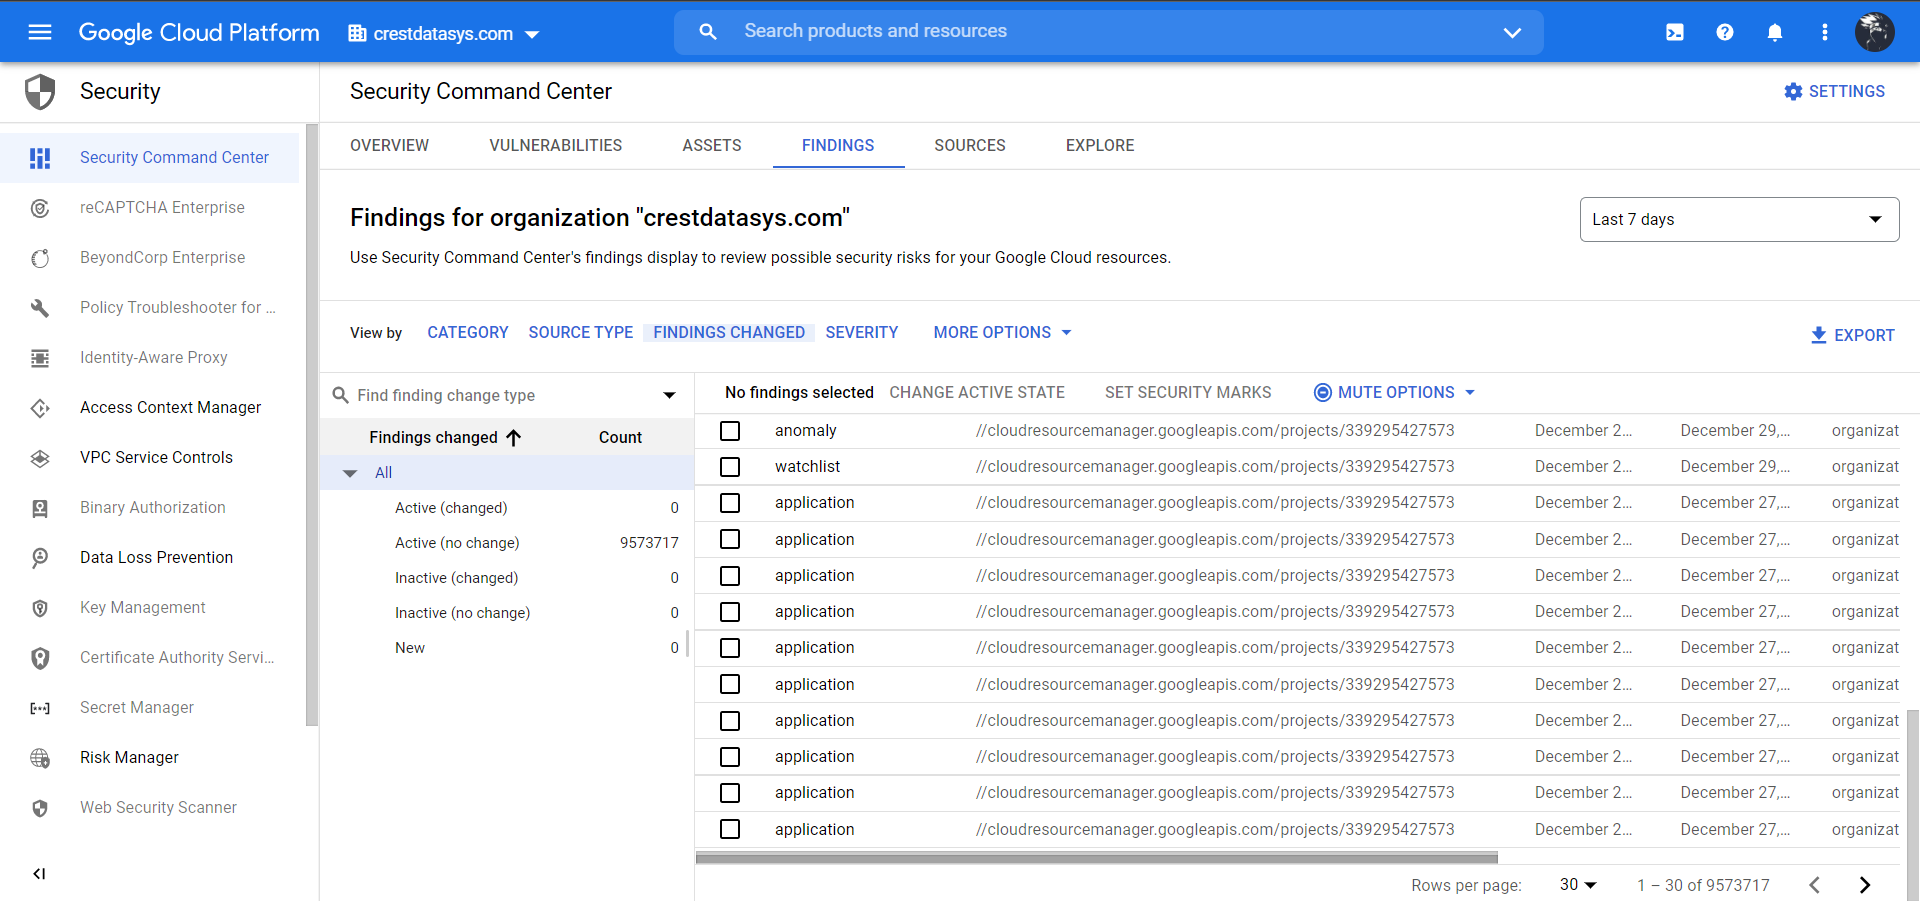
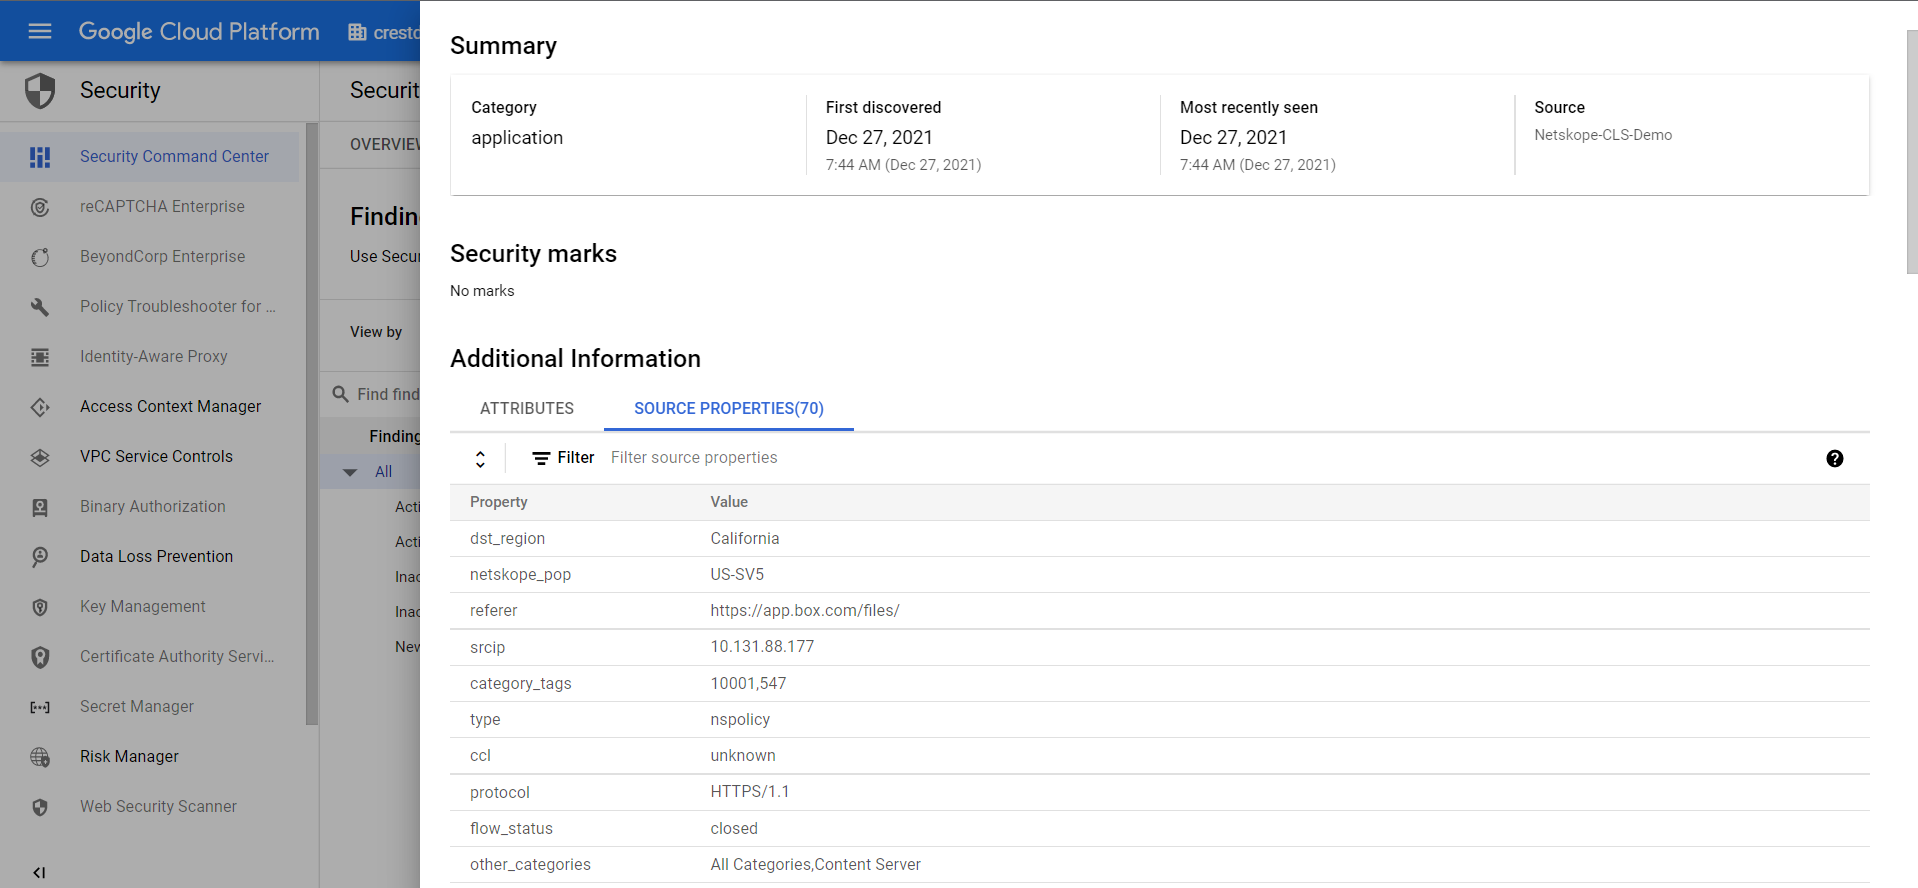
You can click on any events and alerts to view a particular log.
