BeyondCorp Plugin for User Risk Exchange
This document explains how to configure the BeyondCorp integration with the User Risk Exchange module of the Netskope Cloud Exchange platform.
To complete this configuration, you need:
A Netskope tenant (or multiple, for example, production and development/test instances).
A Netskope Cloud Exchange tenant with the User Risk Exchange module already configured.
A Service Account JSON key (See https://cloud.google.com/iam/docs/creating-managing-service-account-keys)
A user CIP license or a type of license that includes CIP, such as Enterprise standard or Enterprise Plus.
Obtain your BeyondCorp customer ID.
Enable the Netskope Partner.
Configure your service account
Configure the BeyondCorp plugin.
Configure User Risk Exchange Business Rules for the BeyondCorp plugin.
Configure User Risk Exchange Actions for the BeyondCorp plugin.
Validate the BeyondCorp plugin.
Click play to watch these videos.
Plugin Configuration
Plugin Demo
Log in to https://admin.google.com/.
Go to Accounts > Account Settings (https://admin.google.com/u/1/ac/accountsettings).
Copy your Customer ID.

Log in to https://admin.google.com/.
Go to Devices > Mobile & Endpoints > Settings > Third-party integrations (https://admin.google.com/u/1/ac/devices/settings/thirdparty).
Click Security and MDM partners.
Click Manage.
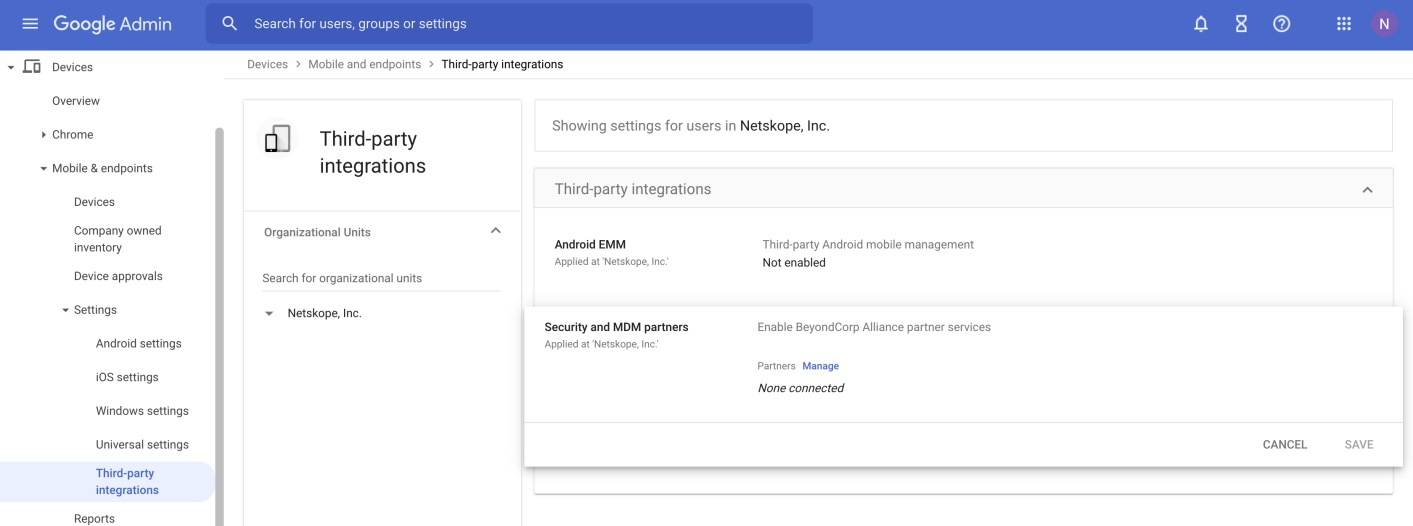
Click Open Connection next to Netskope.
The list should look like this:

Click the close button (X) and enable the Netskope Partner.
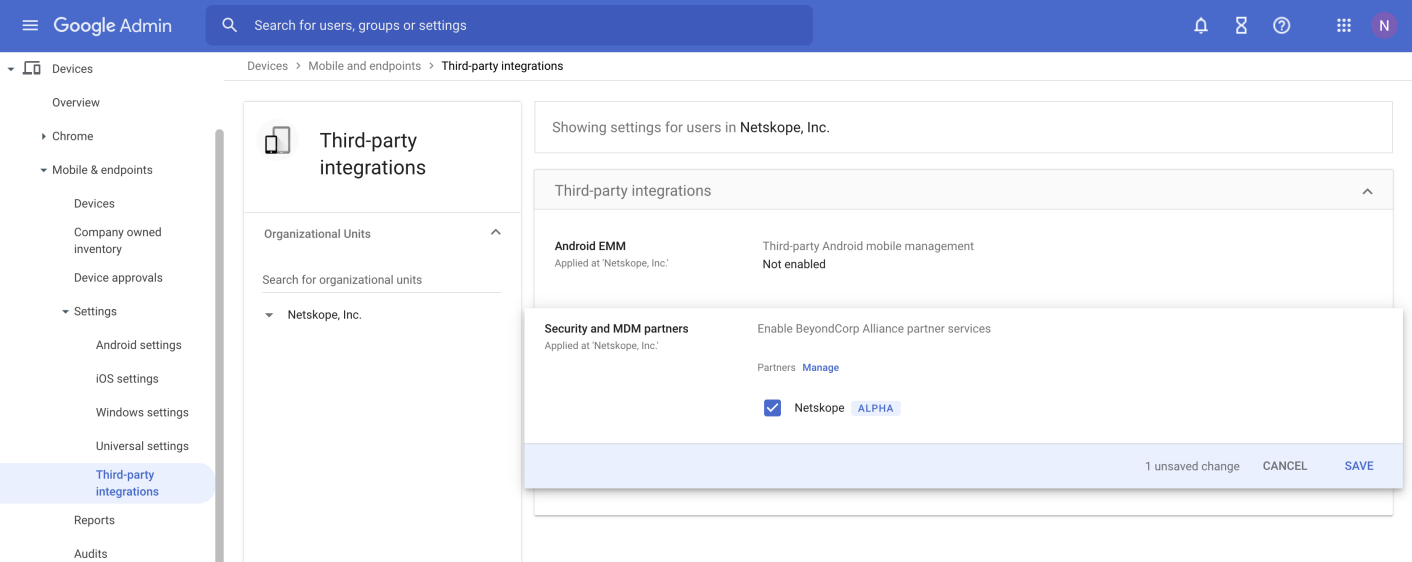
Click Save.
Log in to https://admin.google.com/.
Go to Security > Access and data control > API Controls (https://admin.google.com/u/1/ac/owl).
Click Manage Domain Wide Delegation (https://admin.google.com/u/1/ac/owl/domainwidedelegation).
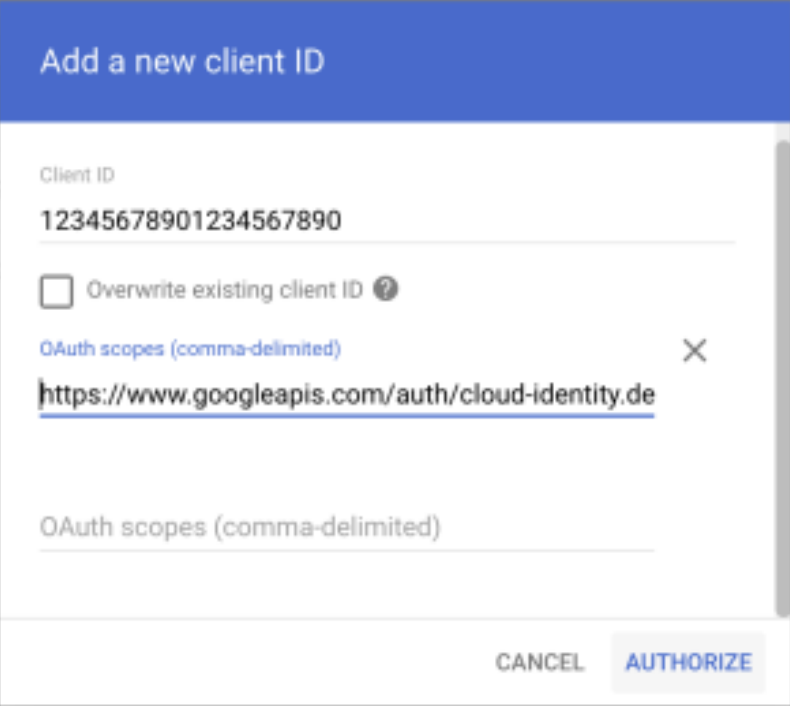
Click Add New.

Enter these values:
Client ID: Client ID from your Service Account JSON file.
OAuth scopes (comma-delimited): https://www.googleapis.com/auth/cloud-identity.devices
Click Authorize.
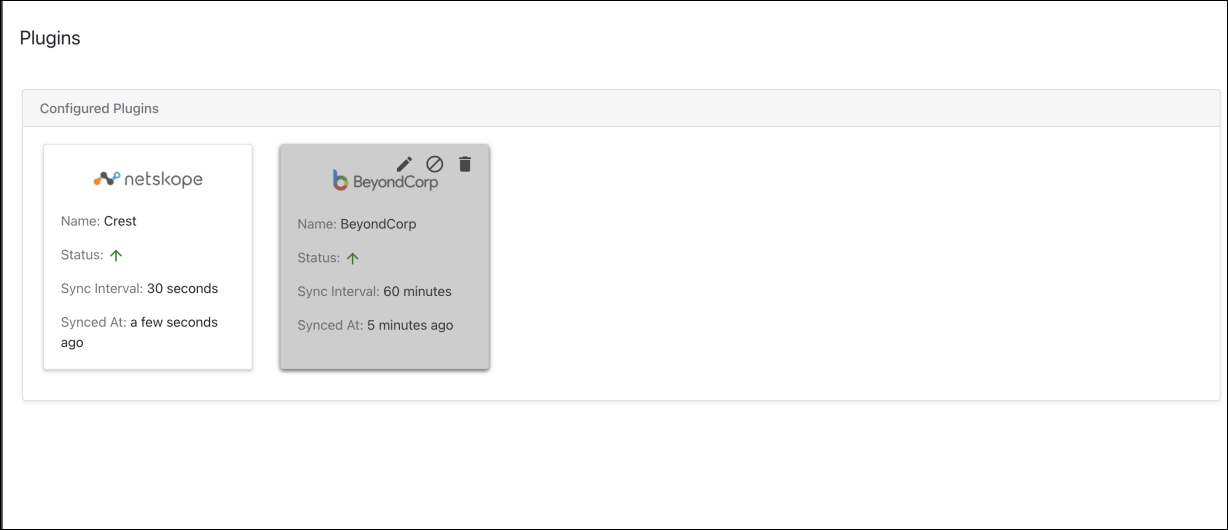
In Cloud Exchange, go to Settings > Plugins.
Search for and select the BeyondCorp plugin box.

Enter a configuration name.
For Sync Interval, leave the default.
For Use System Proxy, enable this if a proxy is required for communication.
Click Next.
Enter your BeyondCorp Customer ID. Make sure that the Customer Id does not start with the letter "C".
Enter the email address of the user with administrator privileges.
Enter the contents of the BeyondCorp Service Account JSON file.
Click Save.
The business rules are to determine which information is used in the actions.
Go to User Risk Exchange and click Business Rules.
Click Create New Rule and enter a rule name.
From the dropdowns, select a field, an operator, and a value. For example: Aggregate Score Grouping – Any in – medium.
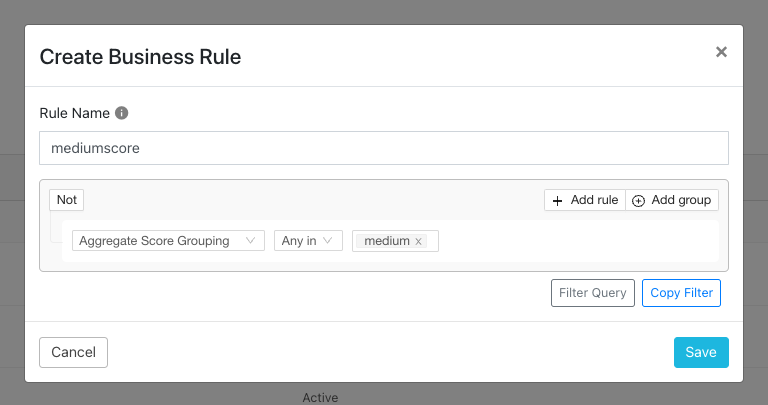
Click Save.
The actions are used with the business rules are to determine which information is used.
Go to User Risk Exchange and click Actions.
Click Add Action Configuration.
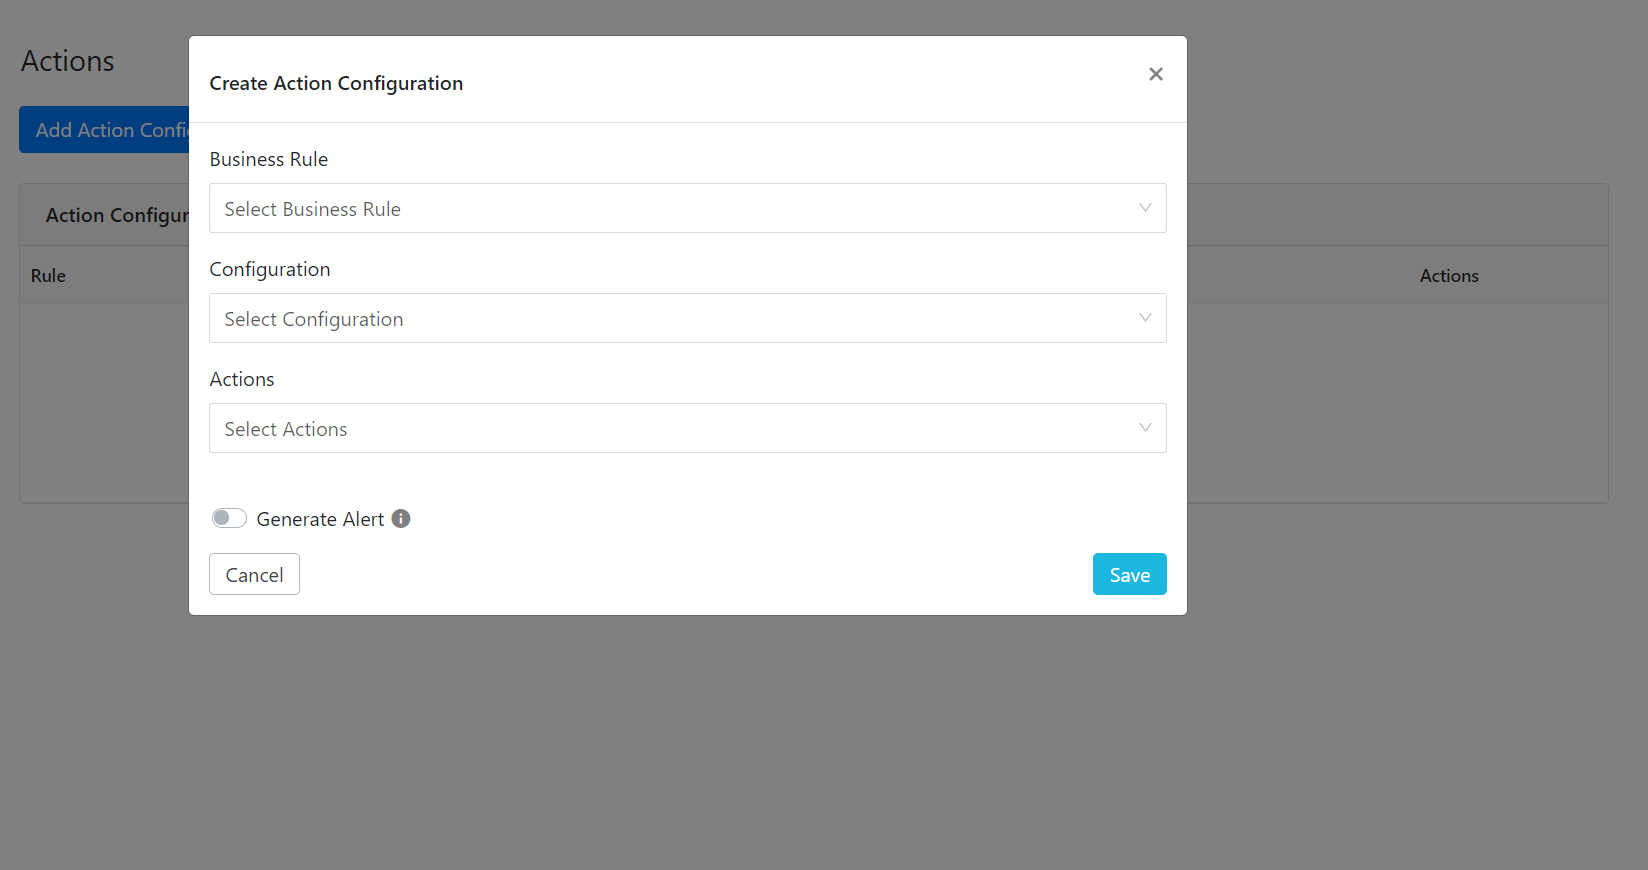
Click the Business rule dropdown list and choose the appropriate Business rule.
Select the Configuration dropdown list and choose BeyondCorp.
Select Actions from the dropdown list and choose (Add to Group, Remove to Group or No Action).
Add to Group: When triggered, users are added to that group.
Remove to Group: When triggered, users are removed from that group.
No Action: This does not perform any actions on users.
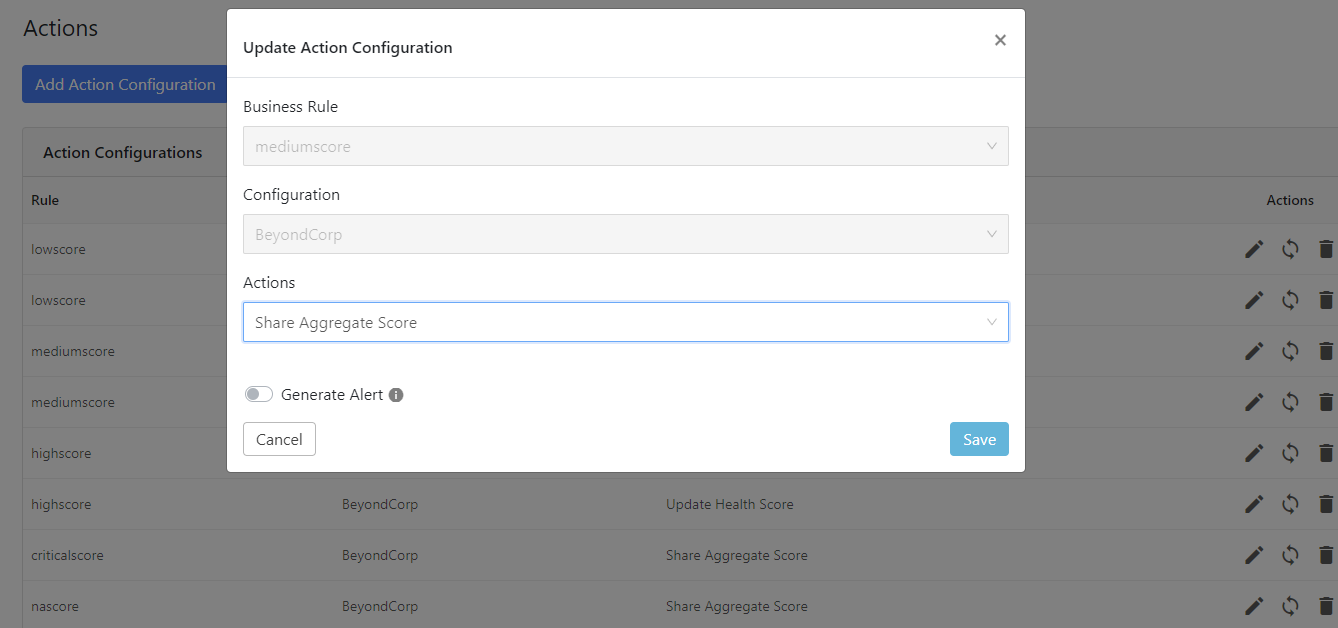
Click Save.
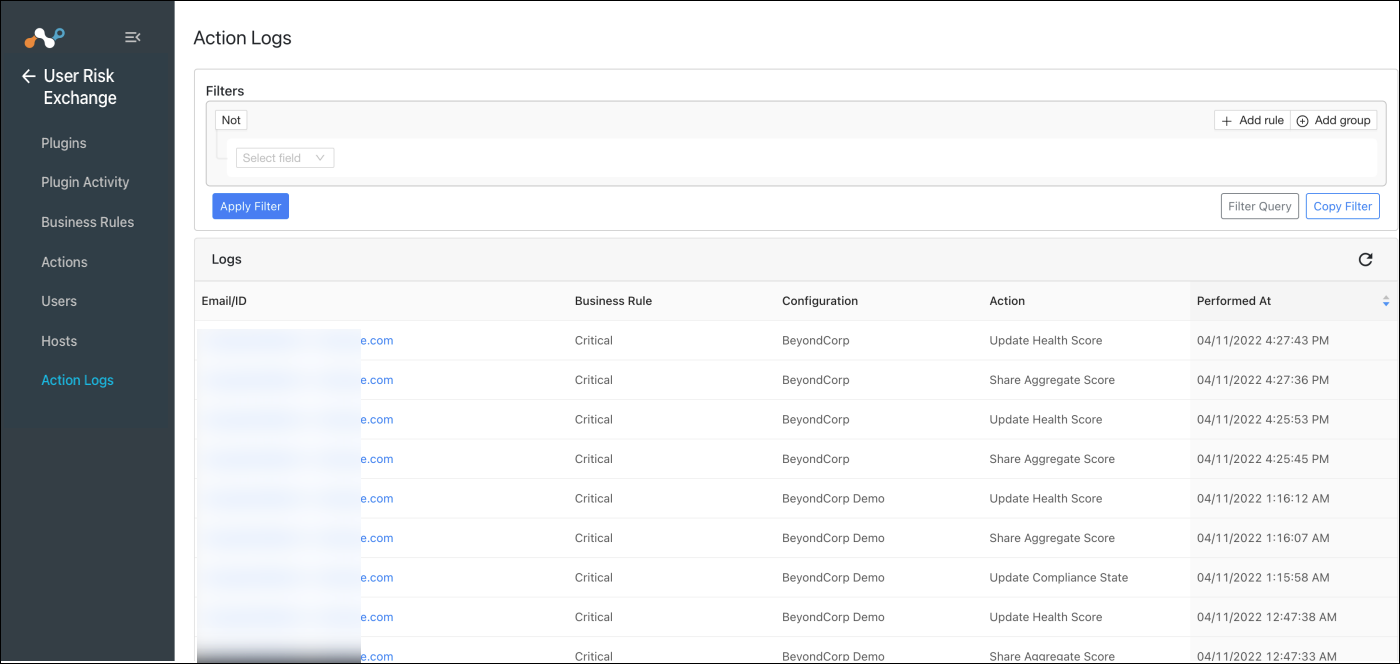
When a user matches one of the configured business rules, the configured action would be performed on the user. In User Risk Exchange, go to Action Logs.
In BeyondCorp, go to Devices > Mobile & endpoints > Devices (https://admin.google.com/u/1/ac/devices/list?default=all).
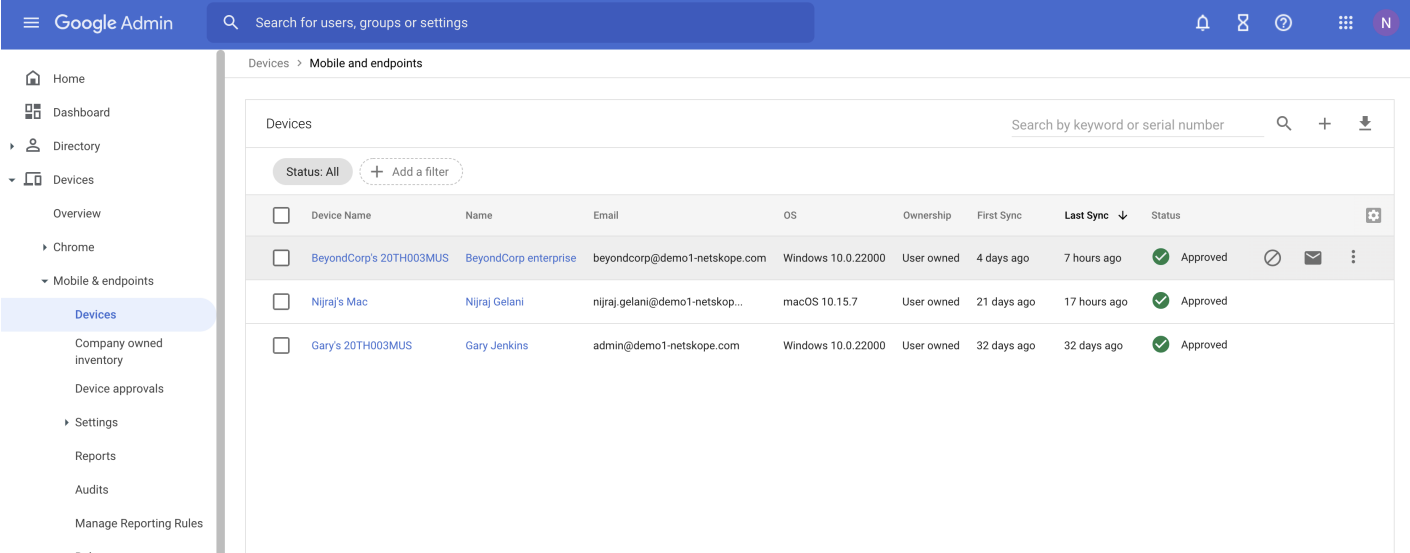
Click on one of the devices.
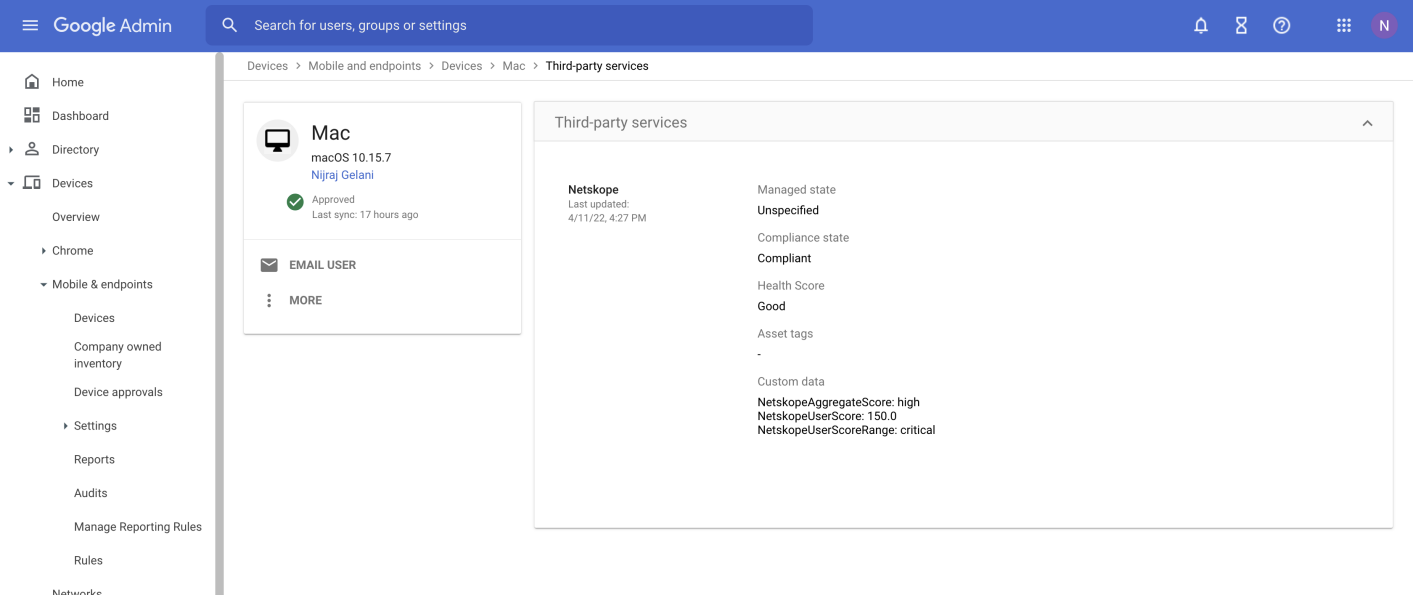
Click Third-party services.
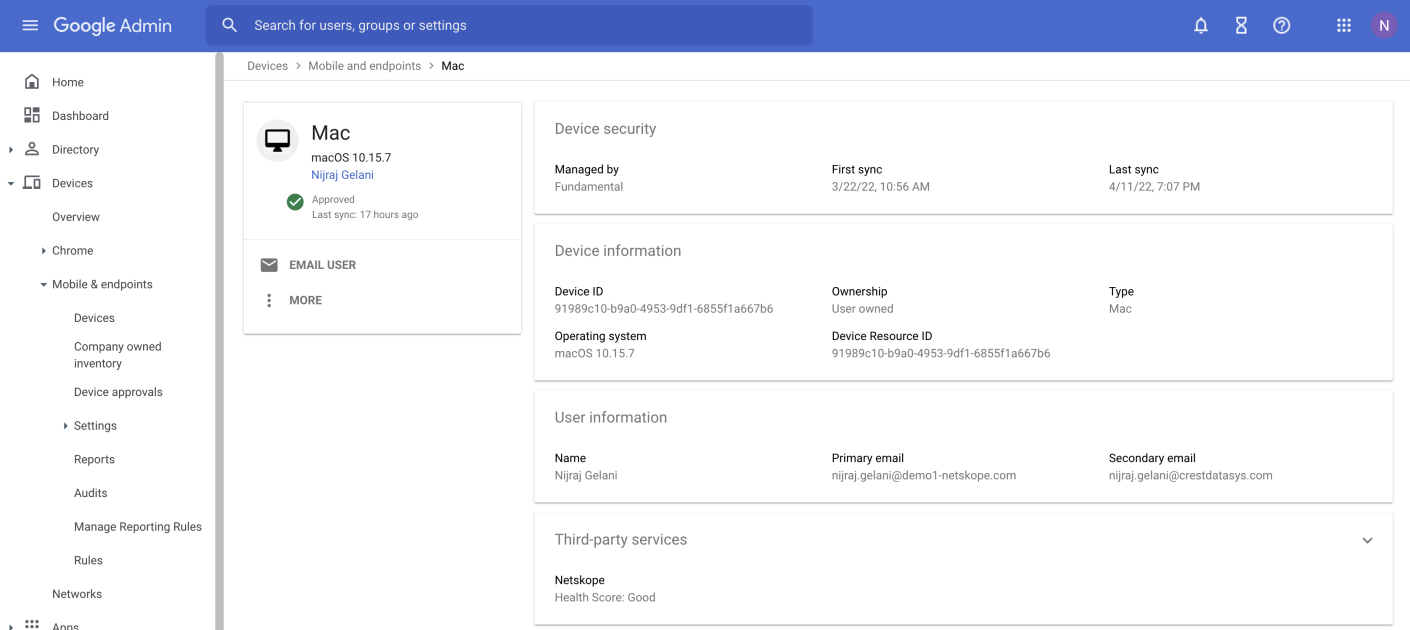
The Compliance State, Health Score, and Netskope User Risk Scores can be seen on this page.
