Configure the Netskope Plugin for Threat Exchange
This document explains how to configure the Netskope integration with the Cloud Threat Exchange module of the Netskope Cloud Exchange platform. This integration allows for sharing of event driven intelligence that has been identified by Netskope.
Prerequisites
To complete this configuration, you need:
A Netskope Tenant (or multiple, for example, production and development/test instances) that is already configured in Cloud Exchange.
A Secure Web Gateway subscription for URL sharing.
A Threat prevention subscription for malicious file hash sharing.
A Netskope Cloud Exchange tenant with the Threat Exchange module already configured.
Workflow
Create a File profile and a Malware Detection profile.
Configure a Real-Time Protection policy.
Configure the Netskope plugin for Threat Exchange.
Configure Threat Exchange Business Rules and Sharing for the Netskope plugin.
Validate the Netskope plugin.
In your Netskope tenant, go to Policies > Profiles > File and click New File Profile.
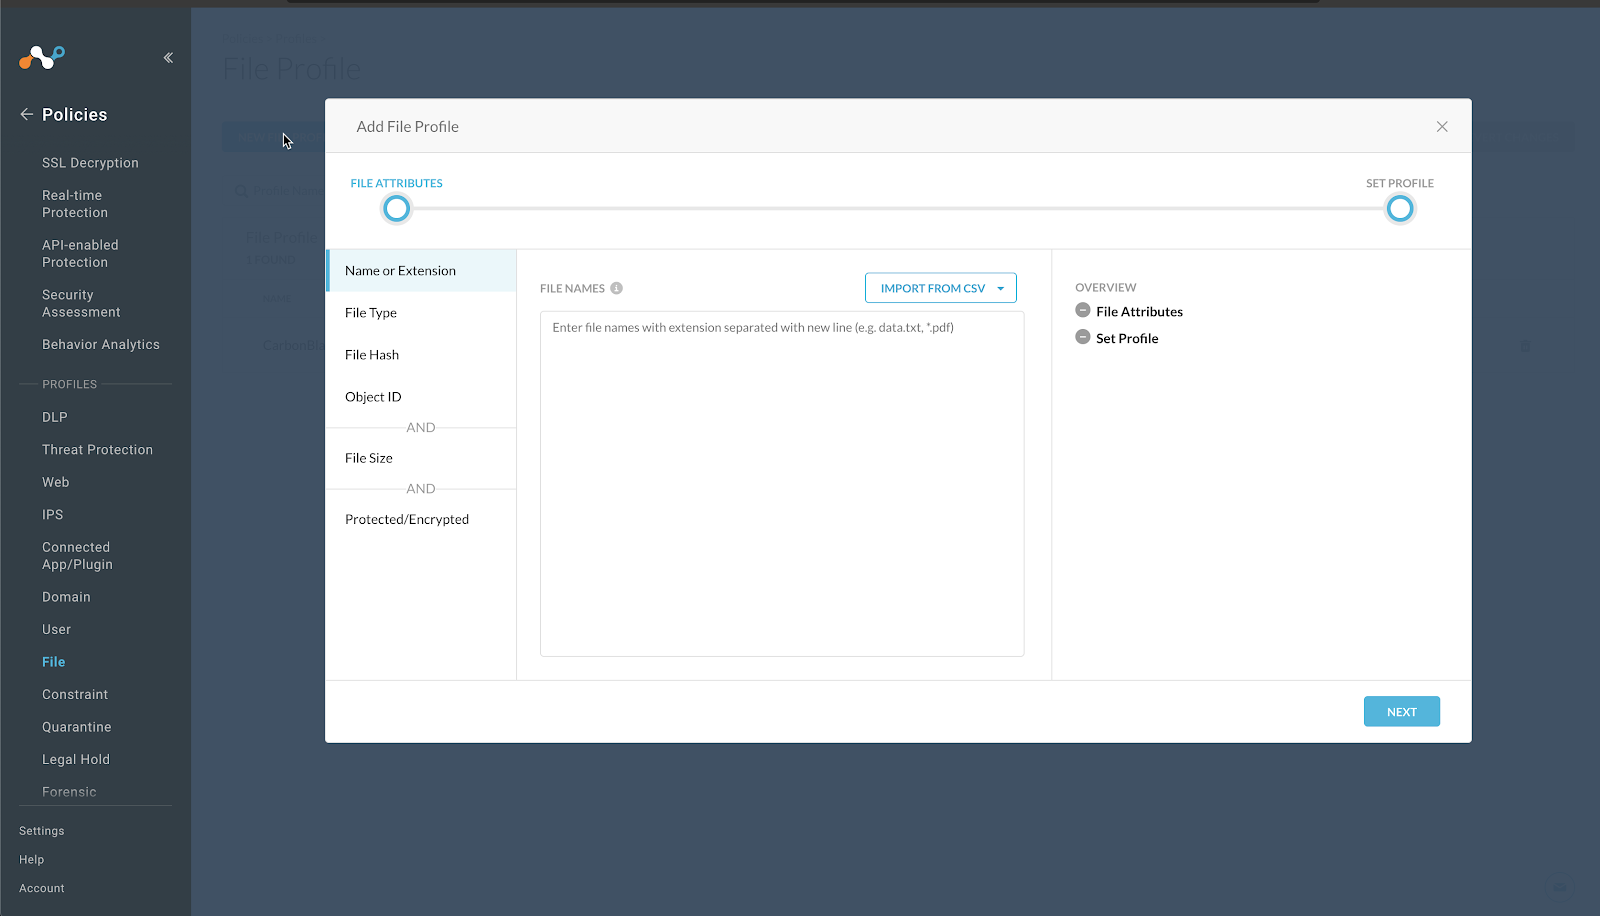
Select File Hash. In the drop down select SHA256.
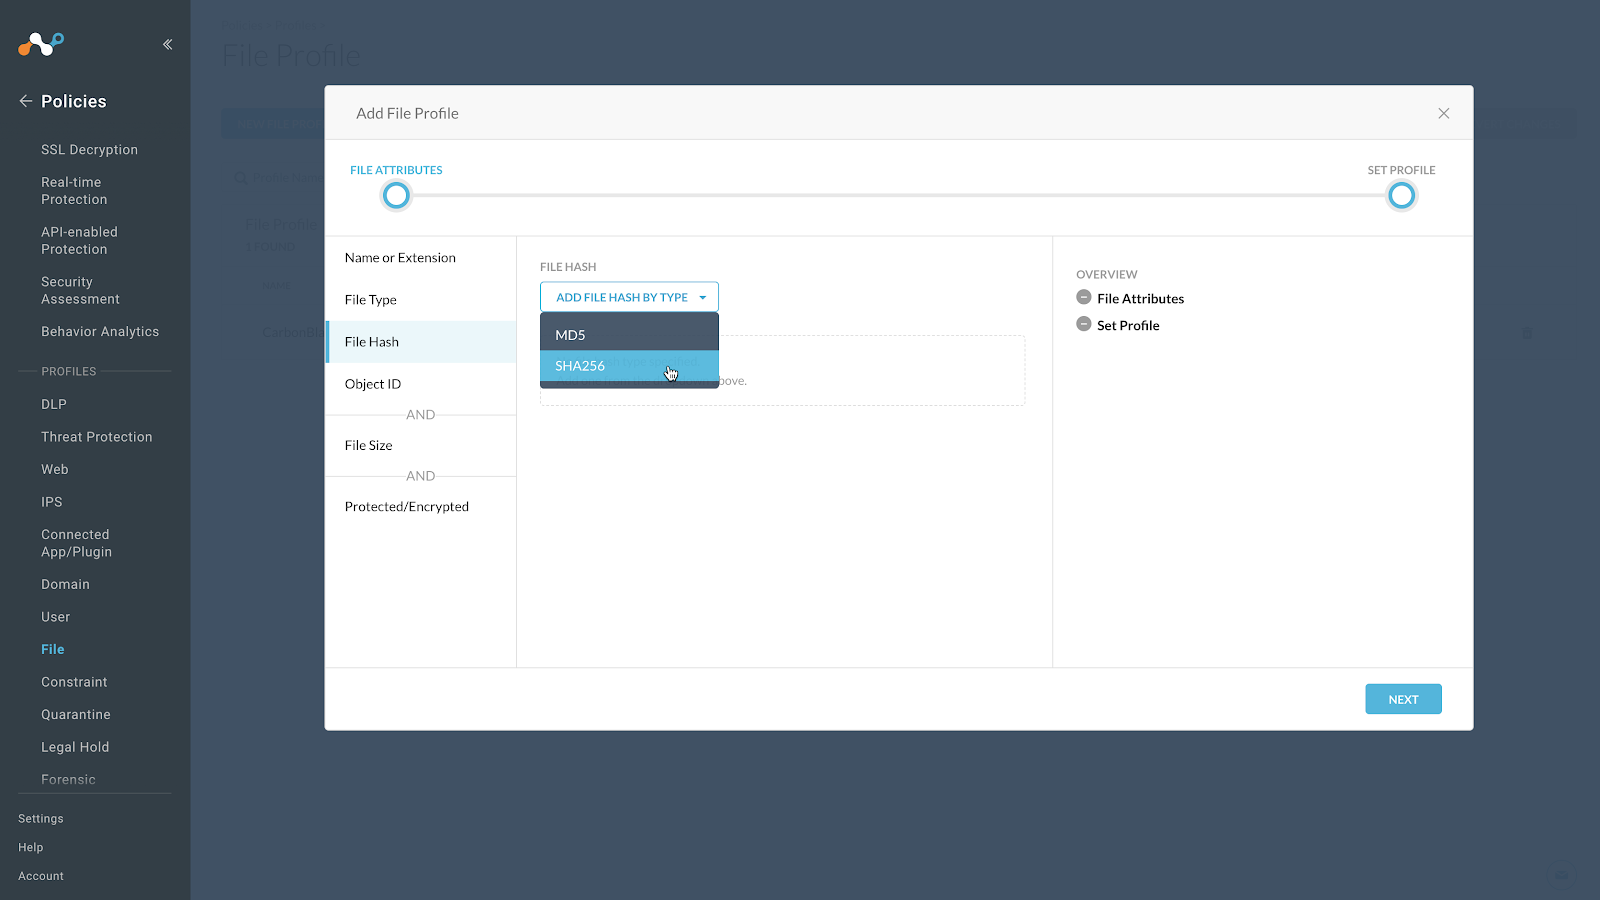
Enter a temporary value in the text field. Netskope does not support proceeding without having a value in this field, and we recommend using as a string of 64 characters that consist of the character
f, this will have a very low possibility of matching a valid file format. For example,ffffffffffffffffffffffffffffffffffffffffffffffffffffffffffffffff.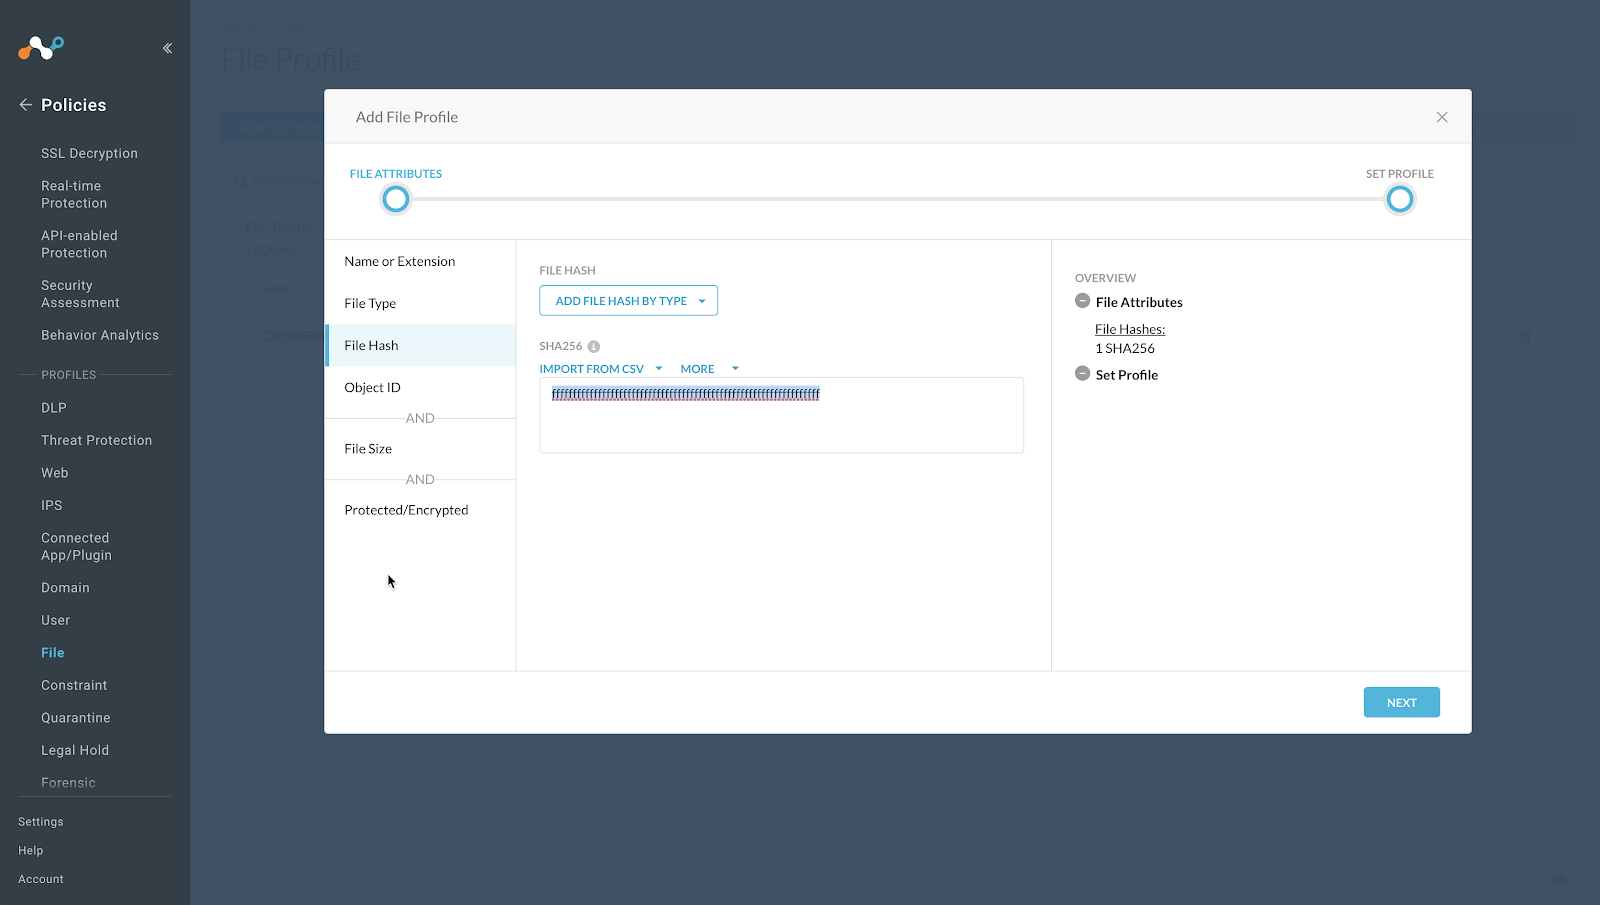
Click Next.
Enter a Profile name and description. Do not have spaces in your profile name; use underscores instead for spaces.
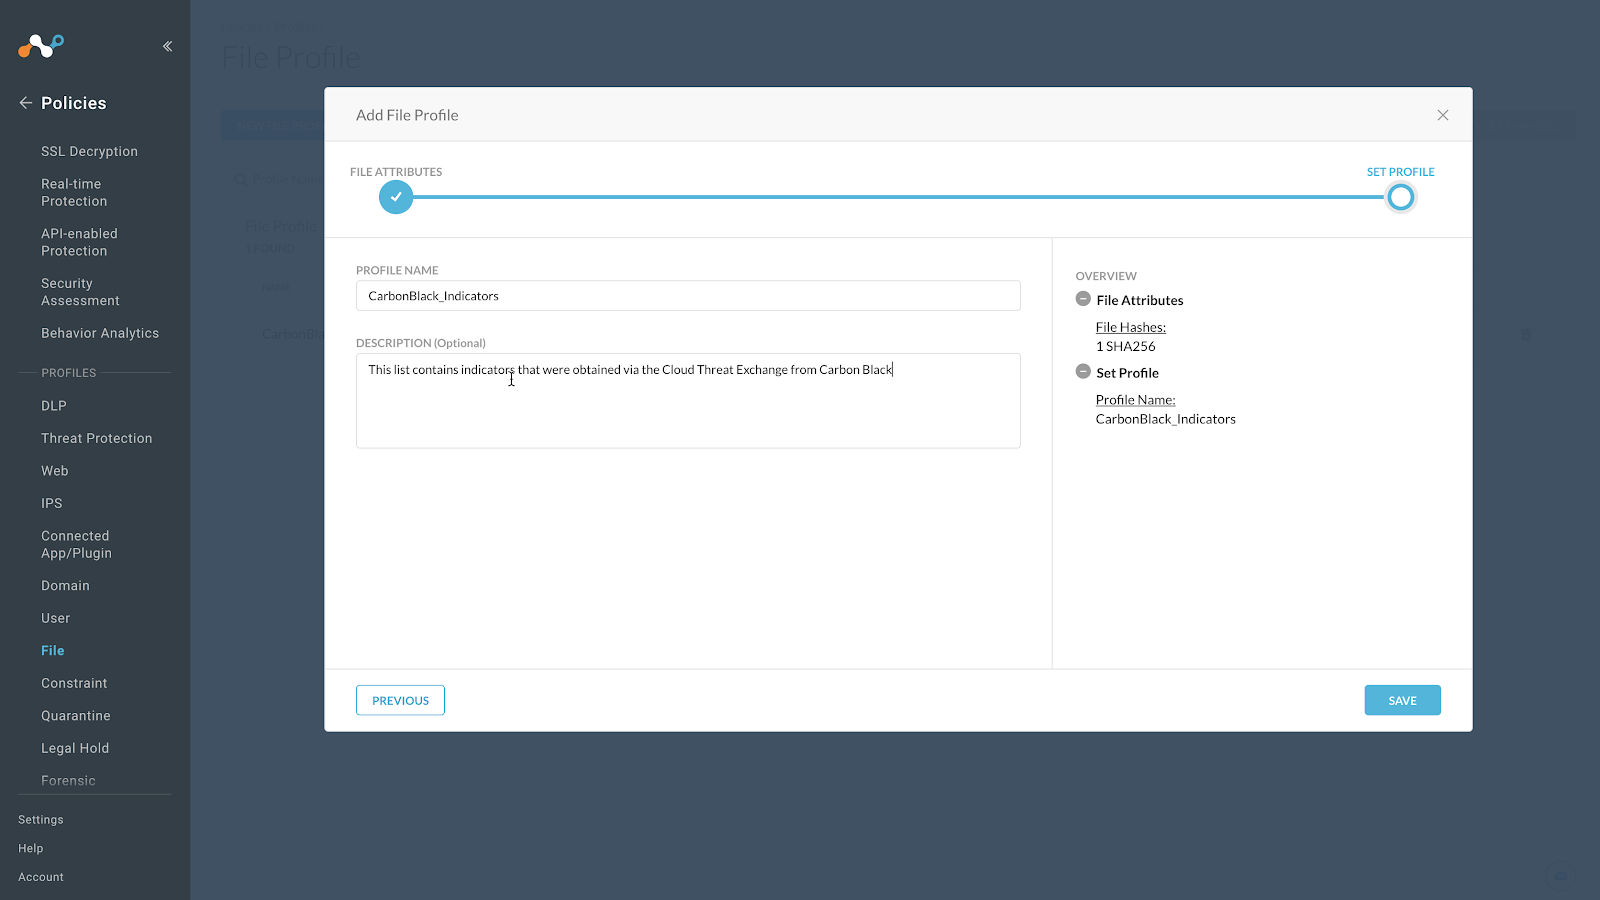
Click Save.
To use this profile in a policy, click Apply Changes on the top right of the screen.
In your Netskope tenant, go to Policies > Threat Protection > Malware Detection Profile and click New Malware Detection Profile.
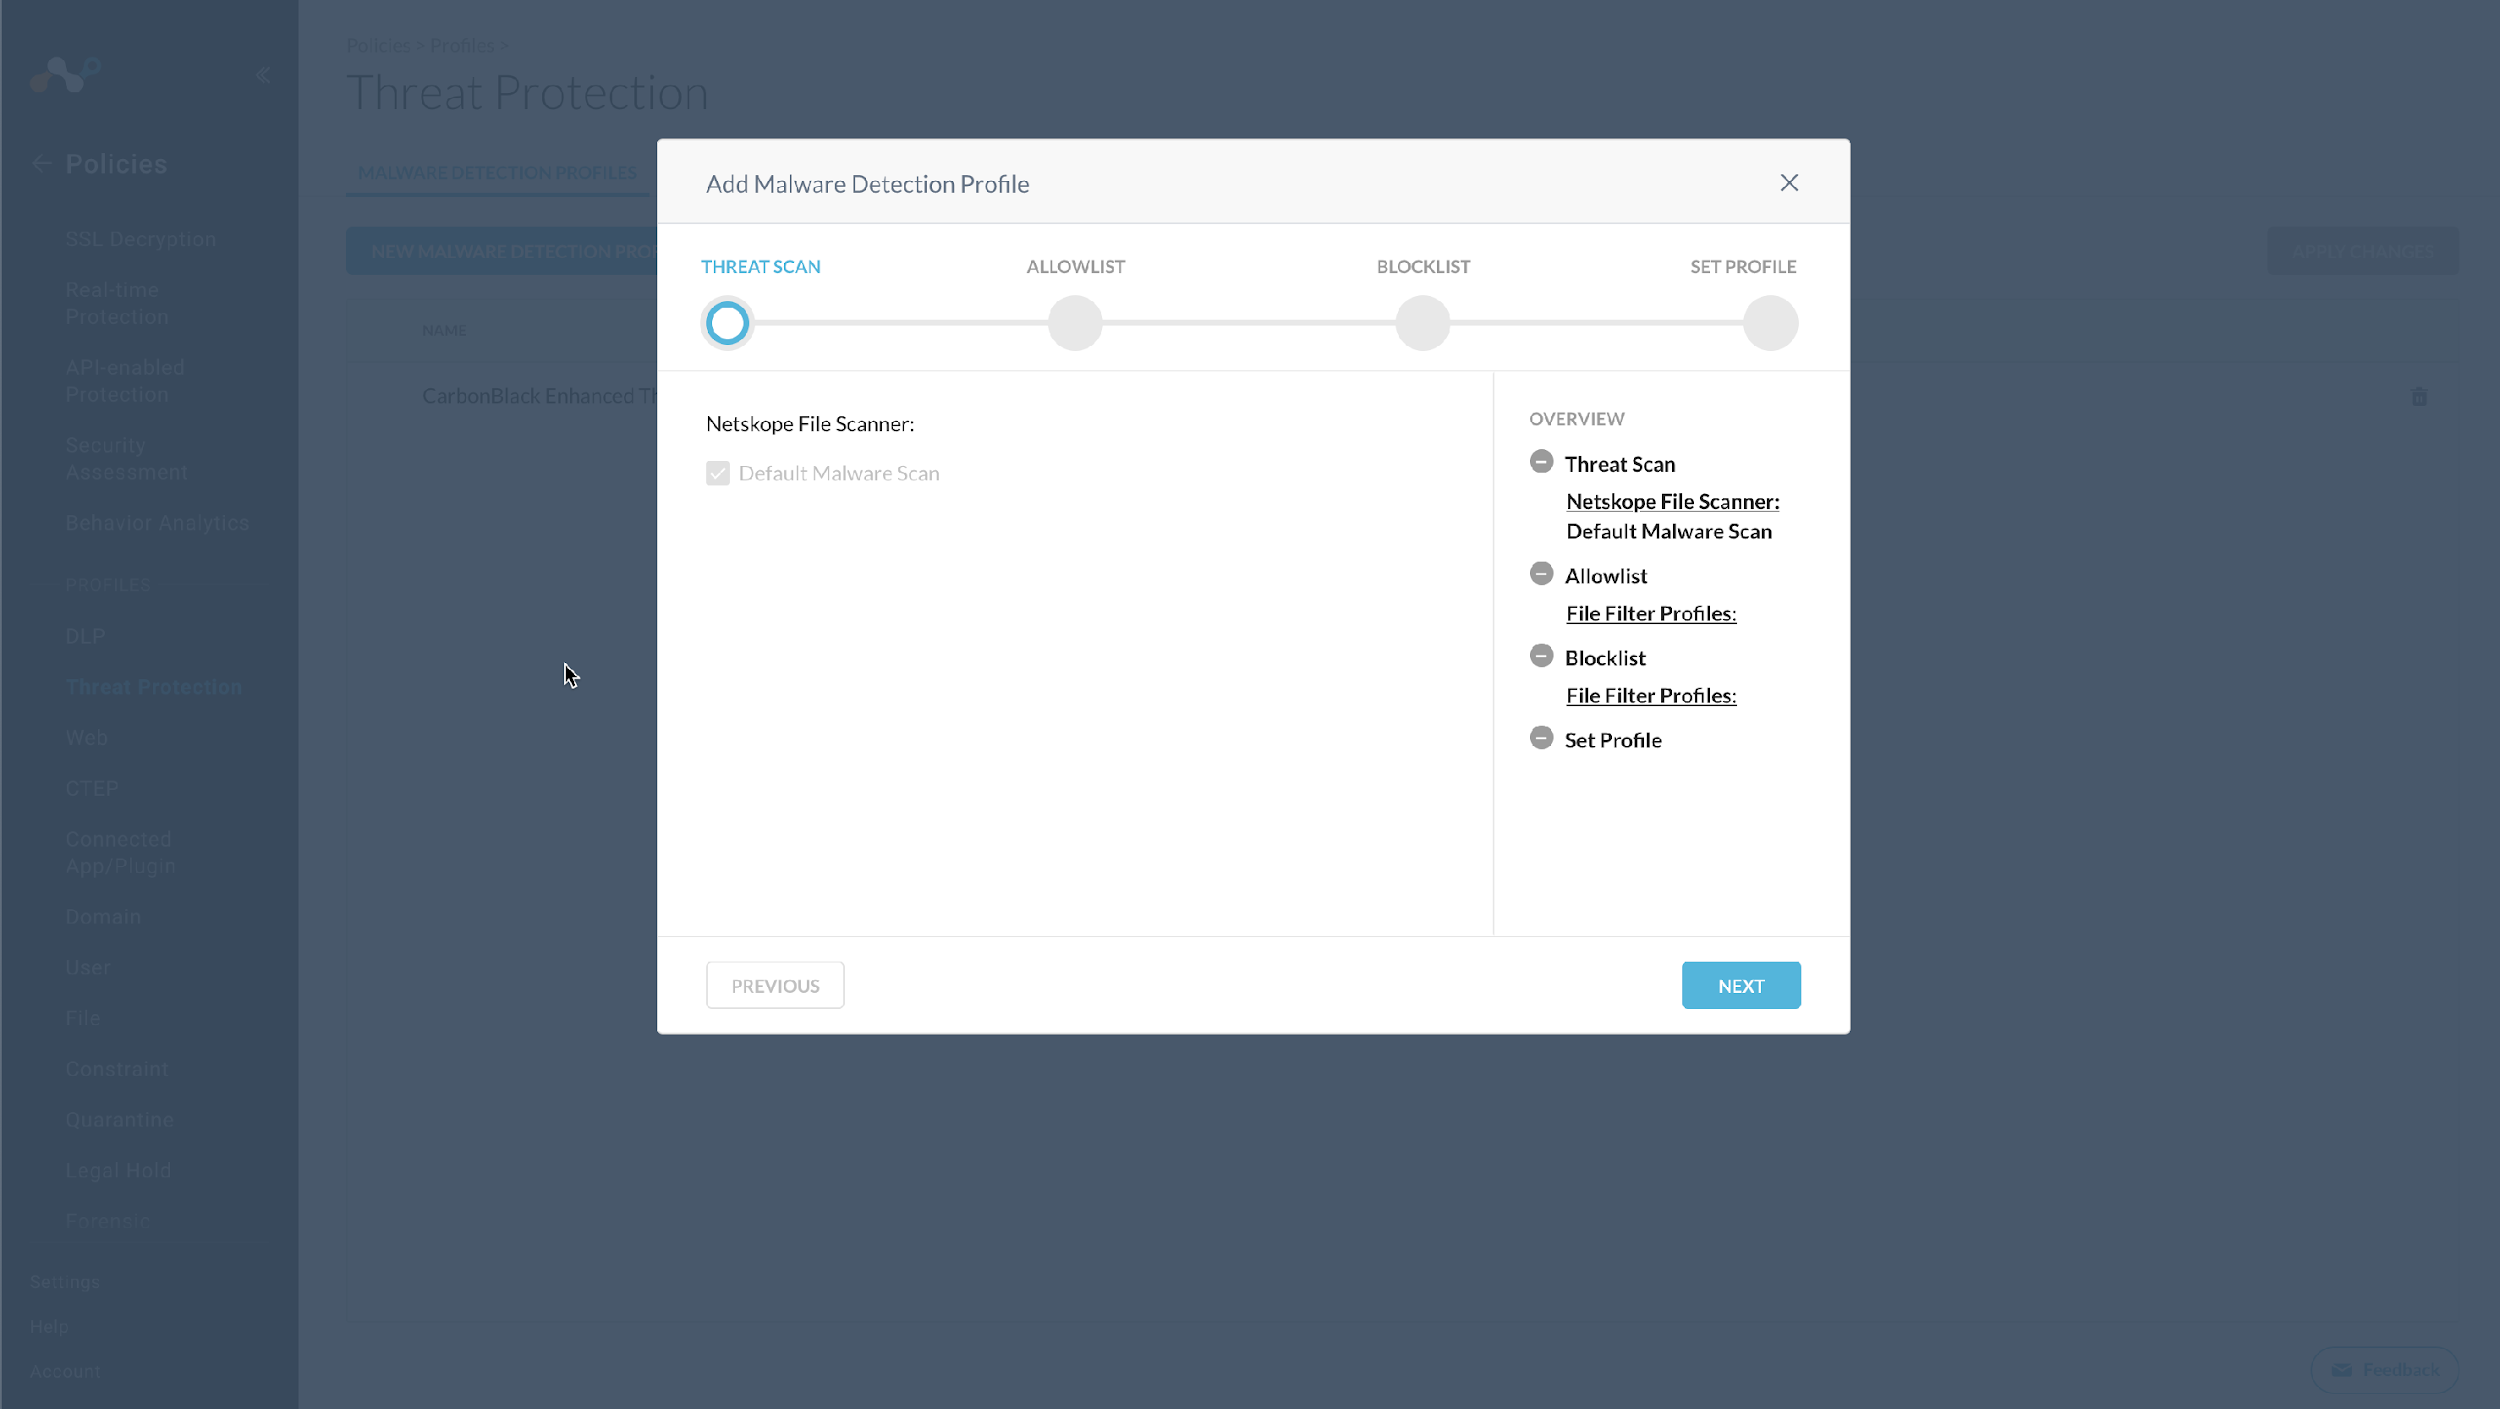
Click Next.
For this example, create this list as a block list (click through Allow options). Netskope does support inclusion of both allow and block lists in the Malware Detection profiles.Click Next.
Select the File Profile that you created previously.
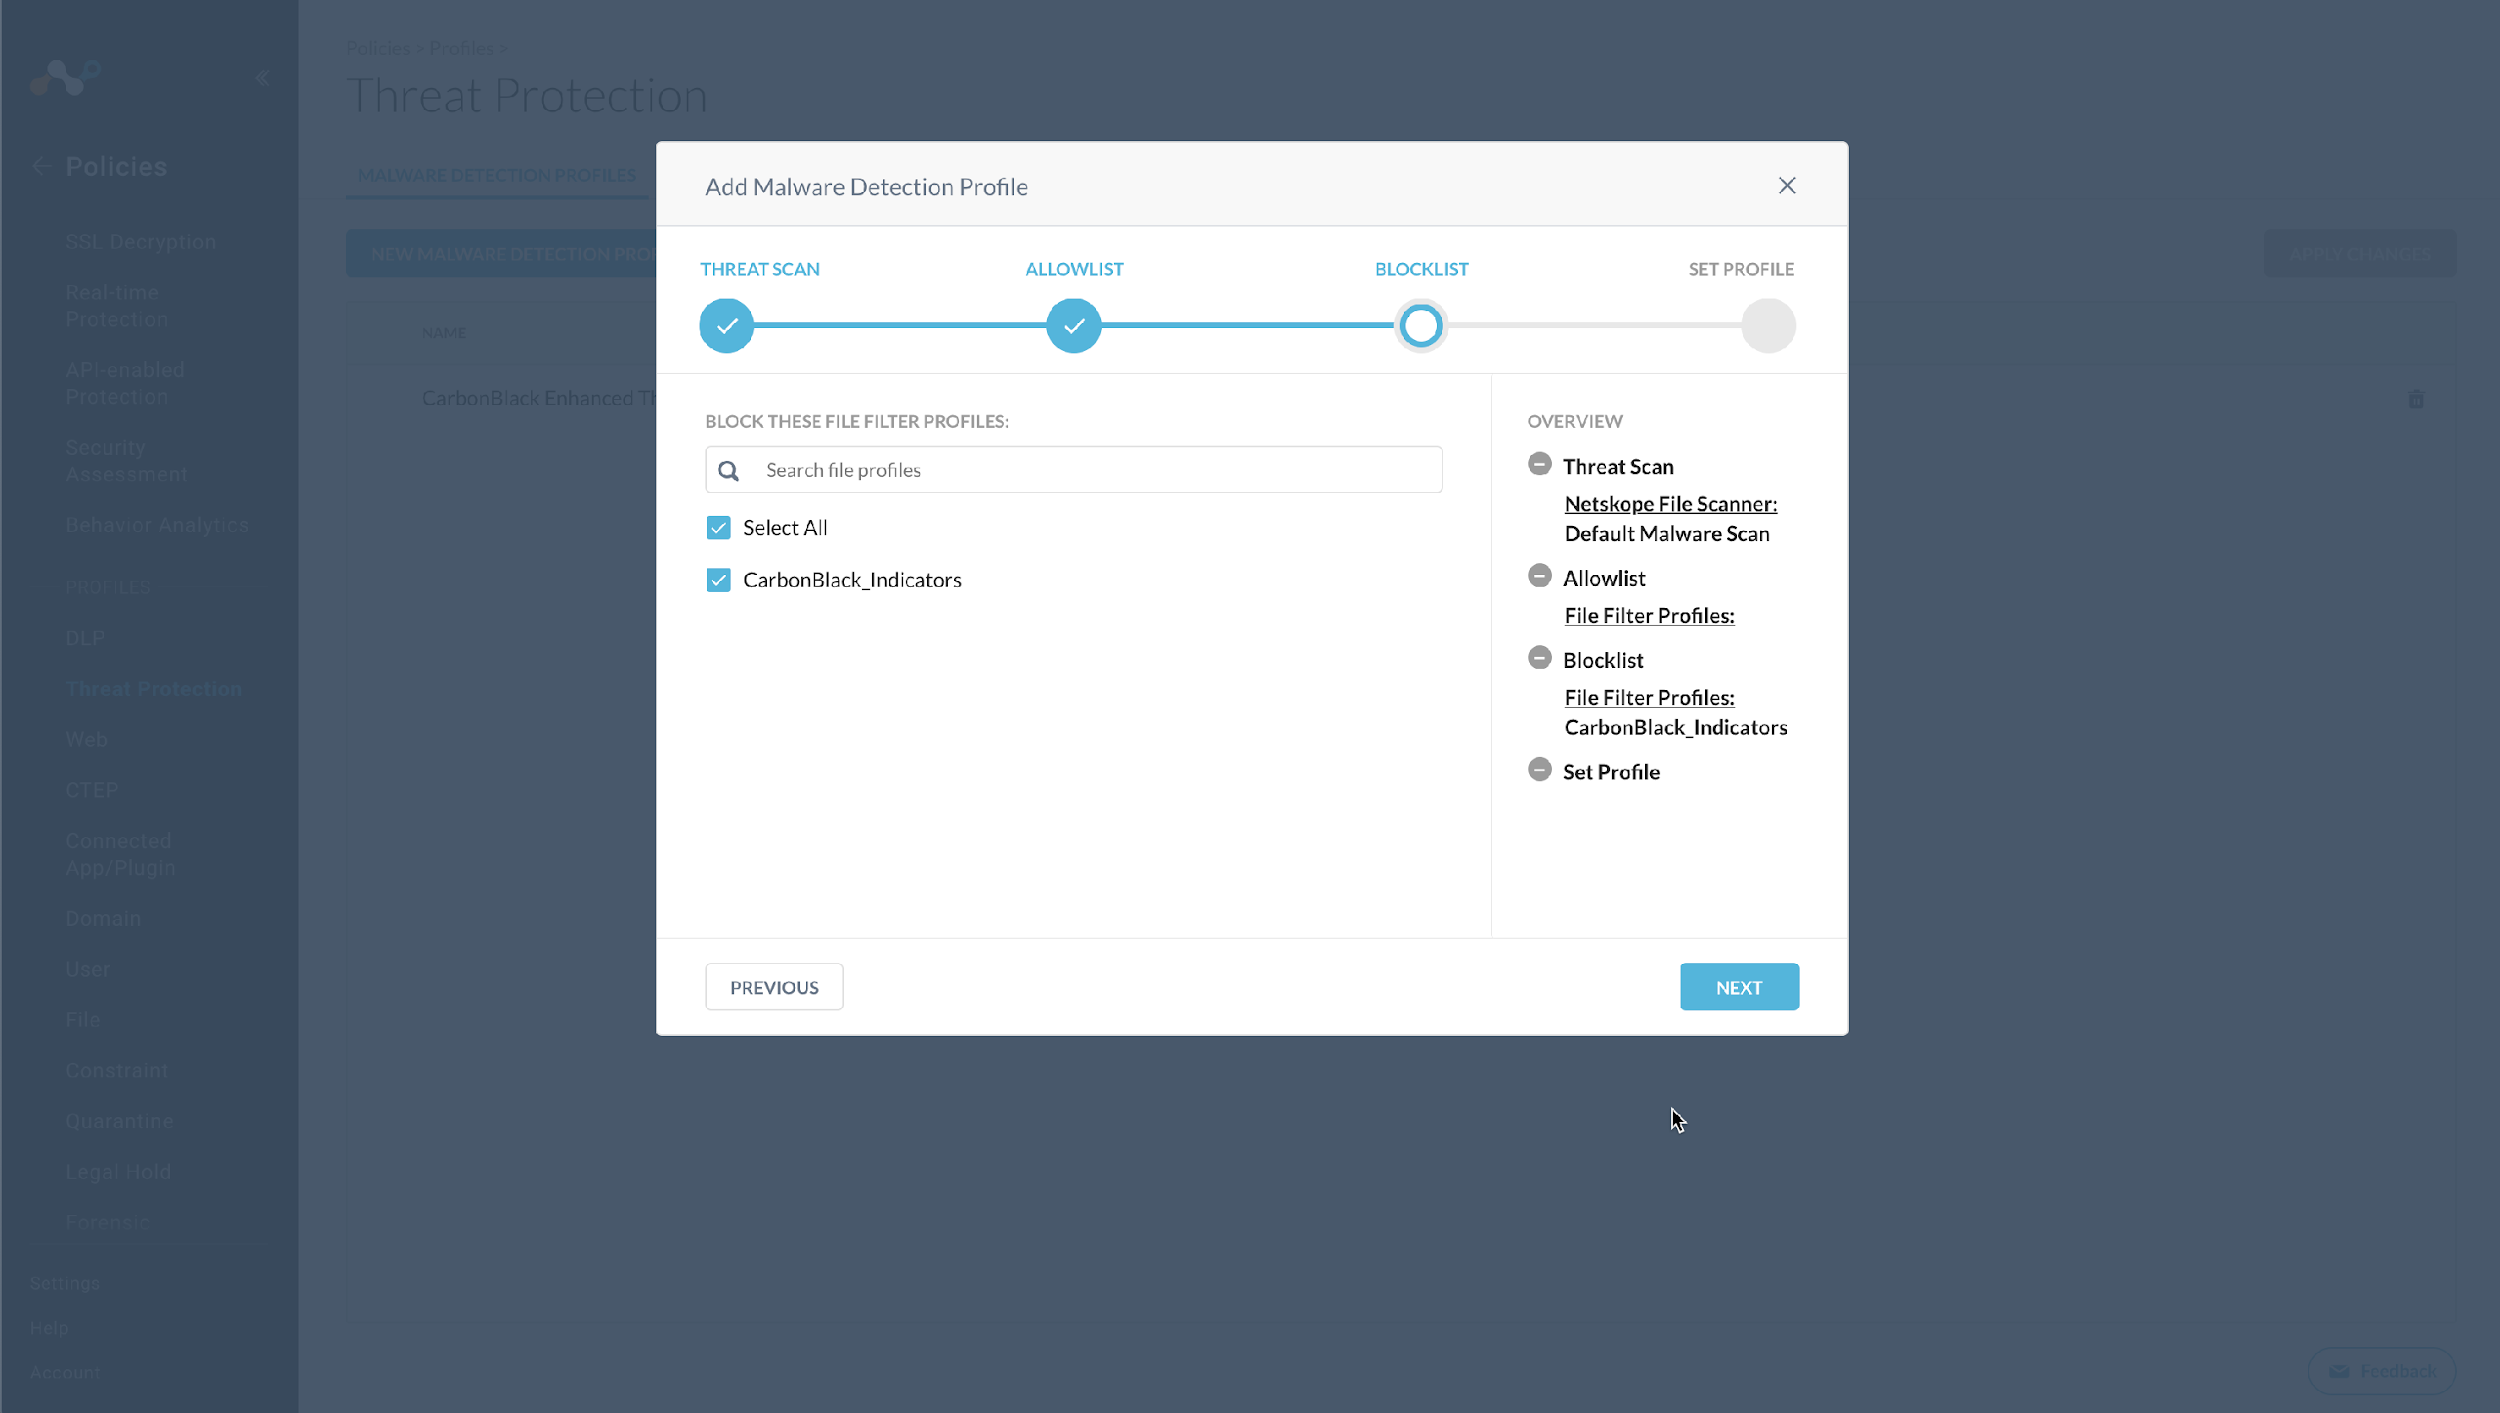
Click Next.
Enter a name for the Malware Detection profile.
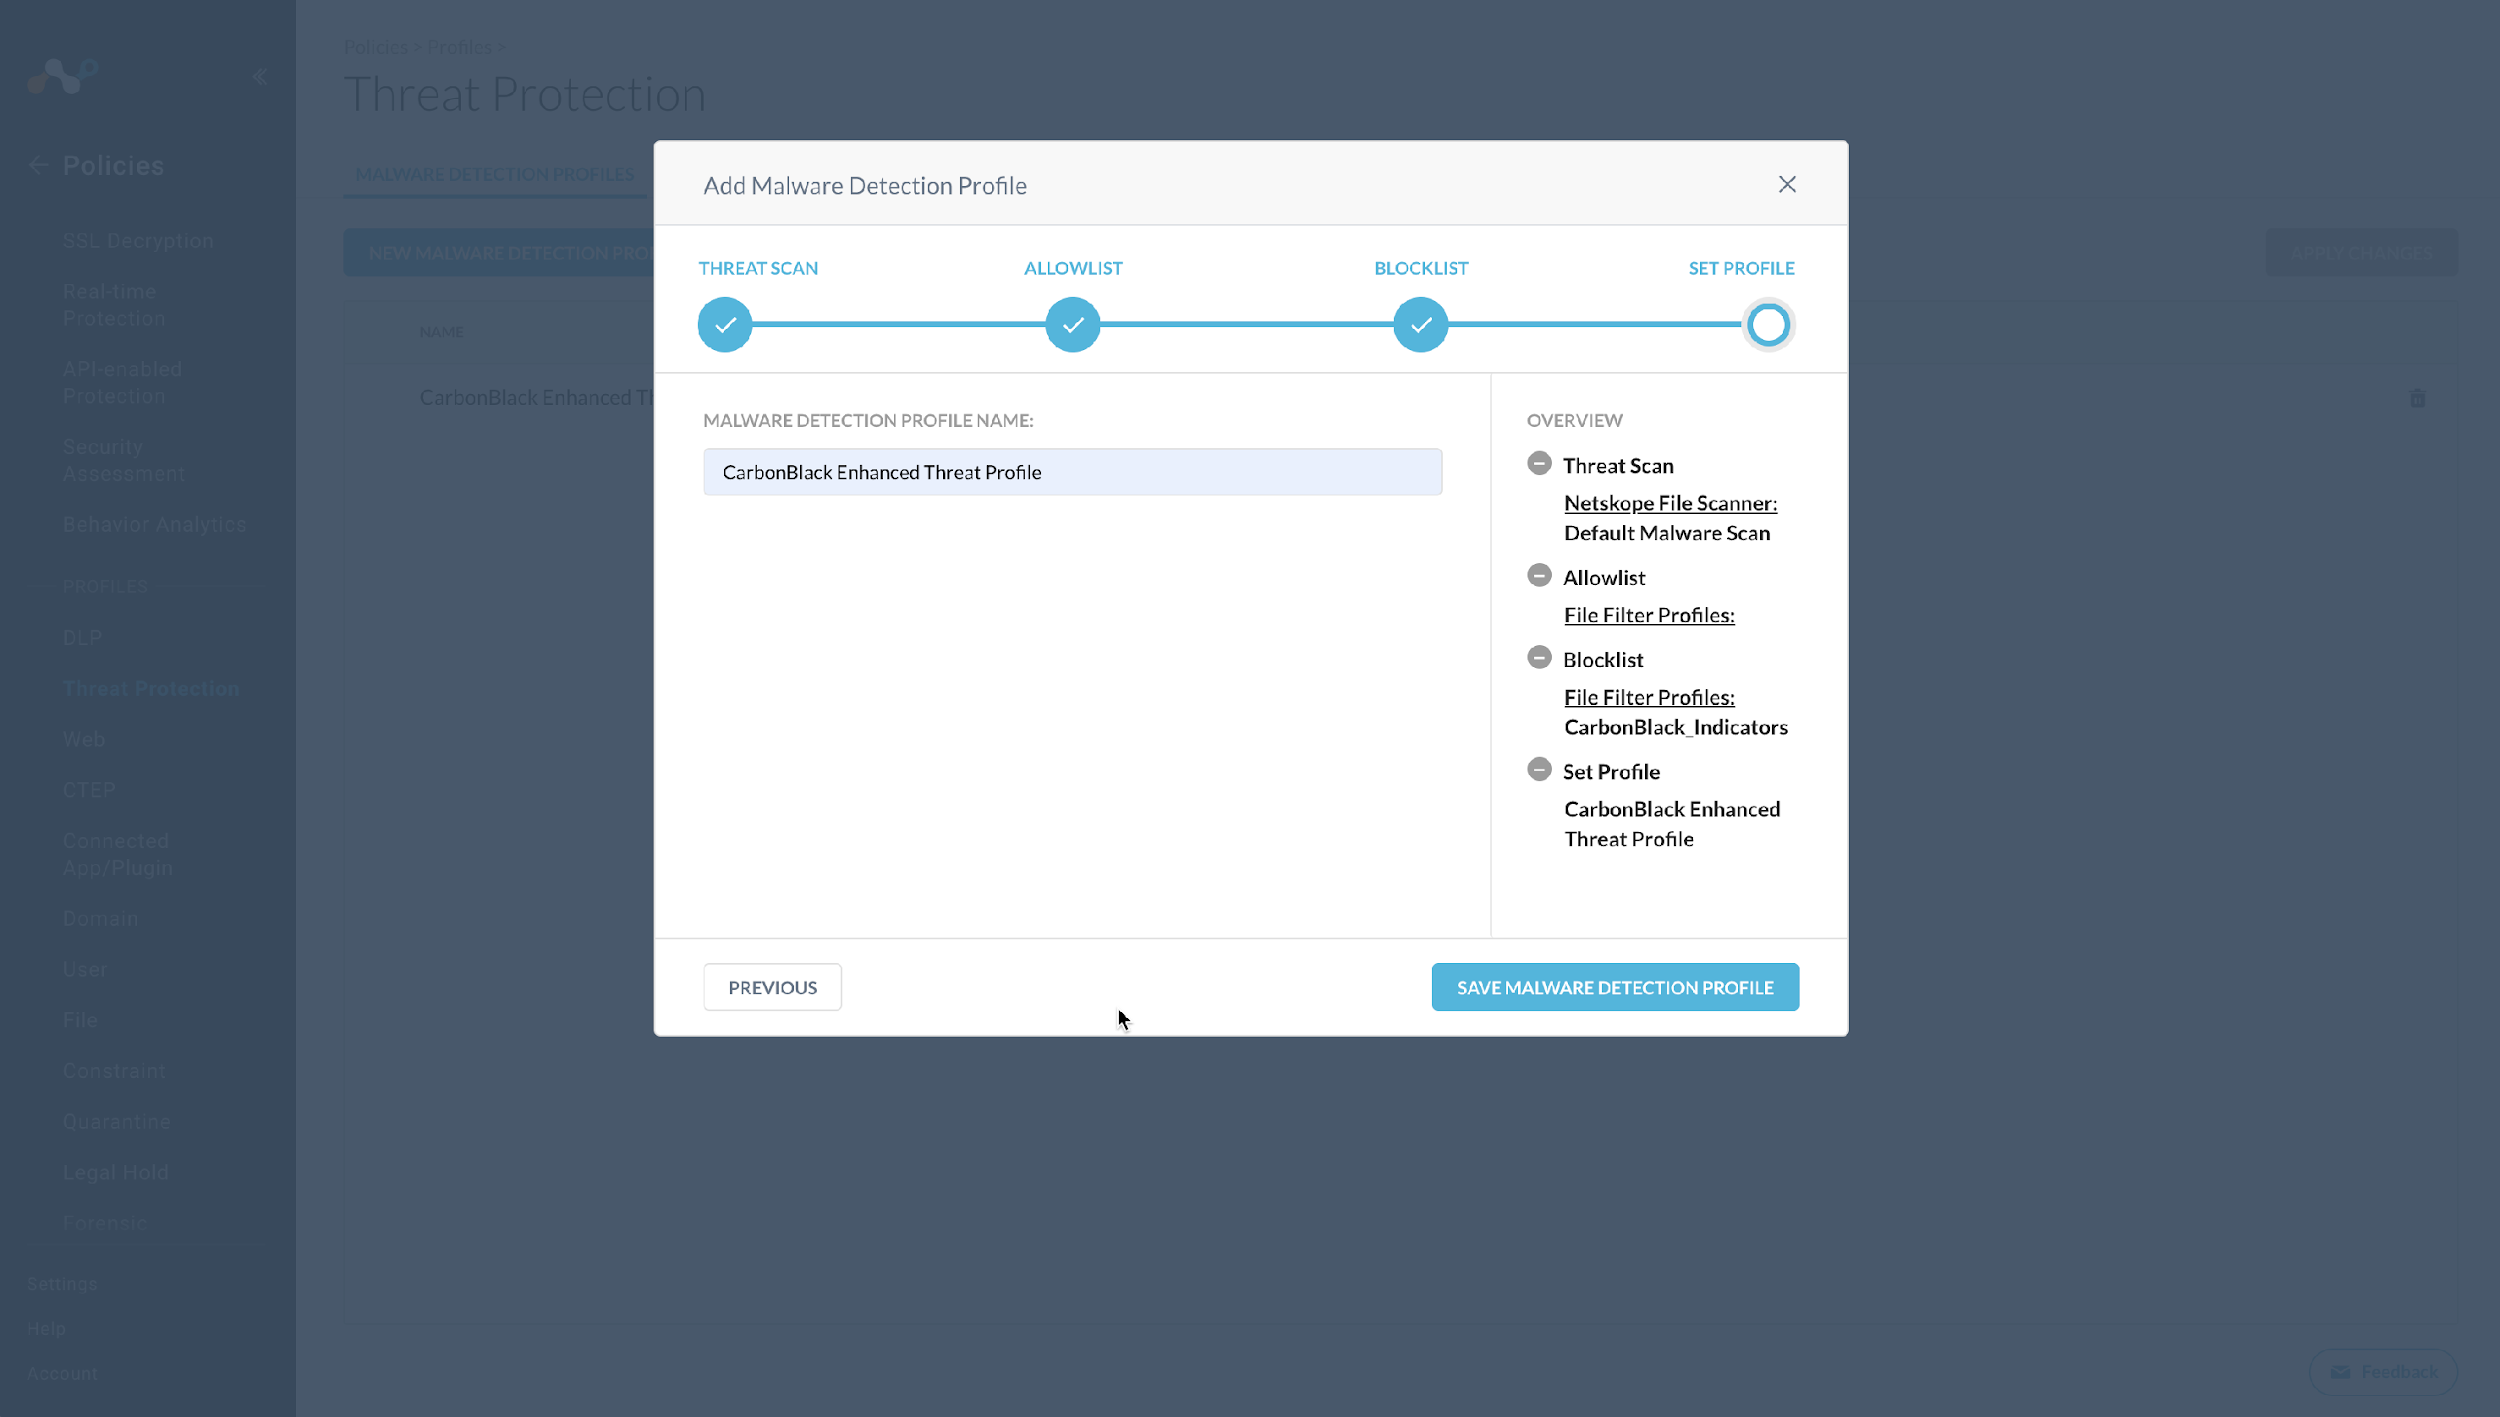
Click Save Malware Detection Profile.
To use this profile in a policy, click Apply Changes on the top right of the Screen.
In your Netskope tenant, go to Policies > Real-time Protection. The policy configuration is just an example. Modify as appropriate for your organization.
Click New Policy and then select Cloud App Access.
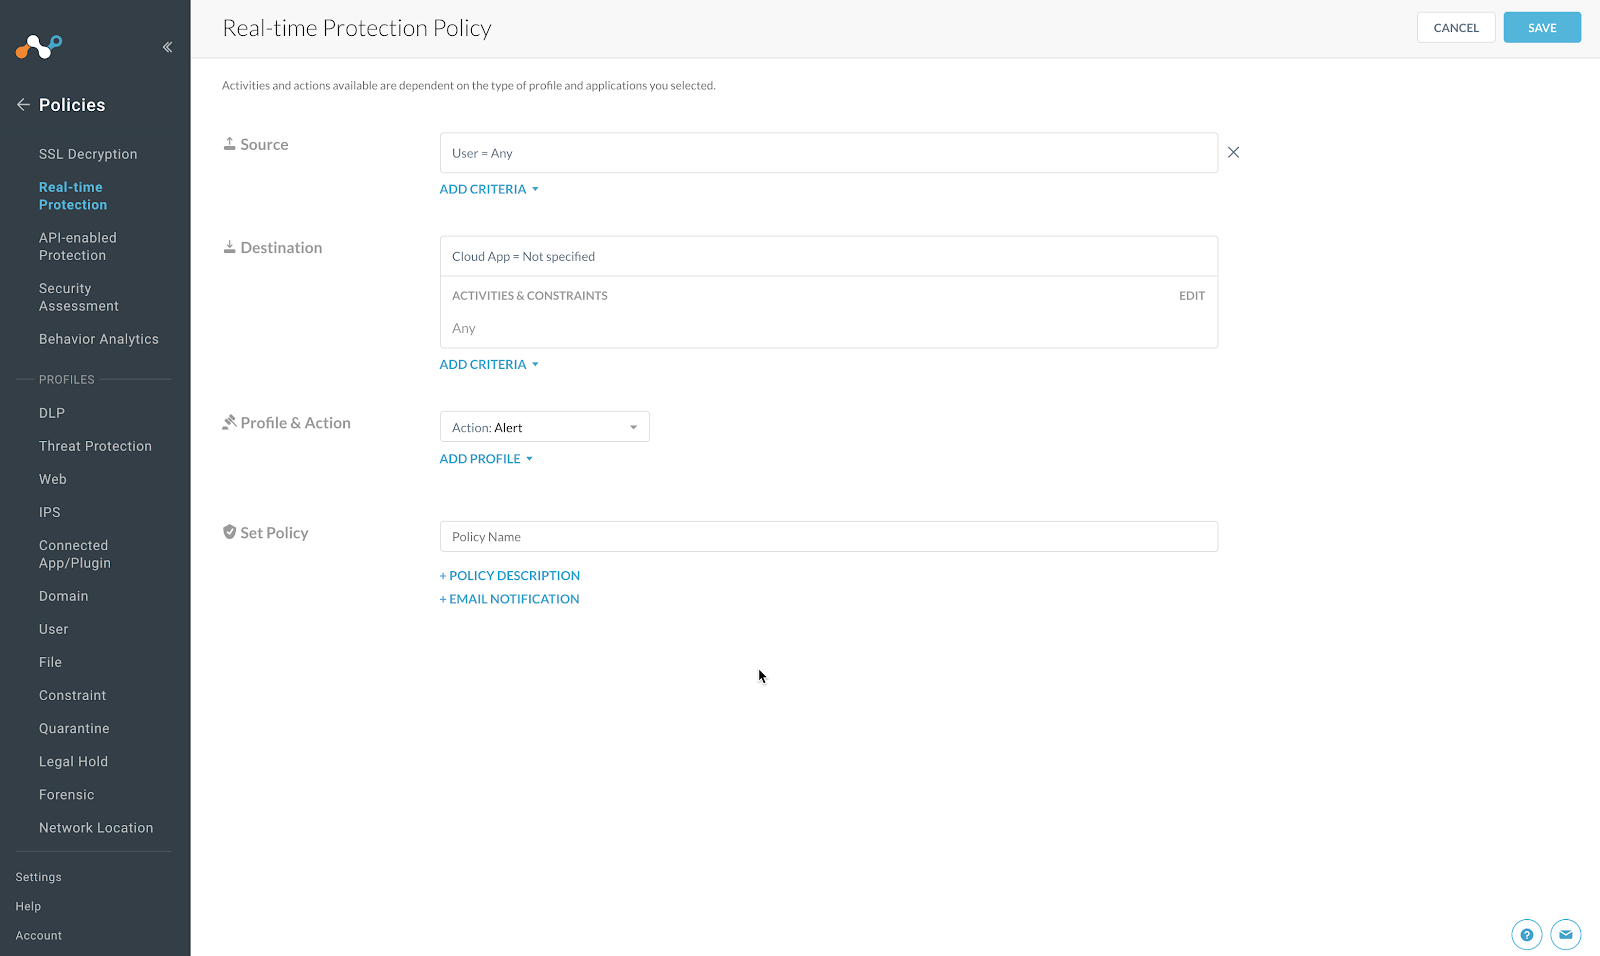
For Source, leave the default as
User = Any.Click Category
The window expands to allow you to search for and select the option All Categories.
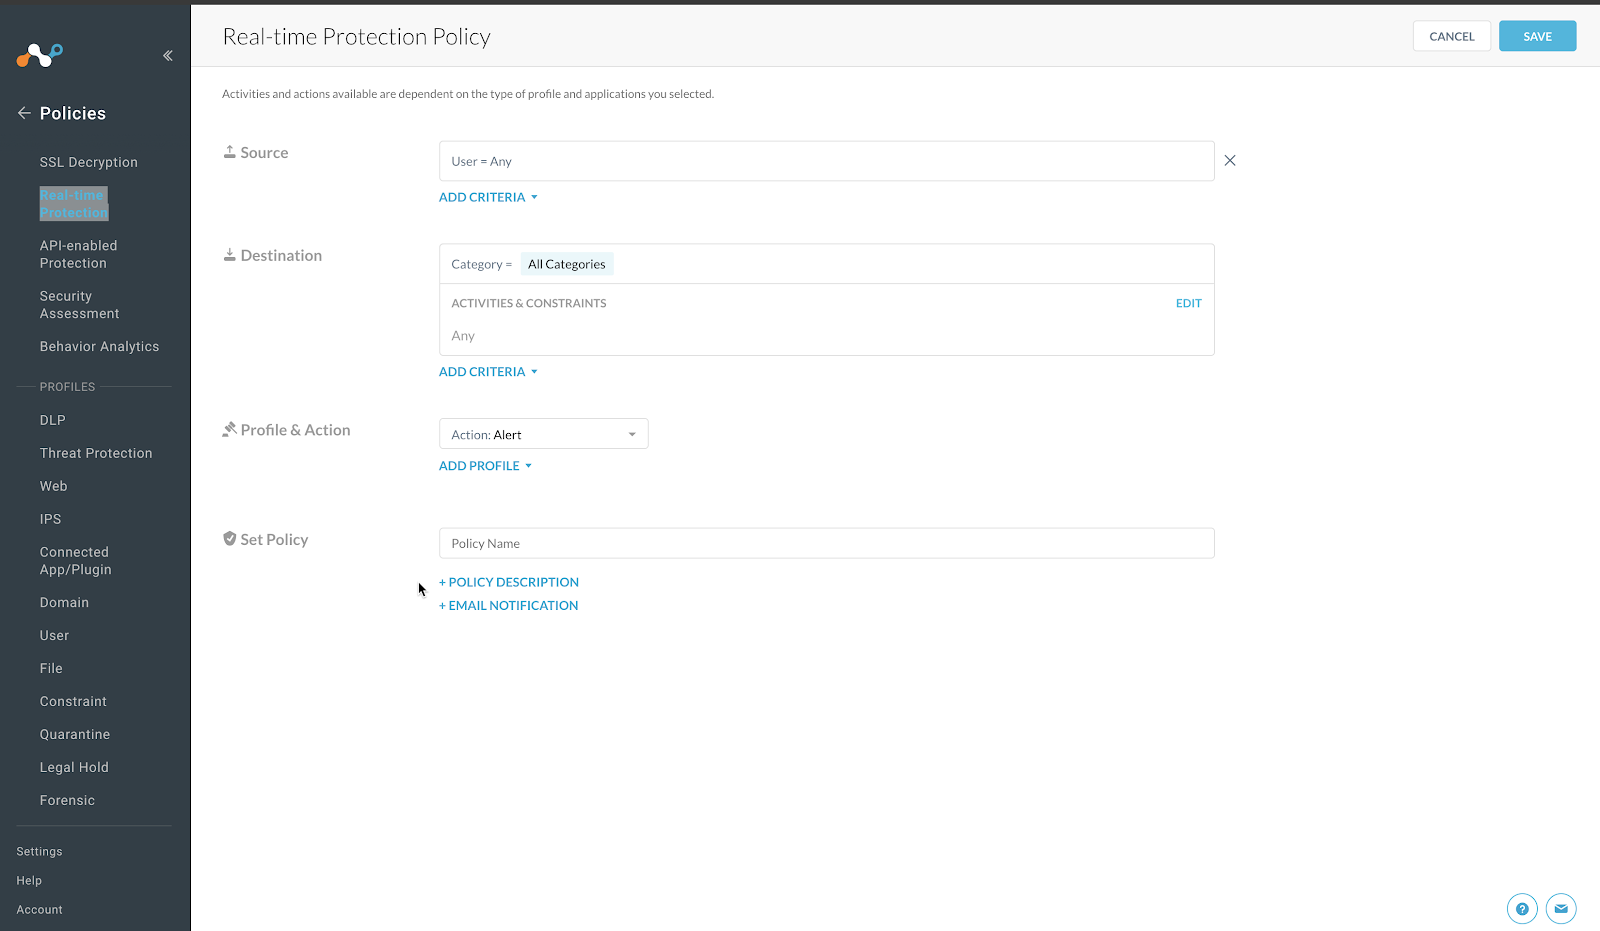
Click outside of this list to close the search dialog.
For Activities & Constraints, click Edit.
Select Upload and Download.
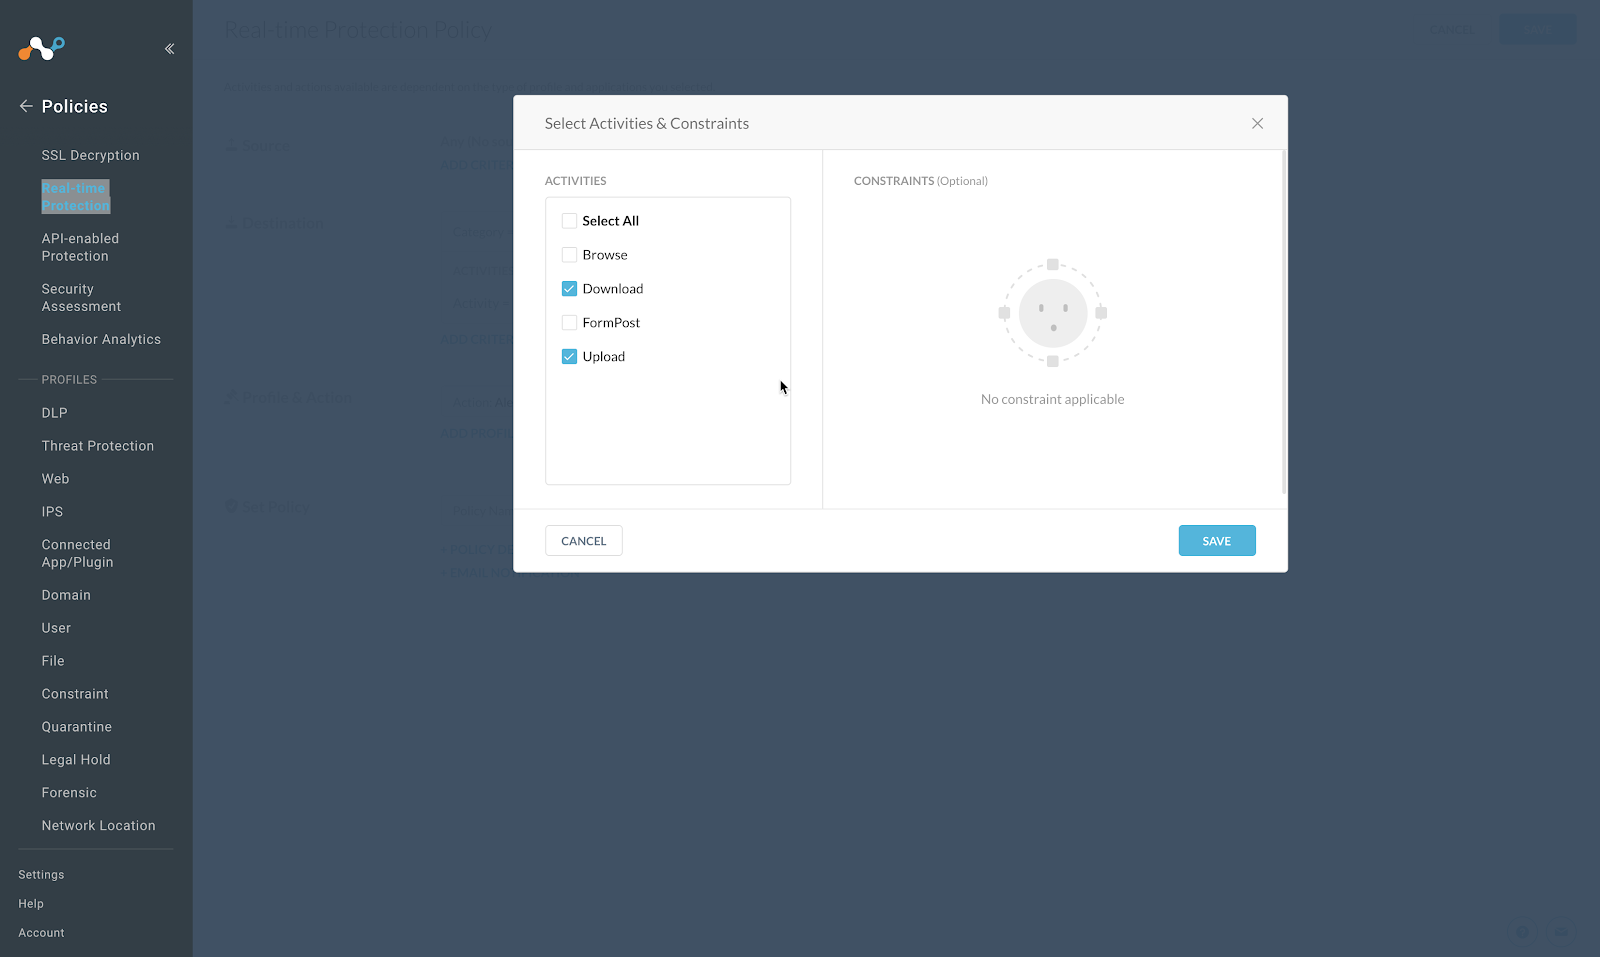
Click Save.
For Profile and Action, click Add Profile dropdown select Threat Protection Profile.
Click in the new Threat Protection Profile box and it will open up a list of available profiles.
Choose the Threat Profile you created previously.
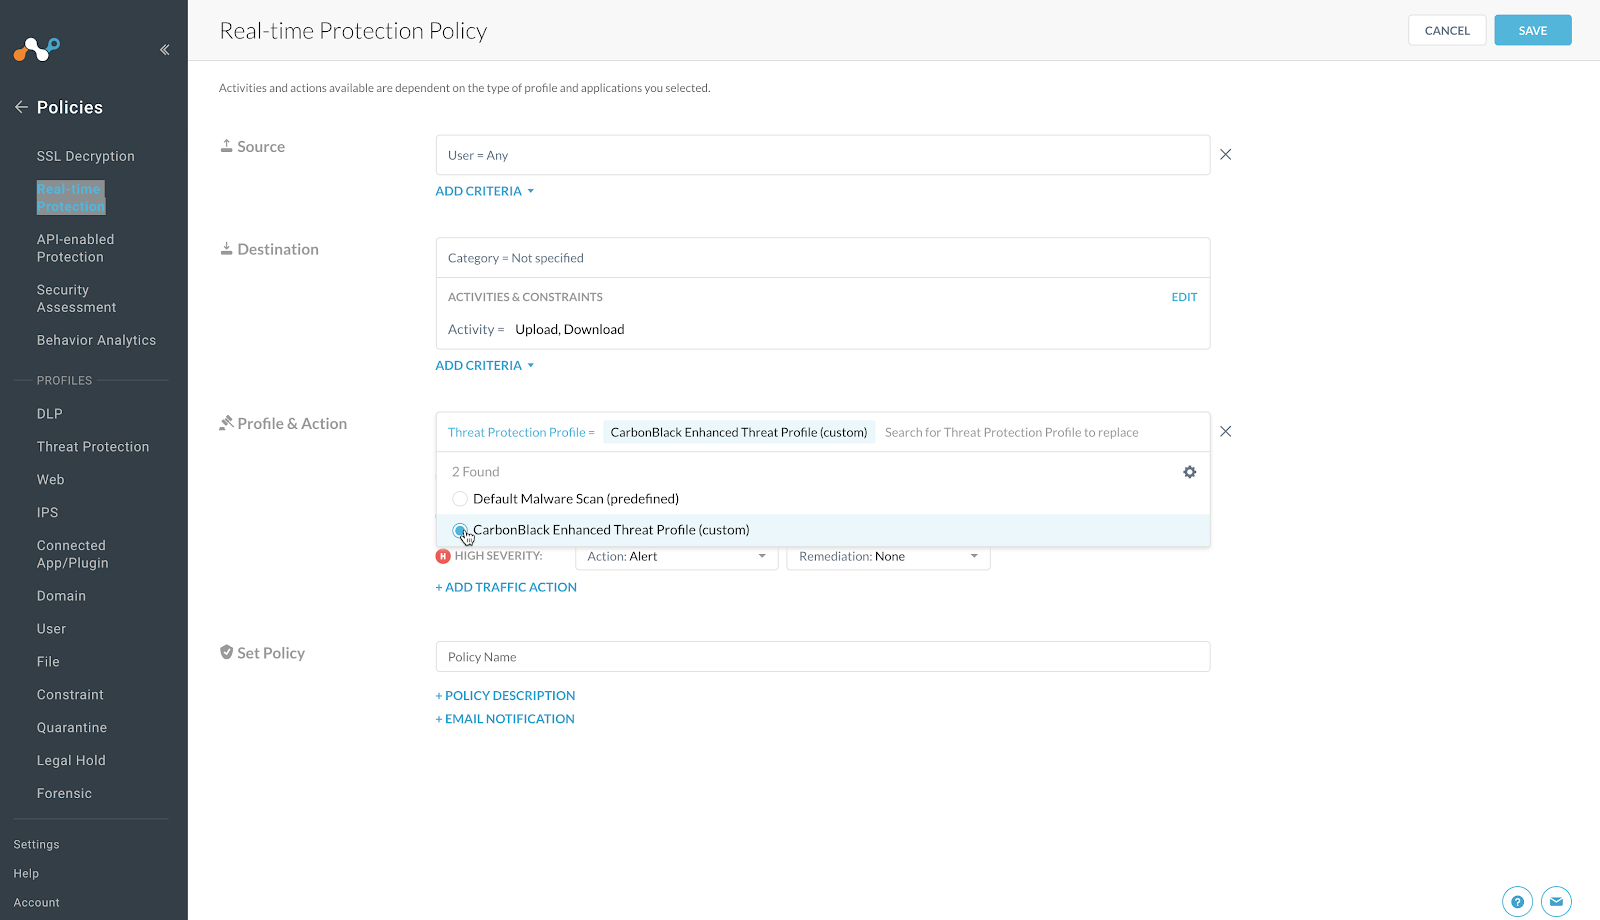
Adjust the Action: Alert to reflect Action: Block for each of the Severity options.
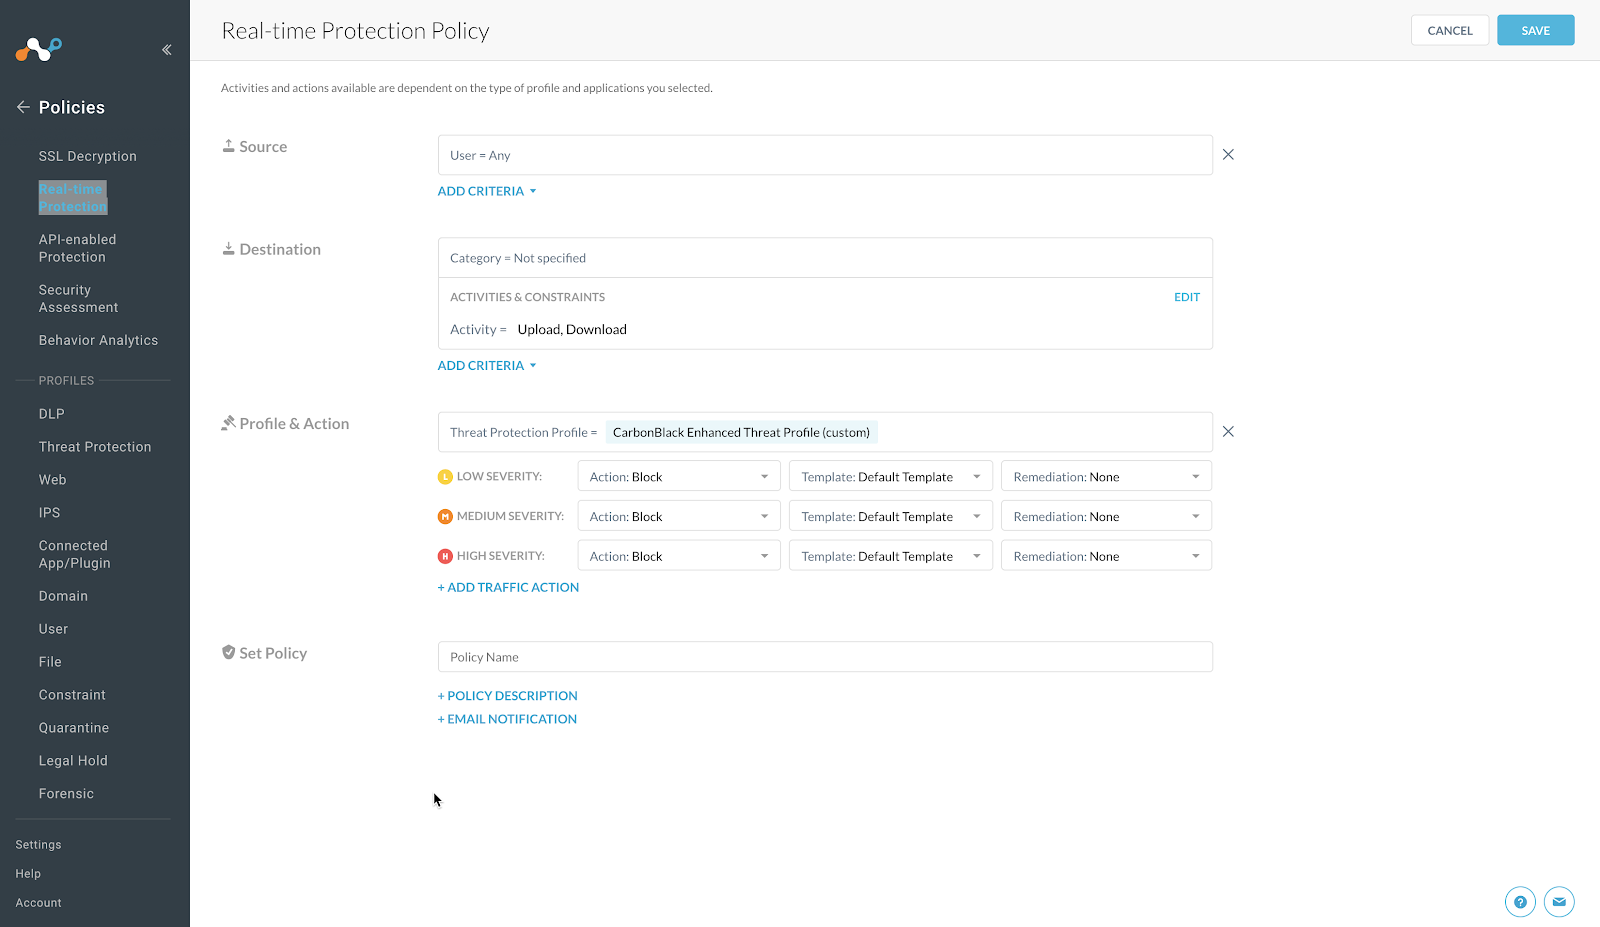
In the Set Policy text box, enter a descriptive Policy Name.
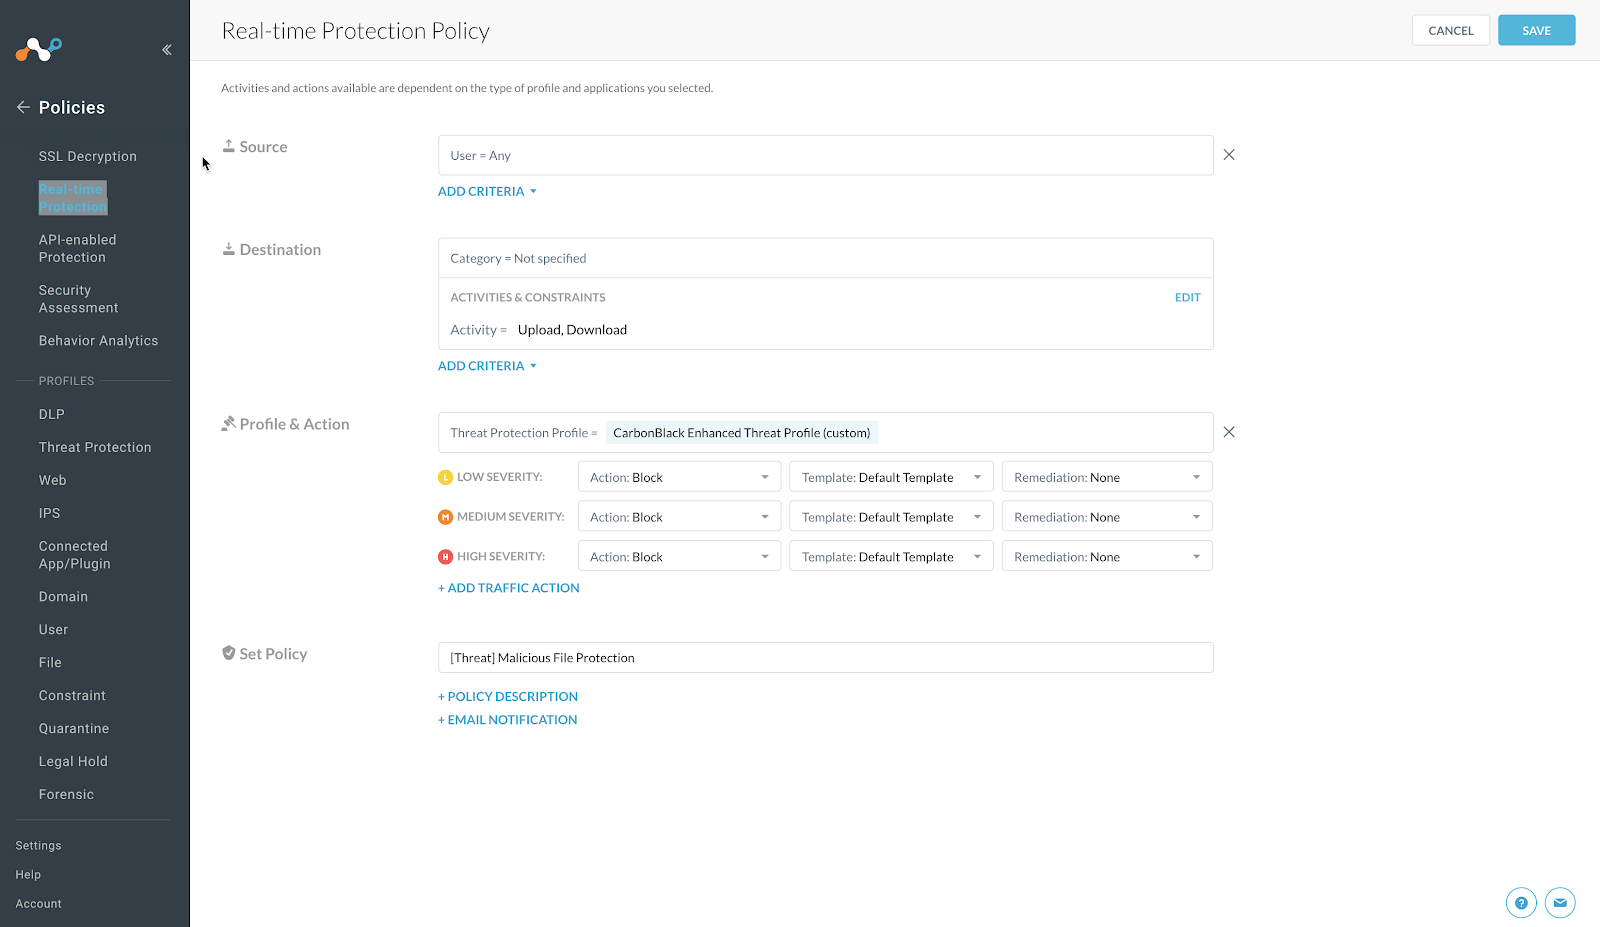
Click Save button on the top right of the screen.
Choose To the top option when it is presented.
To publish this policy into the tenant, select Apply Changes on the top right of the Screen.
Log in to your Cloud Exchange tenant.
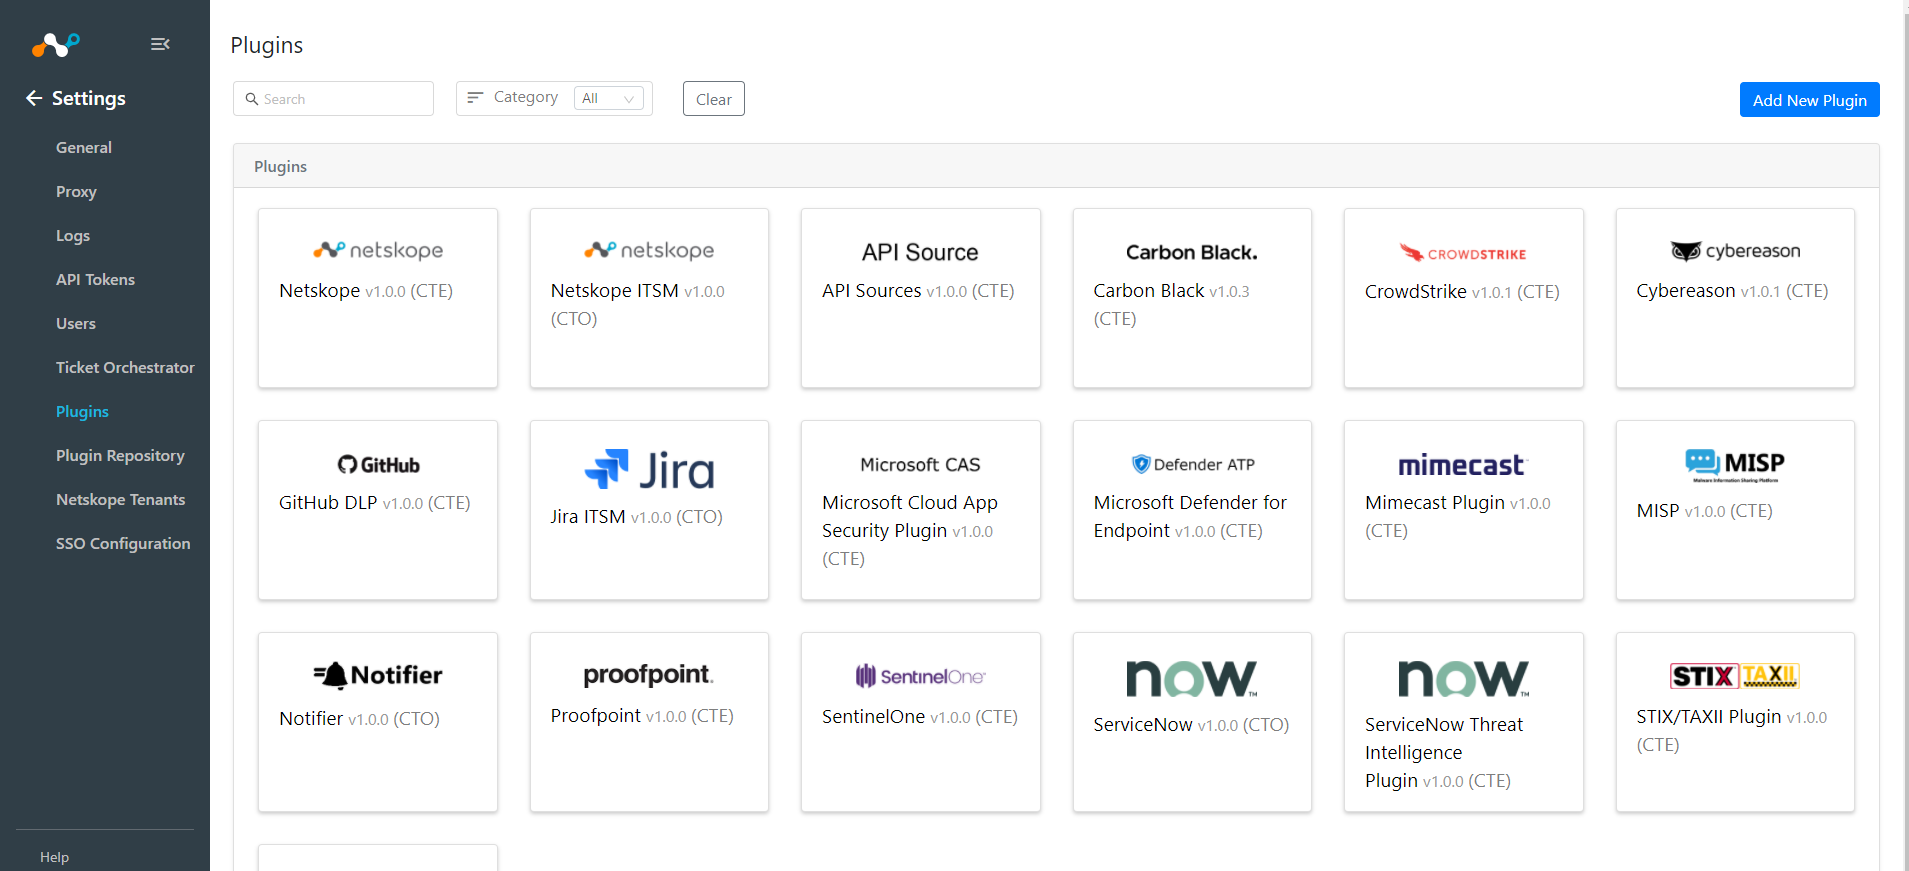
Go to Settings and click Plugins.
Select the Netskope (CTE) box to open the plugin creation page.
Enter a Configuration Name that is meaningful. Plugins serve two purposes: the first is to connect the Cloud Exchange to the respective data resource, and the second is to provide a bucket to hold the indicators which the Threat Module collects. This configuration name will represent this bucket name.
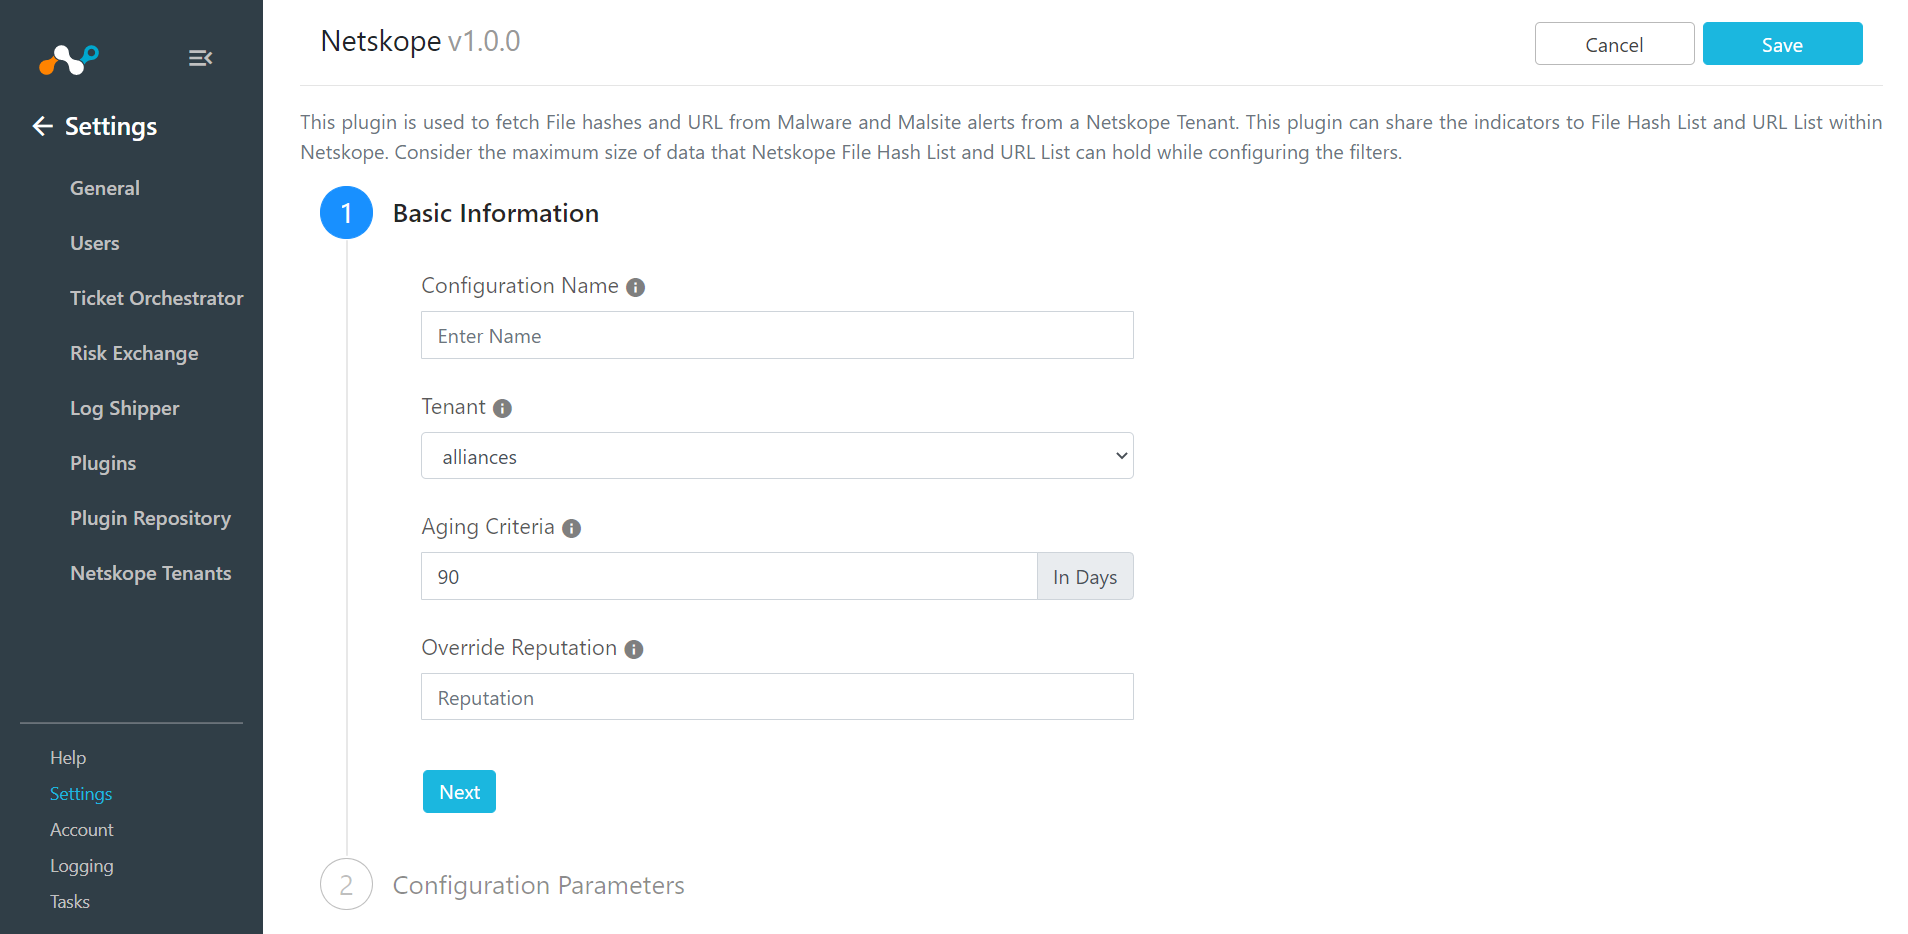
For Tenant, select your Netskope tenant.
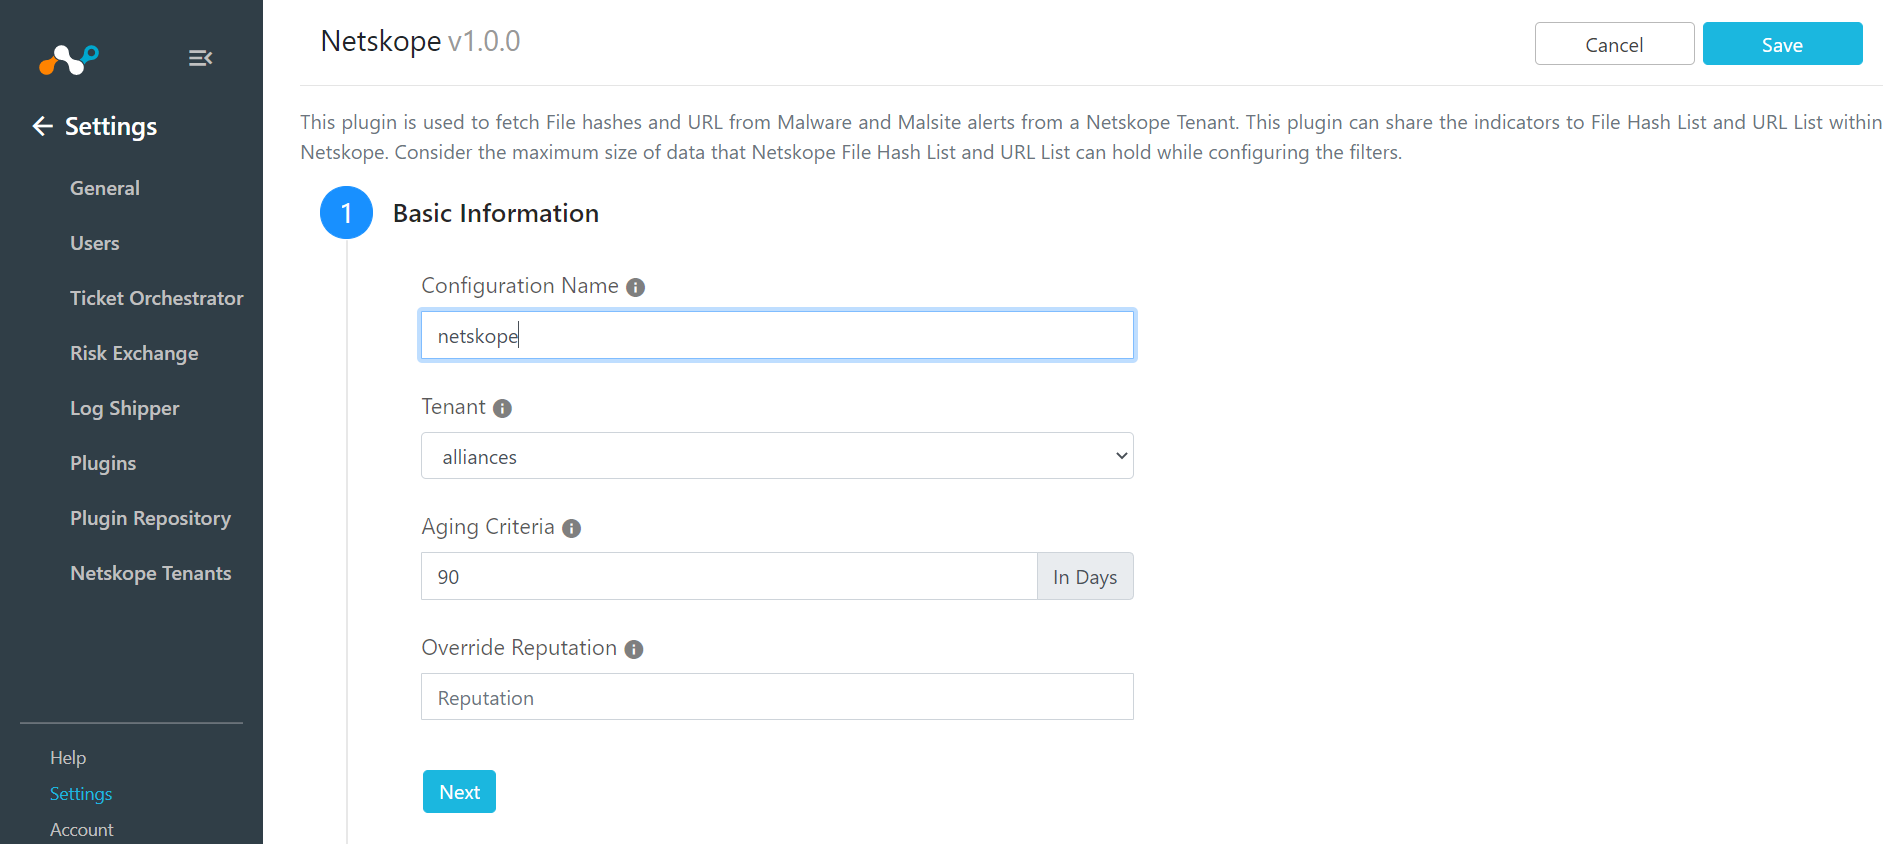
Click Next.
Ensure that Enable Polling is
Yes.Change the Type of Threat data to
Both.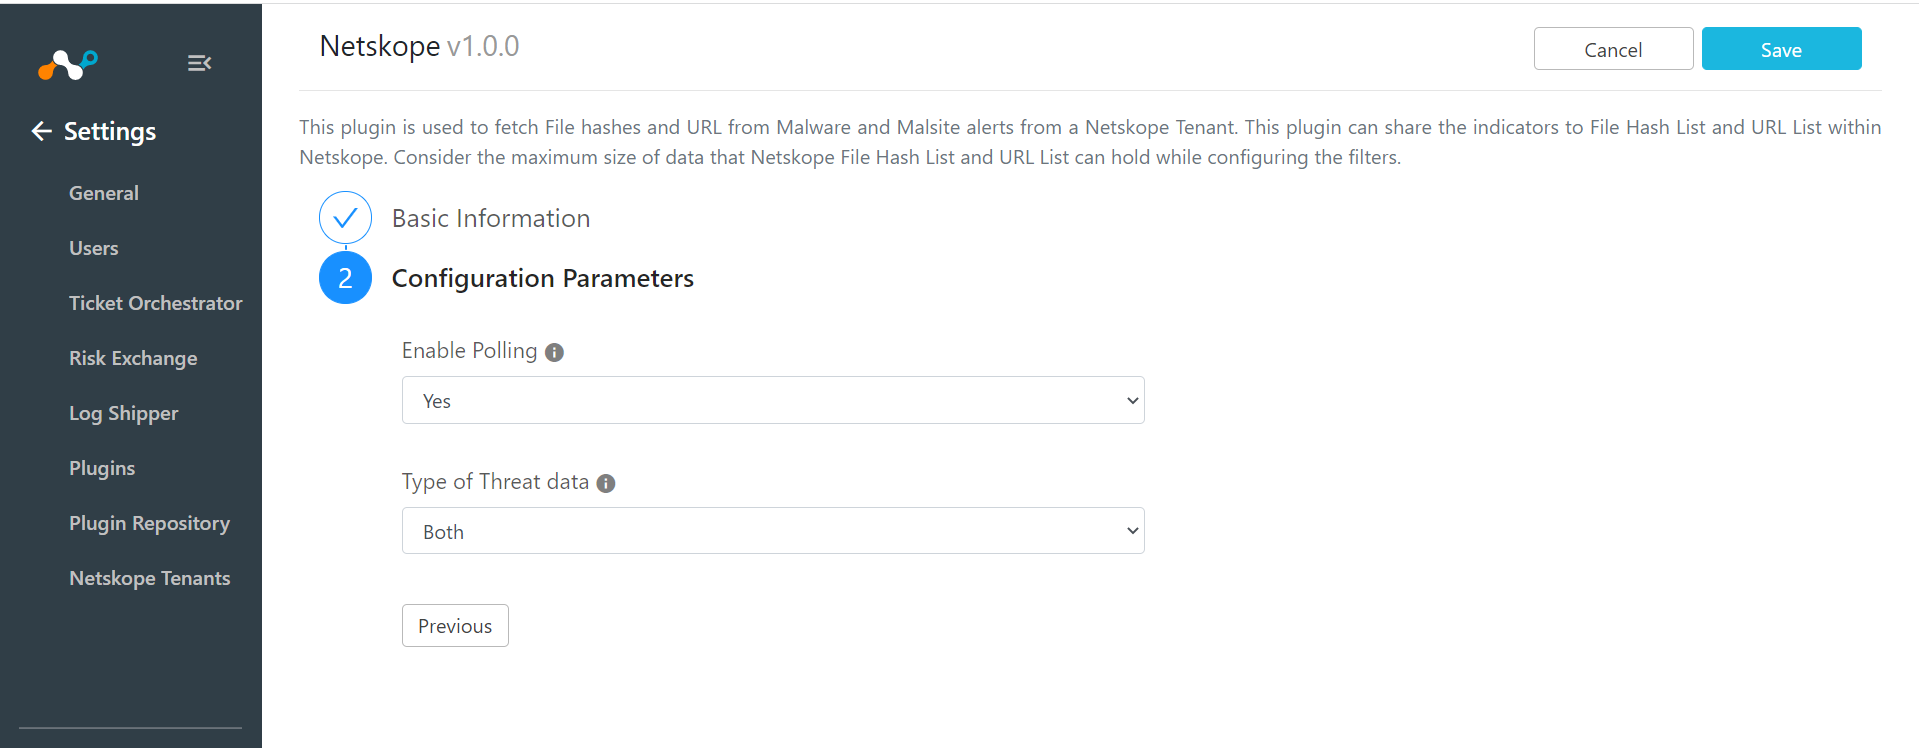
Click Save.
Select Business Rules from the Navigation Bar inside the Threat Exchange Module.
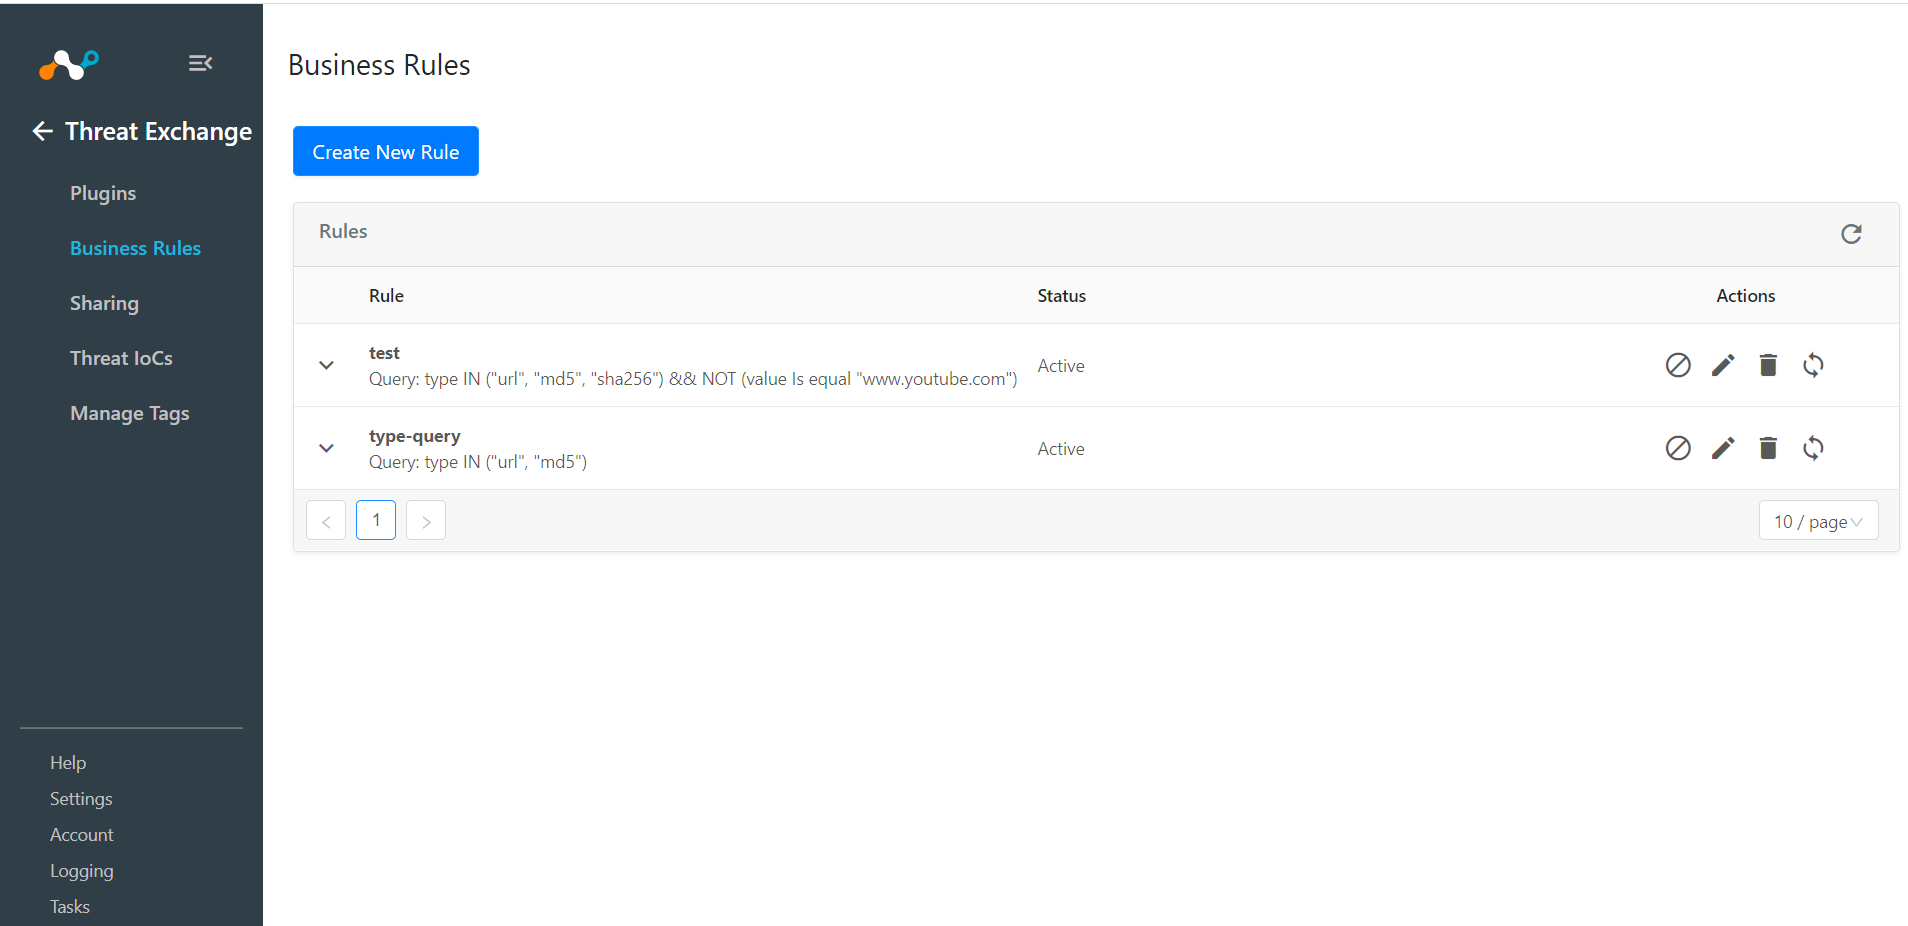
Click on Create New Rule, add the Rule Name and click on Save.
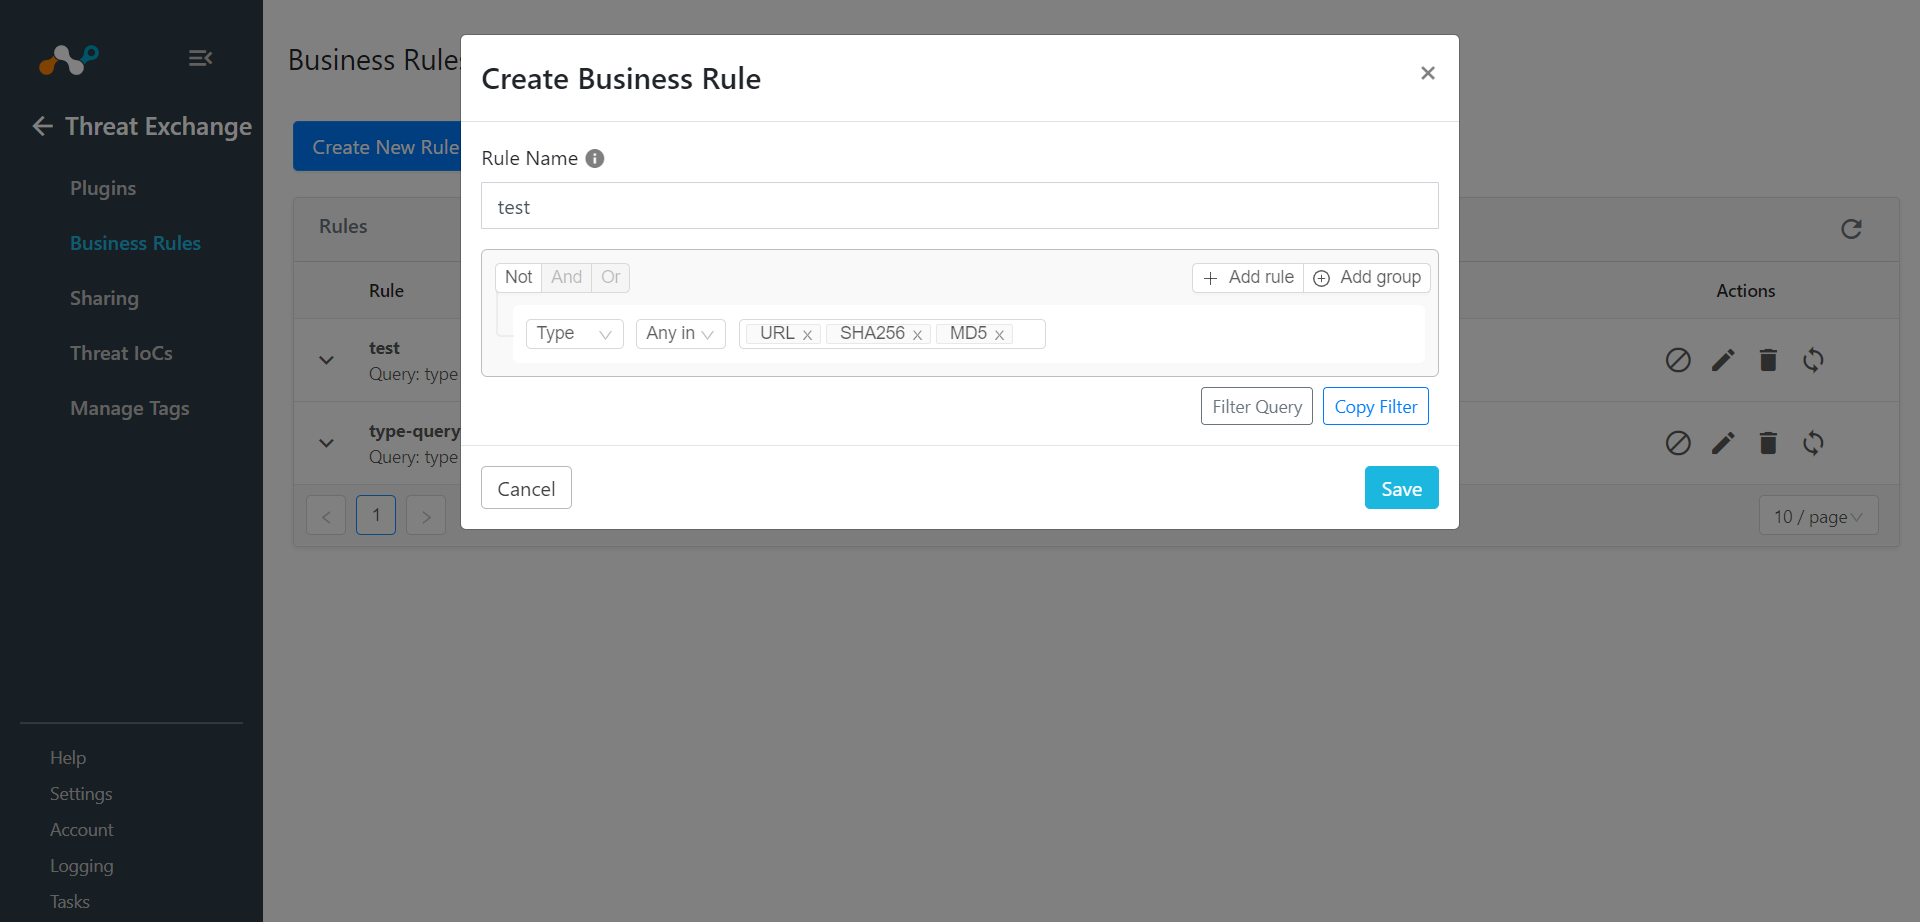
The created business rule will be seen in the UI.

In Threat Exchange, go to Sharing.
Click Add Sharing Configuration.
Add a Source Configuration, Business Rule, and Destination Configuration.
For the Target, there are two options:
Add to URL List
Add to File Hash List
Depending on your use model, perform one of the two following steps.
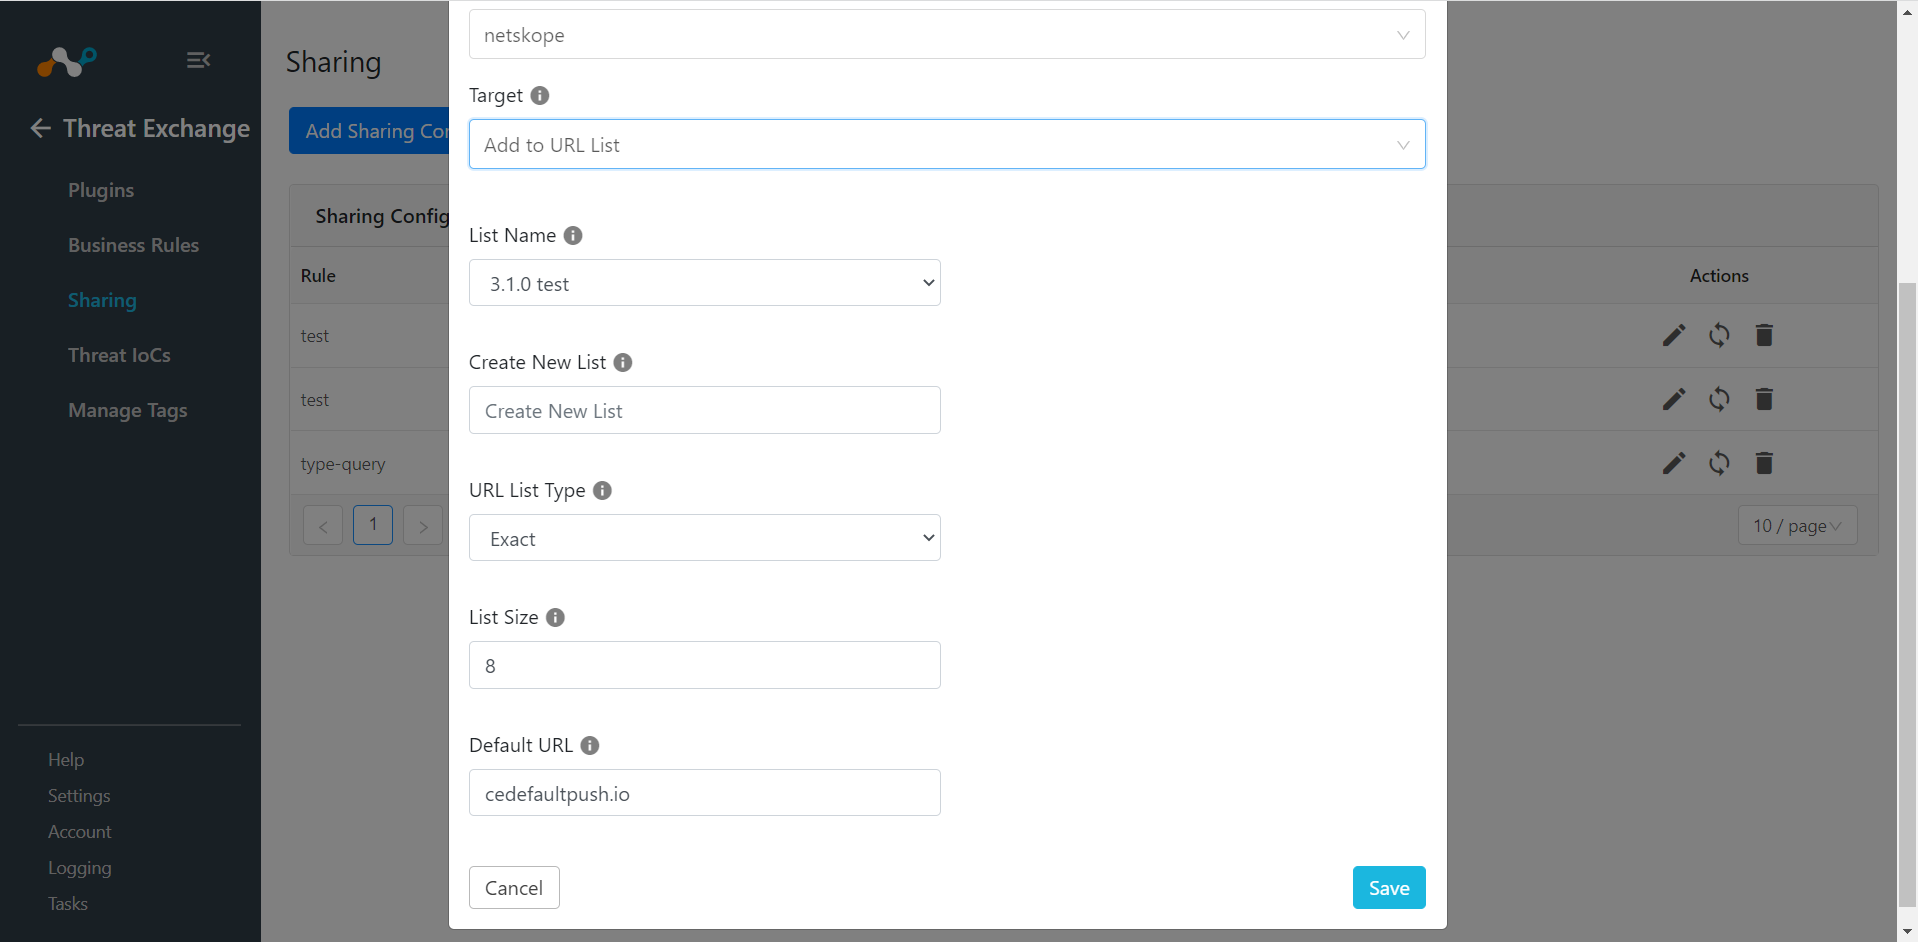
For Add to URL List, select a List Name from the dropdown. If a new List is to be created, choose Create new list in List name and add a new name. Add a URL List Type, List Size, and Default URL.
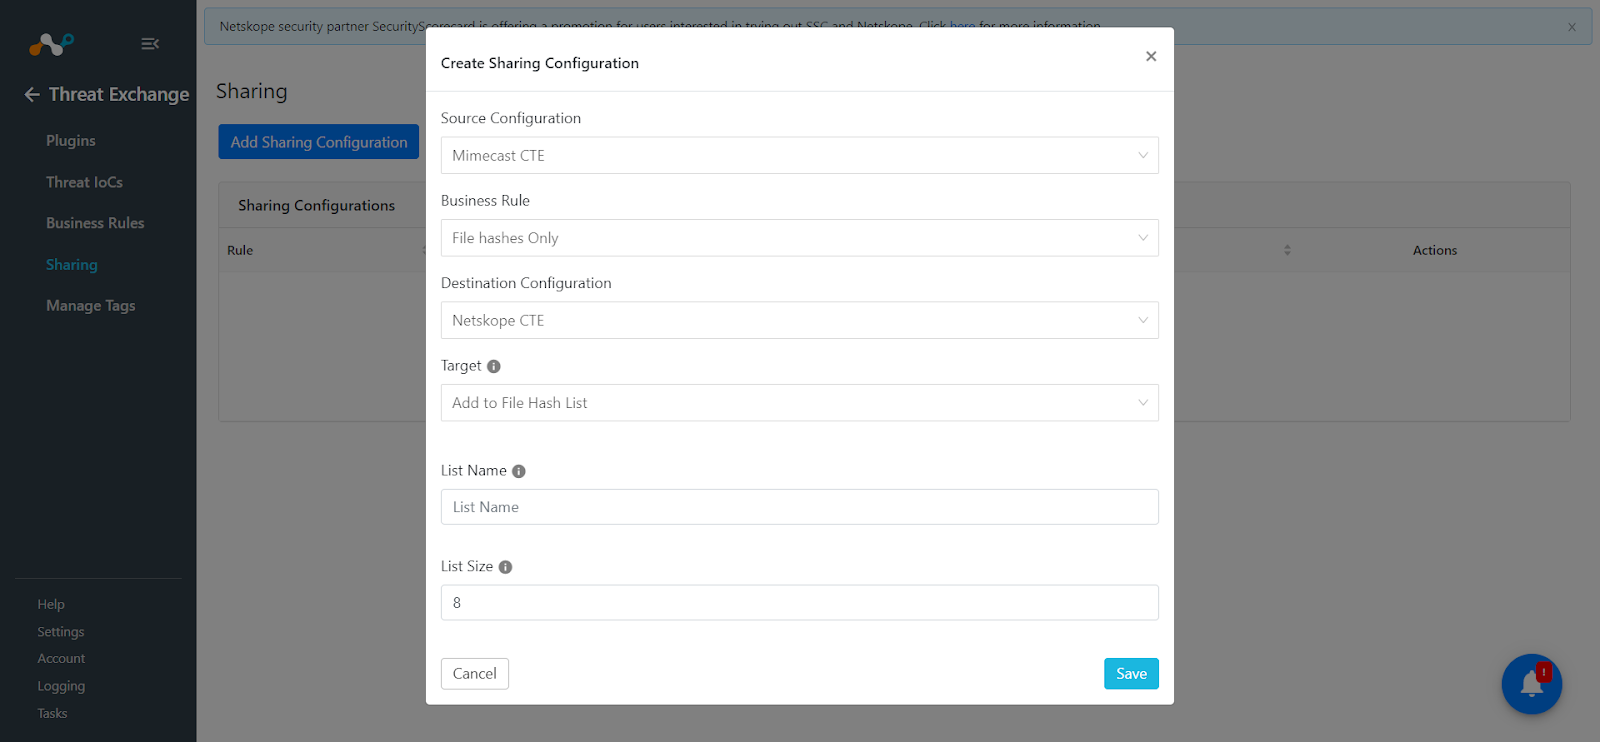
For Add to File Hash List, enter a List Name and List Size.
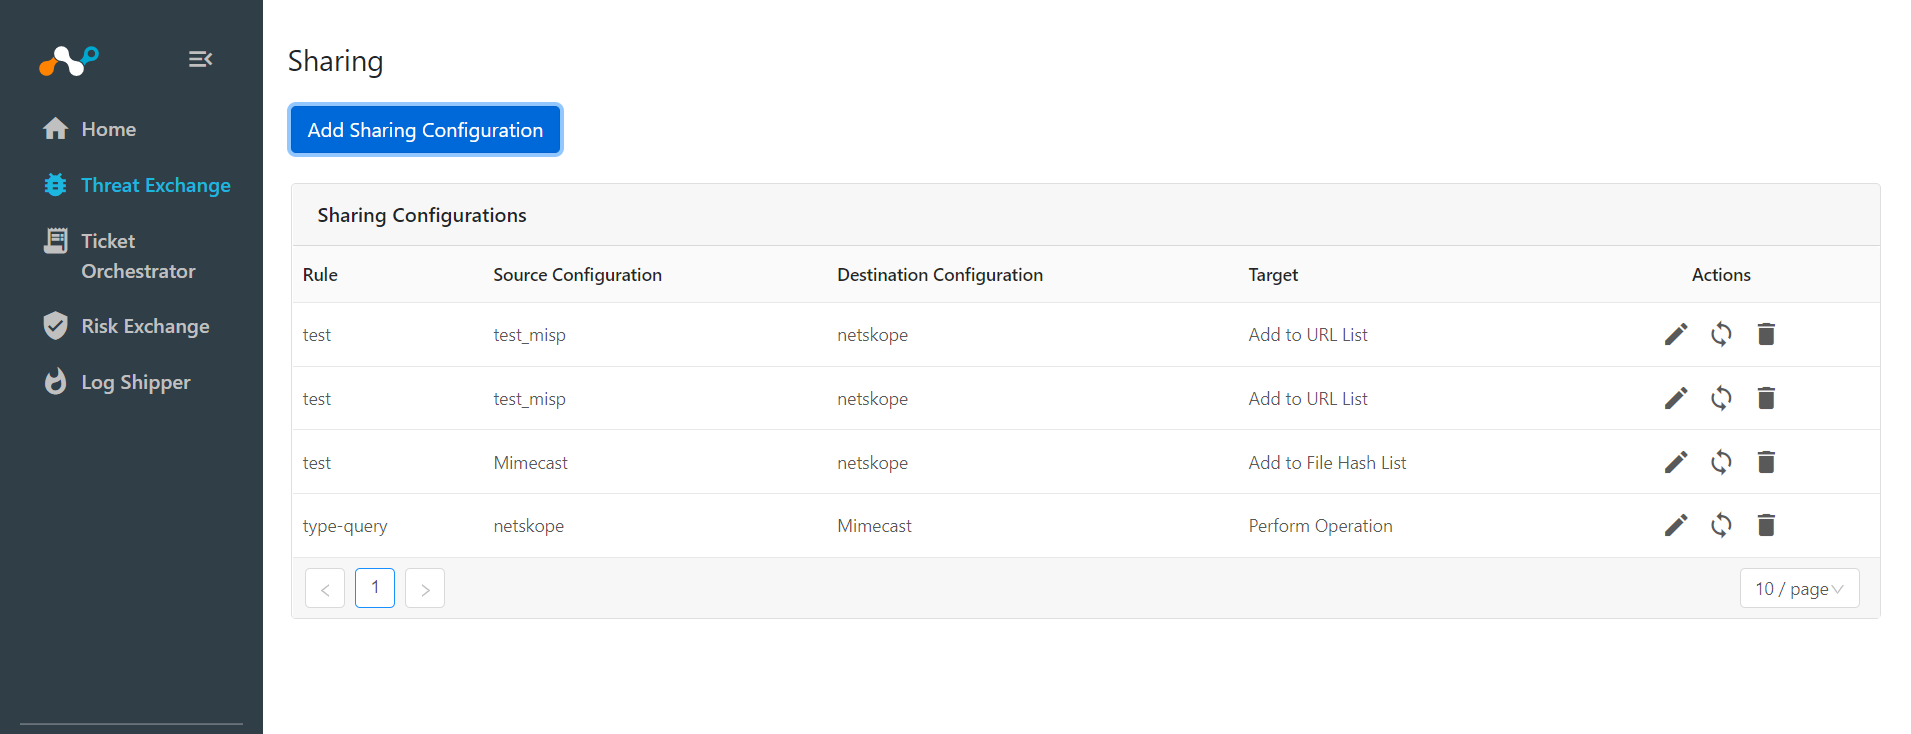
Click Save to start Sharing.
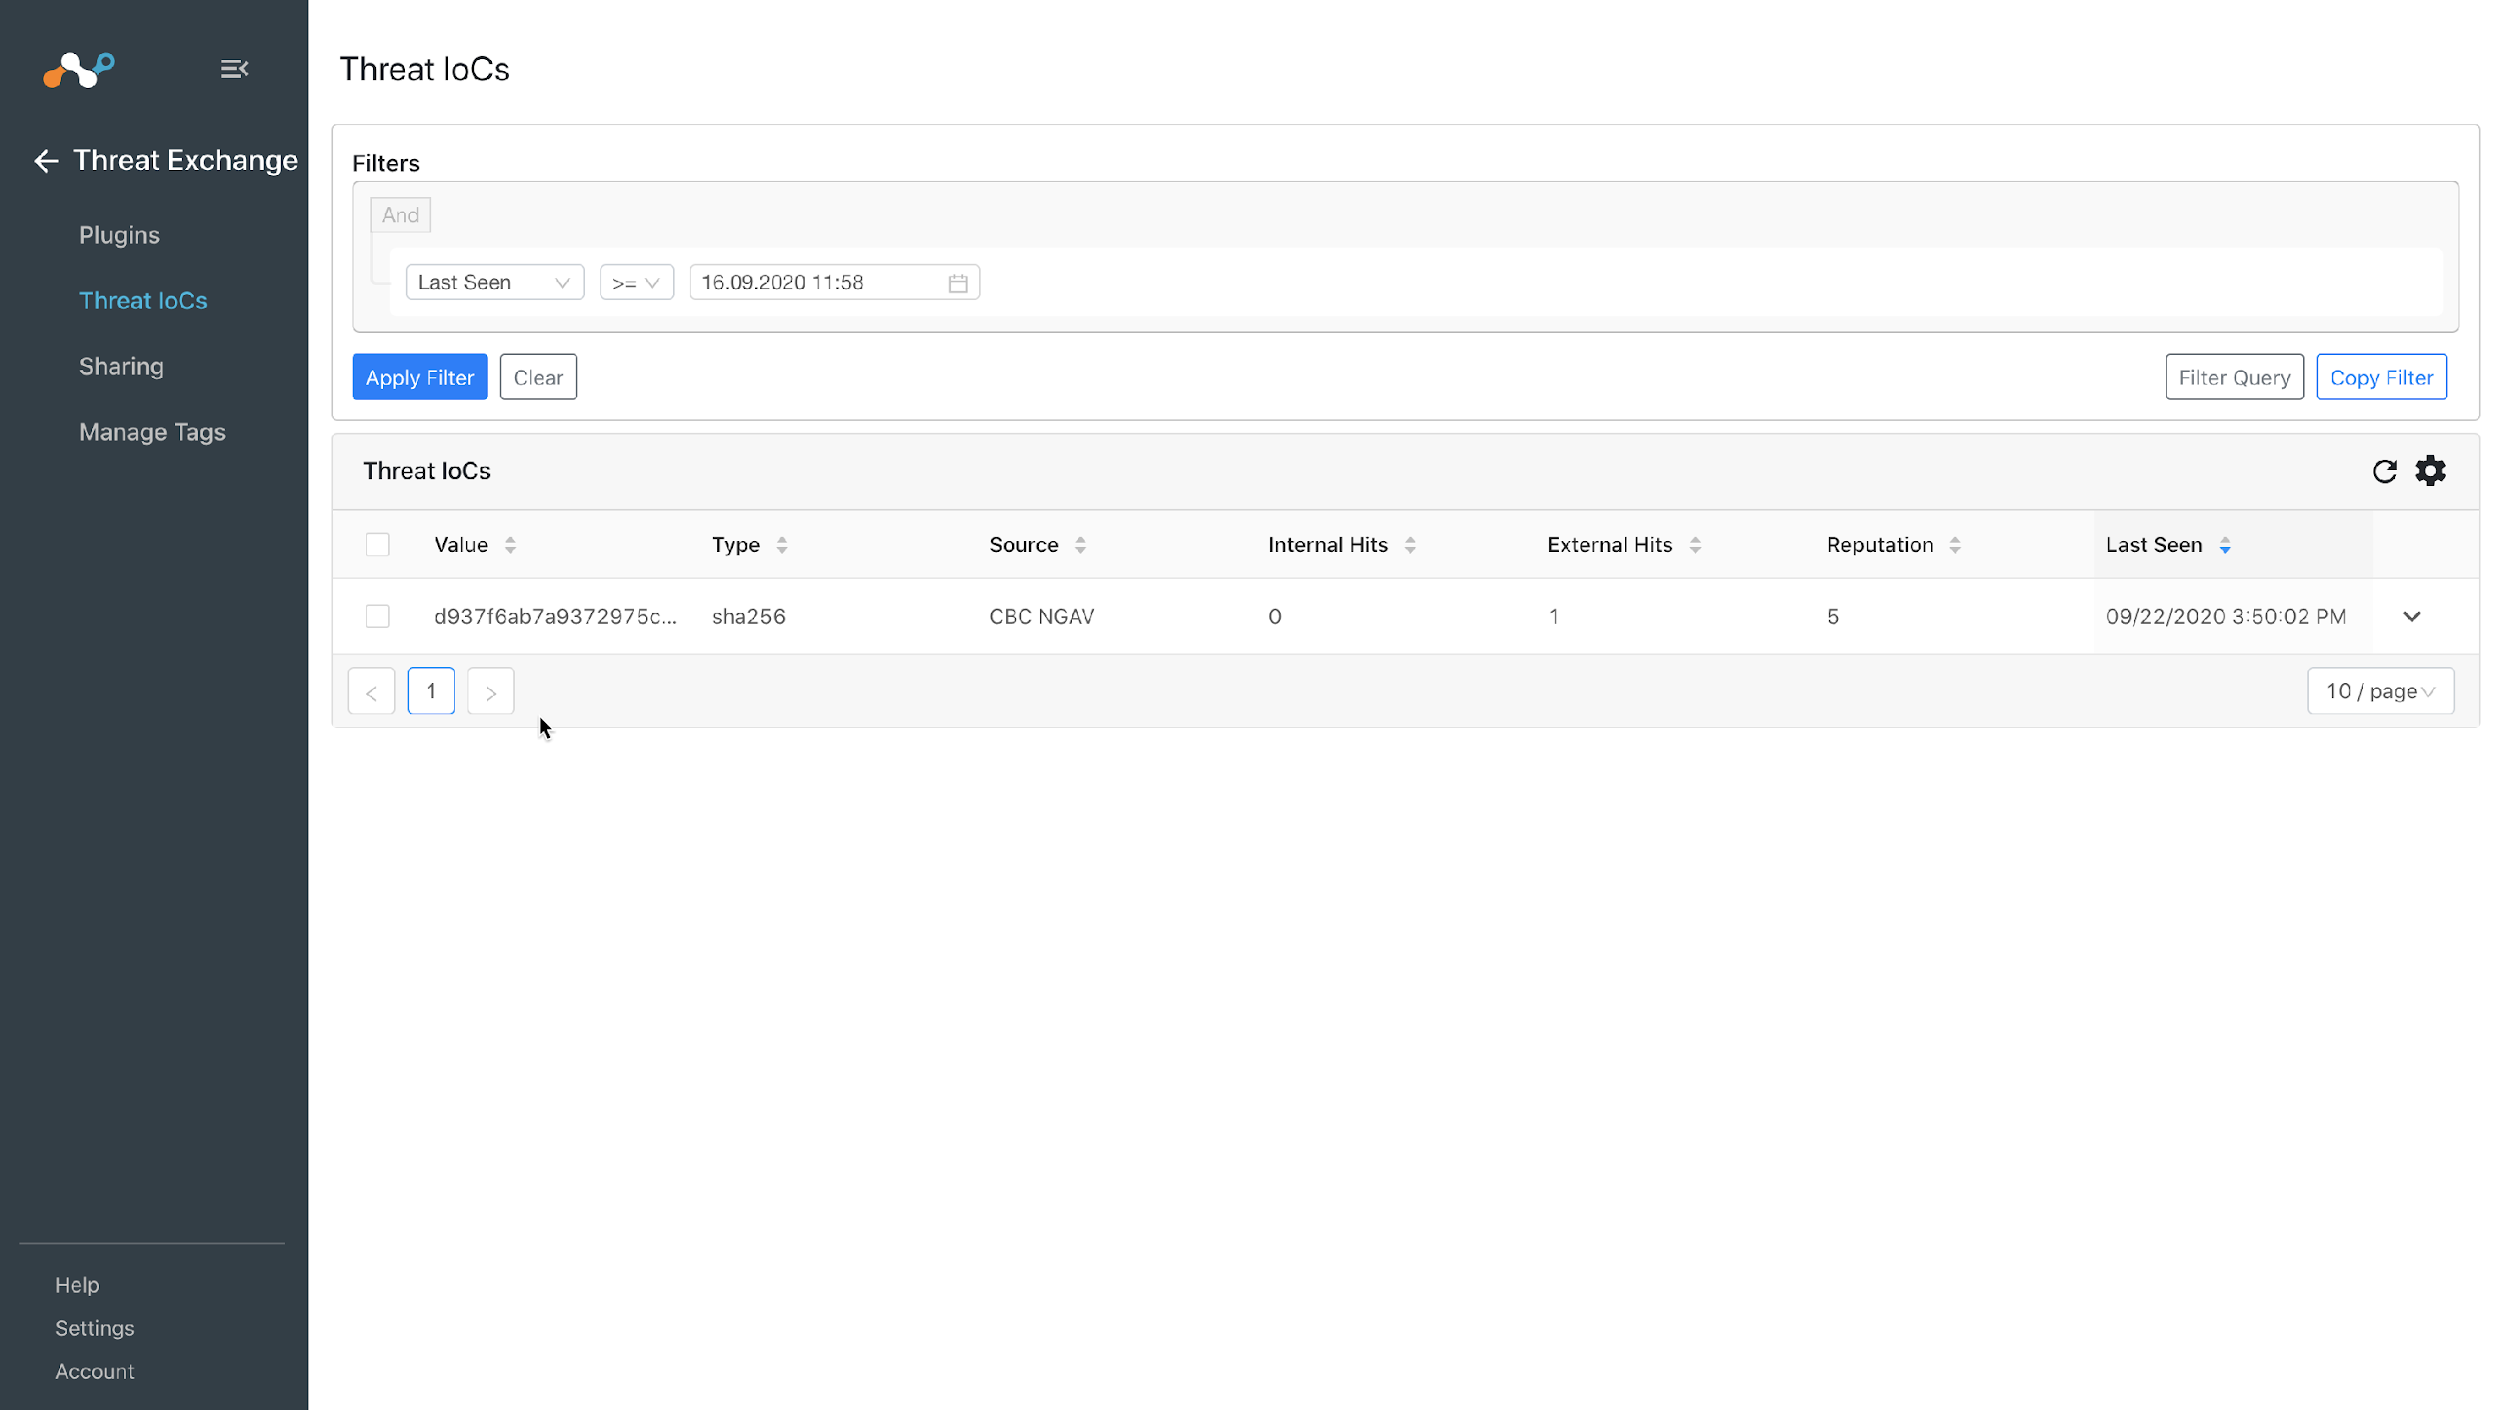
In order to validate the workflow you must have Netskope Alerts and/or another system’s events. This example shows how to use Carbon Black Cloud Events. Polling Intervals will be defined during plugin configuration.
In Threat Exchange, go to Threat IoCs
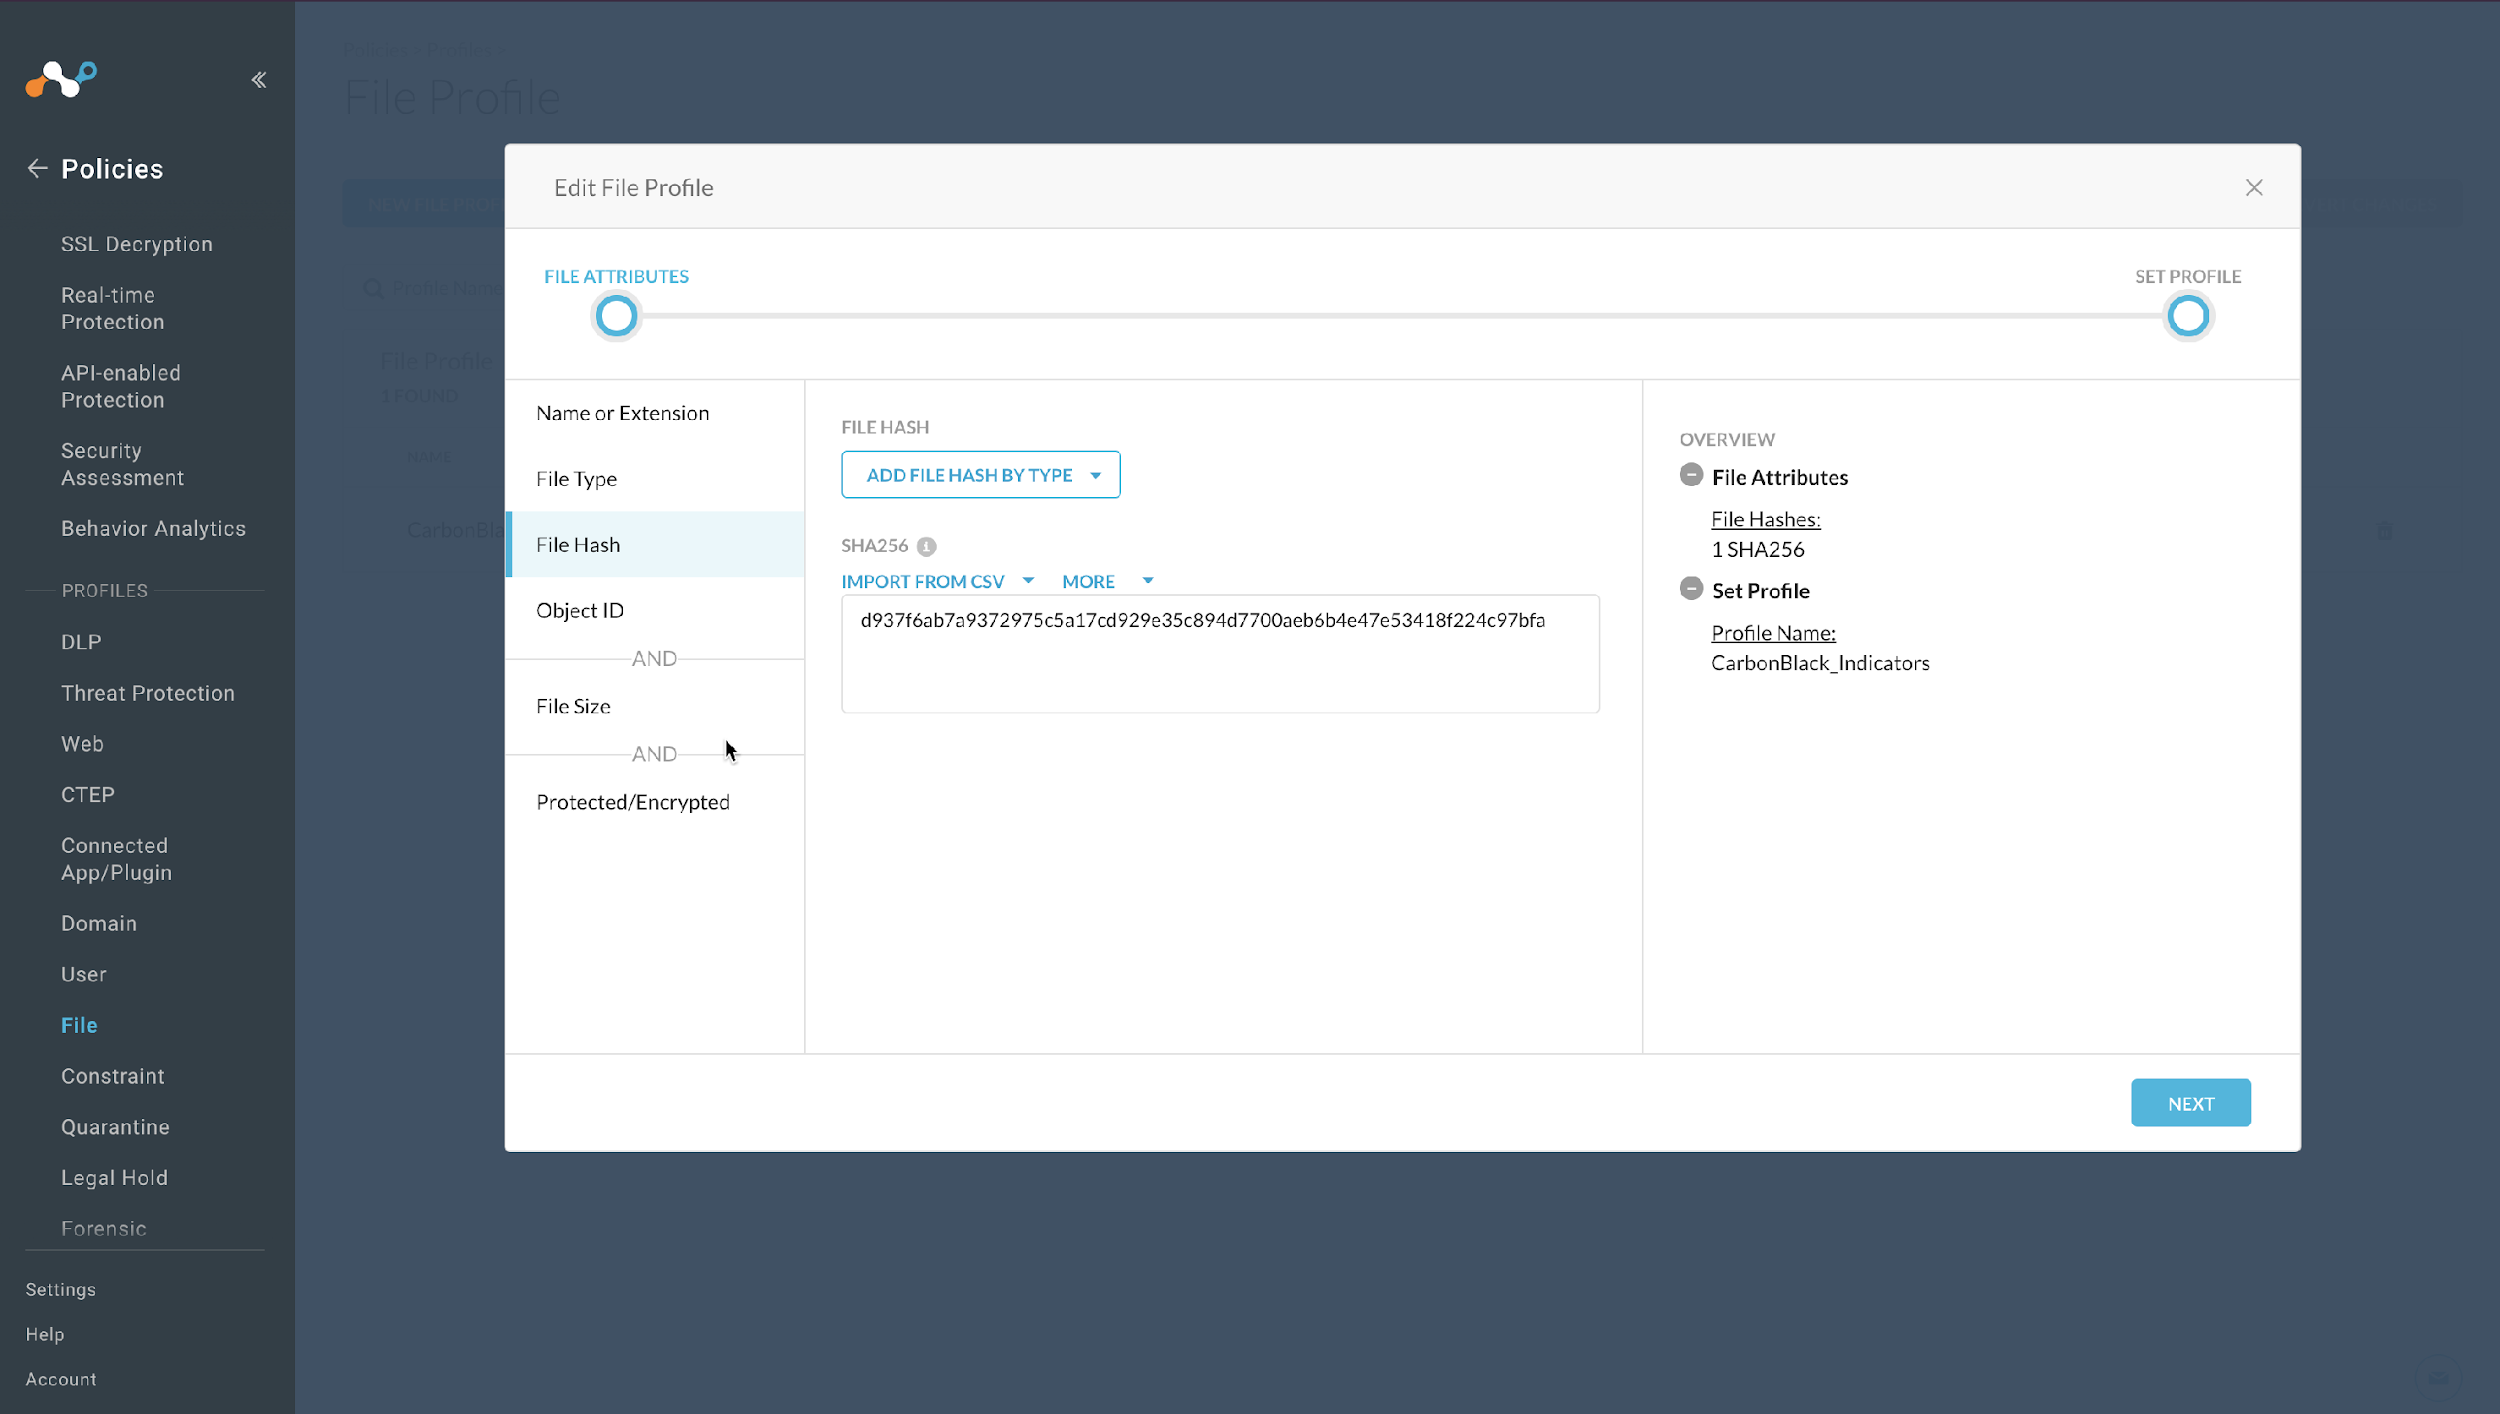
In your Netskope tenant, go to Policies > Profile and select your custom File Profile (In case of File hash list sharing) Then click on File Hash
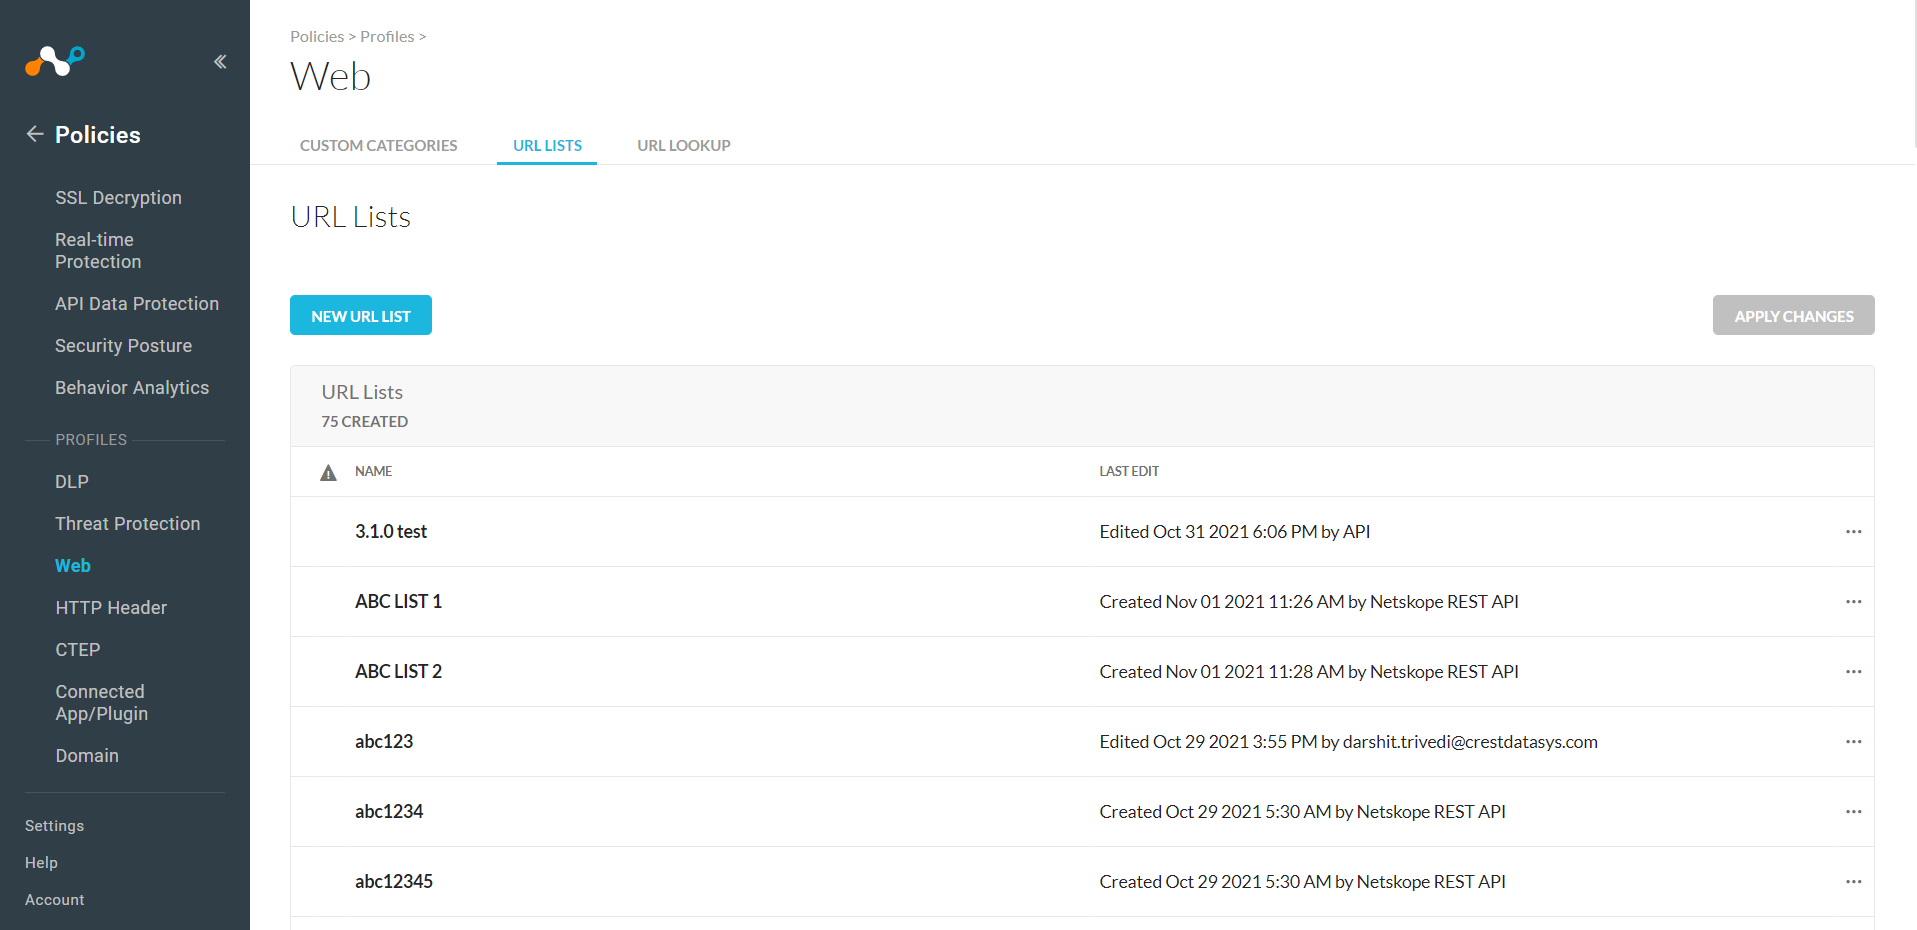
In your Netskope tenant, go to Policies > Profiles, select Web (n case of URL list sharing), and then click URL Lists.
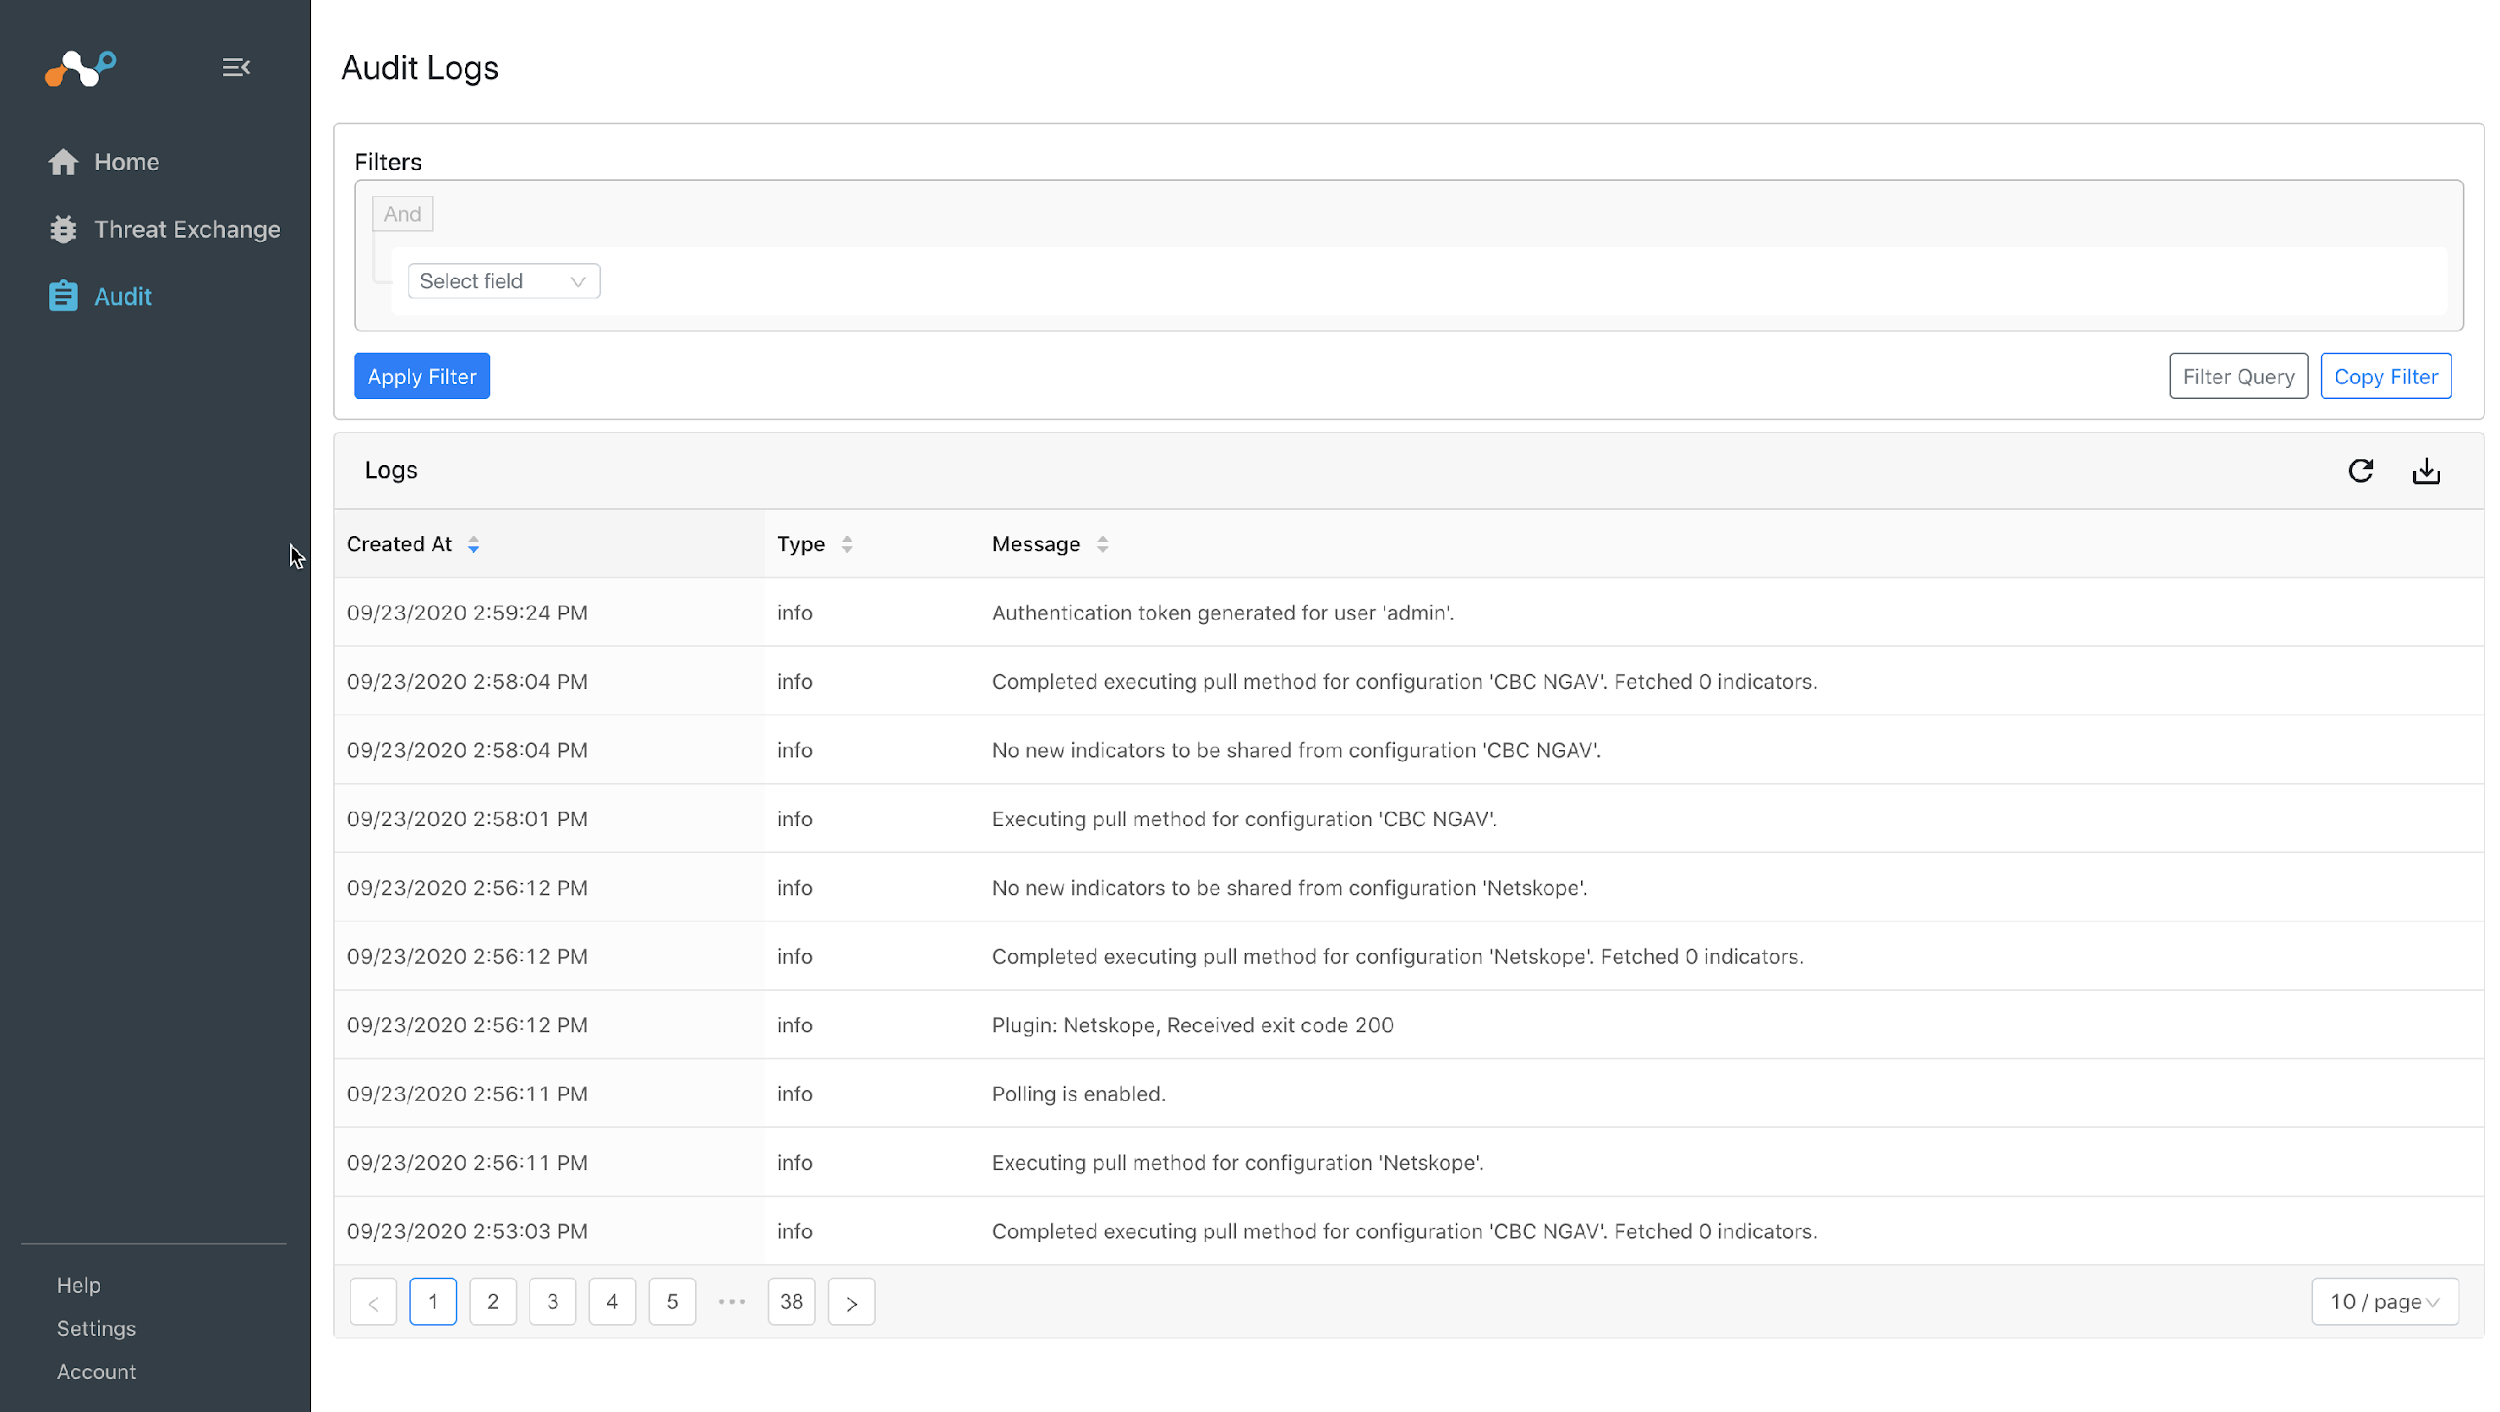
If data is not being brokered between the platforms, you can look at the audit logs in Cloud Exchange. In Cloud Exchange, select Audit and look through the logs for errors.
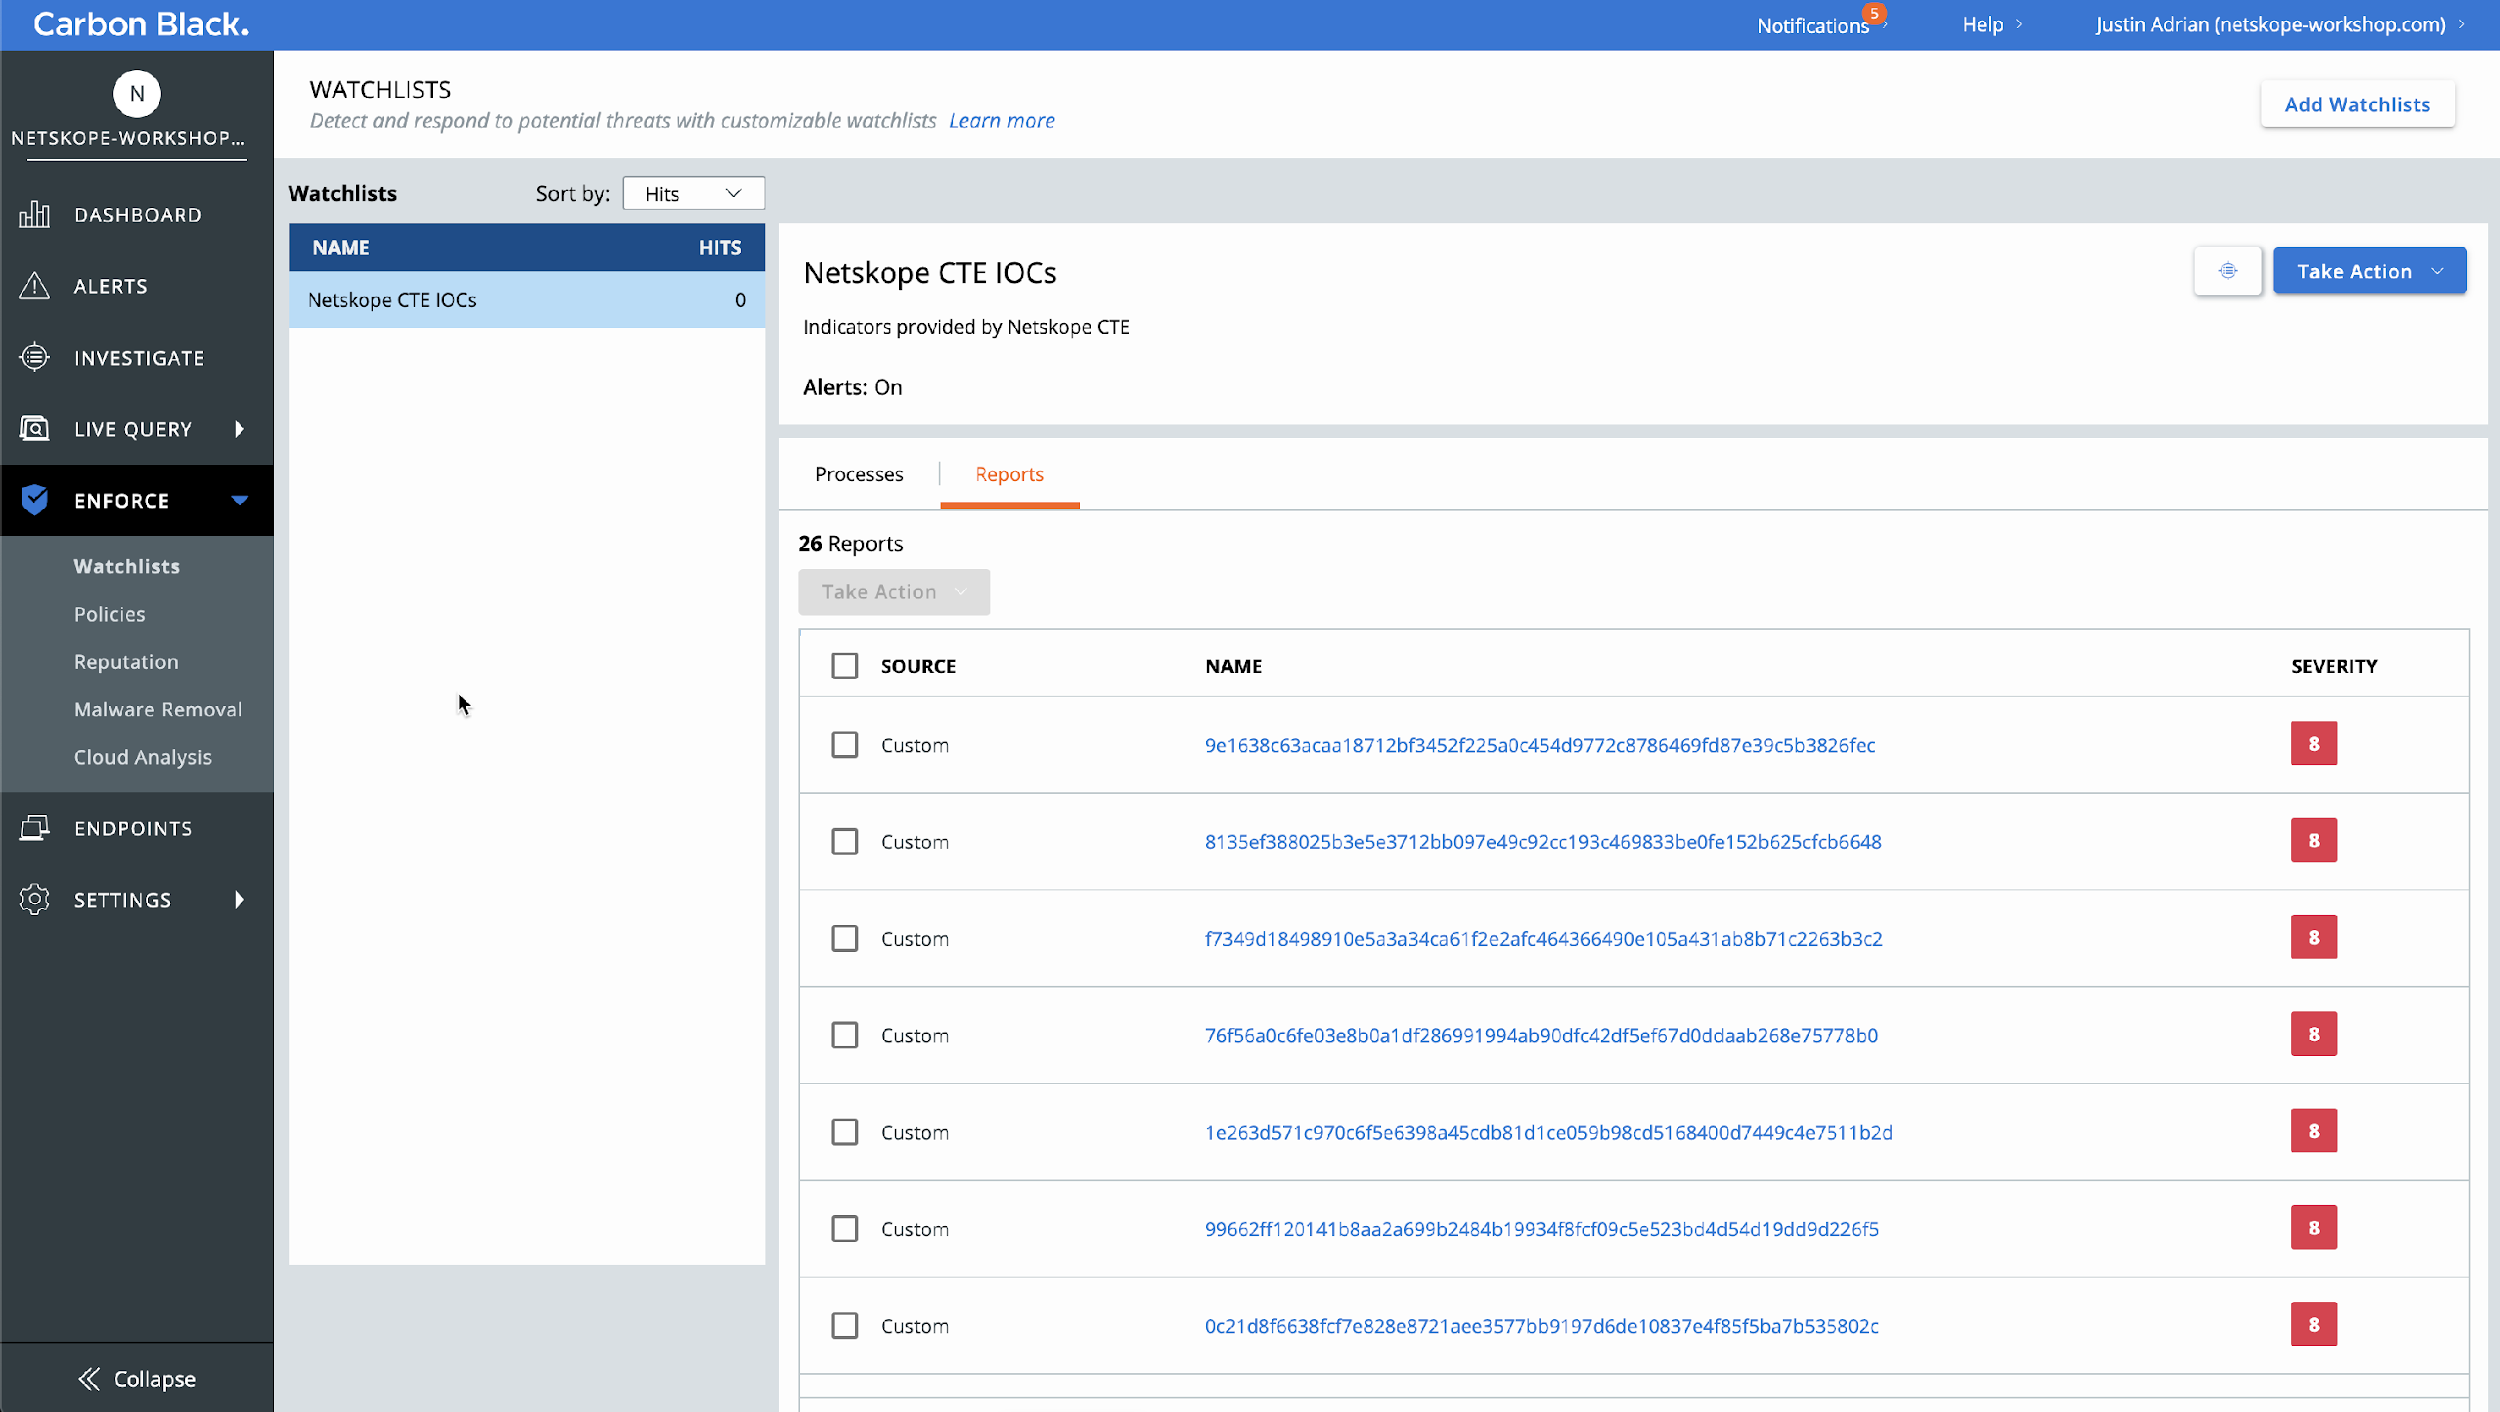
In your Carbon Black Console, go to Enforce > WatchLists, select your custom Watchlist, and then on Reports.
