Security Cloud Platform Configuration
Netskope Secure Web Gateway provides the different global configuration settings below.
Dynamic URL Classification
Dynamic URL classification looks at the textual contents of a page and dynamically determines the category for the uncategorized URLs. This feature is turned off by default. After a page has been dynamically categorized, the classification applies to all of your tenant instances. The page classification to a category expires every 12 hours so that if any changes occur to the page, the content is re-evaluated so the chosen category matches the current page content.
To enable dynamic URL classification globally:
Go to Settings > Security Cloud Platform > Configuration.
Under Dynamic URL Classification, click Edit.

In the Edit Dynamic URL Classification, click the toggle to enable or disable. If enabled and users browse an uncategorized URL, Netskope dynamically classifies it into a predefined category.
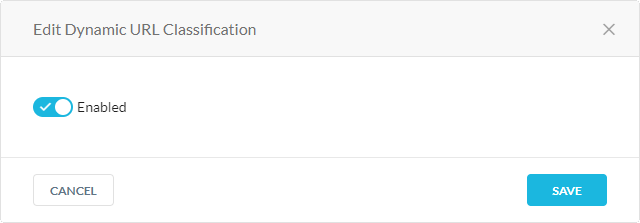
Click Save.
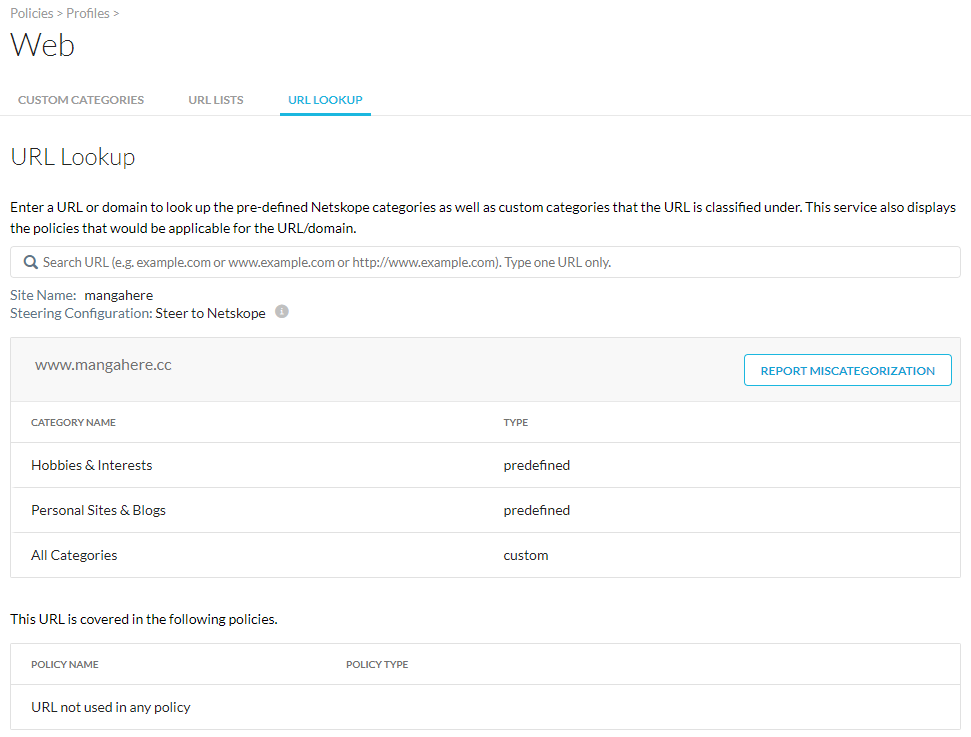
Go to Policies > Web > URL Lookup to search for predefined and custom categories or report miscategorization.
Note
If the URL is miscategorized, use custom categories to define a custom URL category or Report Miscategorization.
Safe Search
To block porn and other explicit content in image format that violates your corporate policy, use the Safe Search feature. Supported search engines include Bing, DuckDuckGo, Google, and Yahoo.
To enable safe search globally:
Go to Settings > Security Cloud Platform > Configuration.
Under Safe Search, click Edit.

In the Edit Safe Search, click the toggle to enable or disable. If enabled, Netskope blocks the session when users browse any inappropriate URLs.
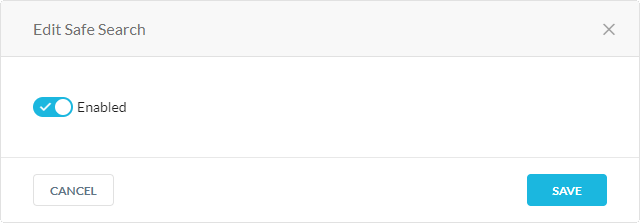
Click Save.
Dynamic Trusted Store
To enable trusted store certificates globally:
Go to Settings > Security Cloud Platform > Configuration.
Under Dynamic Trusted Store, click Edit.

In the Edit Dynamic Trusted Store, click the toggle to enable or disable. If enabled, Netskope blocks the session when users browse any inappropriate URLs.
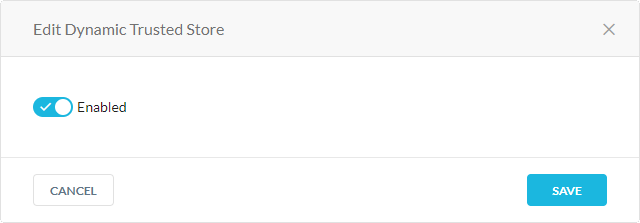
Click Save.
X-Forwarded-For Header
An X-Forwarded-For (XFF) header is used to identify the originating IP address of a user connecting to a web server through an HTTP proxy. Without the XFF header, the proxy server will be identified as the originating IP address. Use this feature to trust IP addresses contained in the XFF header.
Note
For security, this feature is not supported for remote users when using explicit proxy steering methods.
To trust XFF headers globally:
Go to Settings > Security Cloud Platform > Configuration.
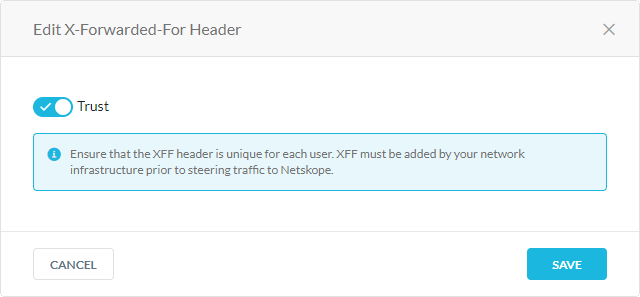
Under X-Forwarded-For Header, click Edit.

In the Edit X-Forwarded-For Header, click the toggle to enable or disable. If enabled globally, Netskope trusts XFF headers for all traffic in your organization and overrides your XFF configurations for your IPSec and GRE tunnels. If disabled, you can trust XFF headers for traffic going through specific tunnels.
Click Save.
Dedicated Egress IP Footprint
Note
Contact Support to enable this feature in your account; additional licensing is required.
There are several auth related services which may require configuration to allow Netskope Cloud IPs as the source address to these services.
For example, with active auth on the O3654 Proxy, the local ADFS server may restrict auth from certain source IPs. Another case is when you want IdP providers to restrict auth requests from certain source IPs, or similarly restrict application access to a specific application. In these cases, you can use the Netskope Cloud IPs for these configurations.
Web and cloud apps that rely on source IP addresses as a form of identification and security can use the Netskope egress IP feature to help transition from on-premises security controls to a Security Service Edge (SSE) architecture. This provides admins with an additional option to enable access to these applications and minimize disruption to users.
Netskope's Dedicated Egress IP Footprint feature allocates a minimum of two IP addresses from Netskope owned IP ranges per data plane that matches your accounts NewEdge traffic management zone/region. The dedicated IP ranges are completely separate from the shared IP ranges. Port exhaustion is monitored by the Netskope platform.
All traffic will use these IP addresses and is available for all steering methods and traffic except for Netskope Private Apps (NPA) traffic.
You can see the list of IPs assigned to your account by going to Settings > Security Cloud Platform > Enforcement > Netskope IP Ranges. The Dedicated IP Ranges tab lists the assigned dedicated IPs. You can copy the IP ranges to use for conditional access policies on the SaaS side.

To enable dedicated egress IPs for user traffic hitting SaaS apps through the proxy:
Go to Settings > Security Cloud Platform > Configuration.
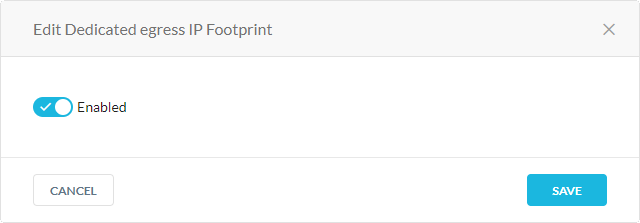
Under Dedicated egress IP Footprint, click Edit.

In the Edit Dedicated egress IP Footprint, click the toggle to enable or disable.
Click Save.
Important
Admins must update their IP restrictions for each application.
Localization Zones
Note
Contact your Sales team or Netskope Support to enable this feature in your account.
Localization zones further extend NewEdge global coverage by providing the same experience as direct-to-net with native language and localized content support for all websites, even when there’s no in-country Data Plane (DP). This feature also addresses certain websites or SaaS applications that require users to be local (geo-blocking or geo-fencing). In addition, localization zones maintain users’ experiences during failover or maintenance situations, even when using an out-of-country DP. Localization zones don’t change or modify the traffic path, such as traffic backhauling that adds latency.
For example, when this feature is enabled, a user in Greece receives search results and websites relevant to Greece and in the Greek language, despite connecting via the NewEdge DP in Vienna, Austria. Similarly, in a failover situation for a user in Mexico (where there’s one single DP), the user can connect via the Dallas DP and continue to receive localized content in Spanish. In the case of Mexico, localization zones extend the resilience of NewEdge via six DPs to ensure both security coverage and digital experience remain intact at all times. These DPs include Atlanta, Dallas, Miami, Phoenix, and two in Los Angeles.
The following table lists the currently suppored countries for this feature:
The bolded regions have single, in-region NewEdge DPs where localization zones provide additional resilience.
Argentina | Albania | Algeria | Armenia | Aruba | Austria | Azerbaijan | Bahrain | Bangladesh | Barbados |
Belarus | Belgium | Bolivia | Bosnia and Herzegovina | Botswana | Bulgaria | Cambodia | Cameroon | Cayman Islands | Chile |
Colombia | Congo | Costa Rica | Cote D'Ivoire | Croatia | Cyprus | Czech Republic | Denmark | Dominican Republic | Ecuador |
Egypt | El Salvador | Estonia | Ethiopia | Fiji | Finland | French Polynesia | Georgia | Ghana | Greece |
Guadeloupe | Guatemala | Guernsey | Honduras | Hong Kong | Hungary | Indonesia | Ireland | Isle of Man | Israel |
Italy | Jamaica | Jersey | Jordan | Kazakhstan | Kenya | Kuwait | Latvia | Lebanon | Lithuania |
Luxembourg | Macedonia | Malaysia | Maldives | Malta | Martinique | Mexico | Moldova | Montenegro | Morocco |
Mozambique | Namibia | Nepal | Netherlands | New Zealand | Nicaragua | Nigeria | Norfolk Island | Norway | Oman |
Pakistan | Panama | Papua New Guinea | Paraguay | Peru | Philippines | Poland | Portugal | Qatar | Reunion |
Romania | Russian Federation | Rwanda | Saint Martin | Senegal | Serbia | Singapore | Slovakia | Slovenia | South Korea |
Sri Lanka | Swaziland | Sweden | Taiwan | Tanzania | Thailand | Tunisia | Turkey | Uganda | Ukraine |
Uruguay | Uzbekistan | Venezuela | Vietnam | Zambia | Zimbabwe |
To enable localization zones:
Go to Settings > Security Cloud Platform > Configuration.
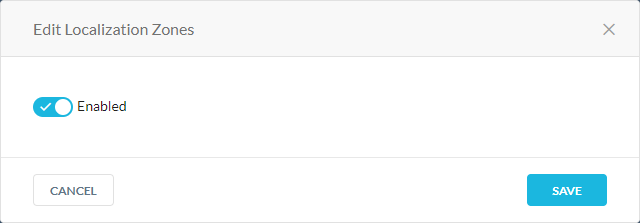
Under Localization Zones, click Edit.

In the Edit Localization Zones window, click the toggle to enable or disable. If enabled, your users receive content based on their geographic location.
Click Save.