Install the Virtual Appliance on Linux KVM
Ensure that the KVM host is set up correctly for deploying virtual machines. Make sure that you have also installed the packages virt-manager, virt-viewer, virtinst, libvirt-bin on the KVM host.
You can use the following two methods:
Install the Virtual Appliance using virt-install
Install the Virtual Appliance using virt-manager GUI
Install the Virtual Appliance using virt-install
Download the Netskope Virtual Appliance qcow2 image to the KVM host.
Run the following virt-install command on the host OS with the command options. Make sure that you set the network type and source as per your host configuration. Also set the correct path to the qcow2 image.
virt-install --connect=qemu:///system --ram=32768 --vcpus=8 --name=NS-VA --virt-type=kvm --disk path=/images/va.qcow2,device=disk,bus=ide,format=qcow2 --network type=direct,source=br0.420,model=virtio --network type=direct,source=br0.420,model=virtio --network type=direct,source=br0.420,model=virtio --import
The virt-viewer console will pop-up once the virtual machine is installed.
Use the virt-viewer console to configure the virtual appliance.
The appliance is configured to use DHCP on the default dp2 interface. Depending on your use case, you can choose to configure a static IP on dp2 and configure additional interfaces. For more information, see Configure the Interfaces.
Install the Virtual Appliance using the virt-manager UI
Download the Netskope Virtual Appliance qcow2 image to the KVM host.
Run the virt-manager command on the host OS.
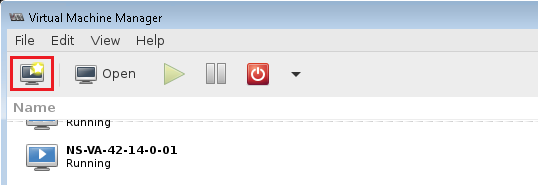
In the Virtual Machine Manager GUI, click on Create a new virtual machine icon.

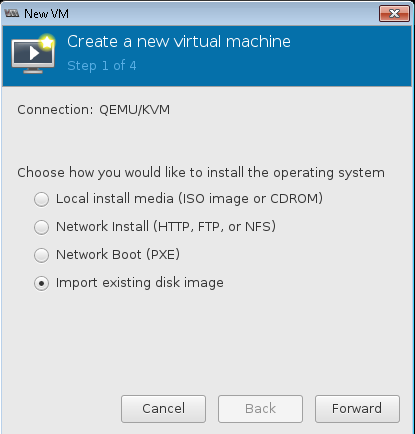
Select Import existing disk image option and click Forward.

Select the Virtual Appliance qcow2 image that was downloaded earlier.
Select OS type as Linux and Version as Ubuntu 16.04. Click Forward.
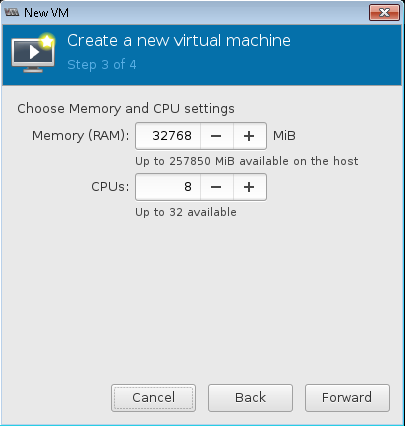
Set the memory and CPU settings for the virtual appliance and click Forward.

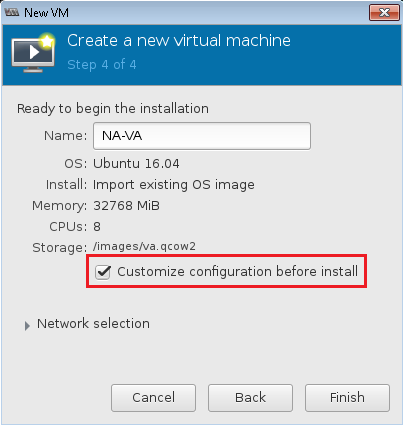
Providea Name for the virtual appliance, and select Customize this configuration before install to change the parameters before you create and launch the VM. Click Finish.

In the VM configuration window, click Add Hardware. Select Network and configure the network settings.
Follow step 9 to add another Network interface to the VM.
Click Begin Installation to install the virtual machine.
Use the virt-viewer console to configure the virtual appliance.
The appliance is configured to use DHCP on the default dp2 interface. Depending on your use case, you can choose to configure a static IP on dp2 and configure additional interfaces. For more information, see Configure the Interfaces.