Create Custom Categories
Categories can be specified when you create Real-time Protection policies. Create custom categories to include predefined categories, plus include or exclude the URLs that you want to use for a Netskope Secure Web Gateway policy. To create a custom category, first add one or more URL list, then add any predefined categories and URL lists to the custom category. A Netskope Secure Web Gateway license is required to use custom categories.
Add a URL List
Custom URL lists offer flexibility to supersede the predefined Netskope URL category mapping for a given URL and/or augment them by defining custom URL categories for situations in which the Netskope predefined URL category does not have a mapping for a URL (uncategorized).
Before you begin, compile a list of URLs to include in a policy scan, and if needed, create another list of URLs to exclude from a policy scan. You can enter the URLs individually in the UI or create a CSV file with all the URLs. Once you complete this step, you must create a custom category.
To add a URL list:
Go to Policies > Web > URL Lists.
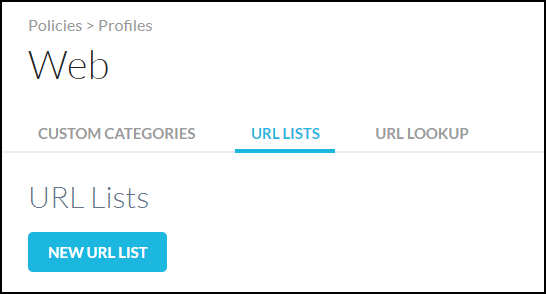
To add a new URL list, go to New URL List.
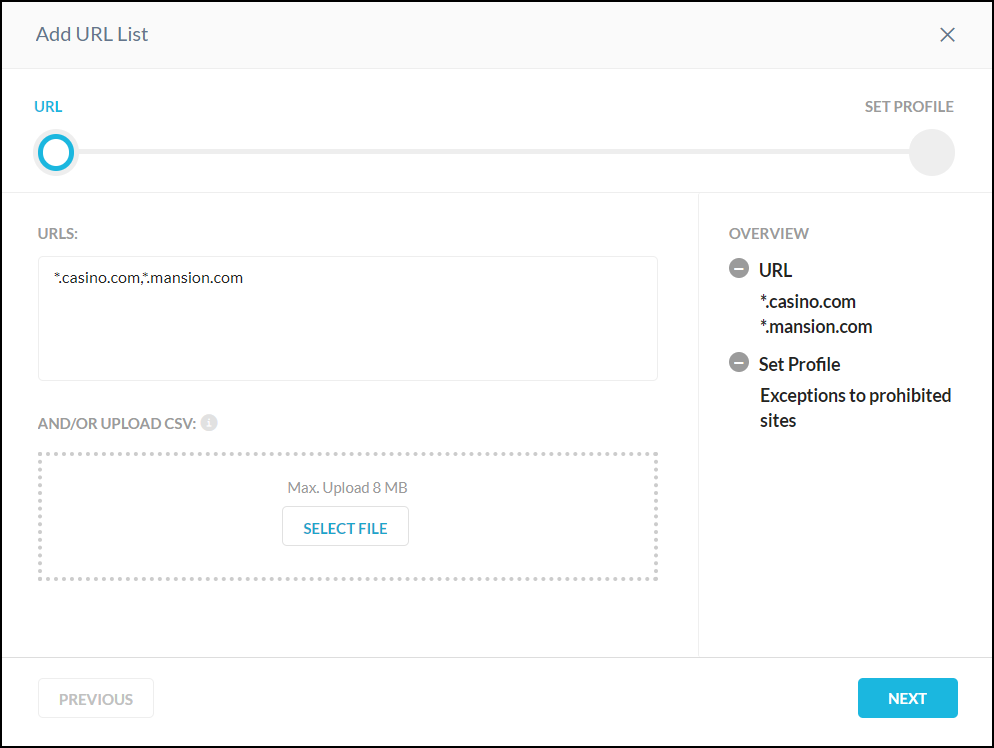
Type the comma-separated URLs or upload a CSV file (max upload is 8 MB) and click Next.
Important
URLs in the list must follow certain formats. Here are the rules for URLs in this list.
URL Format
Matched URLs
www.example.com/path/to/resource
www.example.com/path/to/resource/a, www.example.com/path/to/resource/a/b
example.com
example.com/, example.com/path/a
www.example.com
www.example.com, www.example.com/path/a
*.example.com
www.example.com, www.us.example.com, www.uk.example.com
www.example.com/path/*/
Not Supported
www.example.com/*, www.example.com/path/*
Not Supported
Enter a name for your URL list and click Save URL List.
Click Apply Changes.
Note
The REST API can be used to add to an existing URL list, but not create a new URL list. For more information, refer to Update a URL List.
Create a Custom Category
A custom category allows you to include or exclude URLs that predefined categories may not cover. You can create as many custom categories as you want. After creating a custom category, note the name so you know which category to use when creating an Real-time Protection policy.
To create a new custom category:
Go to Policies > Web > Custom Categories.
To add a new category, click New Custom Category. The Add Custom Category wizard displays.
The Categories shown on the left are predefined categories. You can select one or more of these to include in your custom category if you so choose. To add a URL list to include or exclude, click Next.
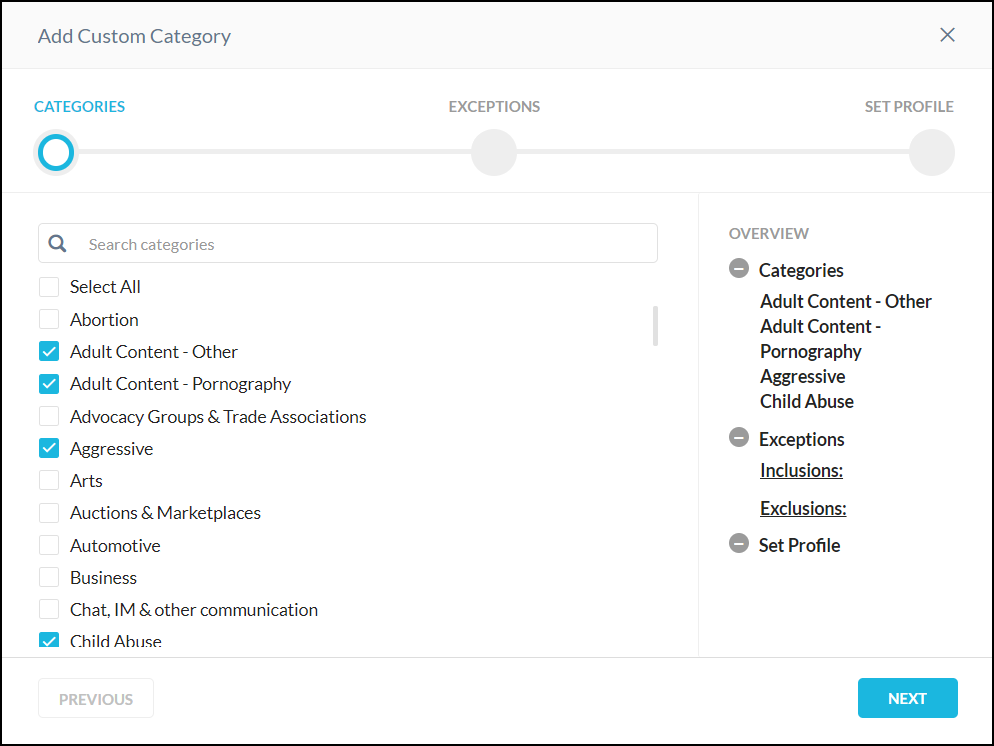
For Inclusion, search for the URL list to include in the new category.
Select Exclusion from the first column to add a URL list to exclude from this custom category.
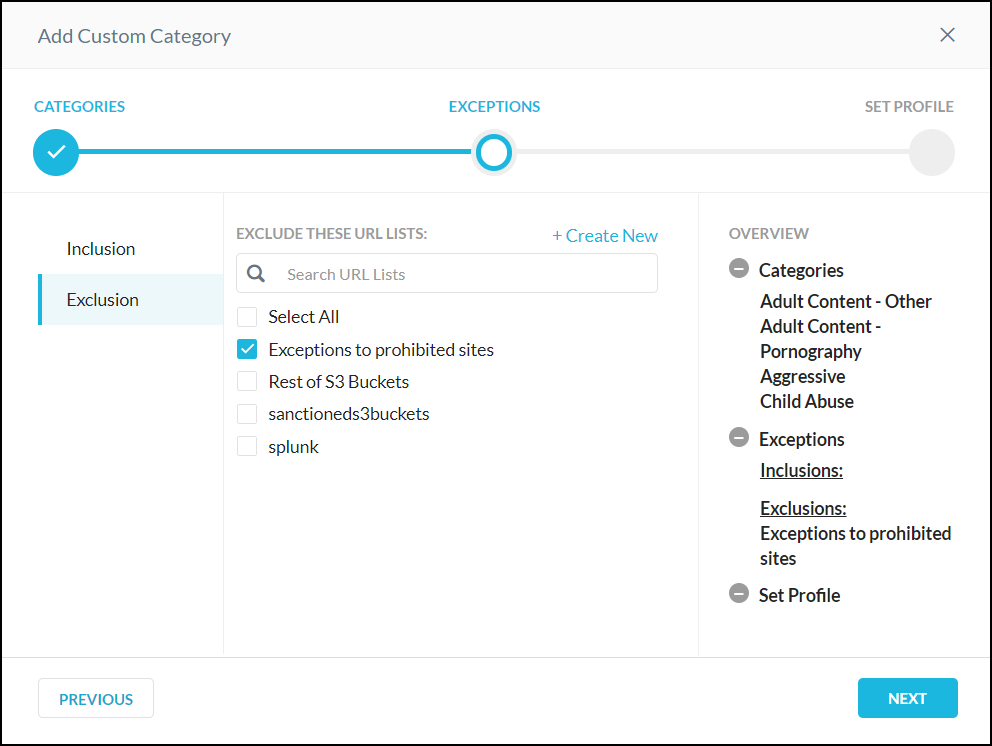
Repeat these steps until you have included and excluded the URL lists as desired. Click Next.
Type a name for your custom category.
Click Save Custom Category. This newly created custom category will be available in the list of categories available for Real-time Protection policies.
Click Apply Changes.
When you want to check if any categories already include the URLs you want to include or exclude, use the URL Lookup feature.
URL Lookup
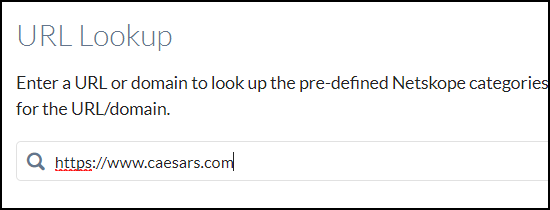
The URL Lookup page enables you to enter a URL in the Netskope UI and retrieve the corresponding Netskope category and policy information. The category is unified information for predefined and custom categories. The lookup entry can be a URL or a domain, the search returns the predefined Netskope categories as well as any custom category to which the URL is classified. This feature also displays applicable policies to the URL and/or domain. URL Lookup checks for both Dynamic URL classifications and unclassified URLs.
To access the URL Lookup page, go to Policies > Web > URL Lookup. Type a single URL or domain one at a time.
 |
After you type a valid URL, the results displays in two tables related to categories and policies. The category table shows name and type (predefined or custom) and the policy table shows name only.
 |