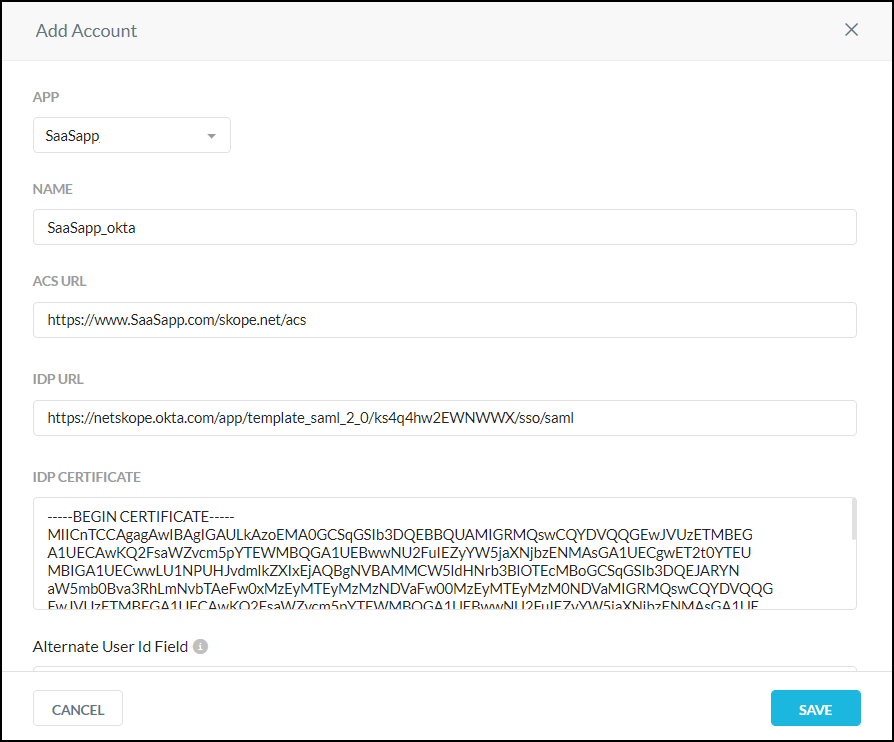
Create a SaaS Application Instance in the Netskope UI
After completing the instructions the previous section, you're ready to configure the Netskope SAML for a Saas application. You'll need the Okta Identity Provider Single Sign-On URL, Identity Provider Issuer URL, and certificate to complete this procedure.
Log in to the Netskope UI.
Go to Settings > Security Cloud Platform > Reverse Proxy > SAML.
Click Add Account.
Select an application from the App dropdown list.
Enter the following values:
Name: Enter a unique name for this account.
ACS URL: Enter the ACS URL for your SaaS application as defined in Okta.
IdP URL: Enter the Identity Provider Single Sign-On URL from your SaaS application.
IdP Certificate: Enter the X.509 certificate from Okta.

Click Save.