ThreatConnect Plugin for Threat Exchange
This document explains how to configure ThreatConnect with the Threat Exchange module of the Netskope Cloud Exchange platform. This integration allows for sharing of file hashes and URLs from ThreatConnect to Netskope. This plugin also supports sharing indicators with the ThreatConnect platform.
To complete this configuration, you need:
A Netskope Tenant (or multiple, for example, production and development/test instances).
A Secure Web Gateway subscription for URL sharing.
A Threat Prevention subscription for malicious file hash sharing.
A Netskope Cloud Exchange tenant with the Threat Exchange module already configured.
A ThreatConnect instance.
Connectivity to the following host:
http://partnerstage.threatconnect.com/.
Create a custom File Profile.
Create a Malware Detection Profile.
Create a Real-time Protection Policy.
Get ThreatConnect credentials.
Configure a ThreatConnect Plugin.
Configure sharing between Netskope and ThreatConnect.
Validate the ThreatConnect Plugin.
In the Netskope UI, go to Policies , select File , and click New File Profile.
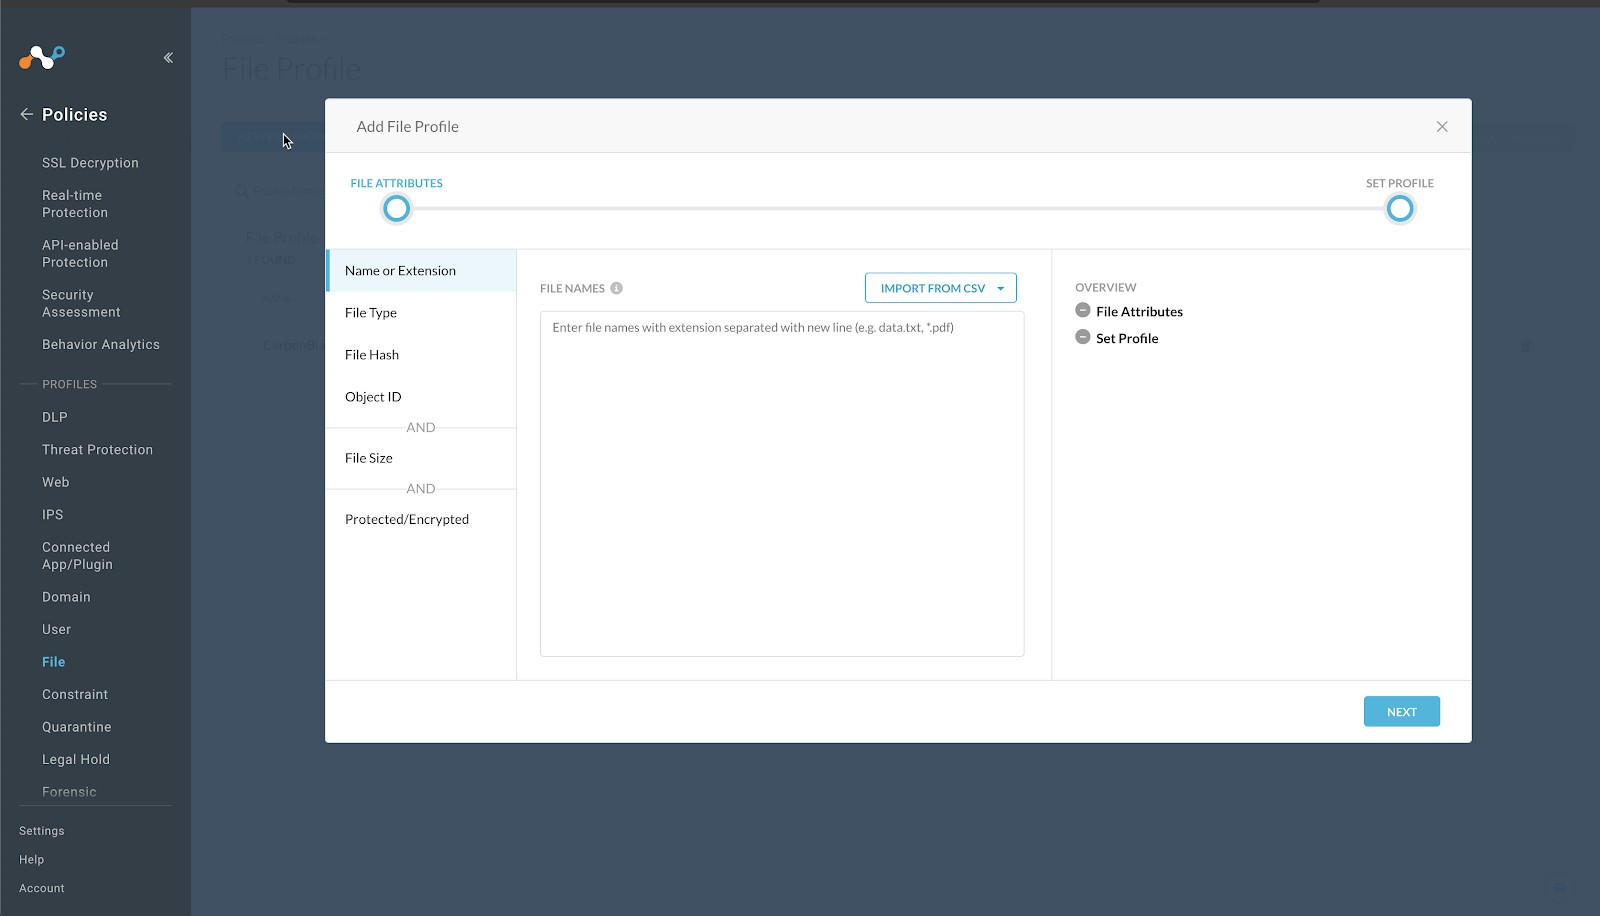
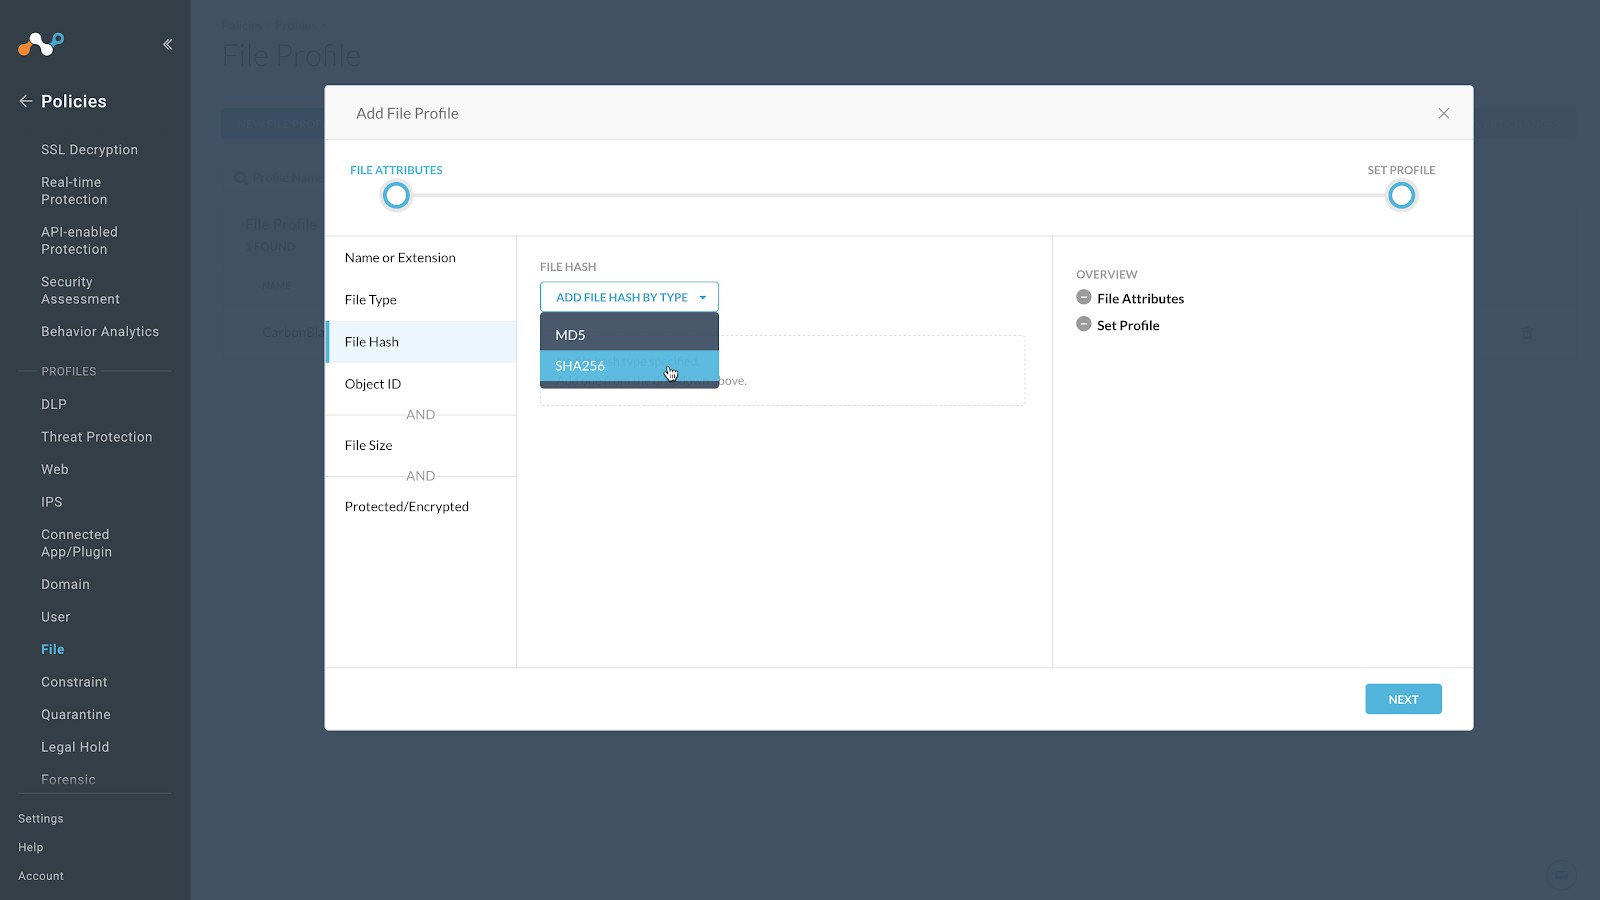
Click File Hash in the left panel, select SHA256 from the File Hash dropdown list.
Enter a temporary value in the text field. Netskope does not support progressing without having a value in this field, and recommends entering a string of 64 characters that consists of the character
f. For example,ffffffffffffffffffffffffffffffffffffffffffffffffffffffffffffffff. This will have a very low possibility of matching a valid file format.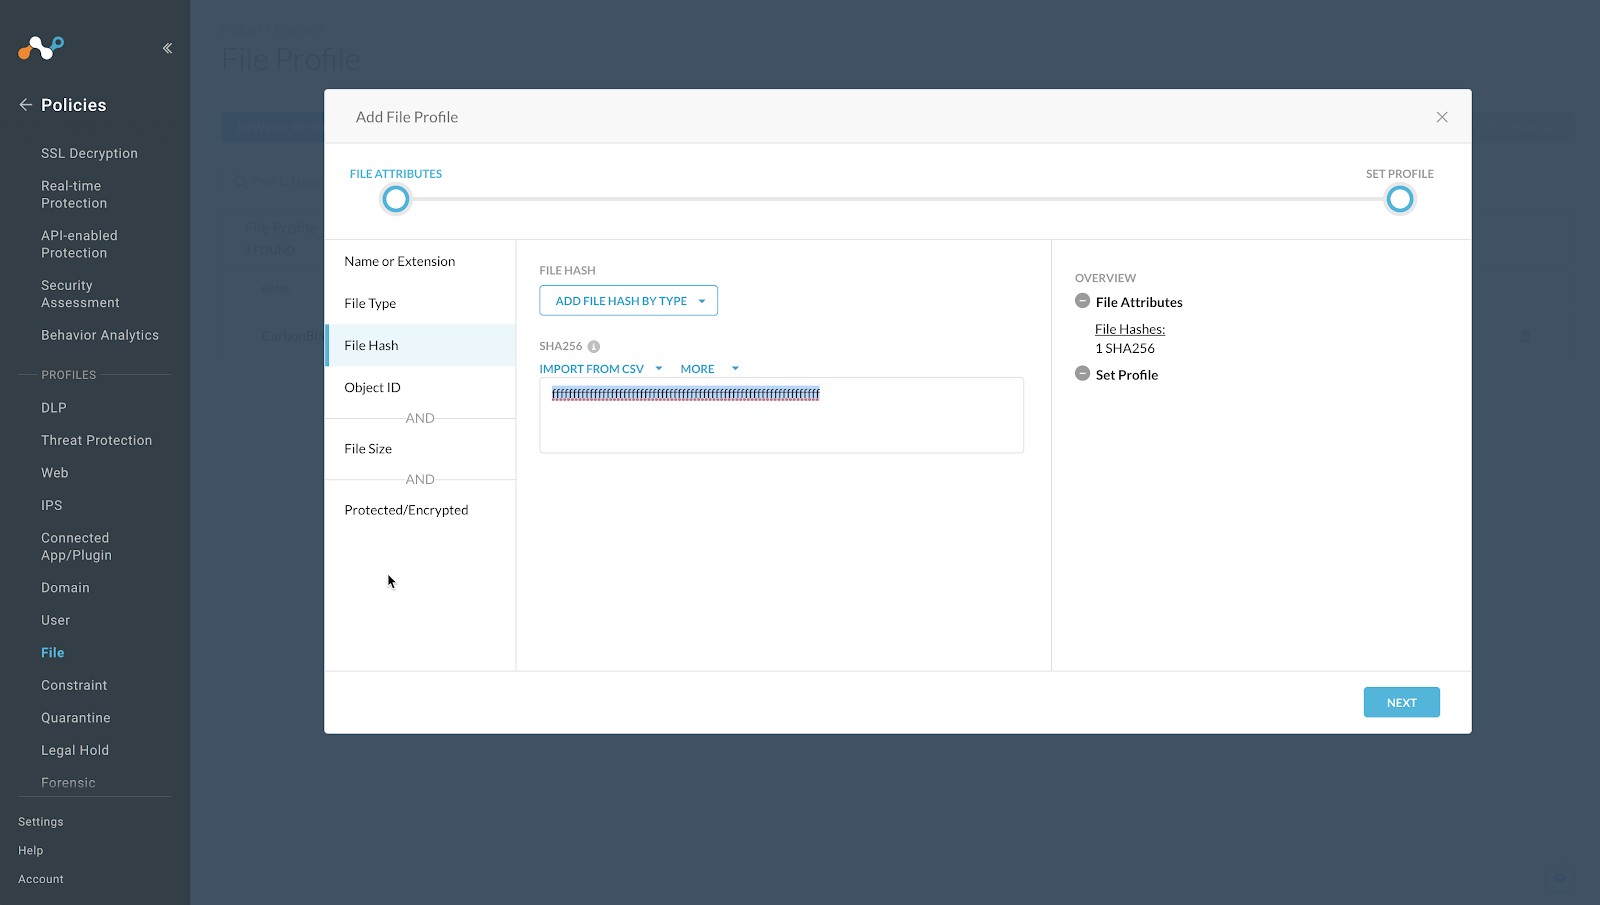
Click Next.
Enter a Profile Name and a Description. We recommend not having blank spaces in your profile name; use underscores for spaces.
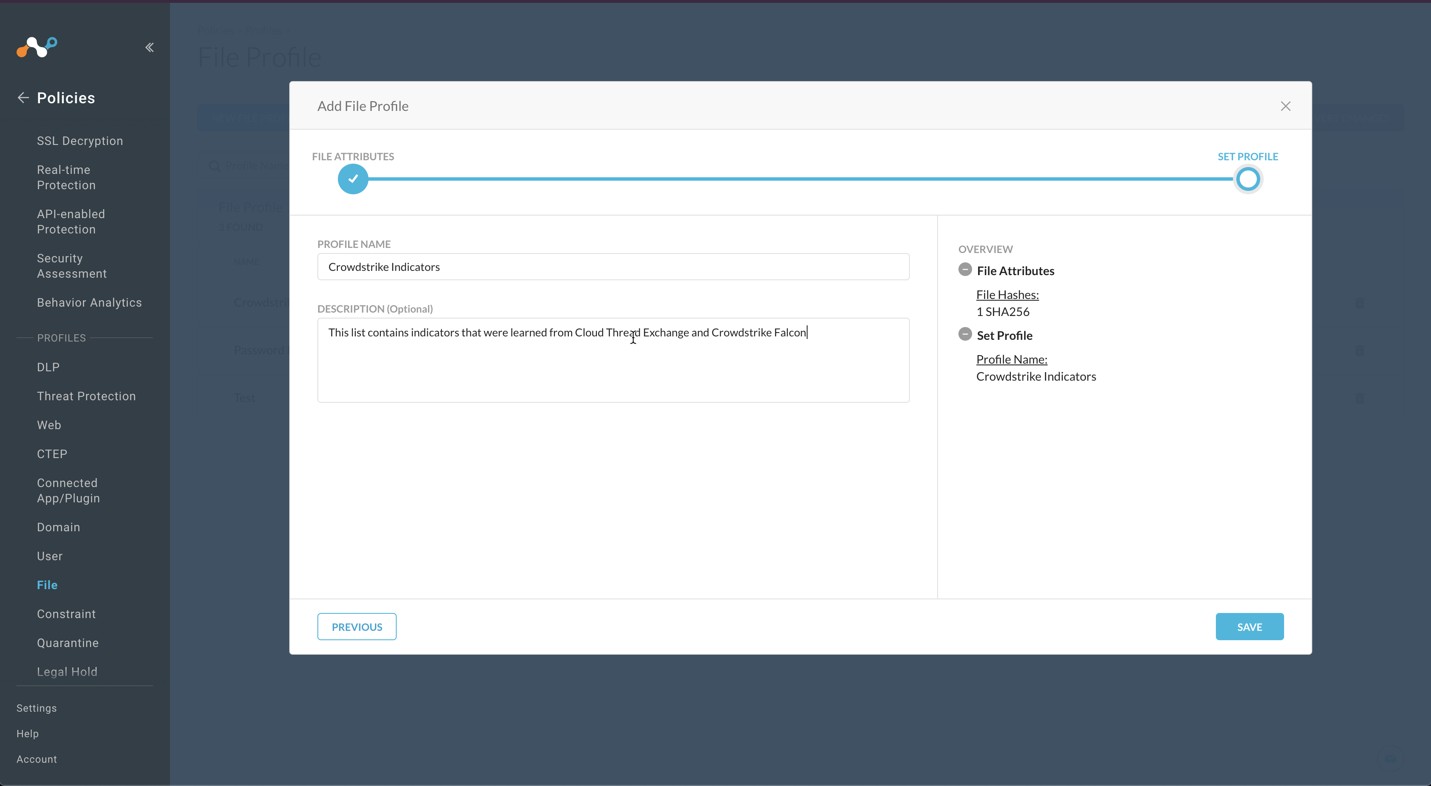
Click Save.
To publish this profile into the tenant, click Apply Changes in the top right.
In the Netskope UI, go to Policies, select Threat Protection , and click New Malware Detection Profile.
Click Next.
Note
For this configuration example, we will be using the intelligence for this list as a block list. Netskope does support inclusion of both allow and block lists in the threat profiles.
Click Next again.
Select the File Profile you created in the previous section and click Next.
Enter a Malware Detection Profile name and click Save Malware Detection Profile.
To publish this profile in the tenant, click Apply Changes in the top right.
In the Netskope UI, go to Policies > Real-time Protection.
Note
The policy configured here is just an example. Modify as appropriate for your organization.
Click New Policy and select Threat Protection.
For Source, leave the default (User = All Users)
For Destination: select Category
The Category section expands and allows you to search and select categories. Click Select All.
When finished, click outside of the Category section.
When the Activities & Constraints section opens, click Edit.
Select Upload and Download, and then click Save.
For Profile & Action, click in the text field.
Select the Malware Detection profile you created in the previous section.
For the Severity Levels, change all of the Actions settings from
Action: AlerttoAction: Block.Select a template to choose which block message is sent to the user.
For Set Policy, enter a descriptive Policy Name.
Click Save in the top right to save the policy.
Choose the To the top option when it appear. (Or appropriate location in your security policy)
To publish this policy into the tenant, select Apply Changes in the top right.
Go to https://partnerstage.threatconnect.com and log in.
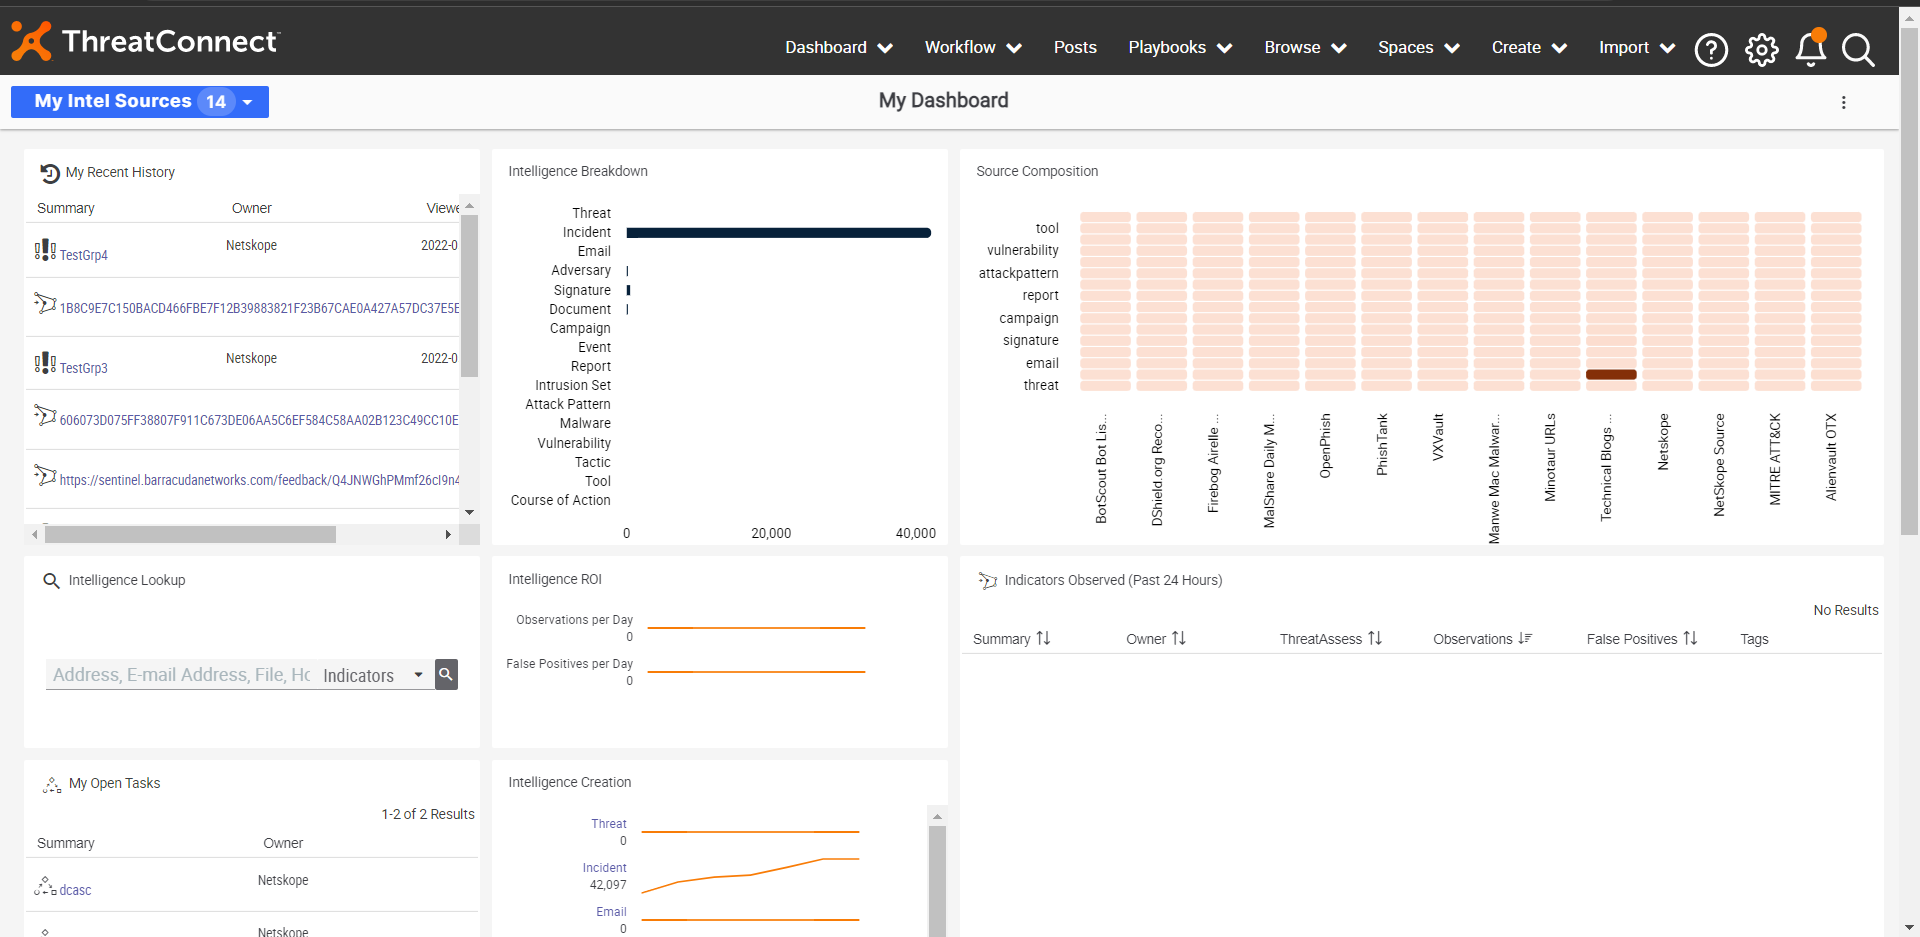
Creating an Access ID and Secret Key refer to this link https://training.threatconnect.com/learn/article/creating-user-accounts-kb-article.
Go to the Organization Settings screen and click the Create API User button on the Membership tab. The API User Administration window will be displayed. Enter these parameters:
First Name: Enter your first name.
Last Name: Enter your last name.
Organization Role: Select an Organization role.
Include in Observations and False Positives: Select the checkbox to allow data provided by the API user to be included in observation and false-positive counts.
Allow User to Exceed API Link Limit: Select the checkbox to override the system-level limit on the number of association levels that can be retrieved at one time for intelligence items using v3 of the ThreatConnect API.
Custom TQL Timeout: Select the checkbox to override the system-level ThreatConnect Query Language (TQL) query timeout for the user. In the field to the right of the checkbox, enter the maximum amount of time, in milliseconds, that TQL queries made by the user will be allowed to run before timing out.
Note
This checkbox will be available only when the user creating the account has a System role of Operations Administrator or Administrator.
Disabled: Select the checkbox to disable an API user’s account in the event that the Administrator wishes to retain log integrity when the API user no longer requires ThreatConnect access.
Copy the Access ID and Secret Key, as these will not be accessible after the window is closed. These are required to configure the ThreatConnect plugin.
Click Save.
In Cloud Exchange, go to Settings and click Plugins.
Search for and select the ThreatConnect plugin tile.
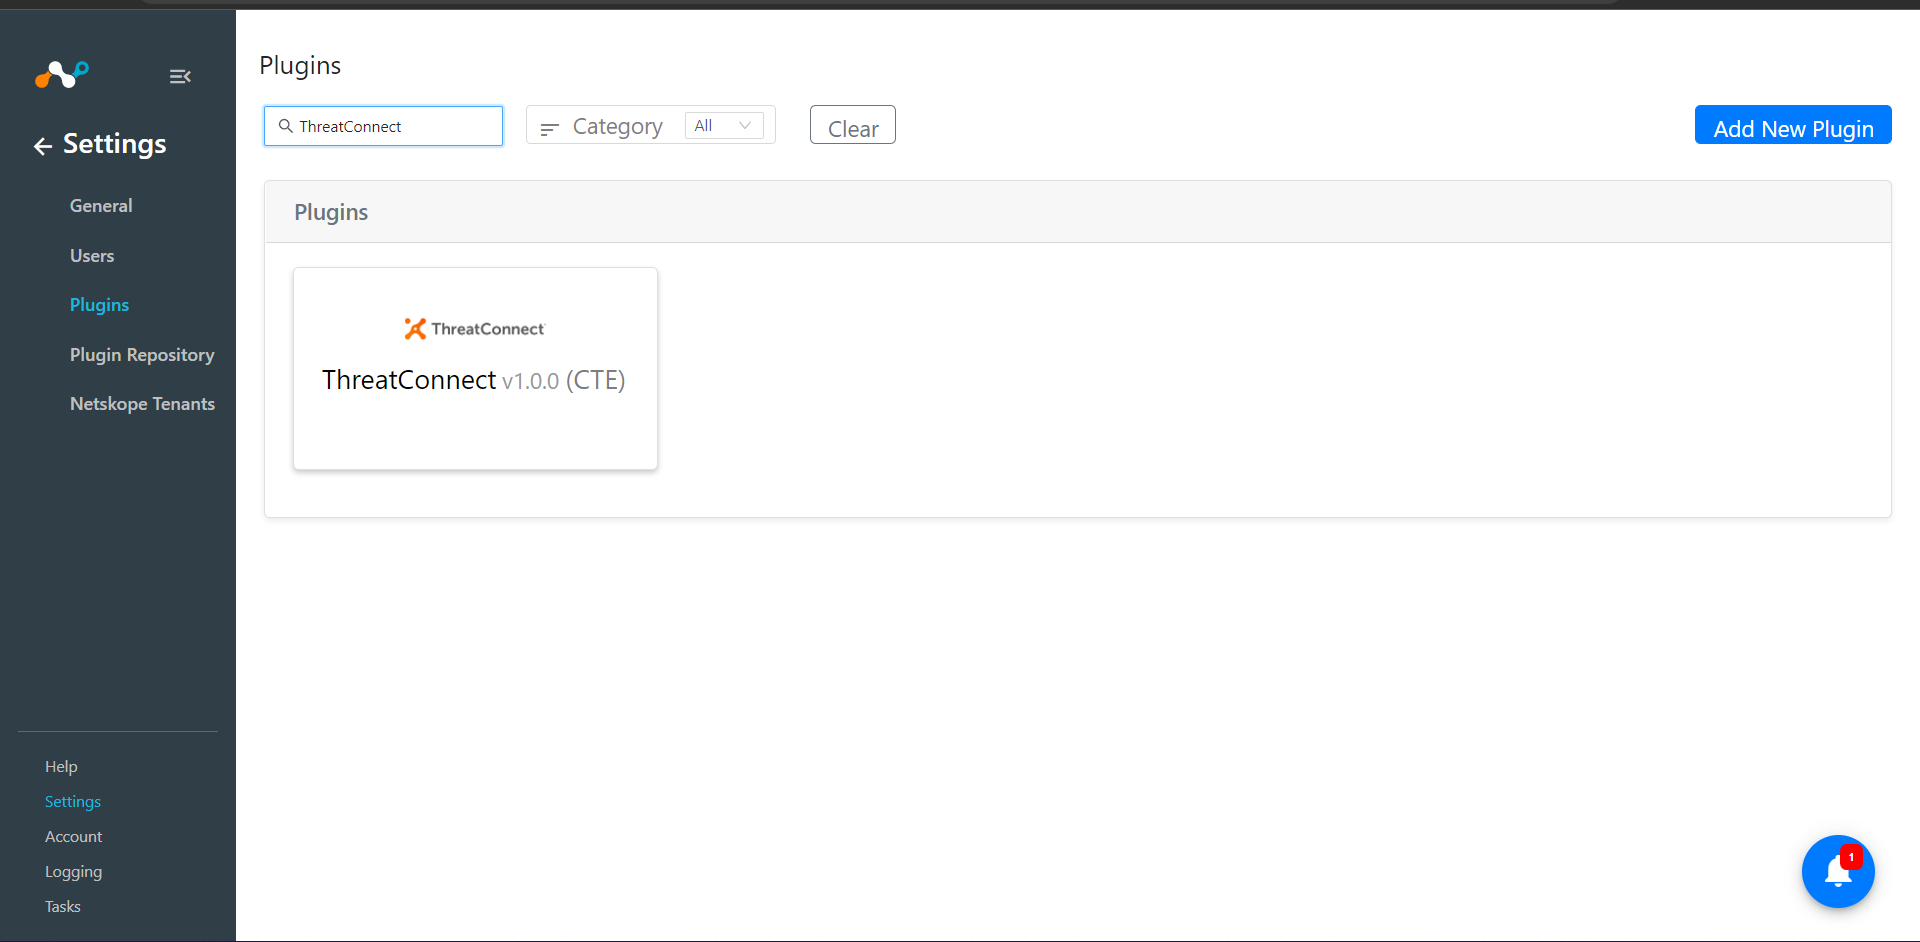
Enter and select the Basic Information on the first page:
Configuration Name: Unique name for the configuration
Sync Interval: Leave default
Aging Criteria: Expiry time of the plugin in days. ( Default: 90 )
Override Reputation: Set a value to override the reputation of indicators received from this configuration.
Enable SSL Validation: Enable SSL Certificate validation.
Use System Proxy: Enable if proxy is required for communication
Click Next.
Enter the Configuration Parameters on the second page:
Base URL: Base URL for ThreatConnect API Endpoints -
https://<yourcompany>.threatconnect.comAccess ID: Access ID of ThreatConnect API.
Secret Key: Secret Key of ThreatConnect API.
Type of Threat IoC: Type of threat IoC you want to pull from ThreatConnect.
Enable Tagging: Enable/Disable tagging functionality
Enable Polling: Enable/Disable polling data from ThreatConnect.
Initial Range: Number of days to pull the data for the initial run.
Click Save.
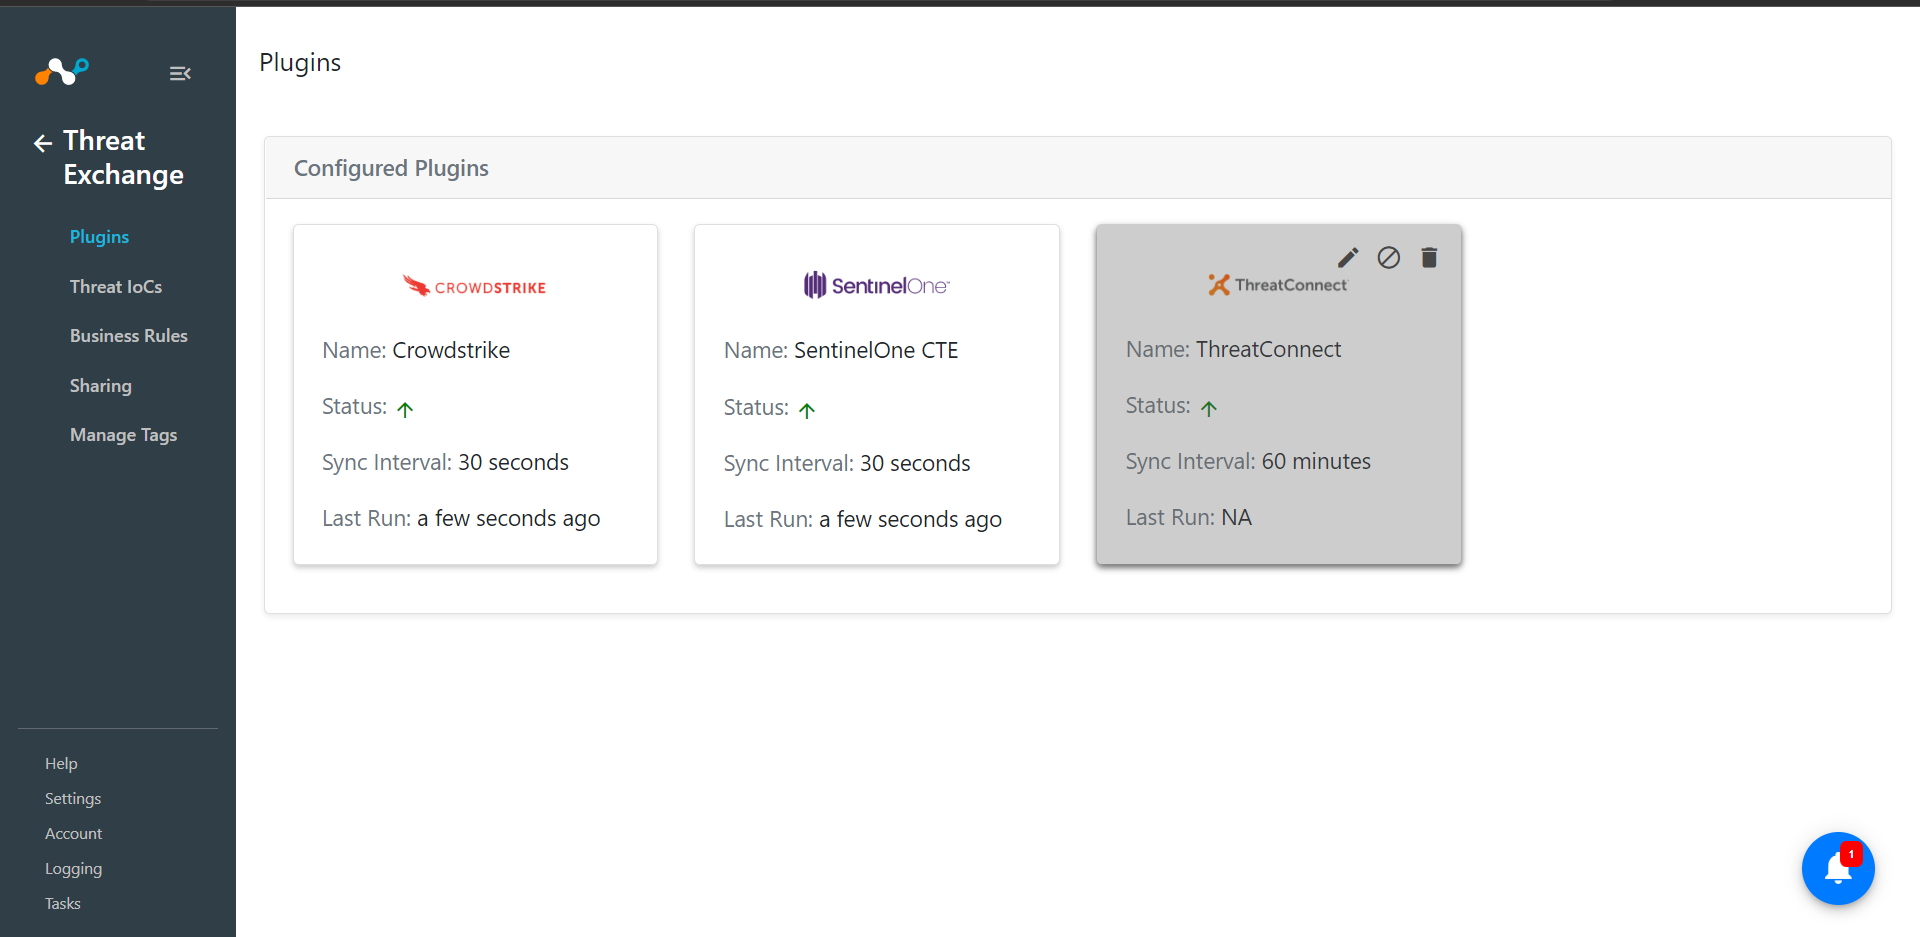
In Threat Exchange, click Business Rules.
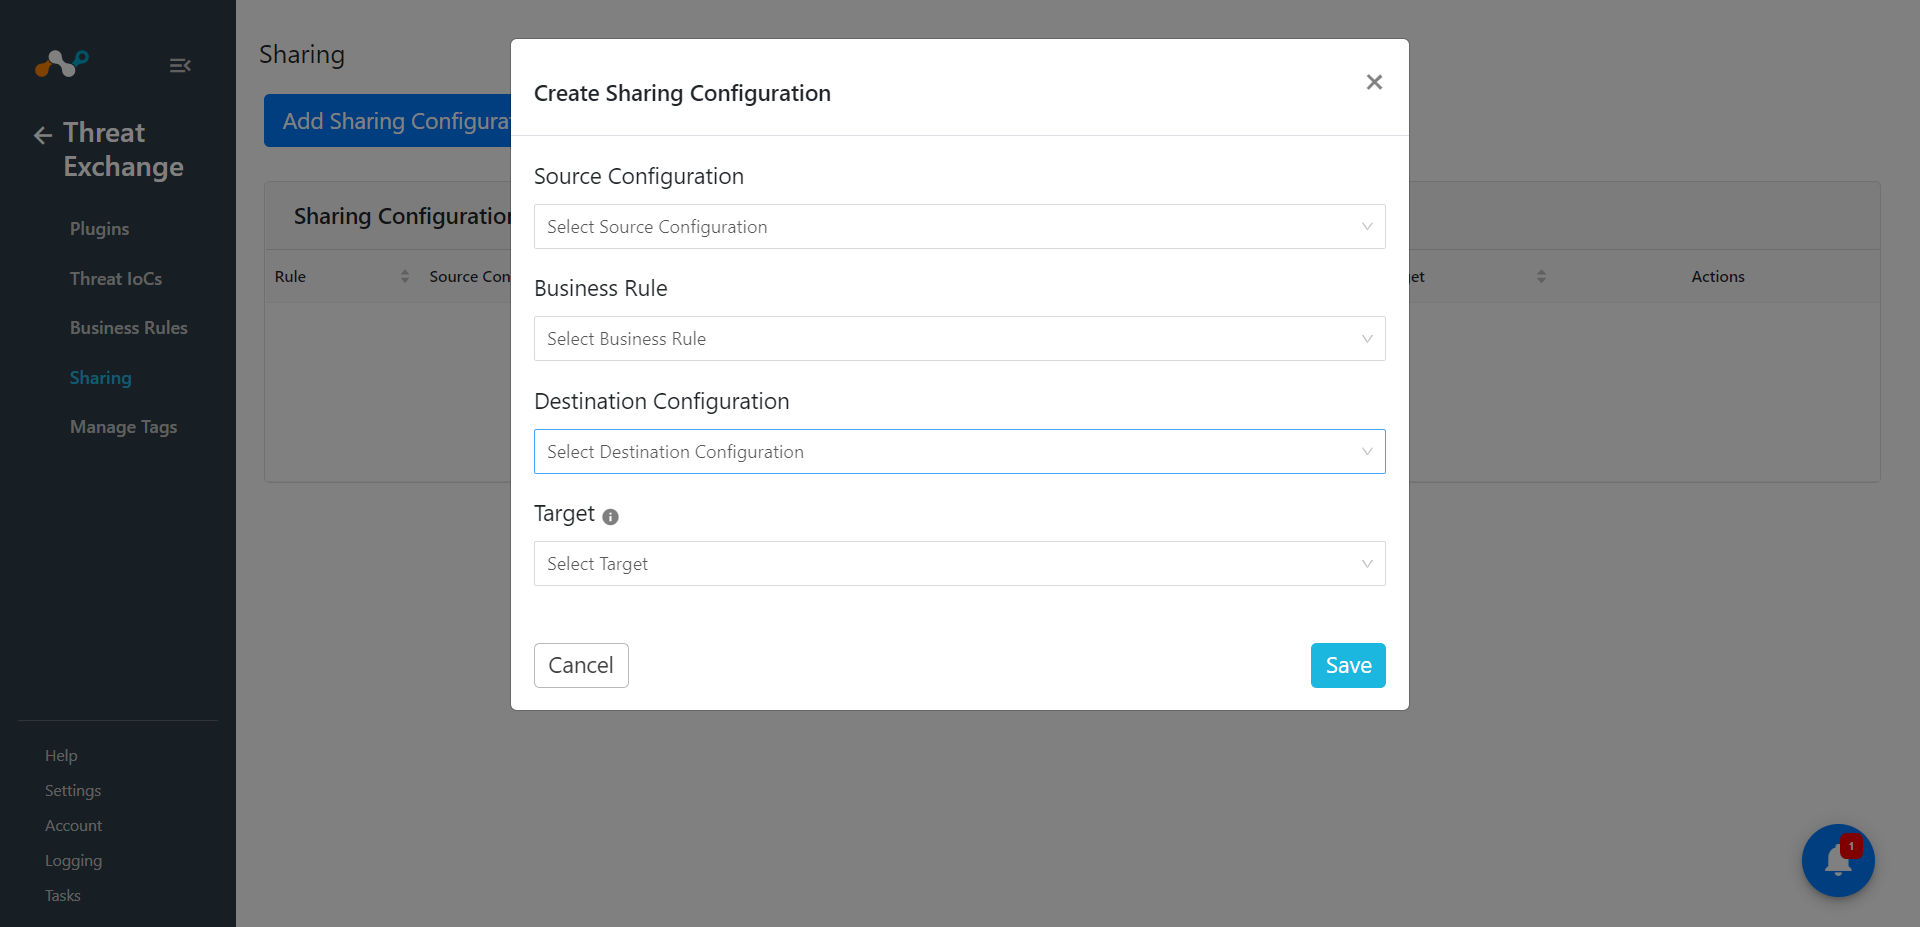
Select Sharing from the navigation bar. Fill out the following field values.
Source: Source plugin where you want to fetch the data.
Business rule: Select business rule that you want to apply to IoCs.
Destination: Destination plugin where you want to push the data.
Target: Possible actions that can apply while pushing the data.
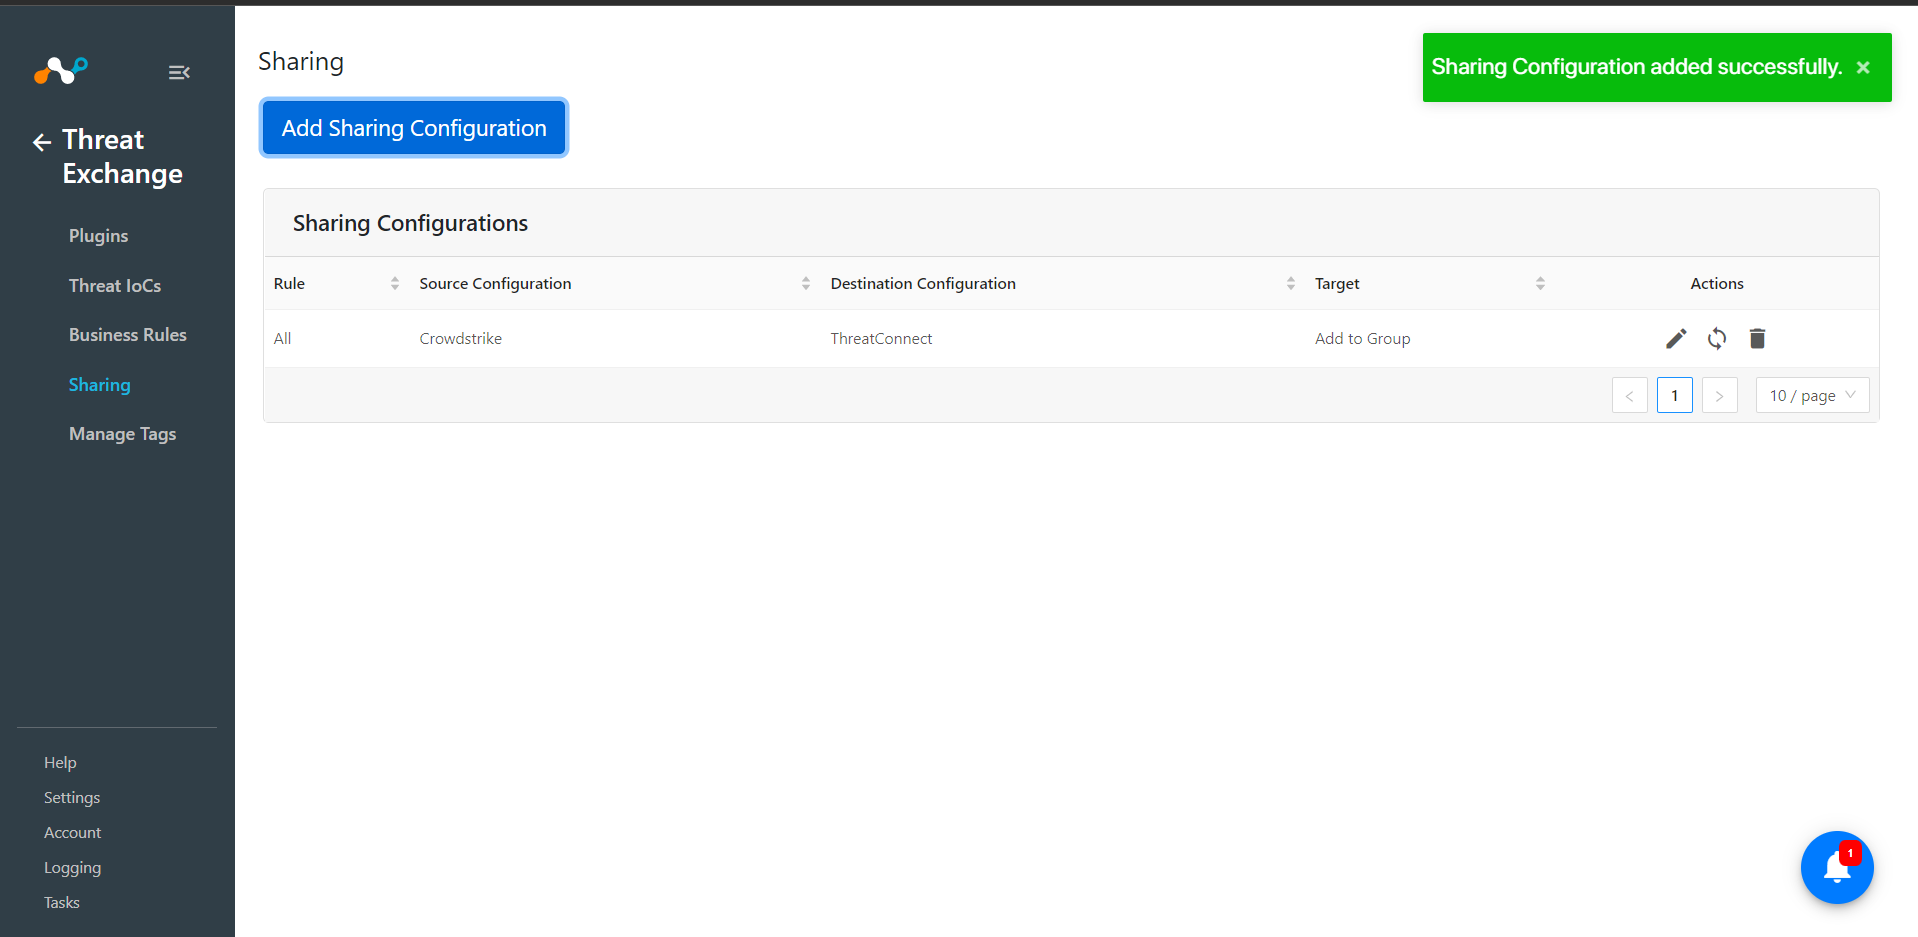
After saving the configuration click on Sync Icon for sharing the IoCs.
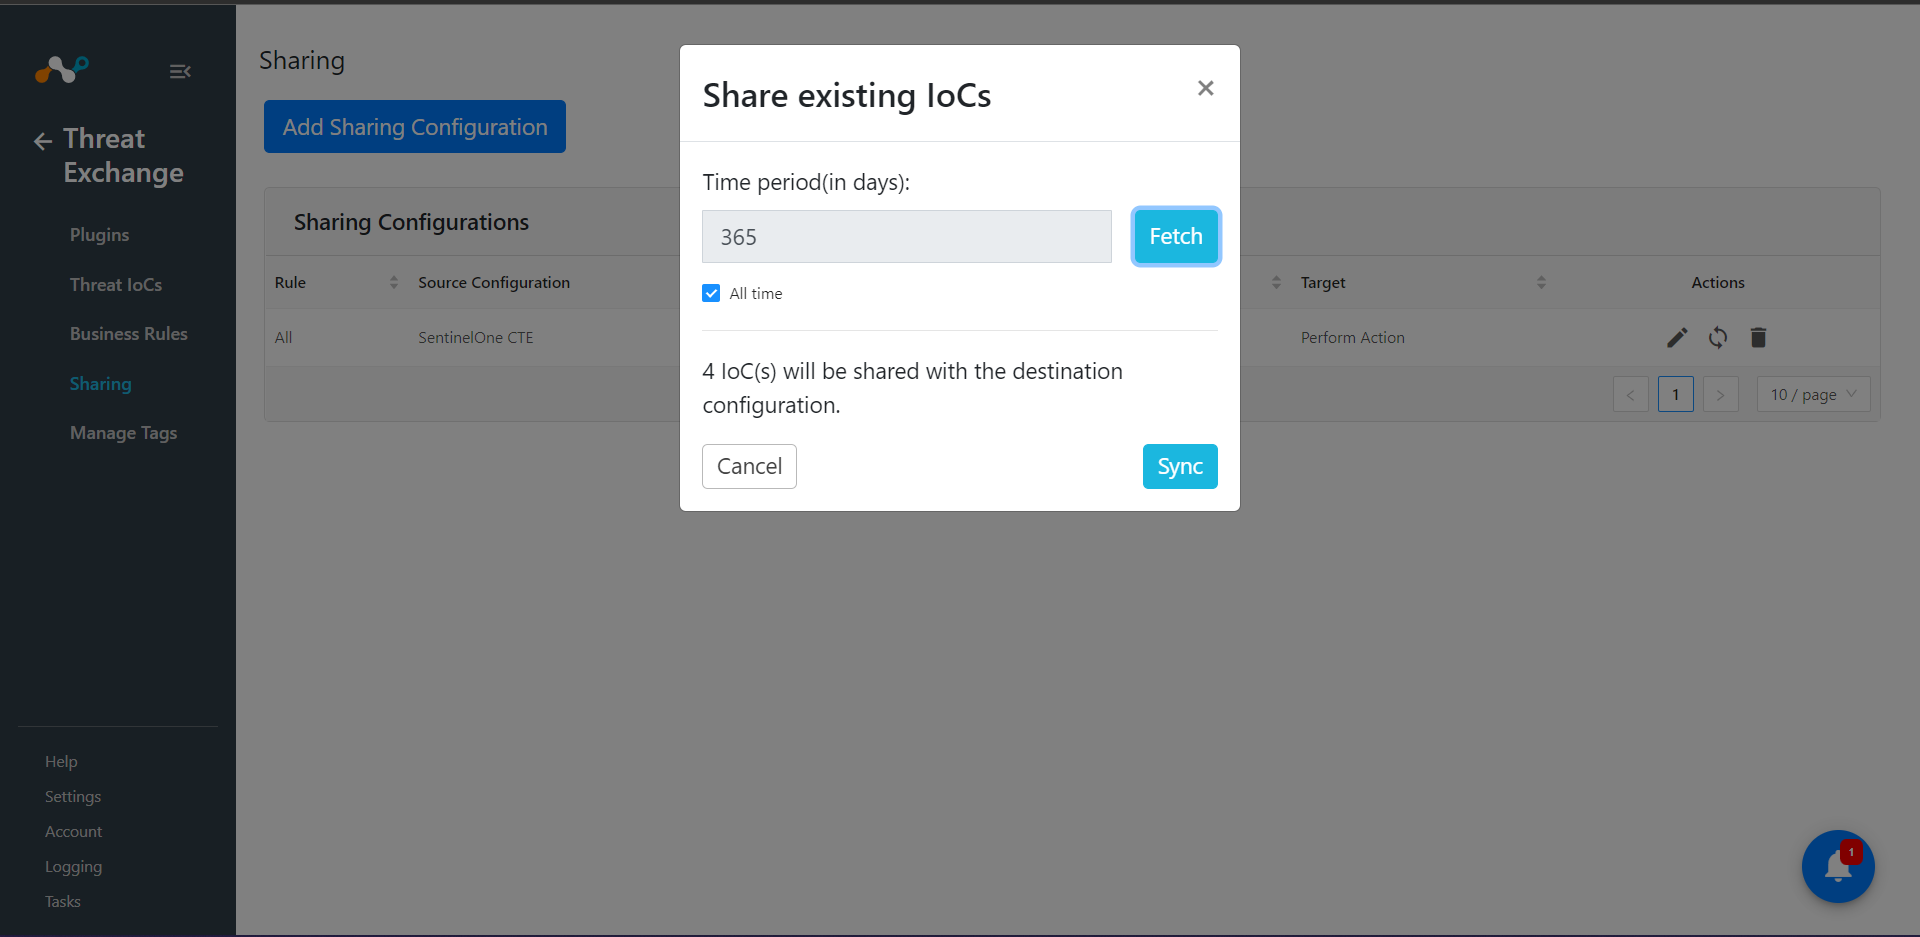
Add Time period for that you want to share data, click on Fetch then click on Sync. Check All time to shared all the data from source plugin.
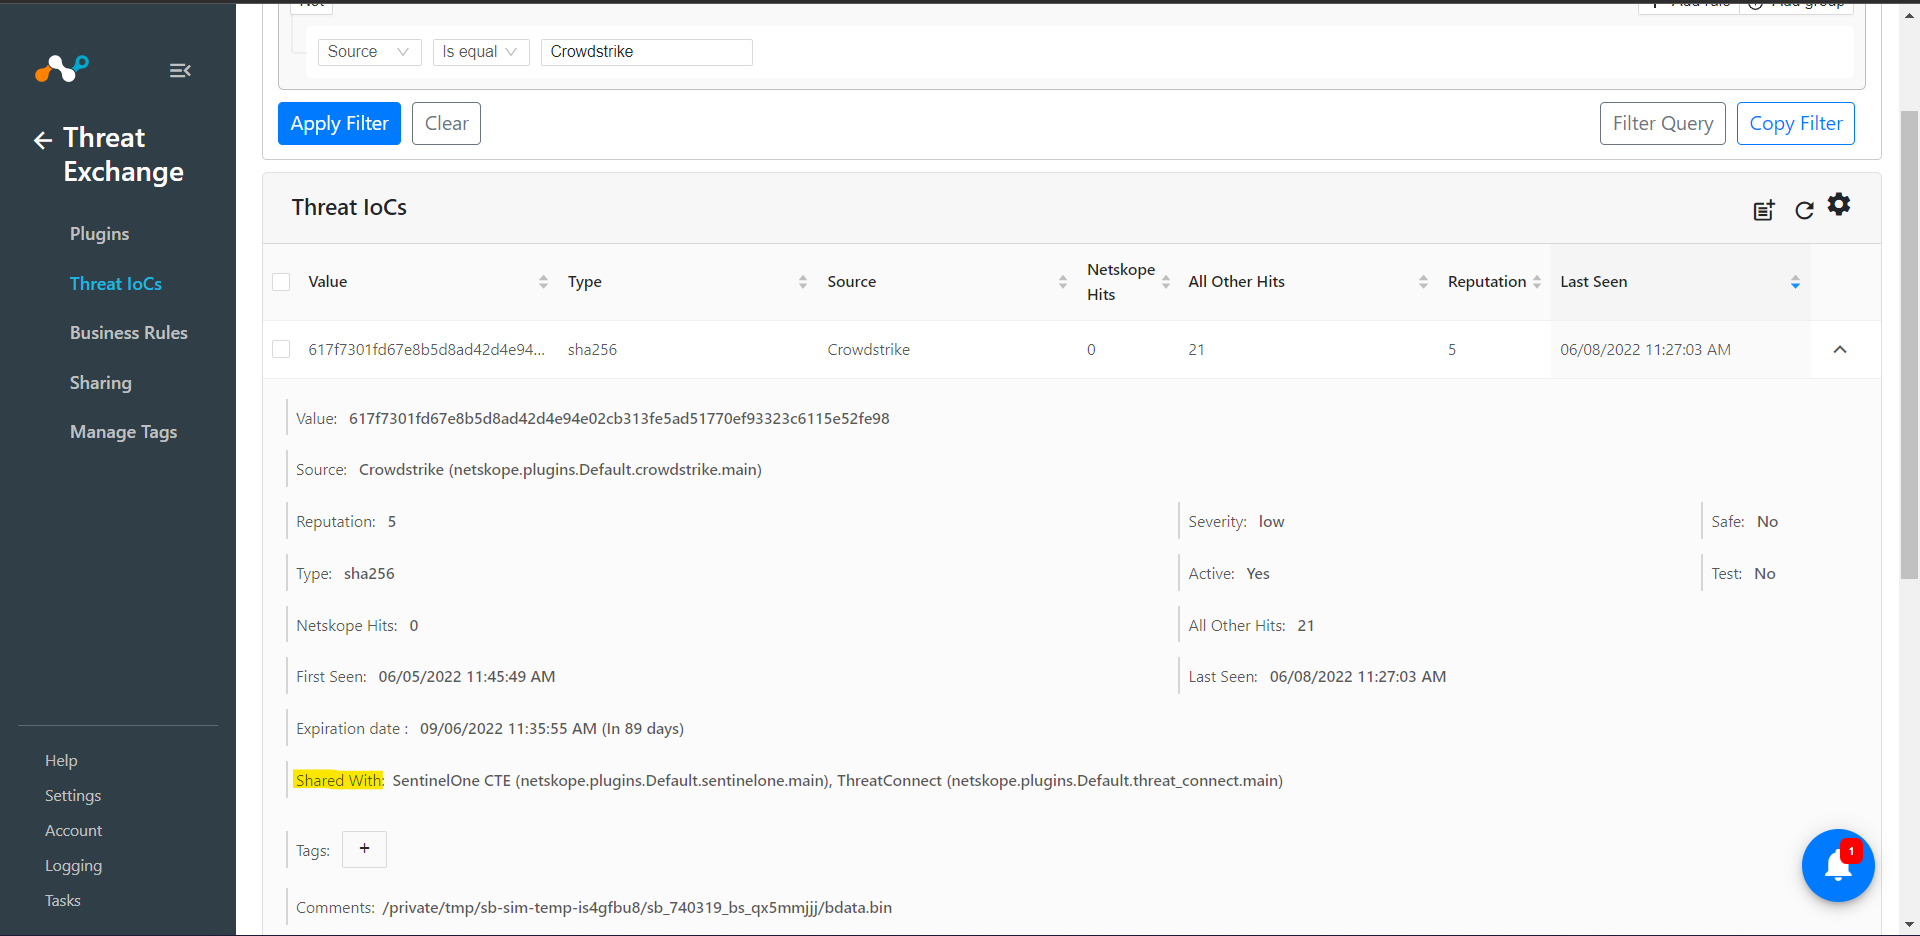
Verify sharing indicators from Threat Exchange -> Threat IoCs. Expand one of the Source plugin IoCs and check status of Shared with Parameter.
Go to Threat Exchange and select Sharing. The Sharing page displays the existing relationships for each sharing configuration in grid view as shown below. The Sharing page also has inputs to configure new sharing from one plugin to another.

Click Add Sharing Configuration, and in the Source Configuration dropdown list, select ThreatConnect.
Select a Business Rule, and then select Netskope for the Destination Configuration. Sharing configurations are unidirectional. data obtained from one plugin is shared with another plugin. To achieve bi- or multi-directional sharing, configure each separately.
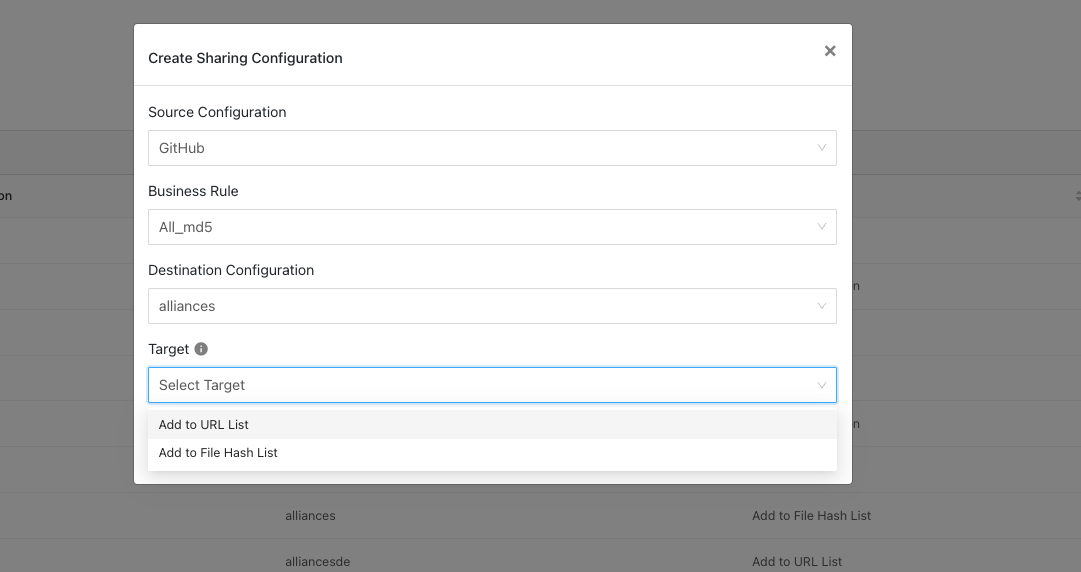
Select a Target. Each plugin will have a different target or destination for the IoC.
For Action, select Add to Group. The Add to Group action will add indicators to available groups in the organization. It will list out all the available groups in which you can add your IoCs. It will also show one last option as “Create New Group” which will create a new group in ThreatConnect and add all the indicators to that group.
Click Save.
Repeat steps 2-6, but select Netskope as the Source Configuration and ThreatConnect as the Destination Configuration.
Click Save.
Adding a new sharing configuration on the active source poll will share the existing IoCs of the source configuration to the destination configuration. Whenever a new sharing configuration is built, all the active IoCs will also be considered for sharing if they match the source/destination combination.
Note
Plugins that do not have API for ingesting data cannot receive threat data. This is true of the installed plugin API Source, which provides a bucket associated with an API endpoint for remote 3rd-party systems to push data to. Once a Sharing policy has been added, it takes effect.
After a sharing configuration has been created, the sharing table will show the rule being invoked, the source system providing the potential IoC matches, the destination system that will receive matching IoC, and the target applicable to that rule. Multiple Sharing configurations can be made to support mapping certain IoC to multiple targets even on the system destination system.
Modify, Test, or Delete a Sharing Configuration
Each configuration supports 3 actions:
 |
Edit the rule by clicking on the pencil icon.
Test the rule by clicking on the synchronization icon. This tests how many IoC will actually be sent to the destination system based on the timeframe and the rule.
Delete the rule by clicking on the garbage can icon.
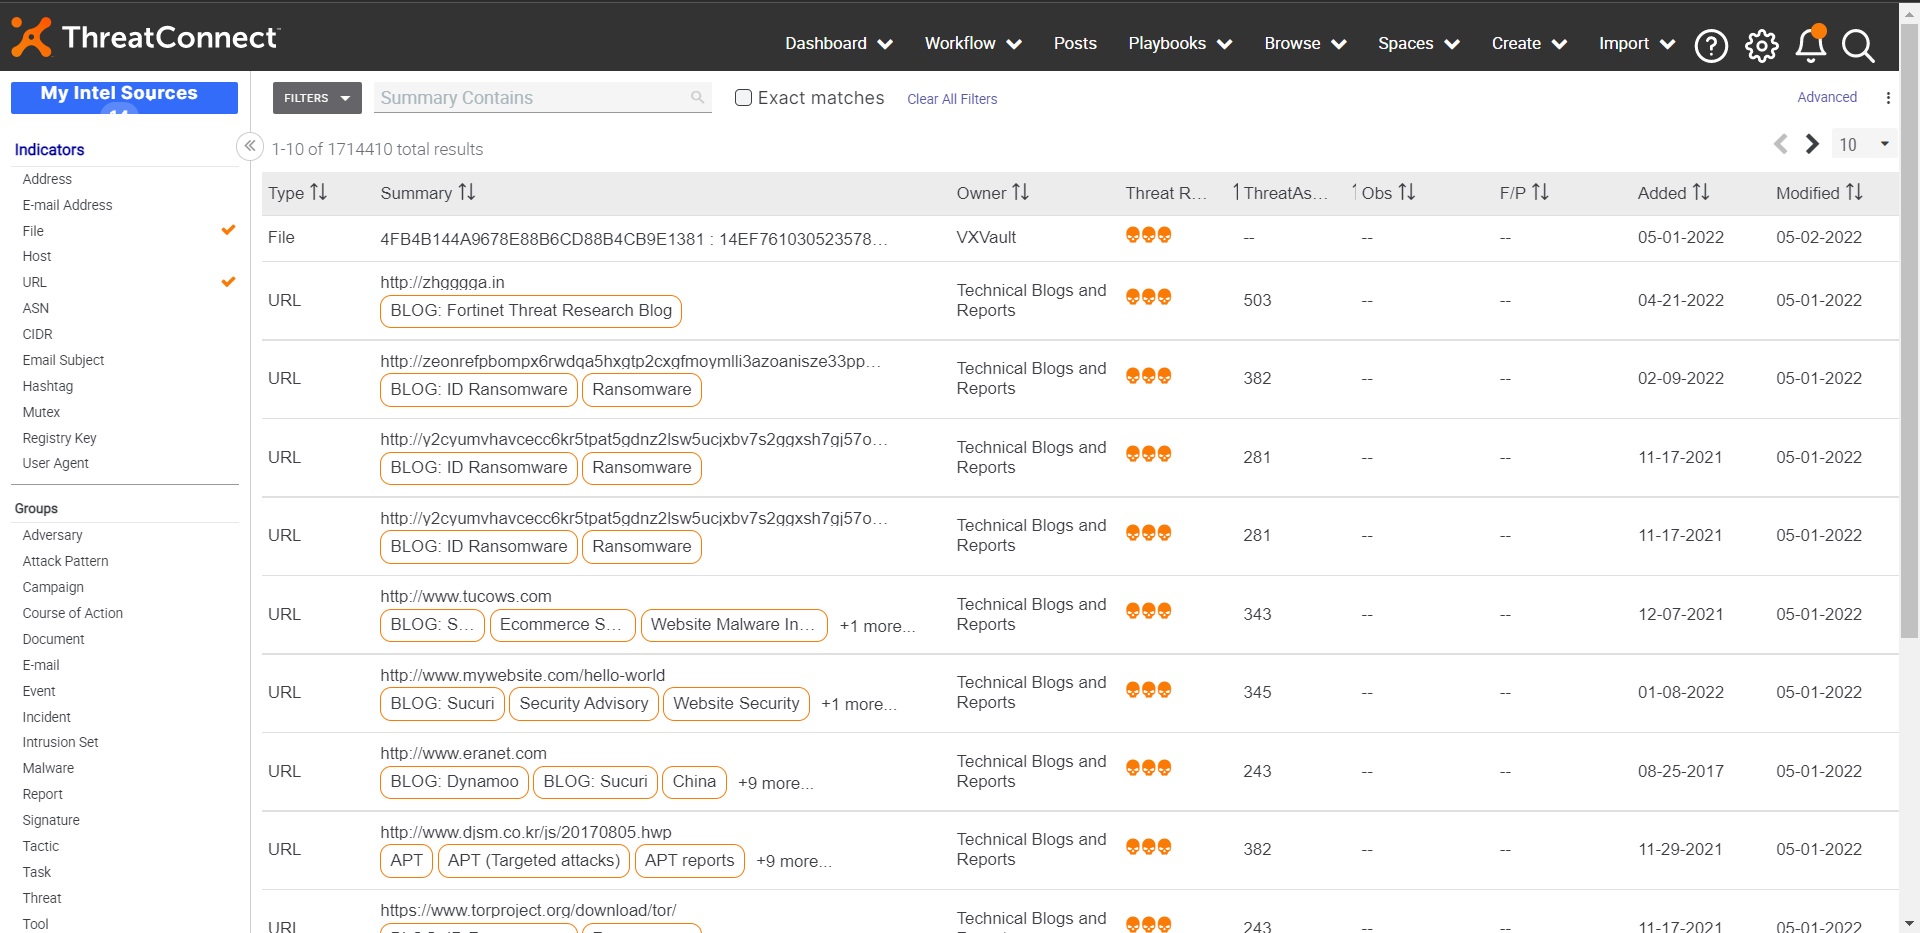
Based on the Plugin configuration, Indicators will pull from ThreatConnect. Go to Threat Exchange > Threat IoCs to view the received IoCs.
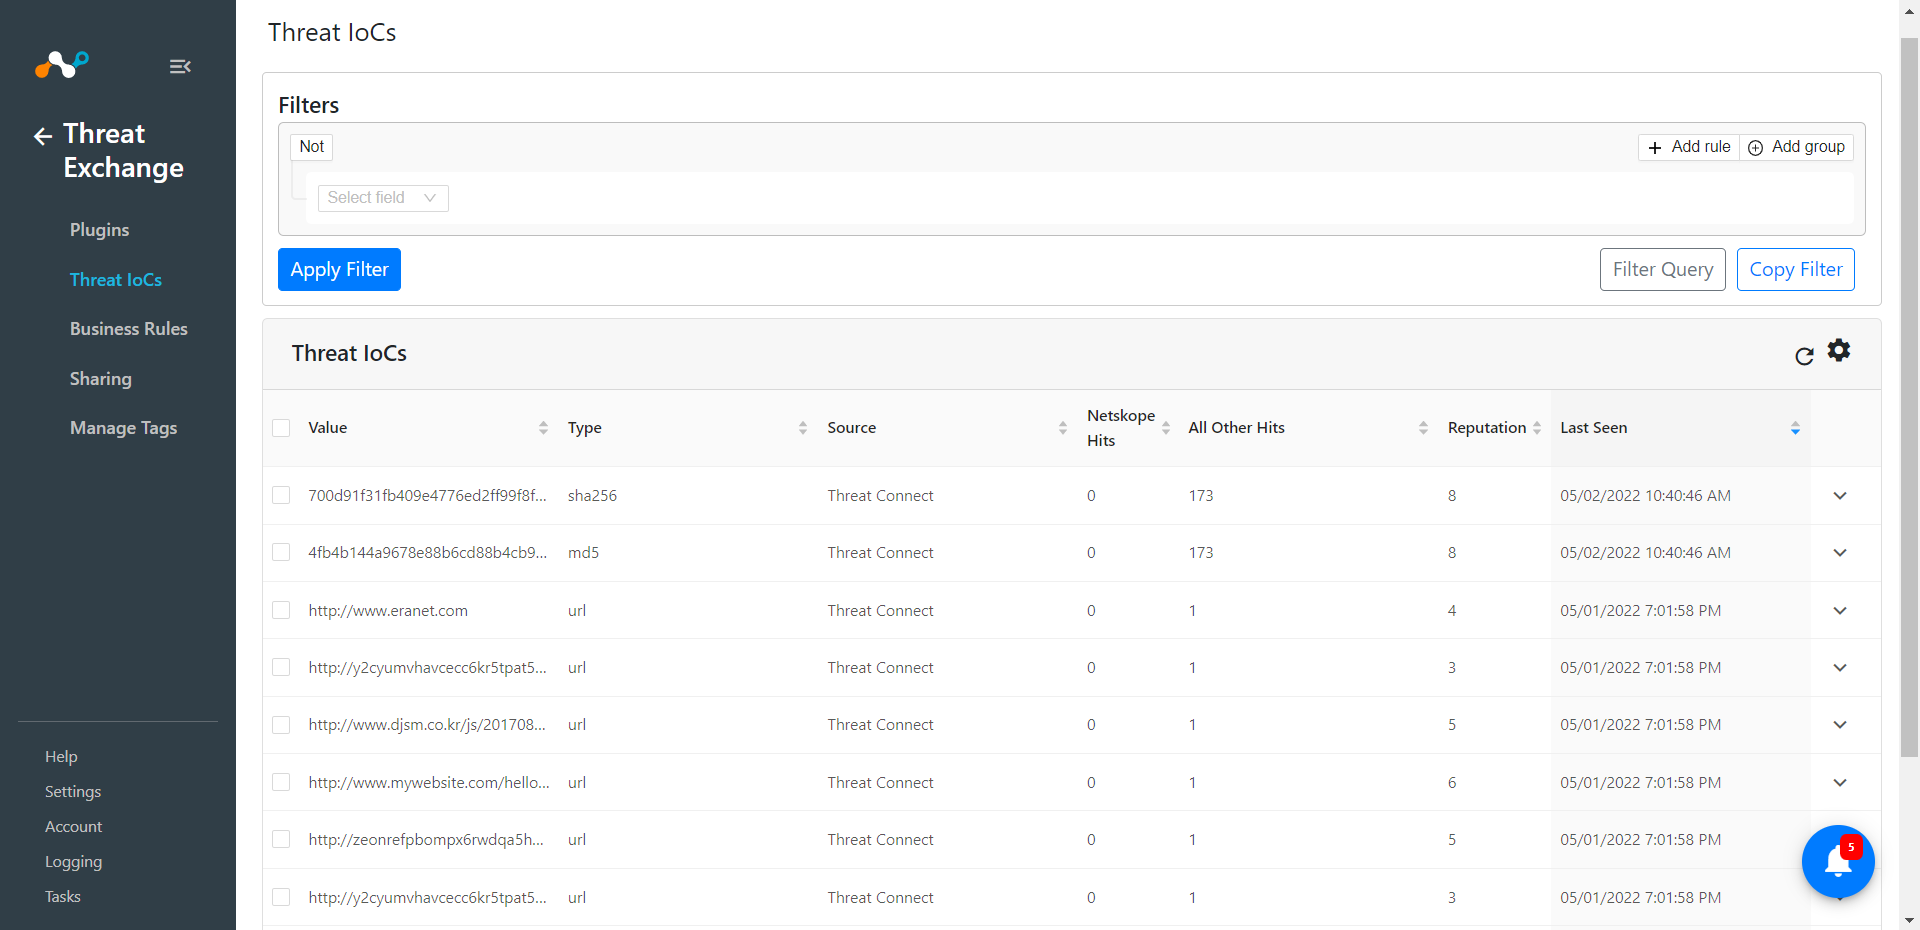
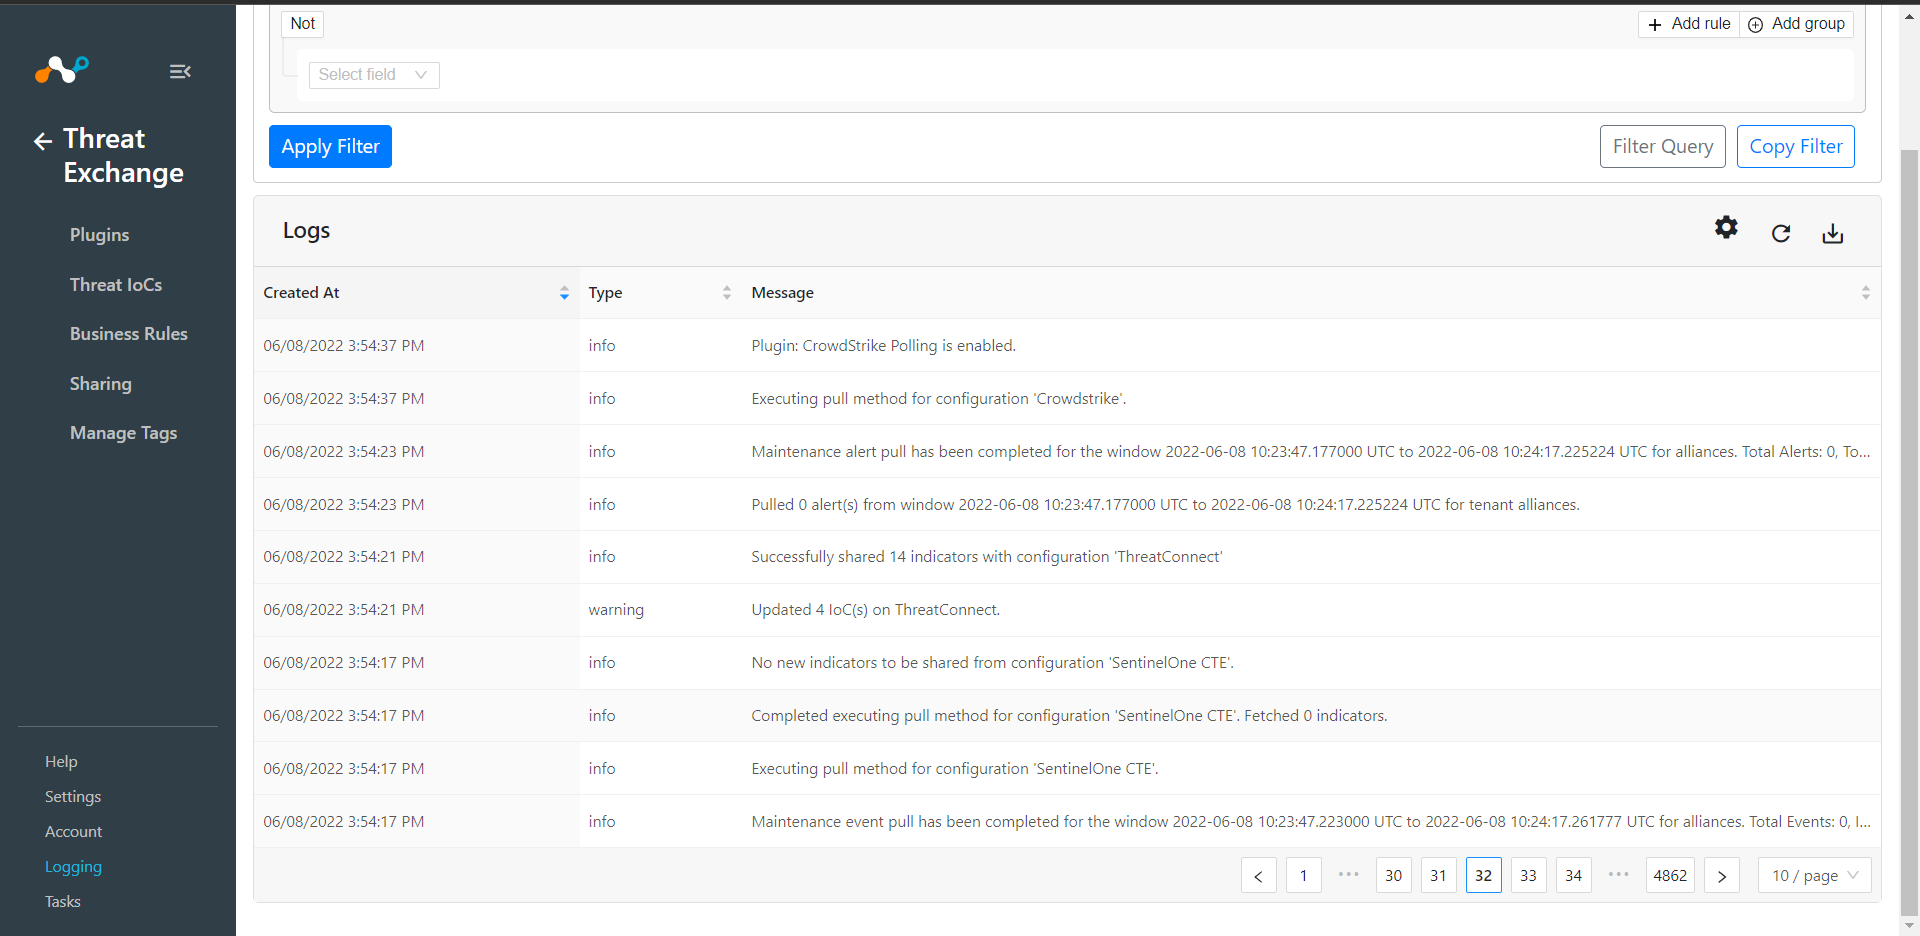
If data is not being fetched from the platform, you can look at the logs in Cloud Exchange. Go to .Cloud Exchange > Logging and look through the logs for errors.
To verify the plugin in ThreatConnect, go to ThreatConnect Platform > Browse > Indicators. IoCs pushed from Netskope has tagged with Netskope CE. Make sure to filter out indicators based on need from the left side Indicators panel. (Netskope supports File and URL type Indicators only).
