Crowdstrike Plugin for User Risk Exchange
This document explains how to configure the CrowdStrike integration with the User Risk Exchange module of the Netskope Cloud Exchange platform. This integration collects uids and their scores from CrowdStrike’s platform to Netskope. The fetched record types are hosts.
To complete this configuration, you need:
A Netskope tenant (or multiple, for example, production and development/test instances).
A Netskope Cloud Exchange tenant with the User Risk Exchange module already configured.
Your CrowdStrike instance credentials(Client ID, Client Secret) for API Token
A CrowdStrike Real Time Response Administrator role for Put RTR Script action
For each platform (Linux, Windows, Mac), there should be a response policy with Real Time Response (High Risk Commands) enabled.
All the policies under Real Time Response enabled.
Connectivity to the following host:
https://api.crowdstrike.com.
Get your CrowdStrike credentials.
Configure the Crowdstrike Plugin for User Risk Exchange
Configure Actions for the CrowdStrike Plugin.
Validate the CrowdStrike plugin.
Click play to watch a video.
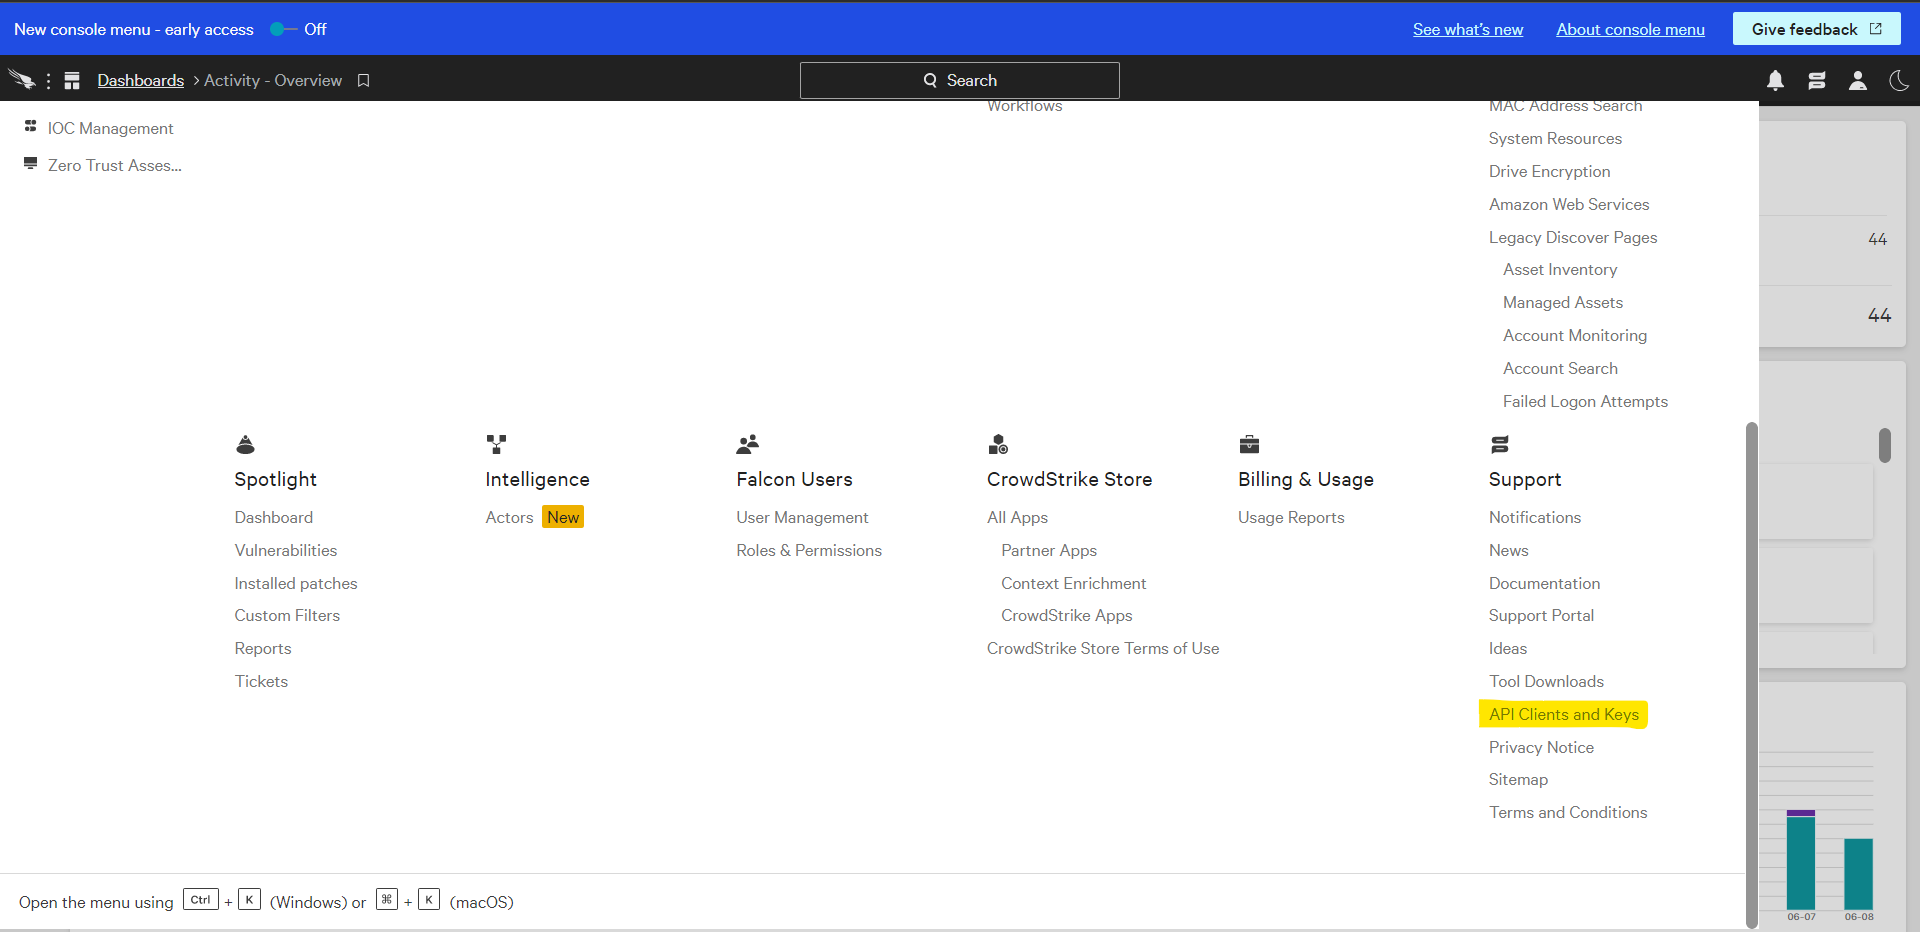
Log in into your CrowdStrike account and go to Crowdstrike Icon > Support > API Client and Keys.
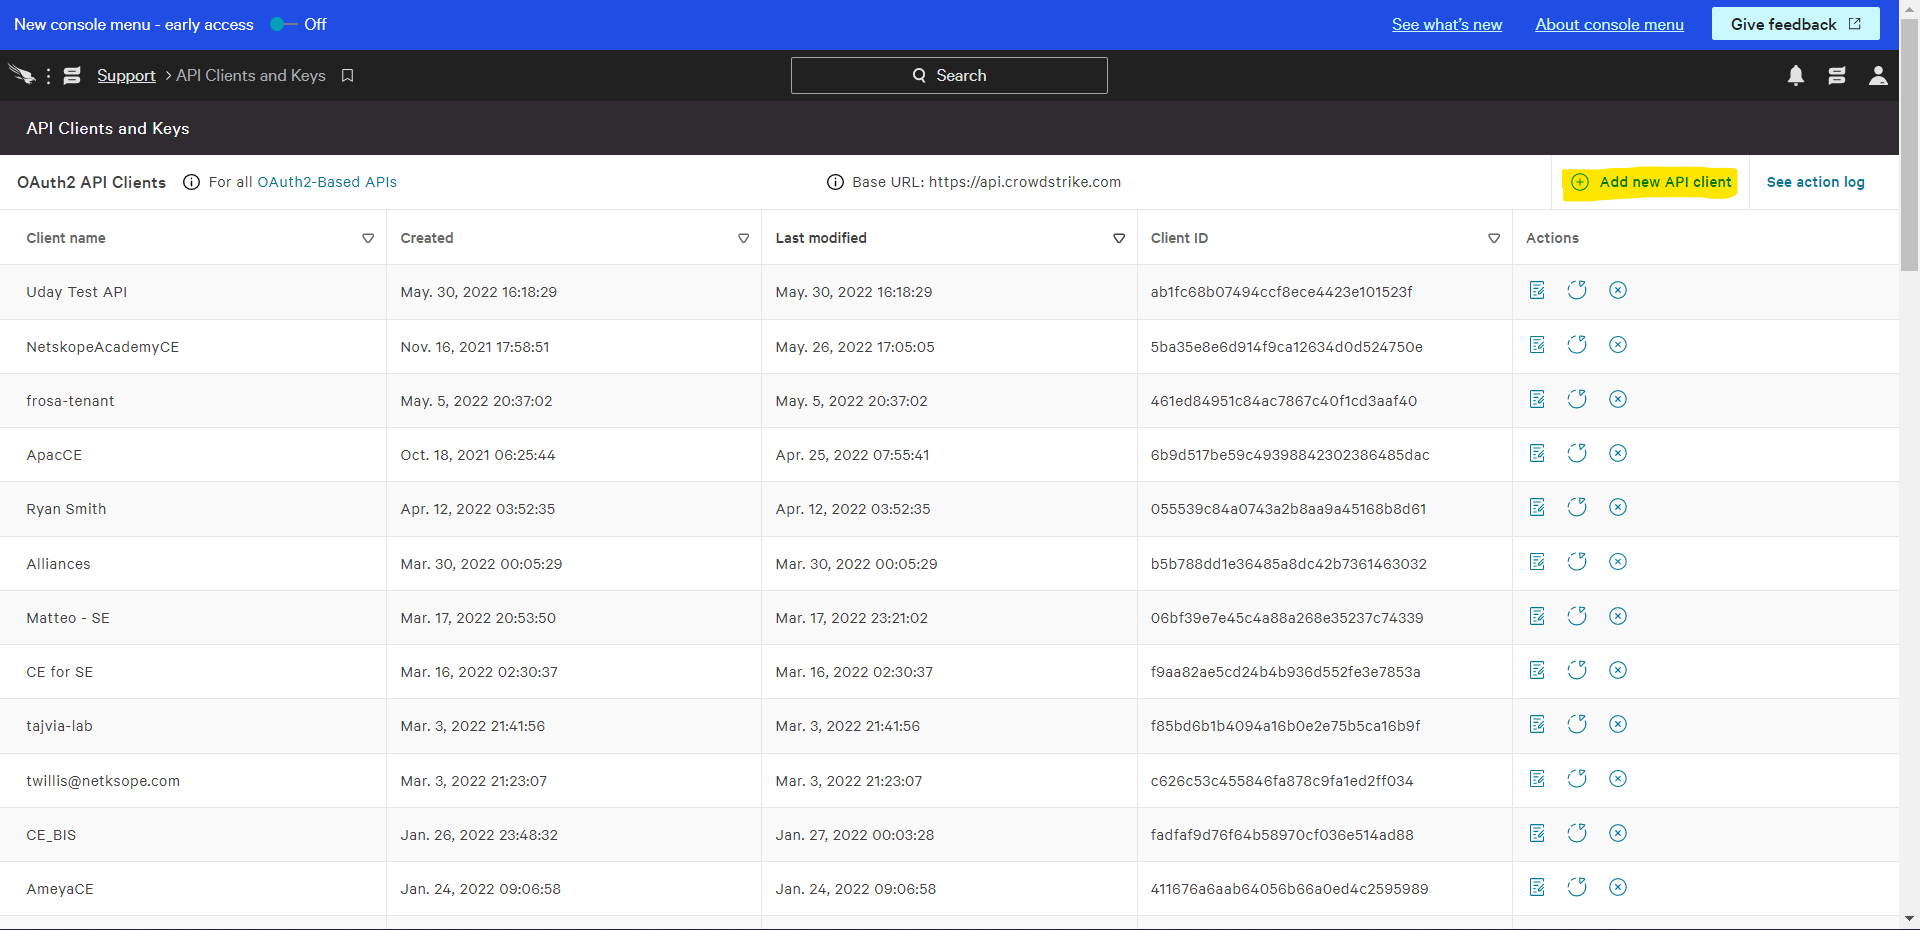
Click Add new API Client.
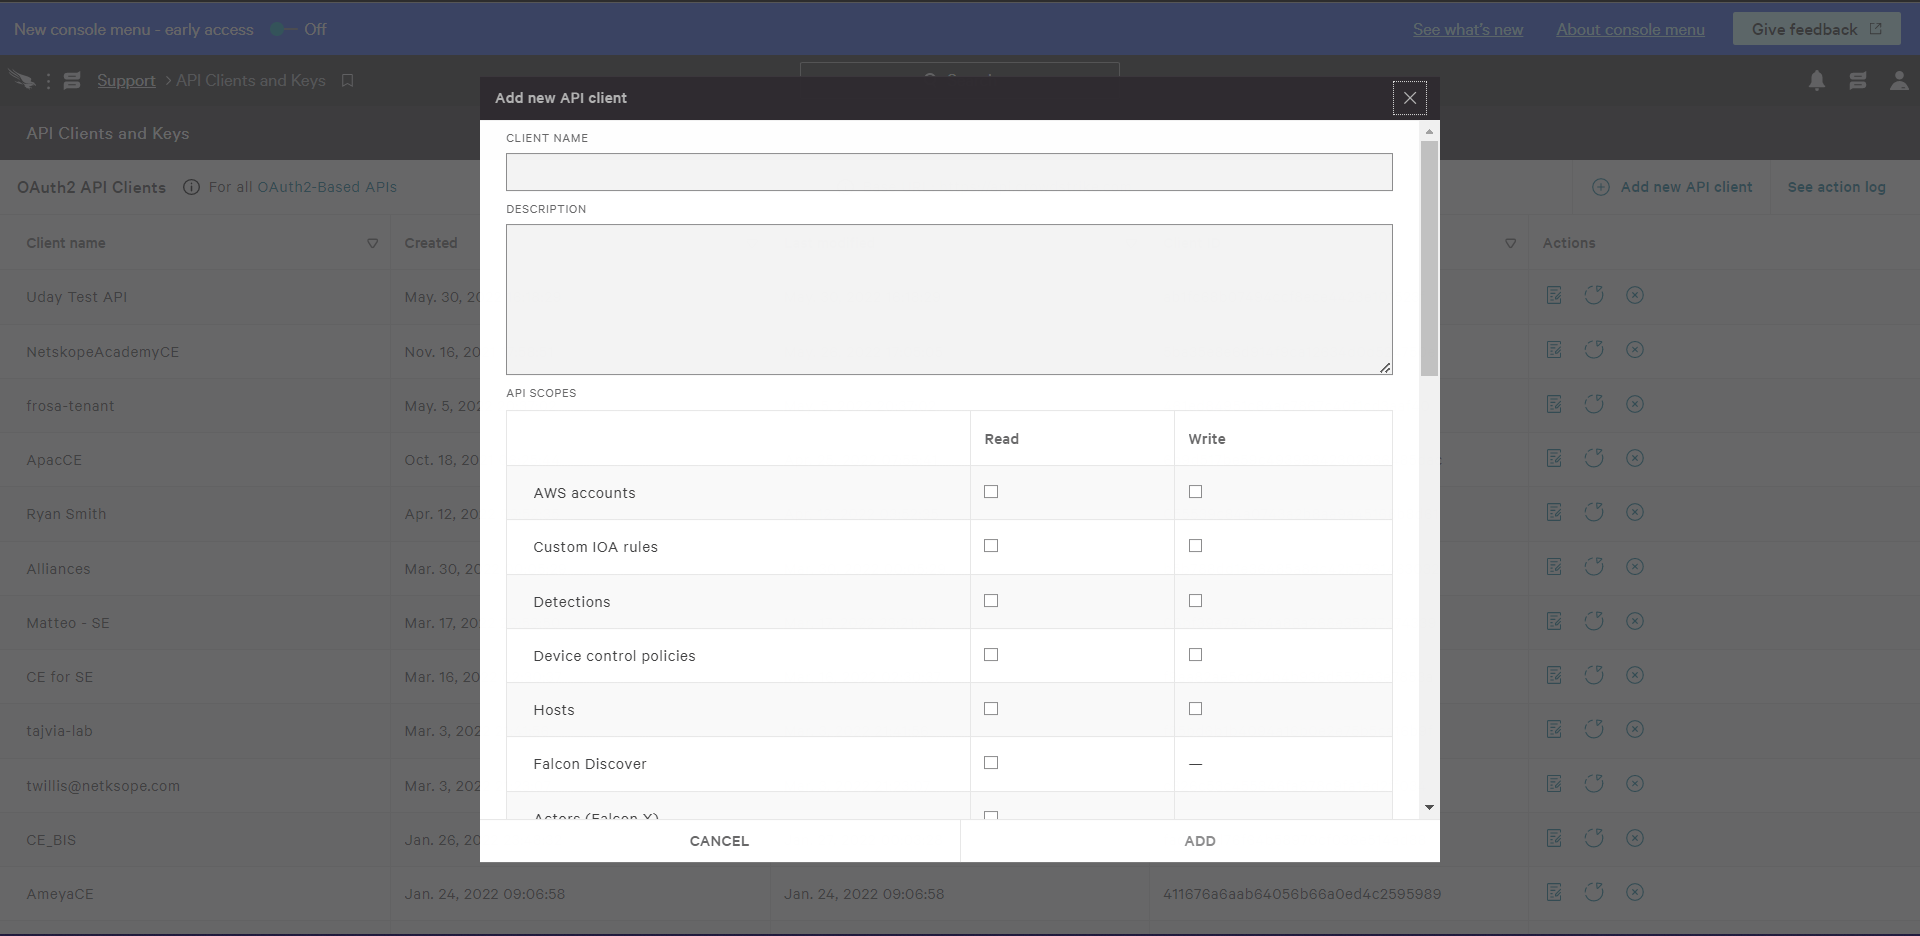
Add a Client Name, Description ( Optional ), and API Scopes as needed, and then click Add.
Copy the Client ID and Secret.
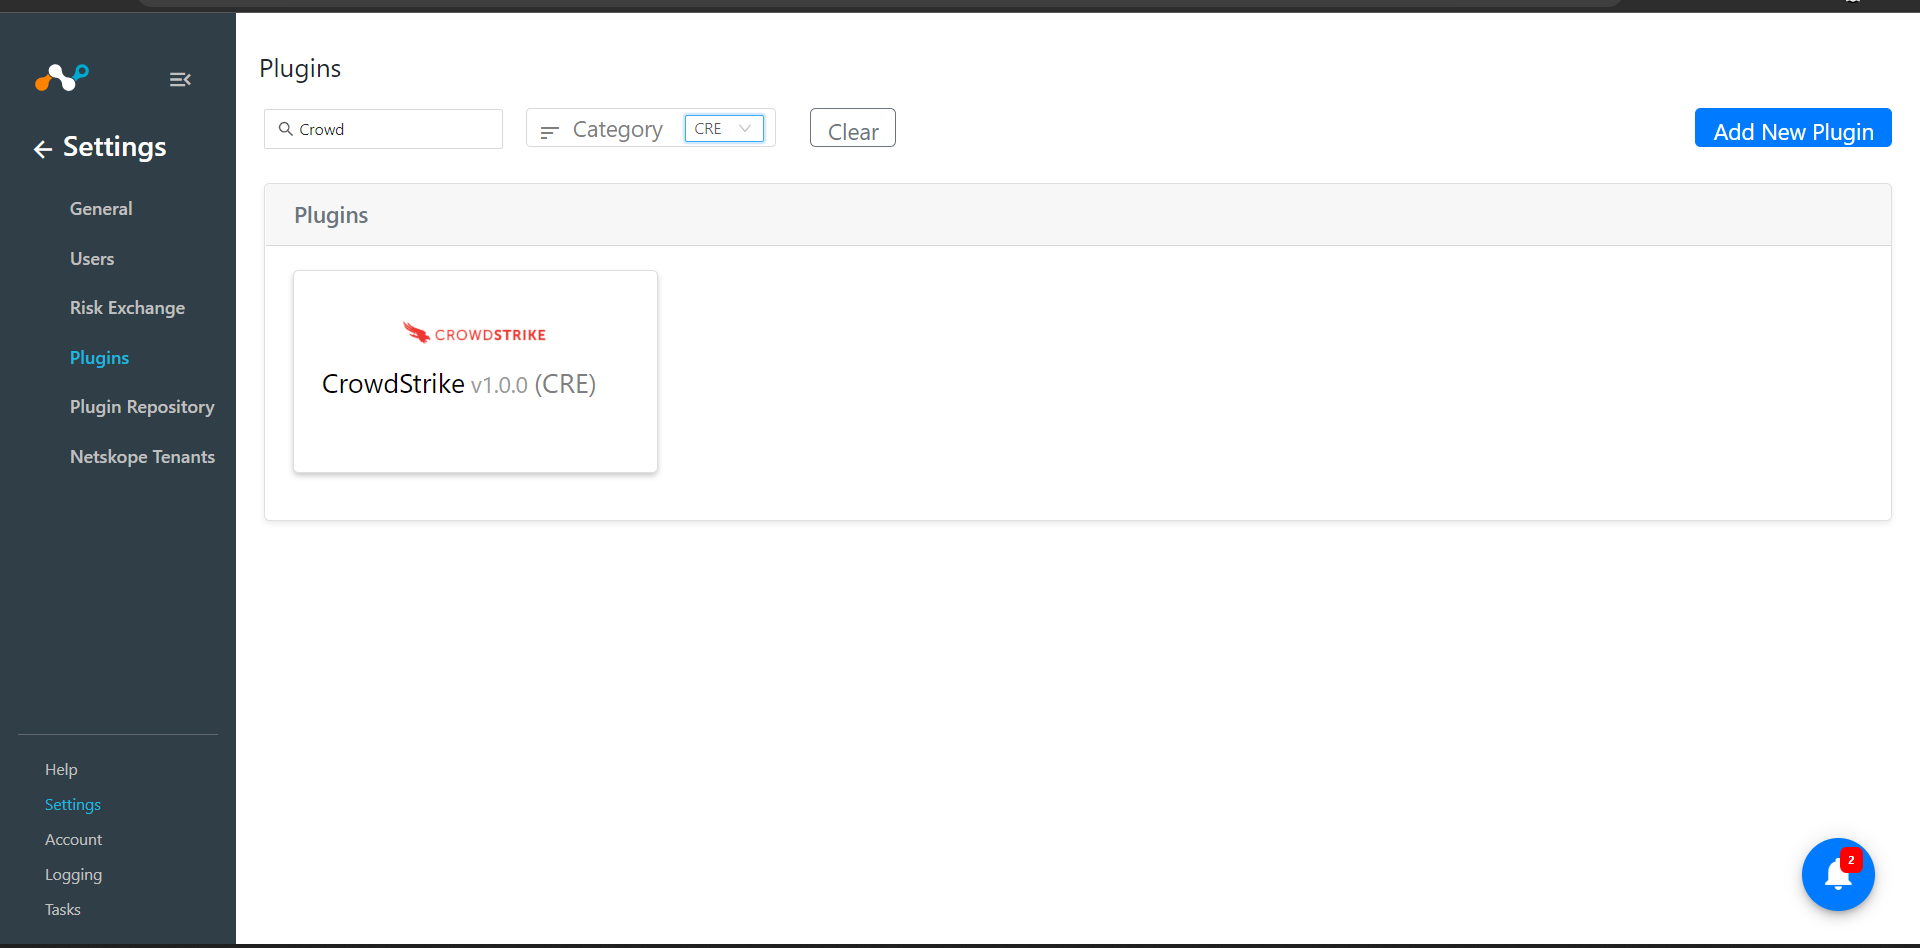
In Cloud Exchange, go to Settings > Plugins.
Search for and select the Crowdstrike plugin box.
Enter these values:
Configuration Name: Unique a name for the configuration.
Sync Interval: Leave the default.
Use System Proxy: Enable if a proxy is required for communication.
Click Next.
Enter these values:
Base URL: Enter your Crowdstrike API Base URL.
Client ID: Enter your Crowdstrike API Client ID.
Client Secret: Enter your Crowdstrike API Client Secret.
Minimum Score: Enter a score. Only the hosts with score greater than the minimum score will be tracked.
Click Next.
Select Range: Select the range of scores for all categories.
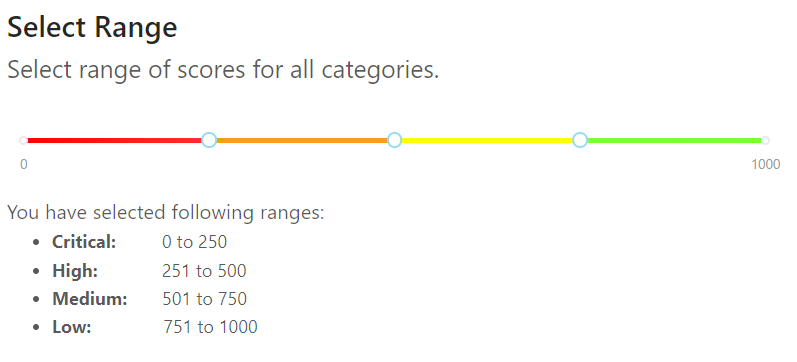
Click Save.
First create a business rule, and then create actions for the business rule.
Put RTR Script
The Put RTR Script action will put the file on the host depending on their respective score, and then restarts Netskope present on that host.
Score to File Mapping
Score | File |
|---|---|
Less than 260 | crwd_zta_1_25.txt |
260 to 510 | crwd_zta_26_50.txt |
510 to 760 | crwd_zta_51_75.txt |
760 to 100 | crwd_zta_76_100.txt |
Go to User Risk Exchange.
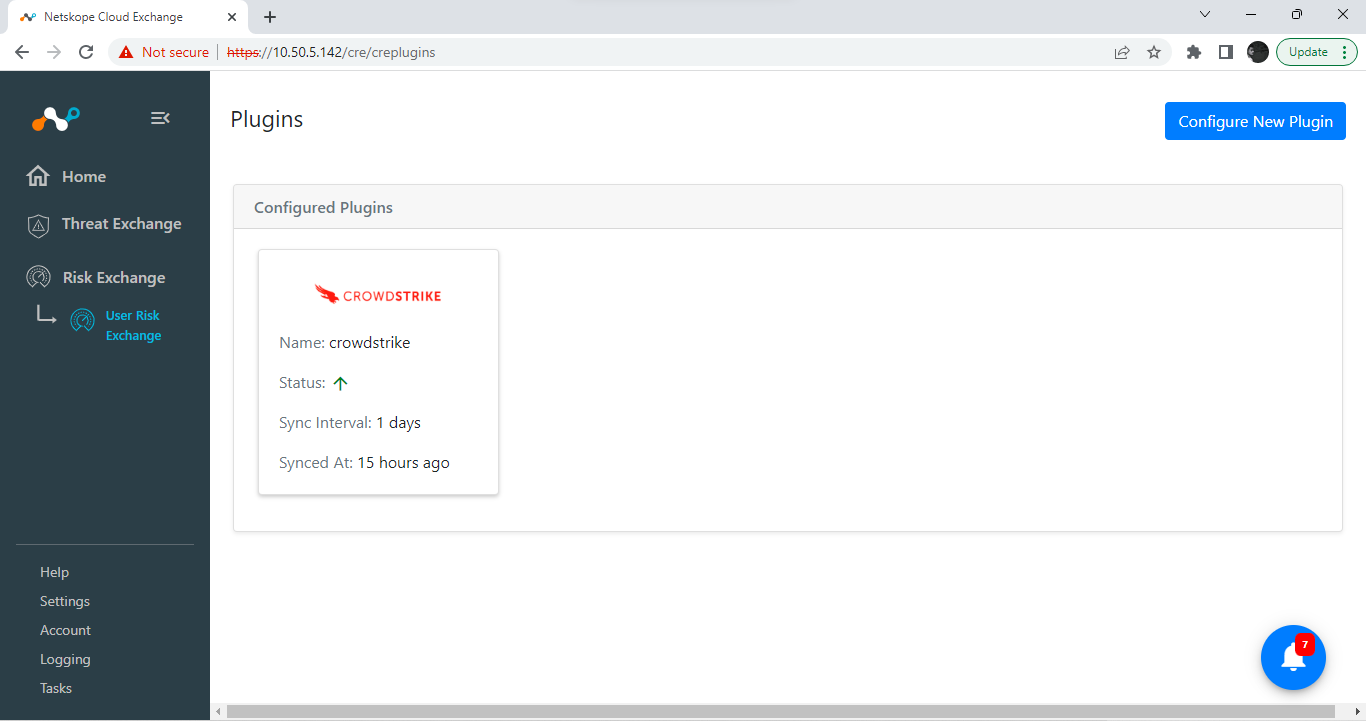
Click Business Rules.
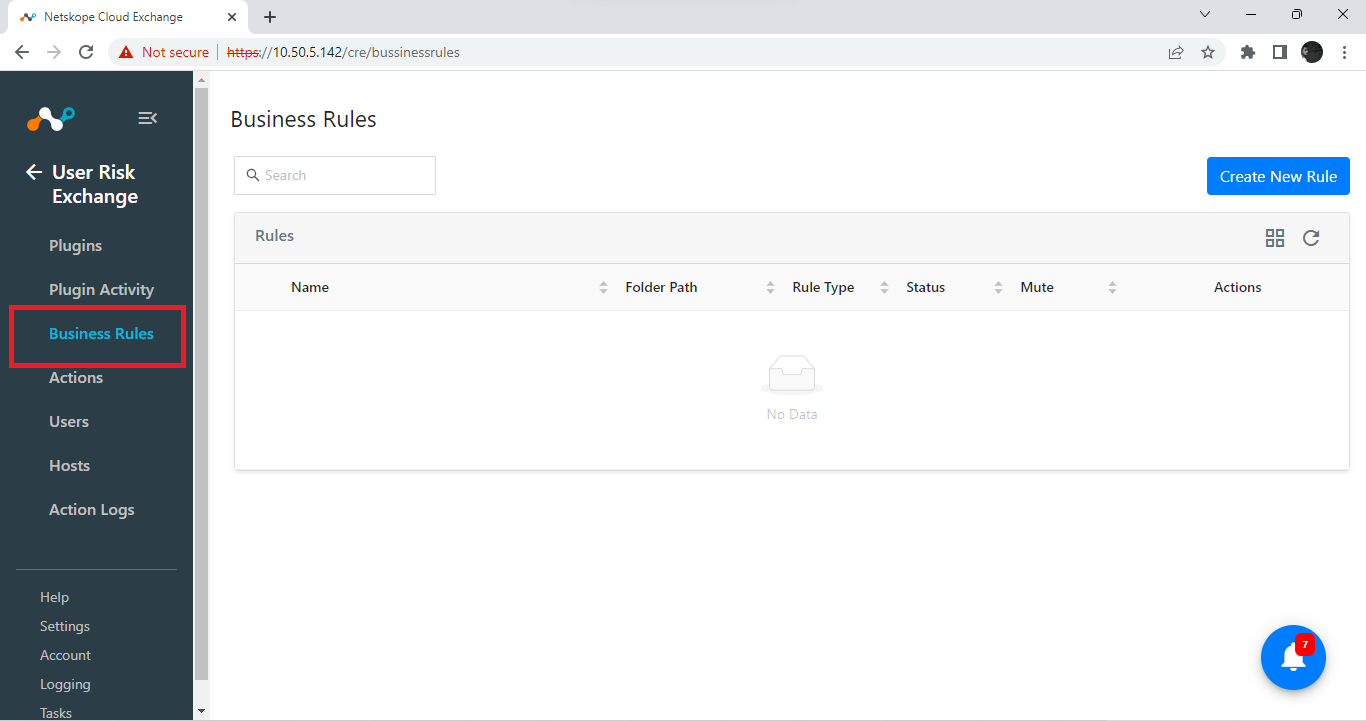
Click Create New Rule.
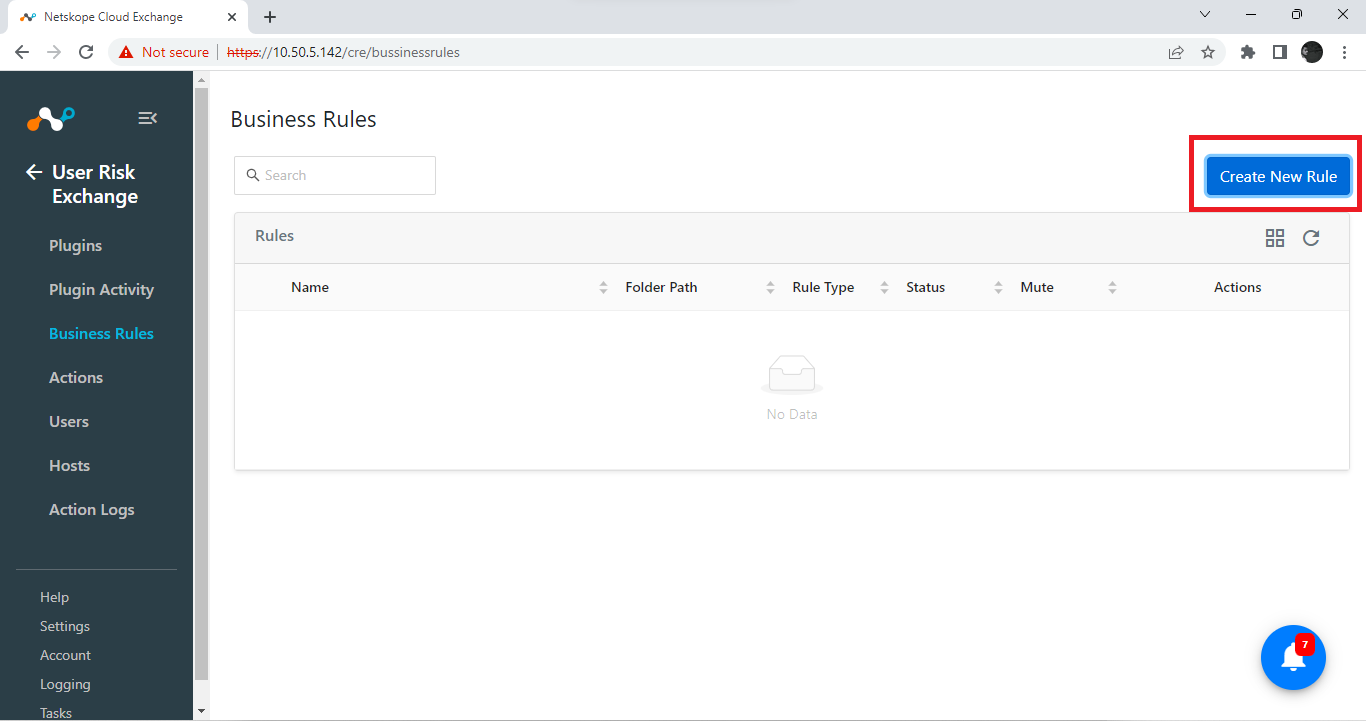
You’’ll see a page like this.
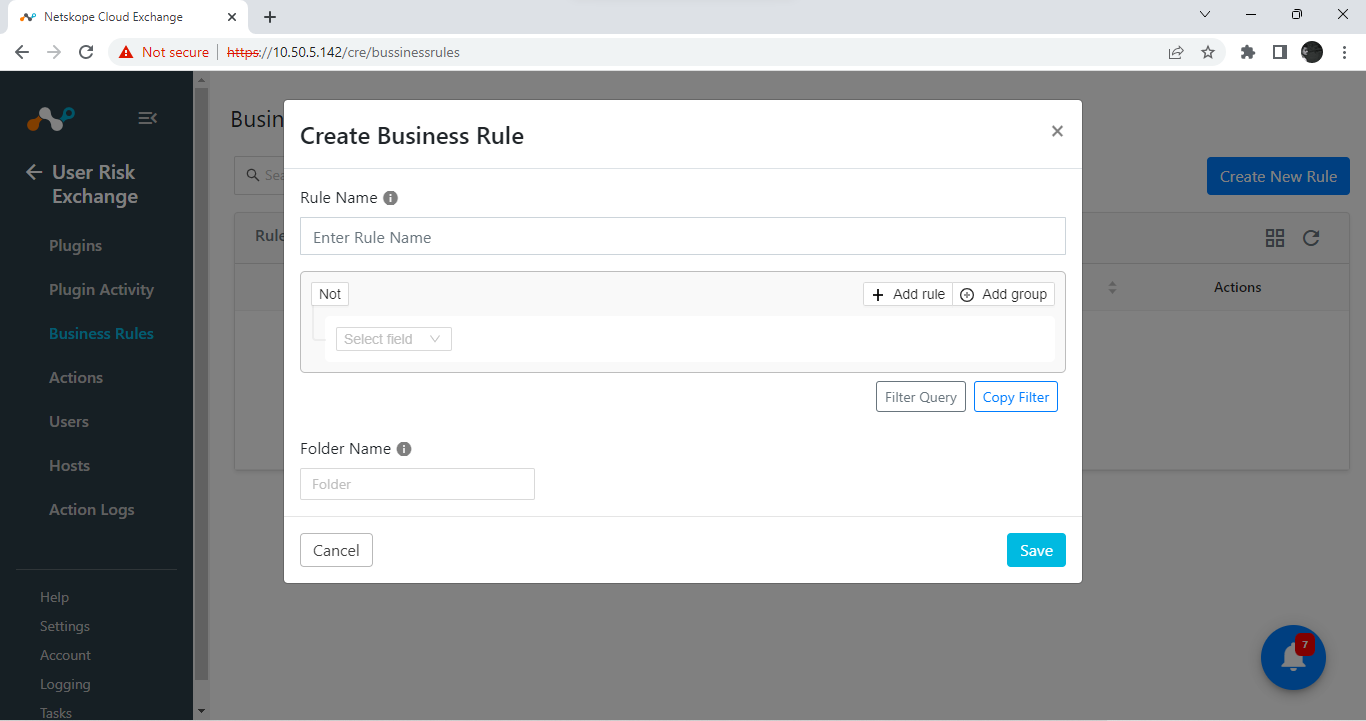
Enter a Rule Name.
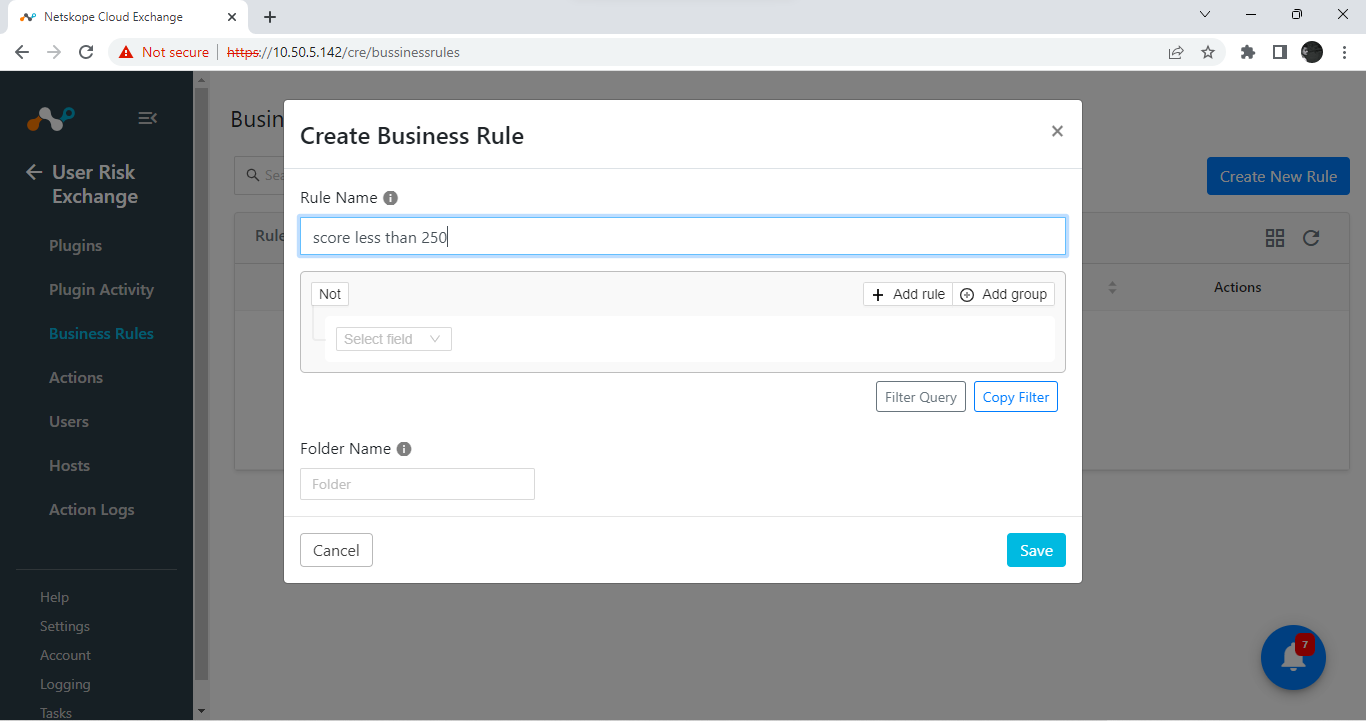
Click Select Field.
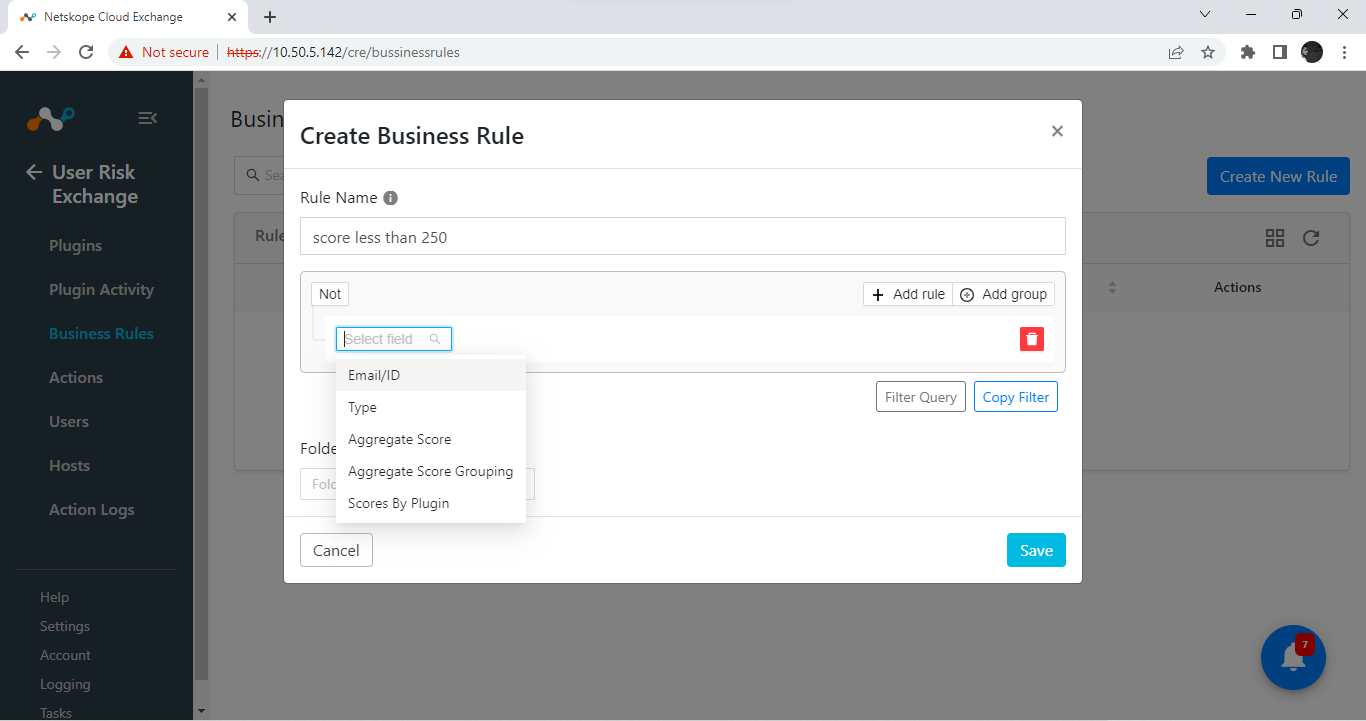
Here are the filters you can apply to sort out hosts/users to which you want to perform actions. In this case, select Aggregate Score.
Select an Aggregate Score Field from the dropdown list.
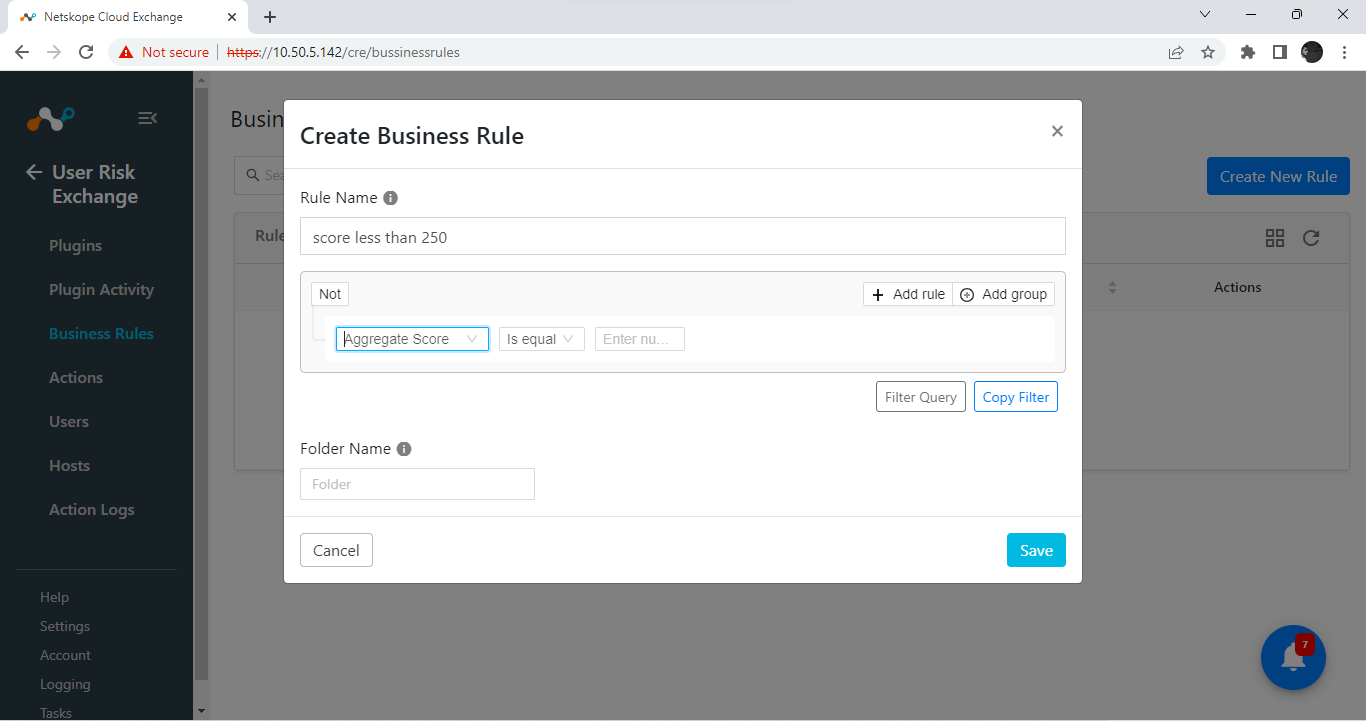
In the second field, select the condition you need on aggregate score to be used.
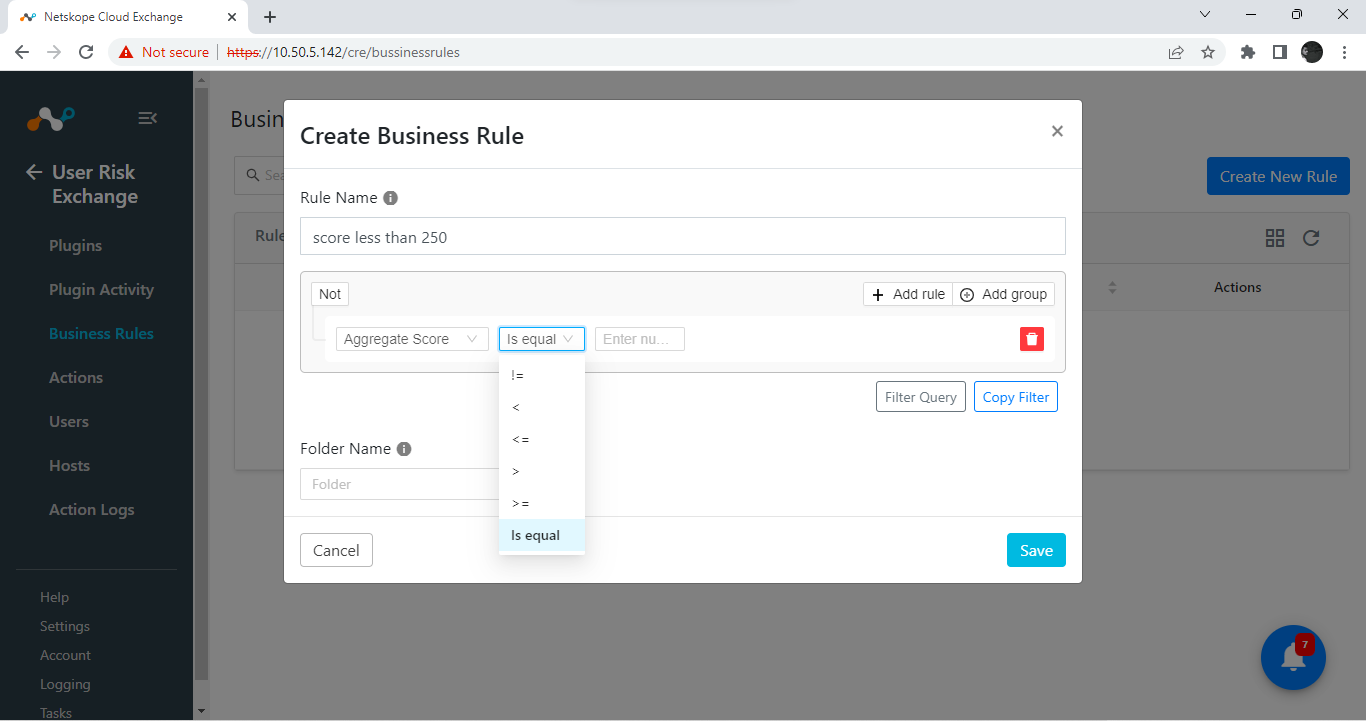
For now, select less than <.
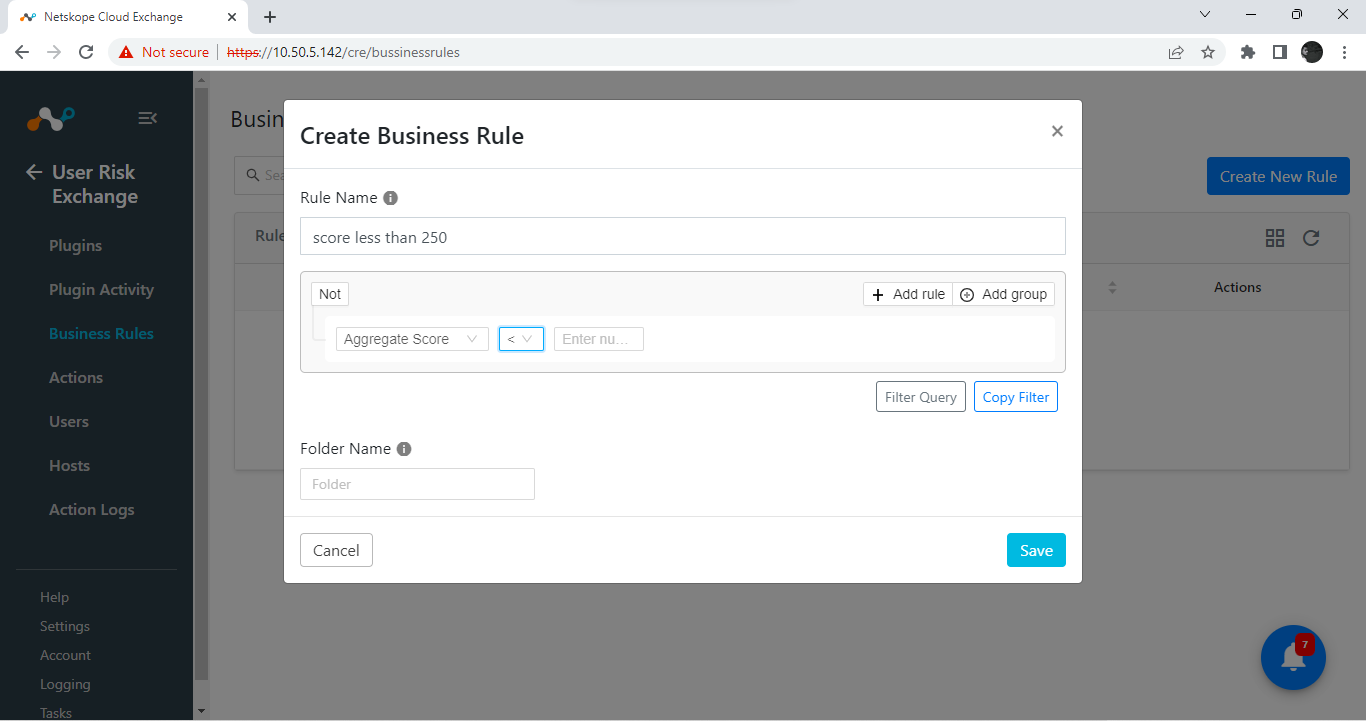
Enter the number in the last field. In this case, it is 250, so enter that.
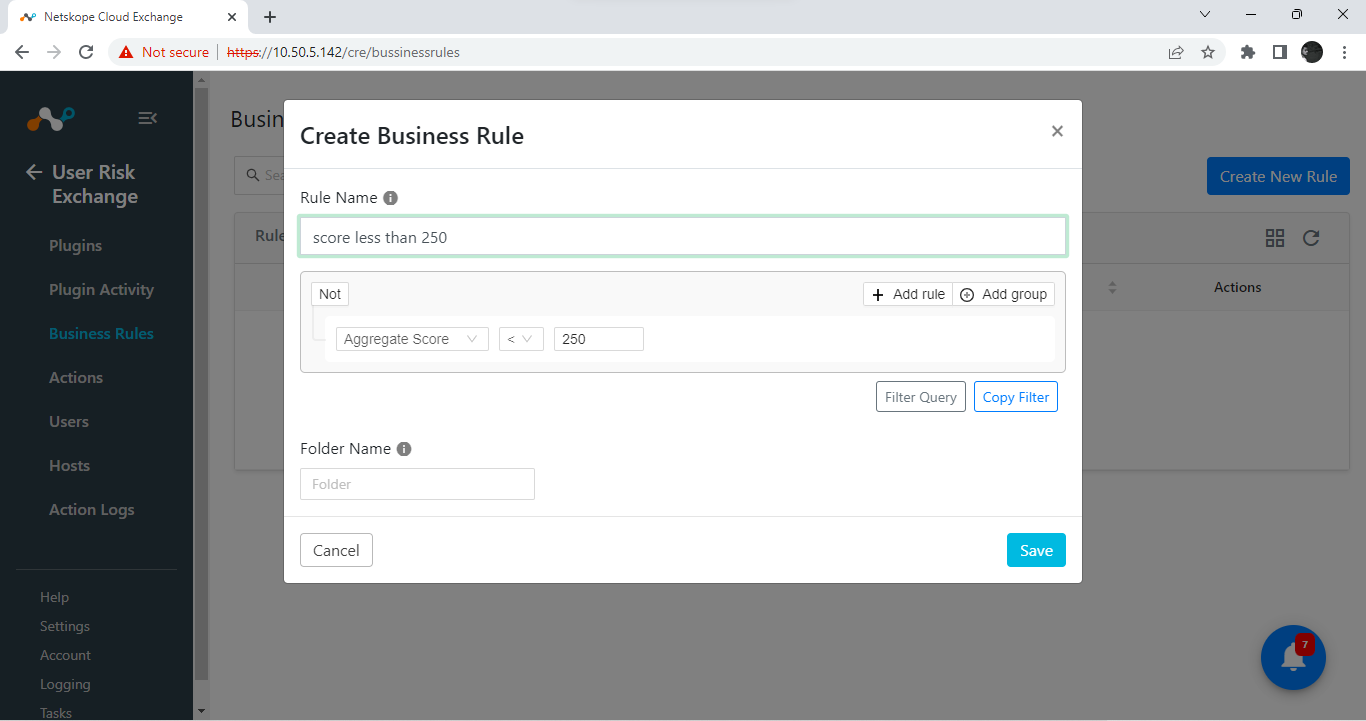
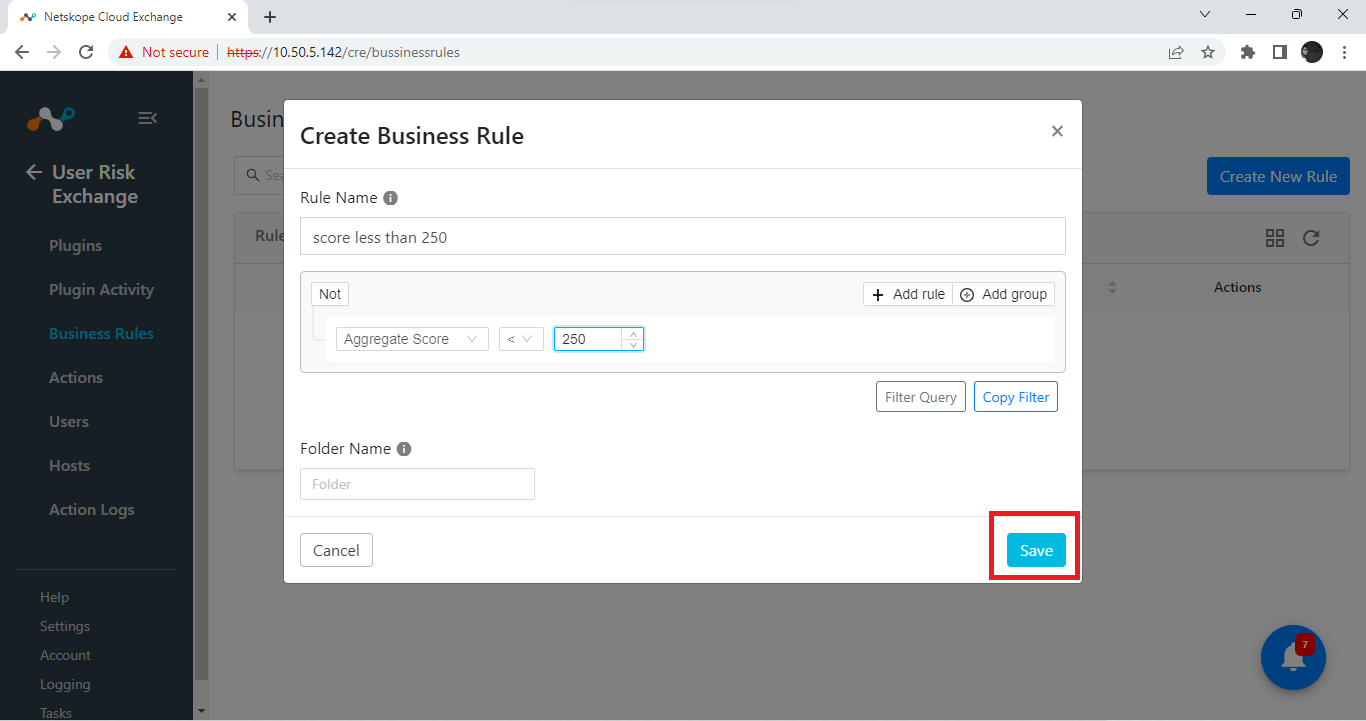
All the configurations are done. Click Save.
After clicking Save, you’ll see the new business rule.
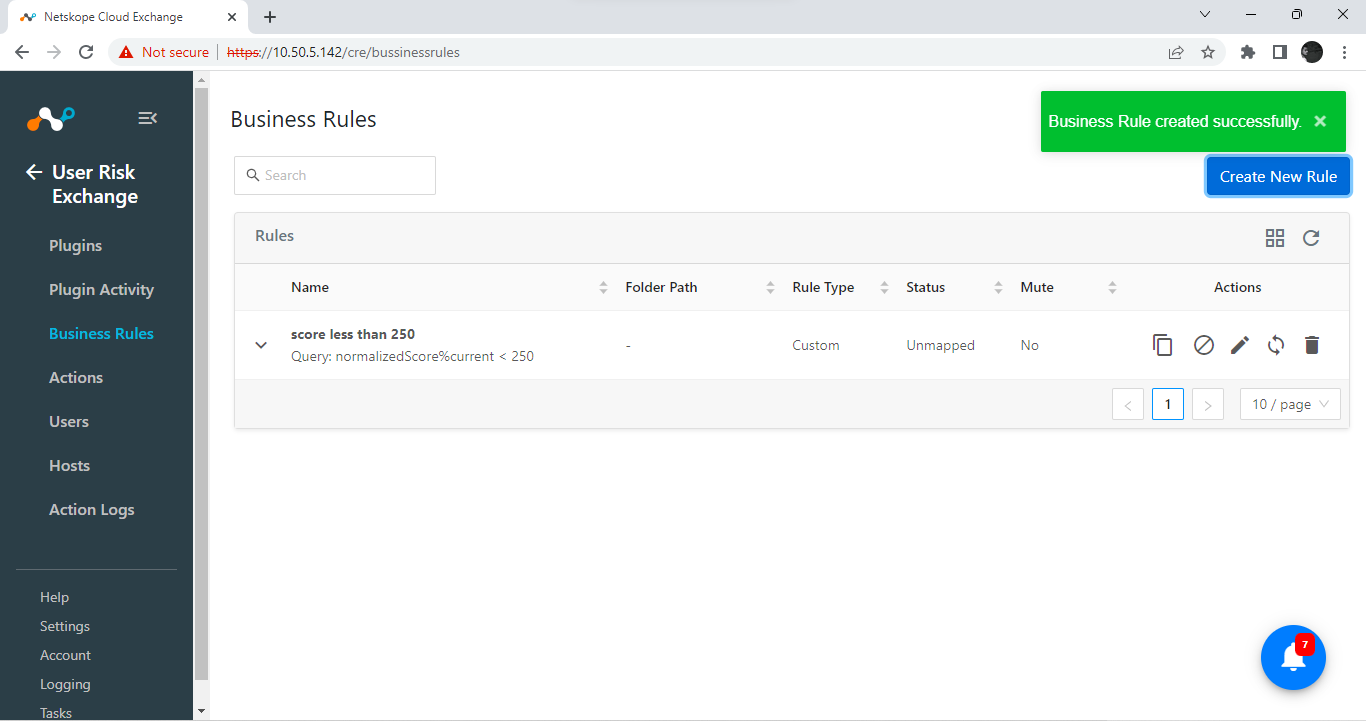
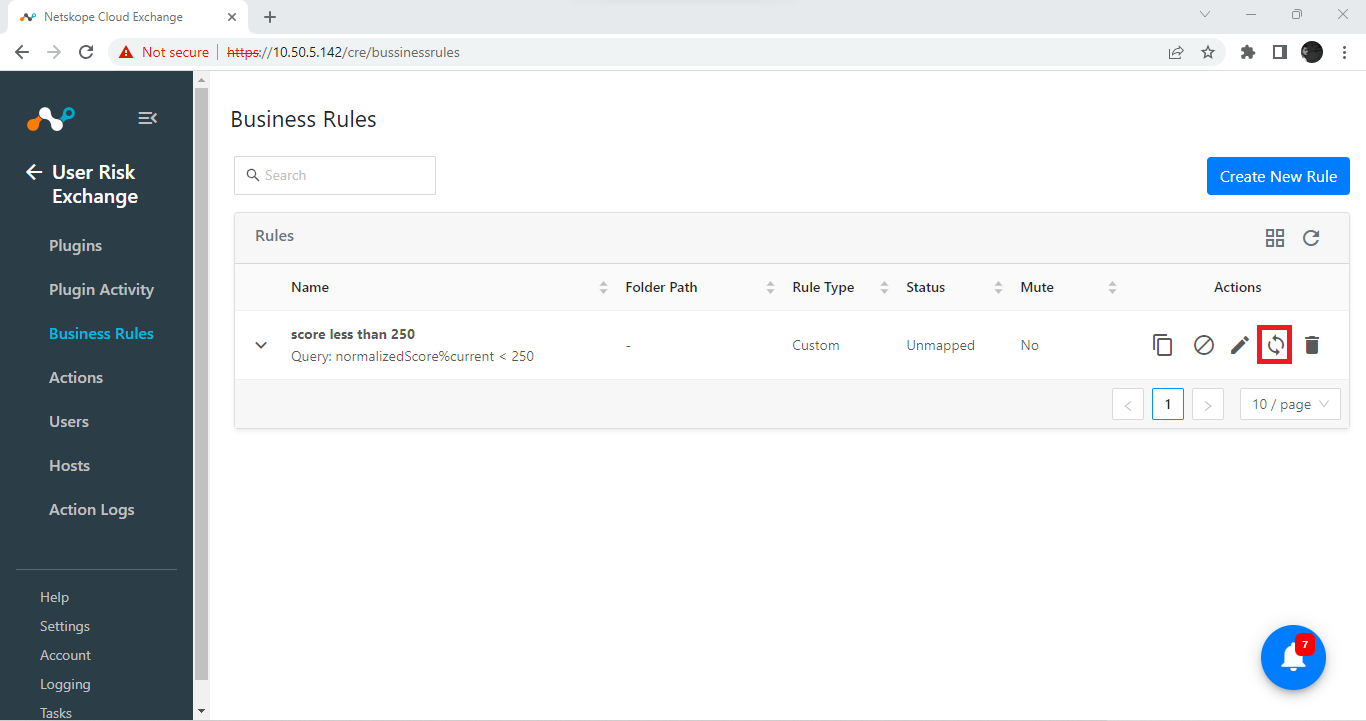
To verify how much hosts/users are in this business rule, click Sync.
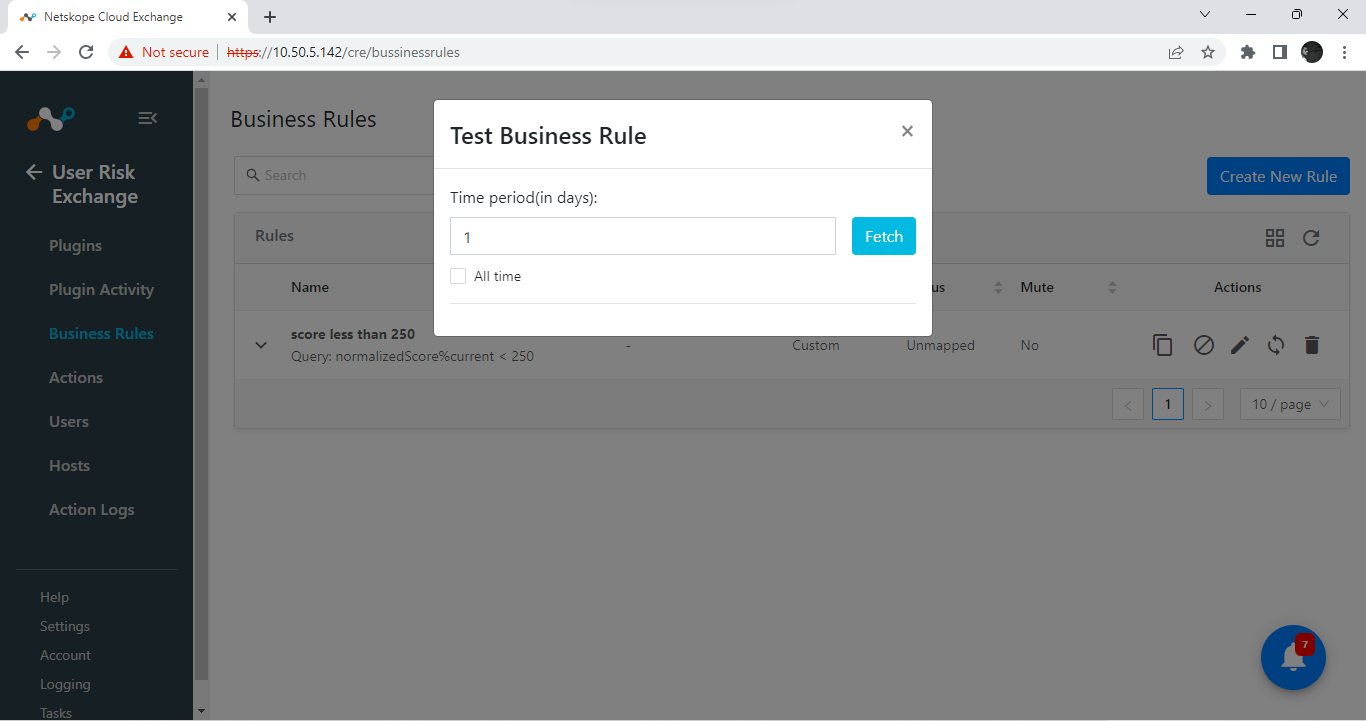
You’ll see a page like this.
Enable the All time checkbox.
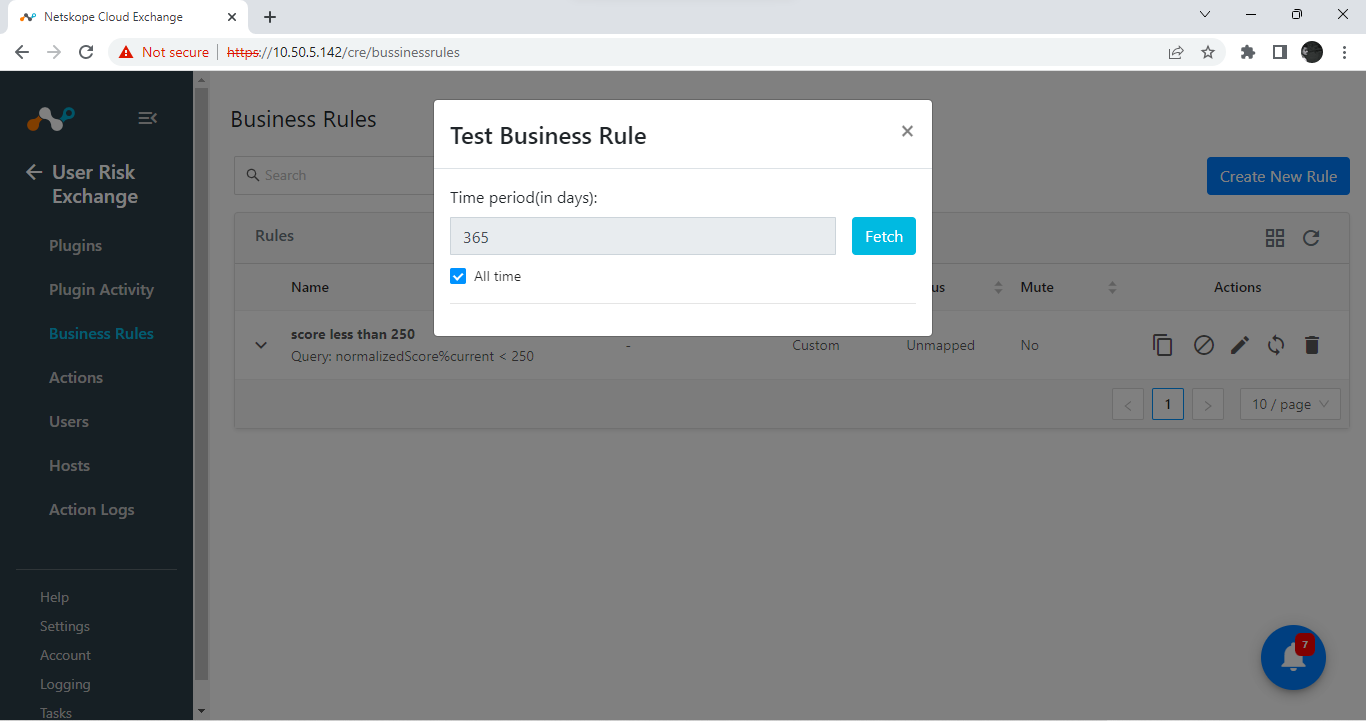
Click Fetch.
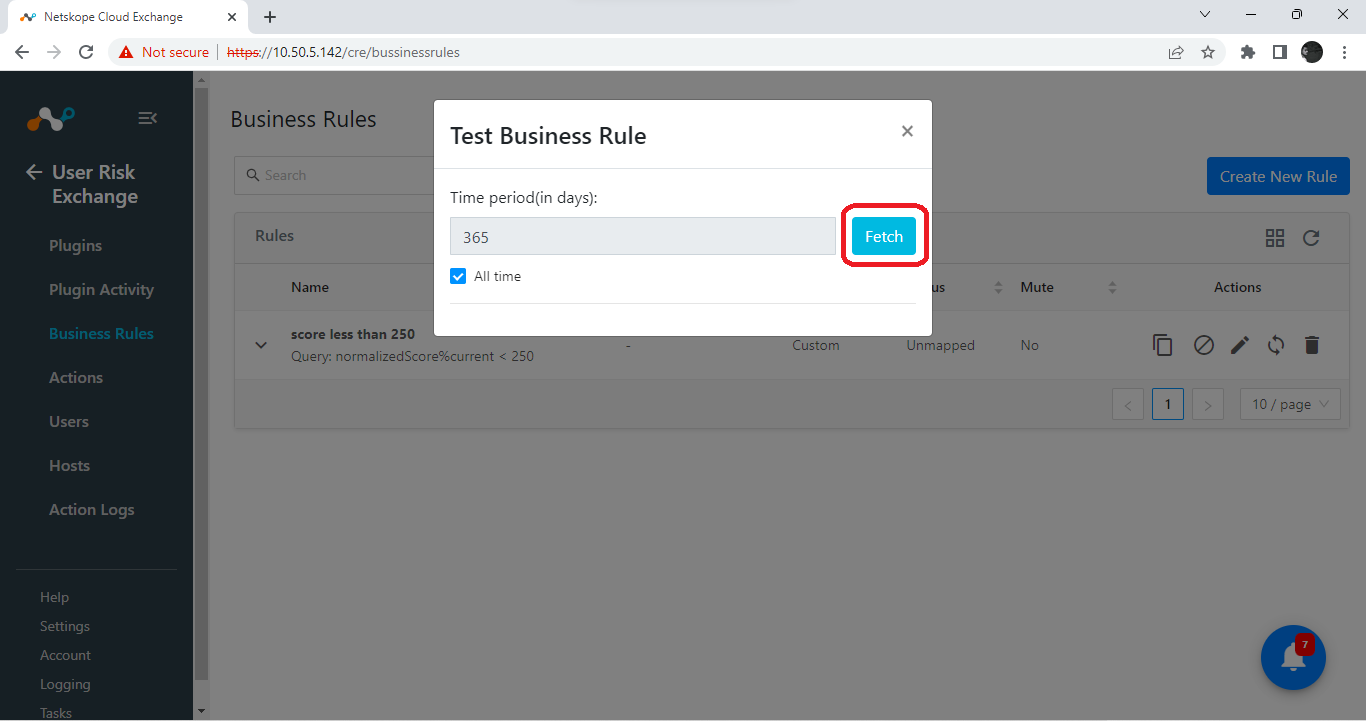
You’ll see a number of records for this business rule. In this case, it is 2.
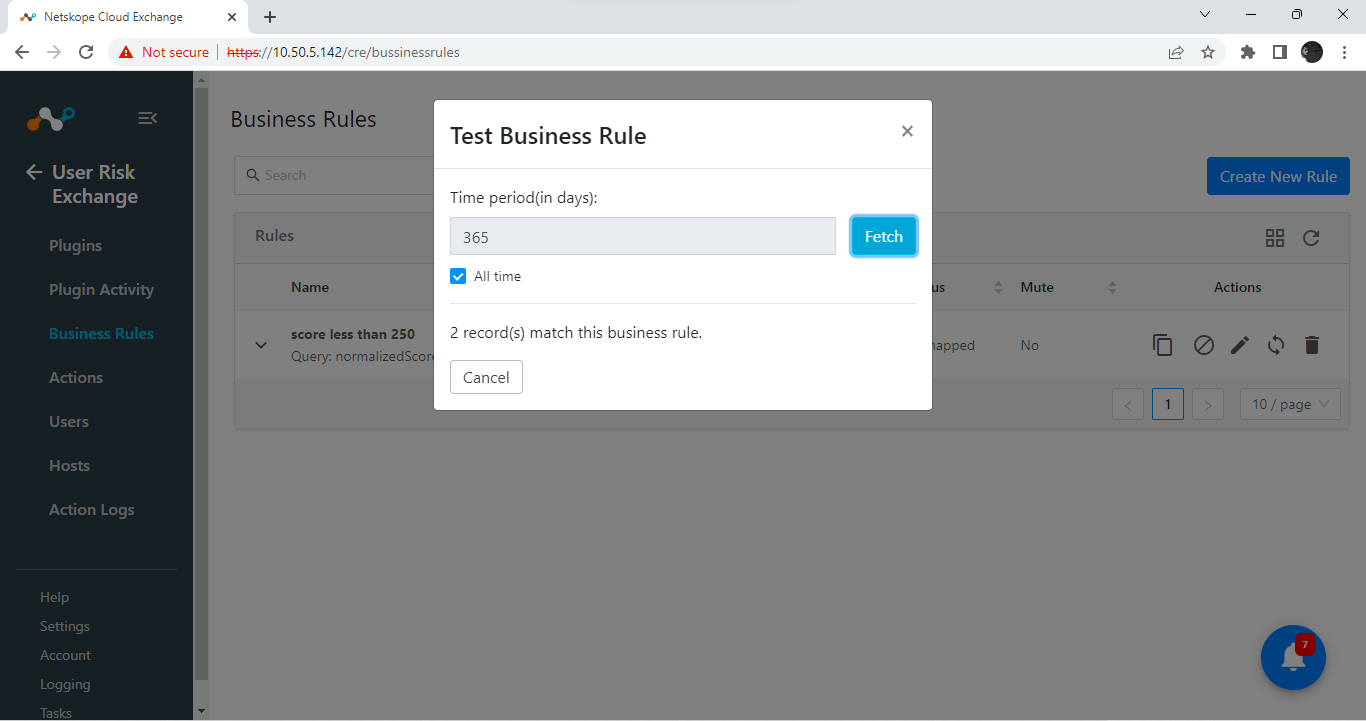 |
In User Risk Exchange, click Actions.
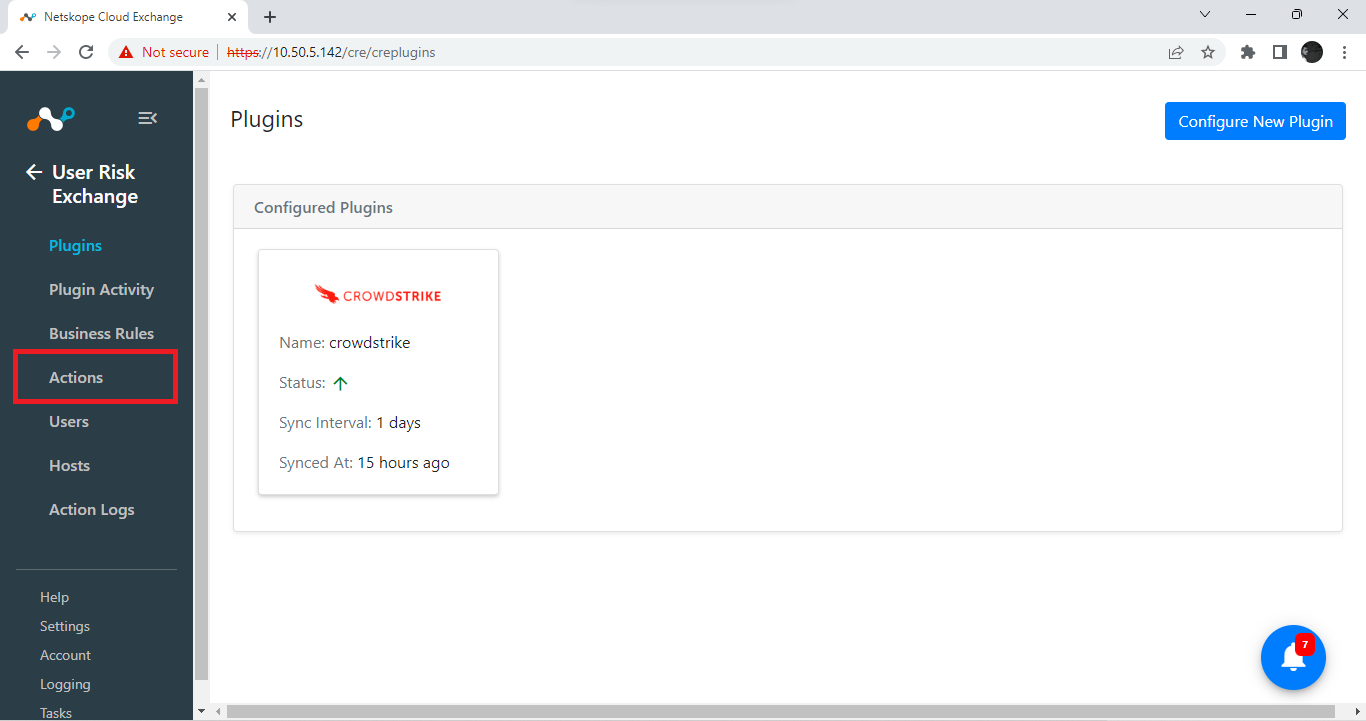
Click Add Action Configuration.
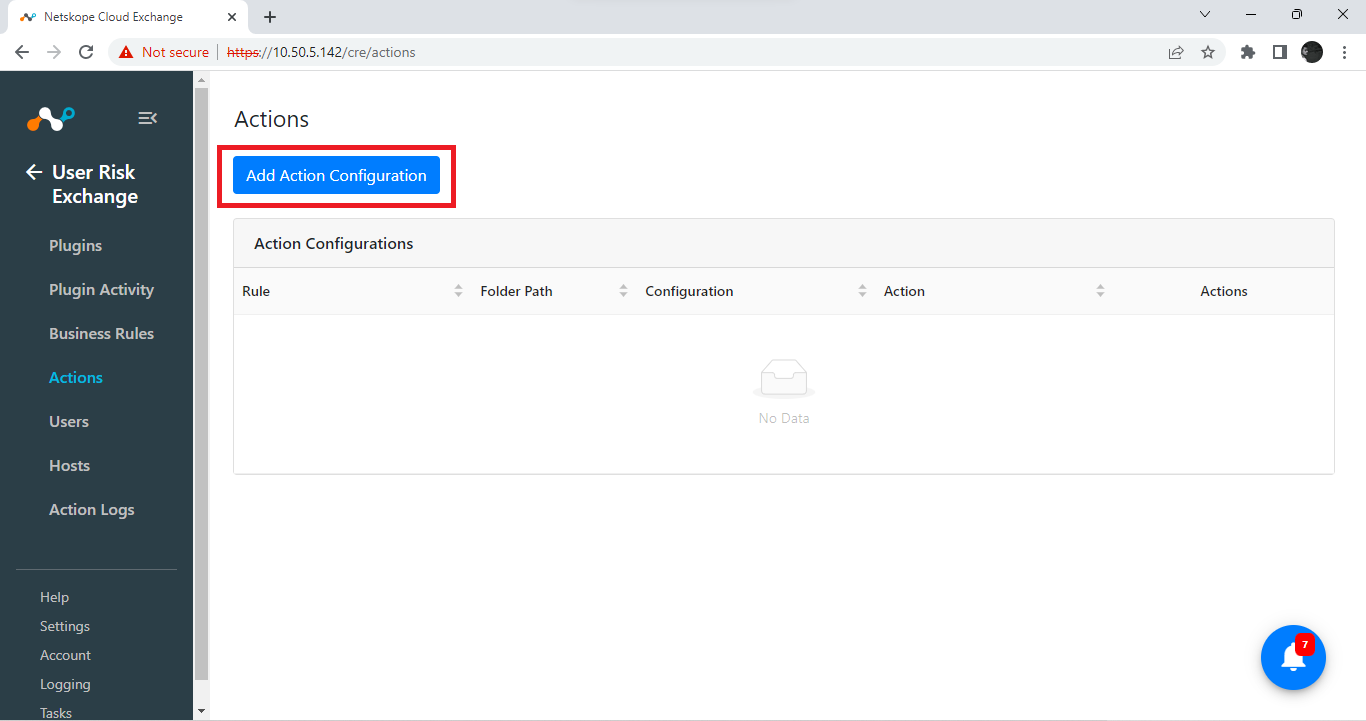
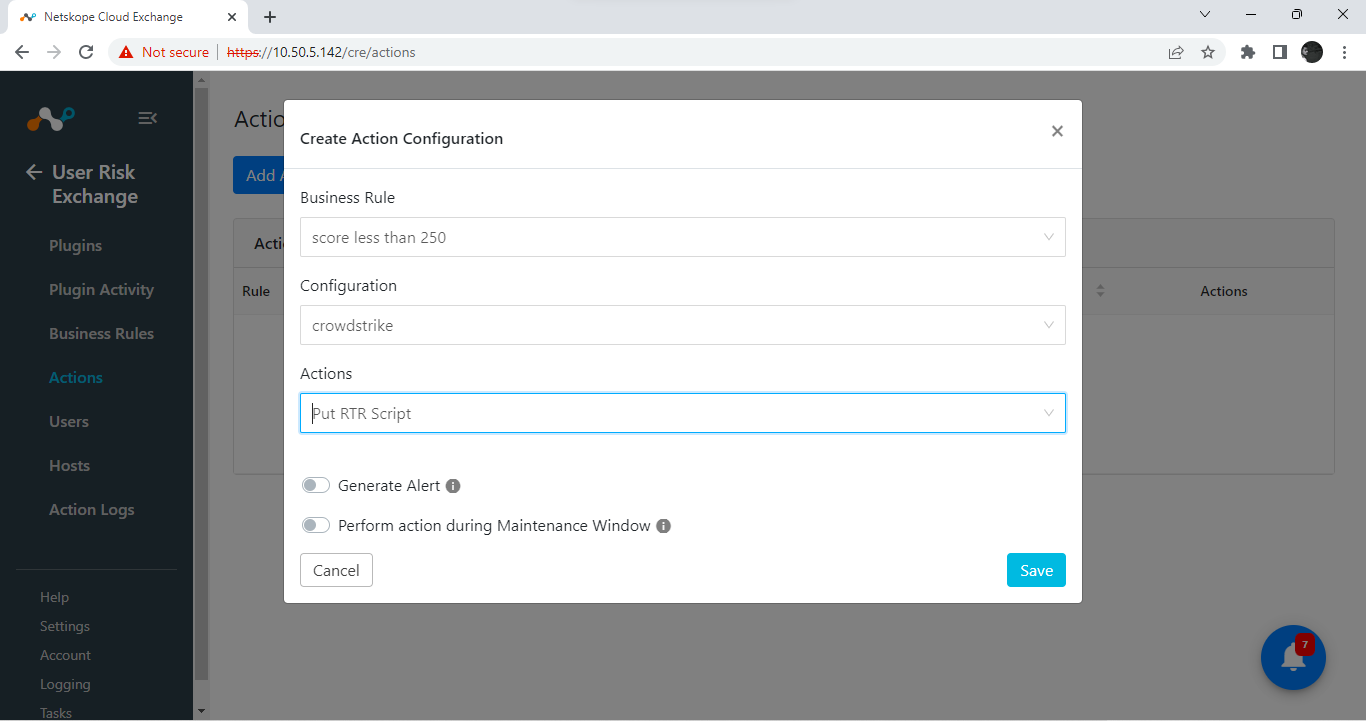
You’ll see a page like this.
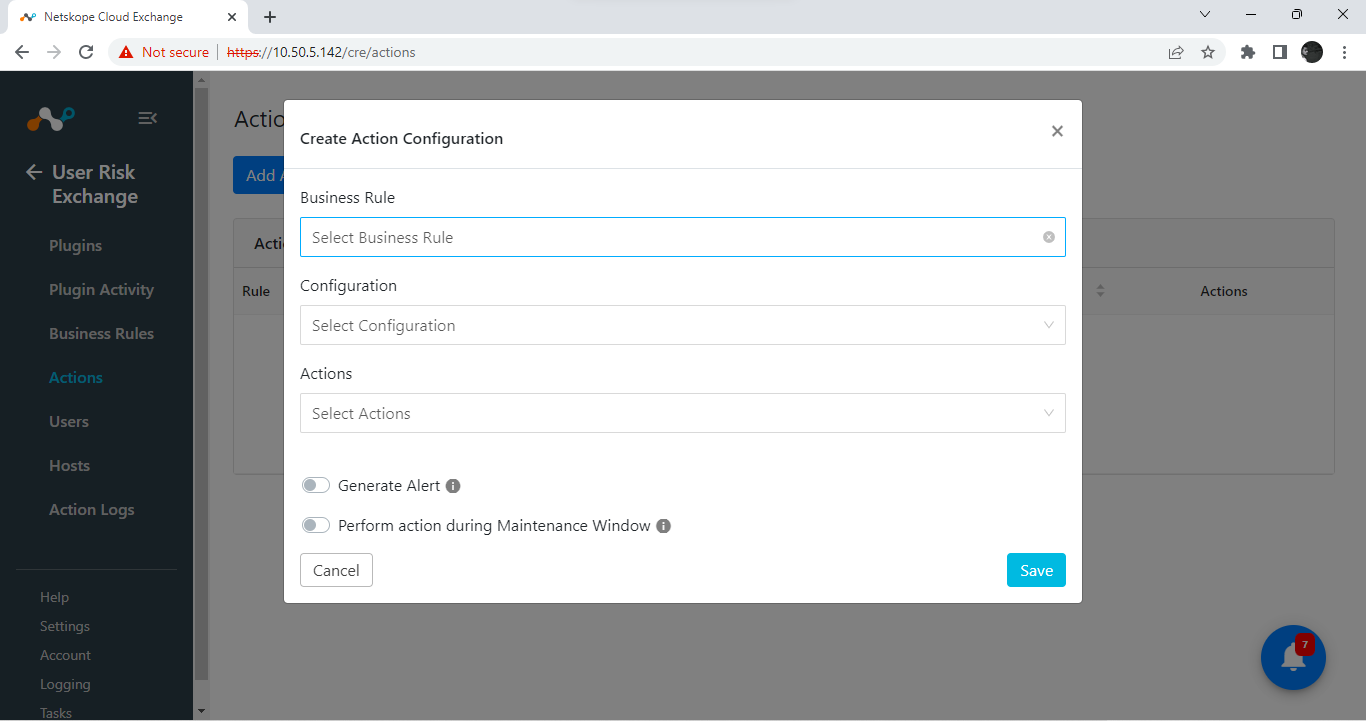
Select a Business Rule.
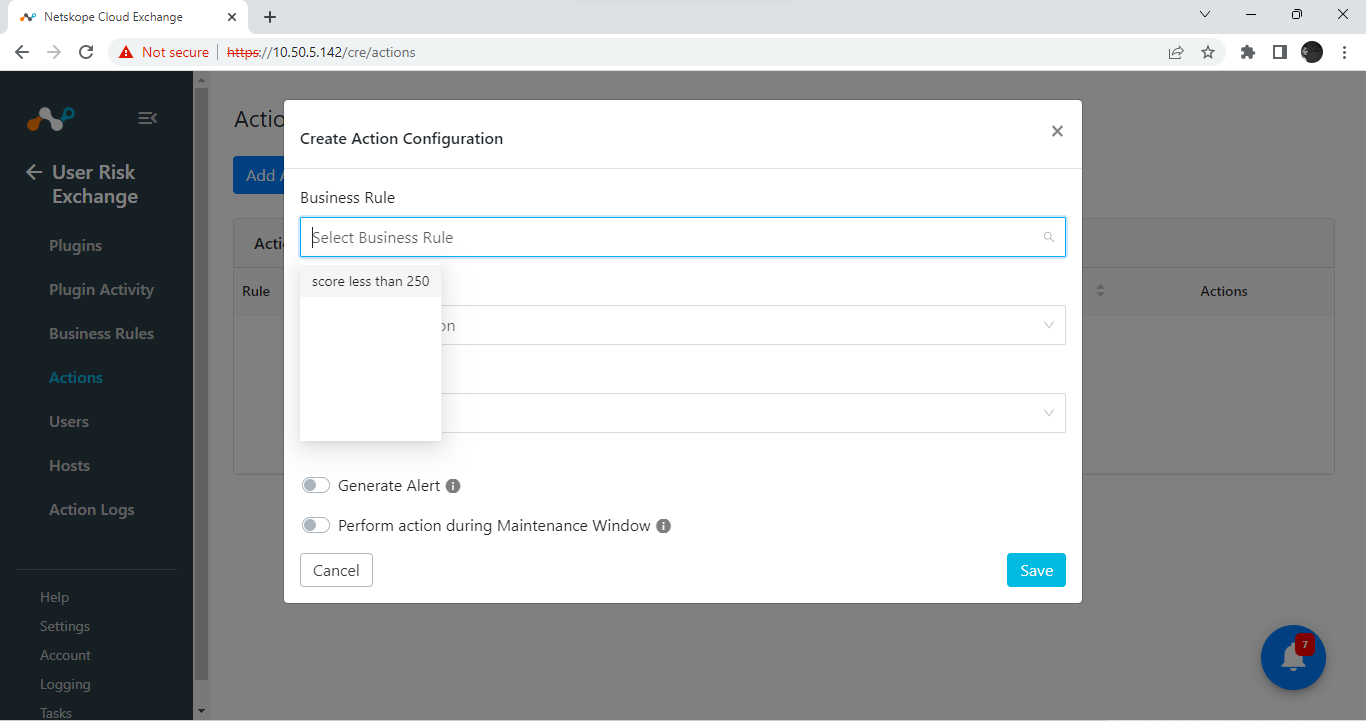
Select Configuration.
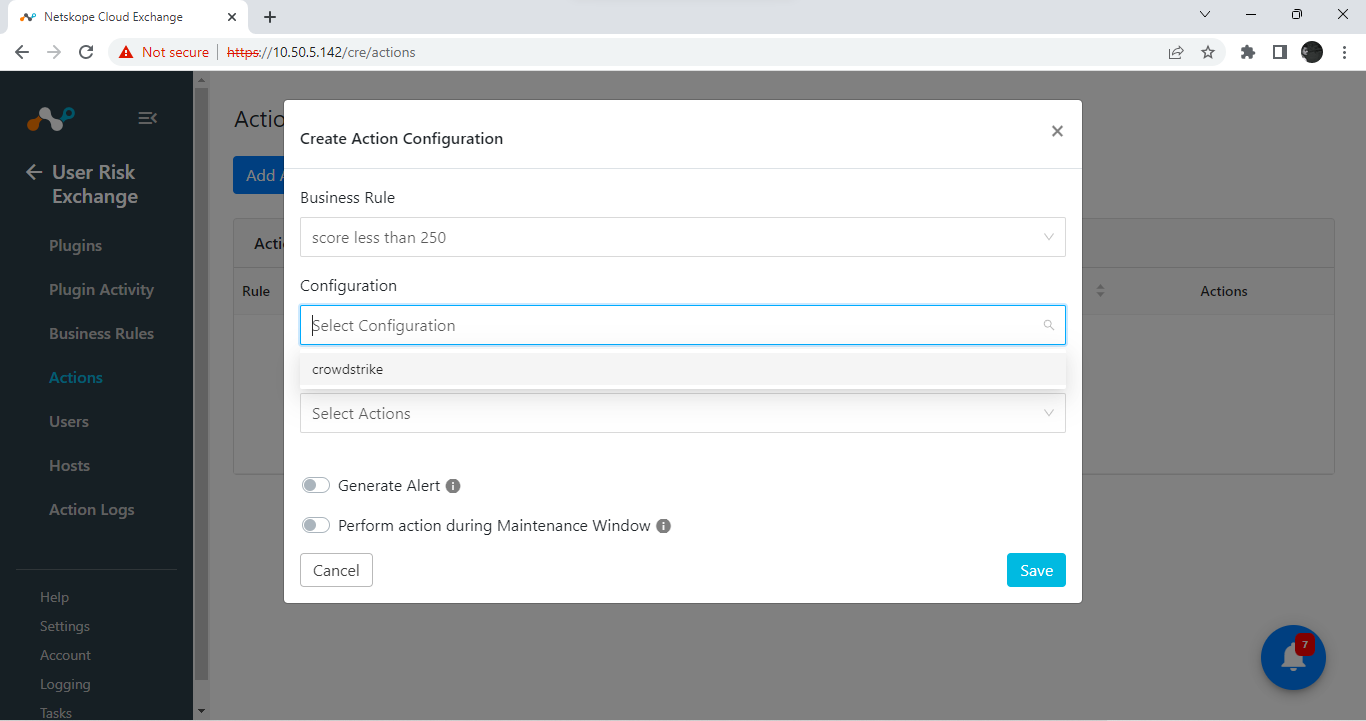
Select Put RTR script on the Action dropdown list.
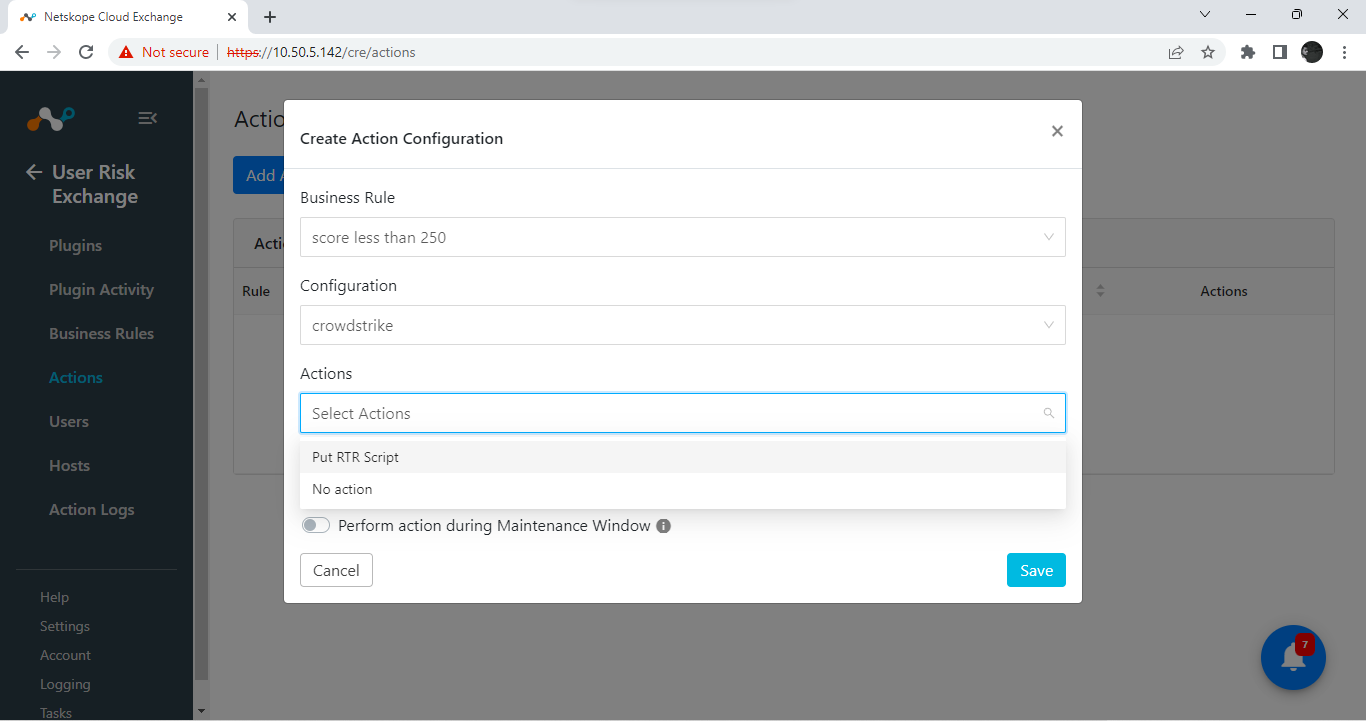
Your Configuration should look like this.
Click Save.
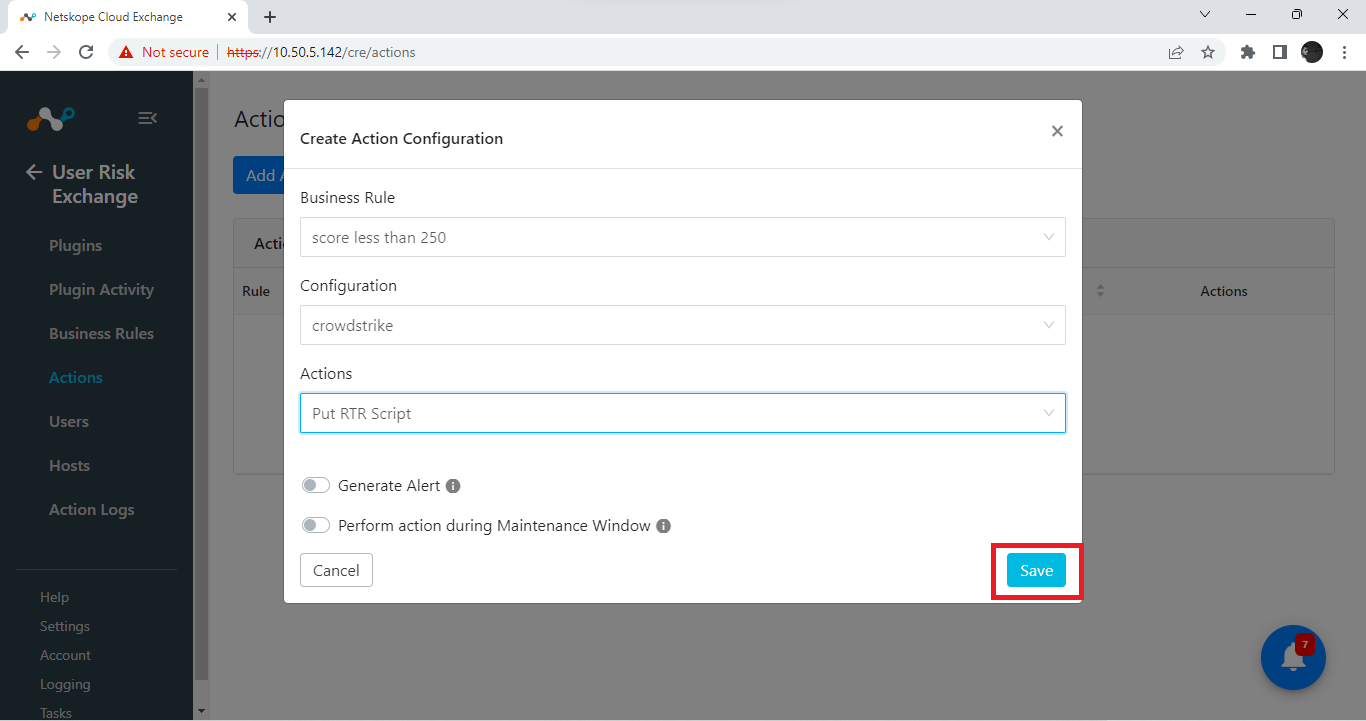
Click Save to create the configuration.
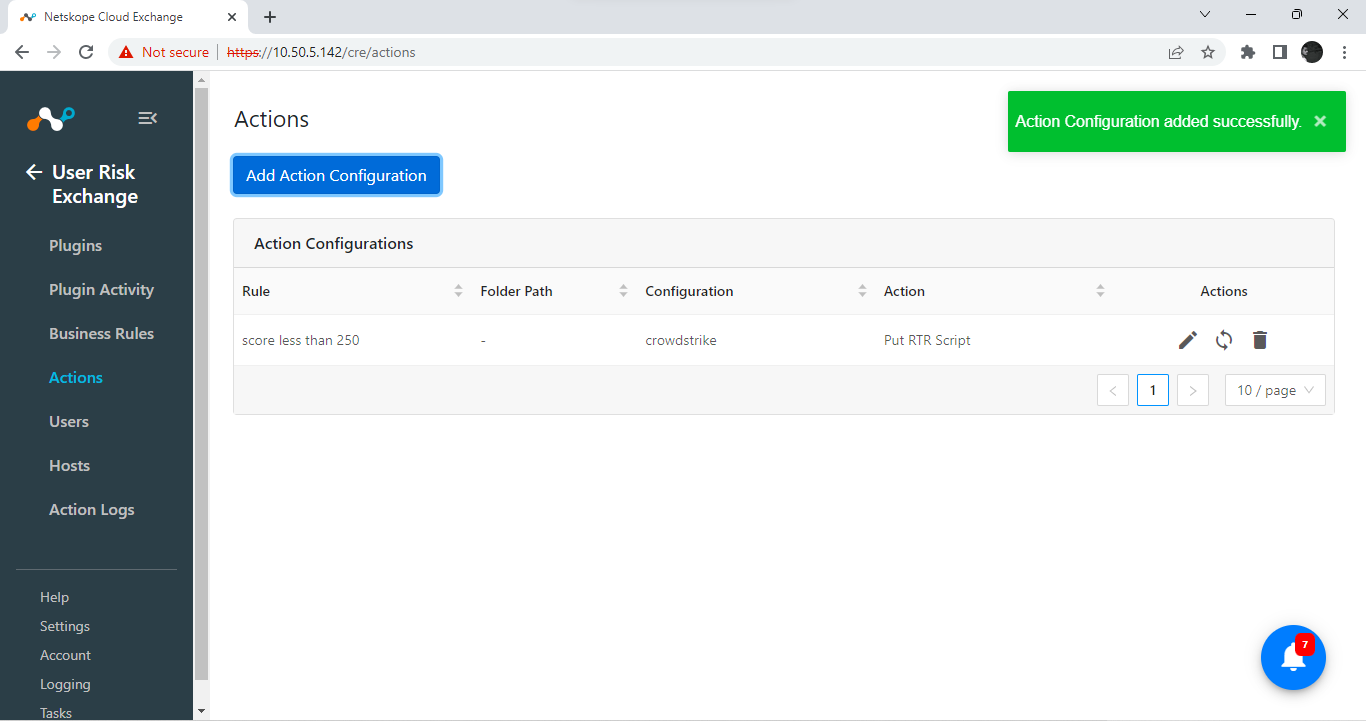
To perform an action on users/hosts, click Sync.
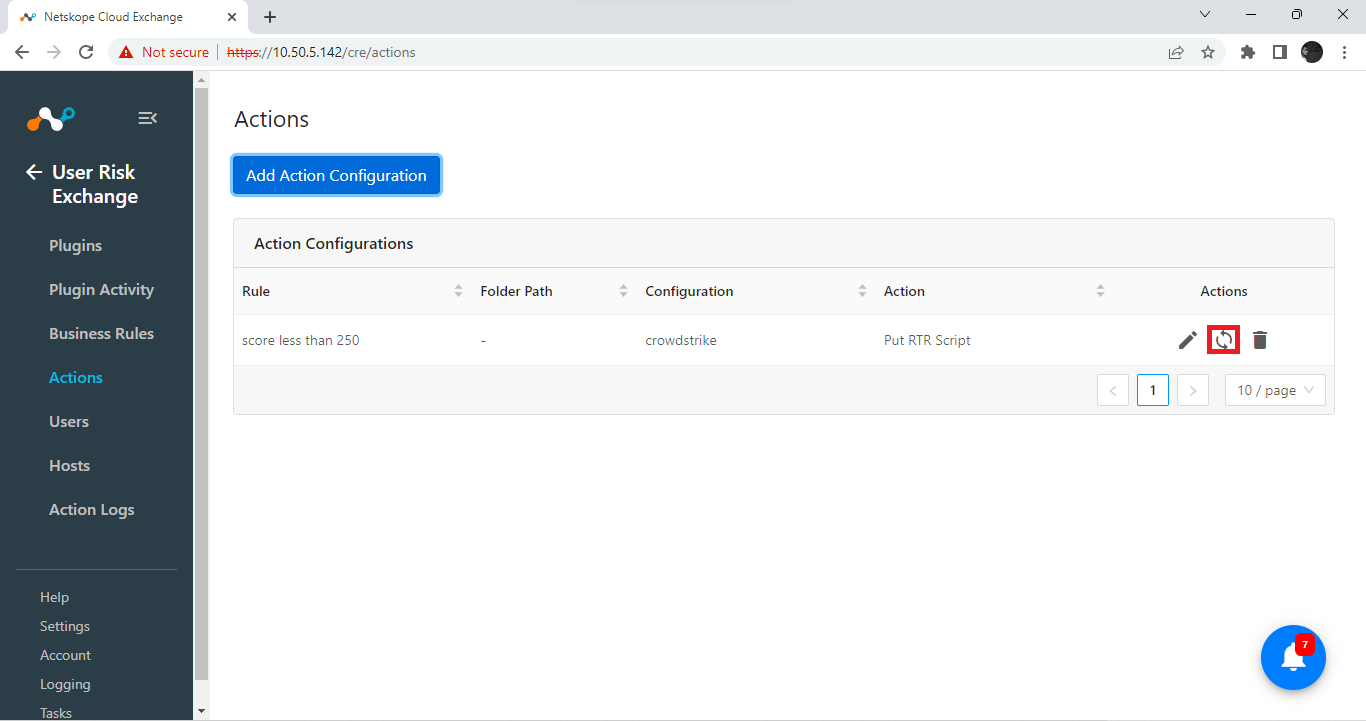
Select All time.
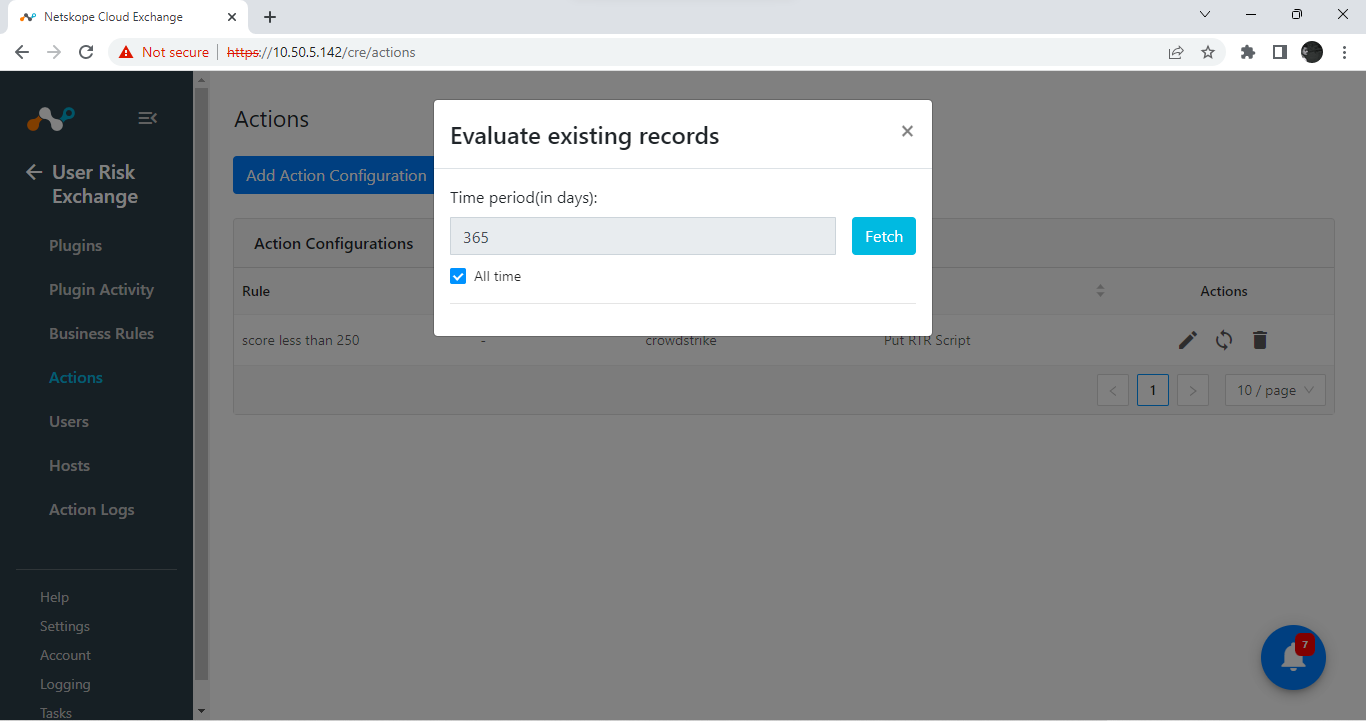
Click Fetch.
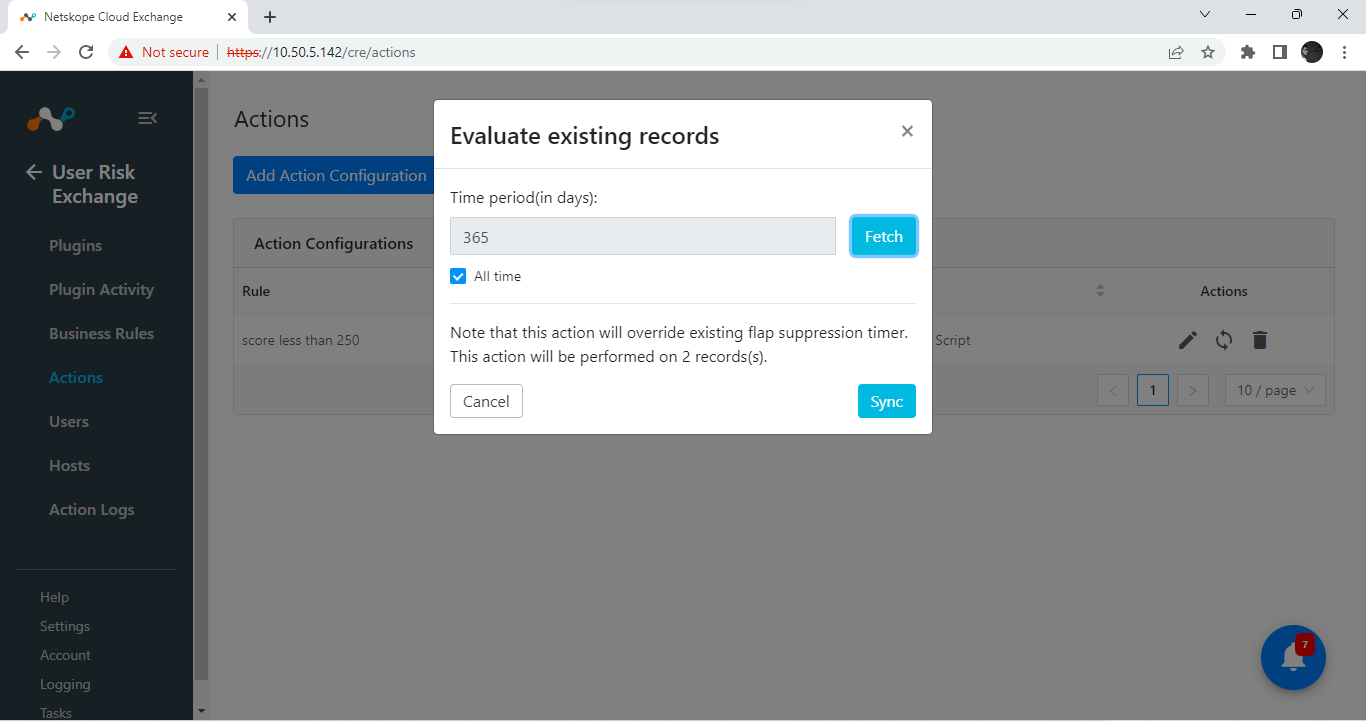
Click Sync.
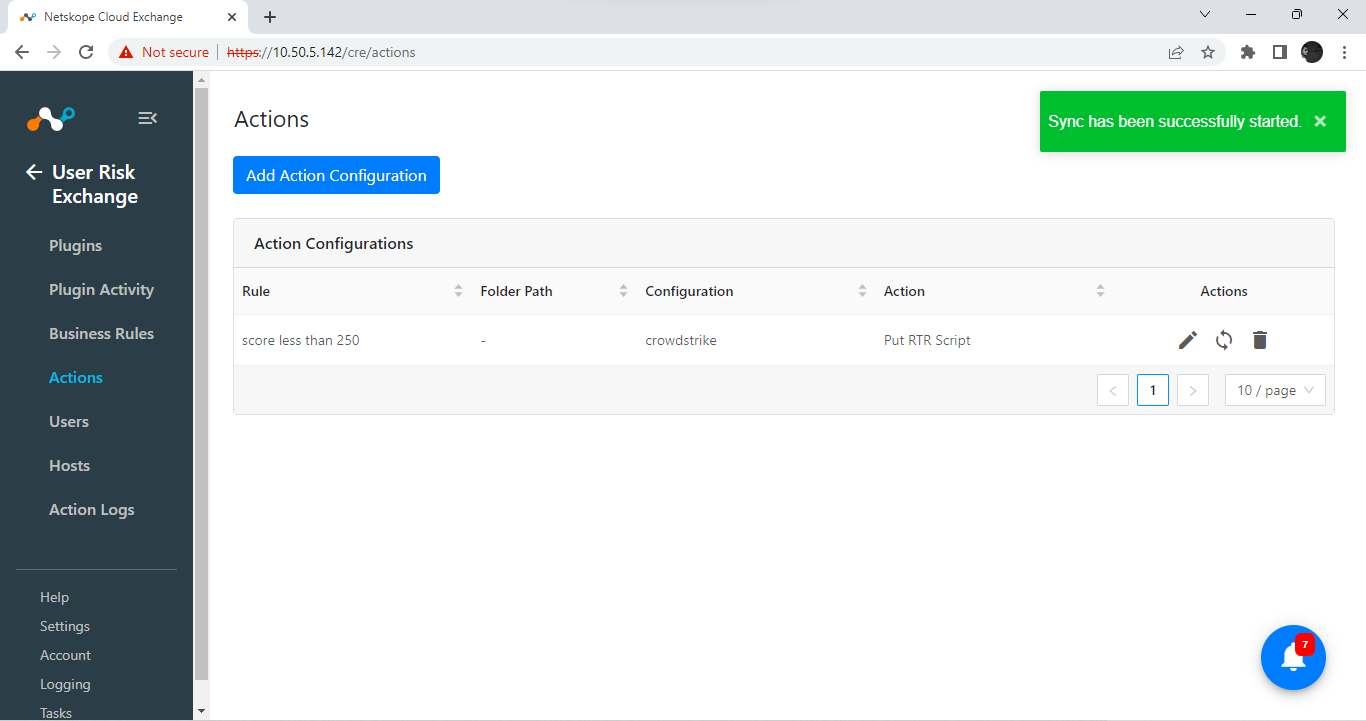
Now a manual sync is done on the users filtered by a business rule. In the future, whenever sync intervals occur, this action will be automatically triggered.
For pulling of users/hosts:
When a user matches one of the configured business rules, the configured action would be performed on the user. This can be seen at User Risk Exchange > Action Logs.
Get verification from Crowdstrike.
To validate:
Go to the dashboard in your CrowdStrike account. You’ll see a dashboard like this.
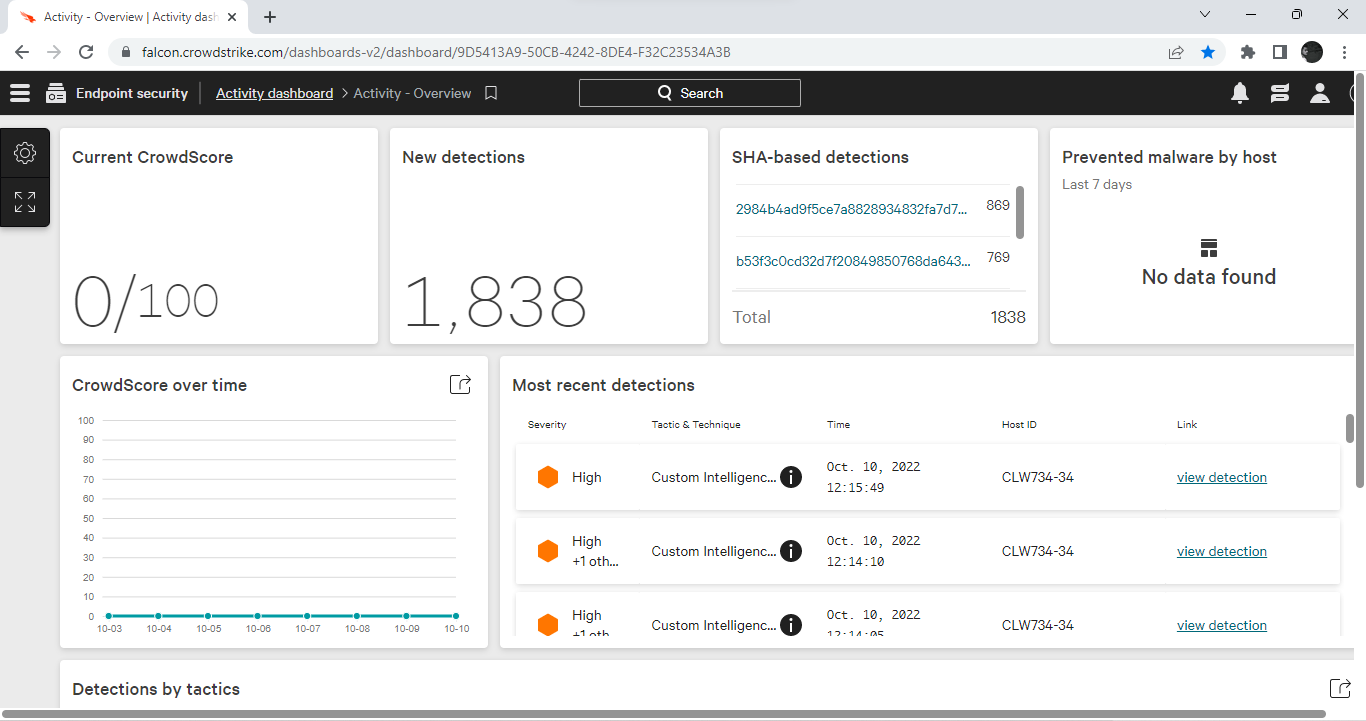
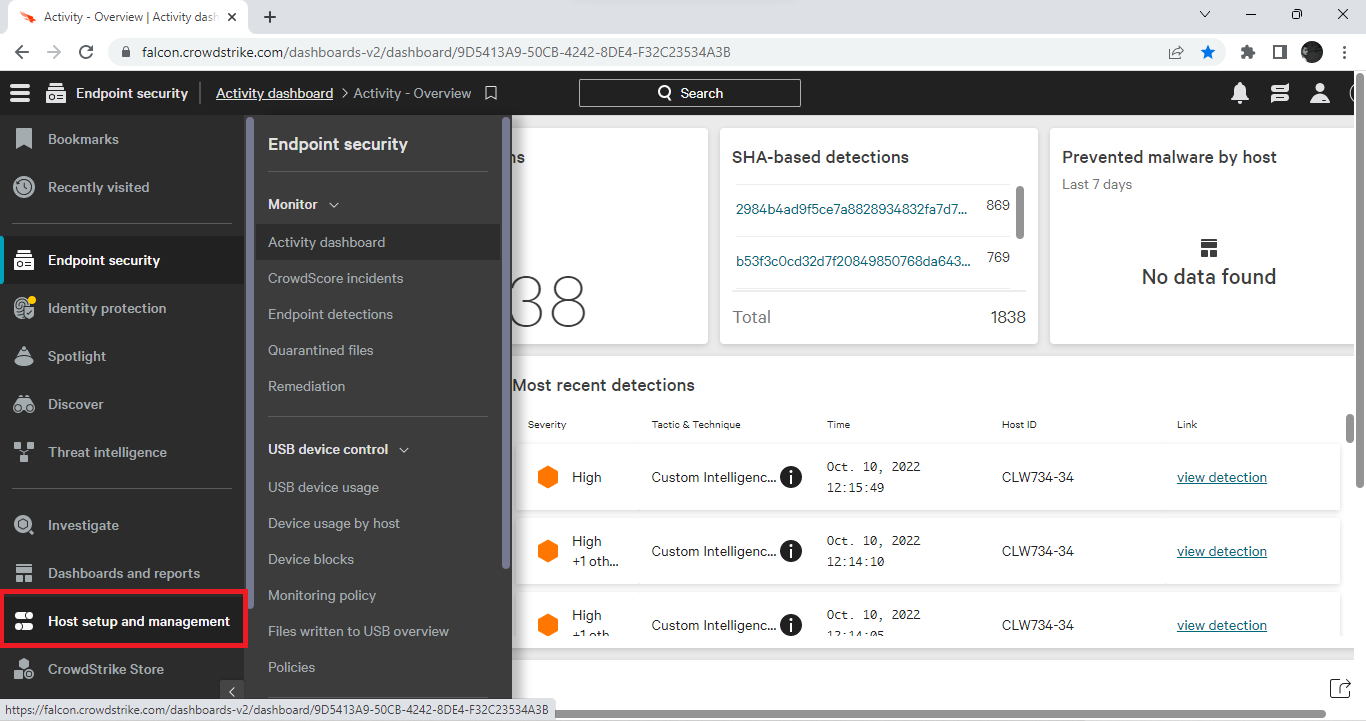
Click on the menu option on the top left corner.
Click Host Setup and management.
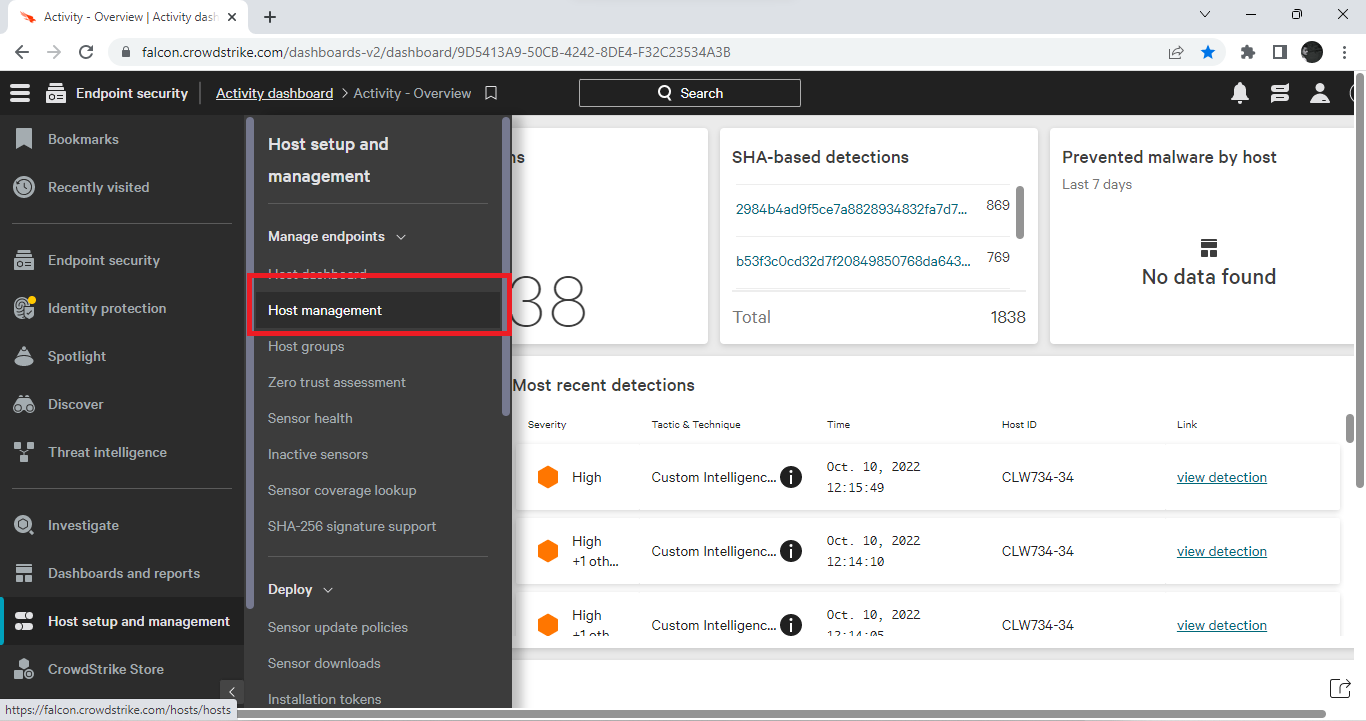
Click Host Management.
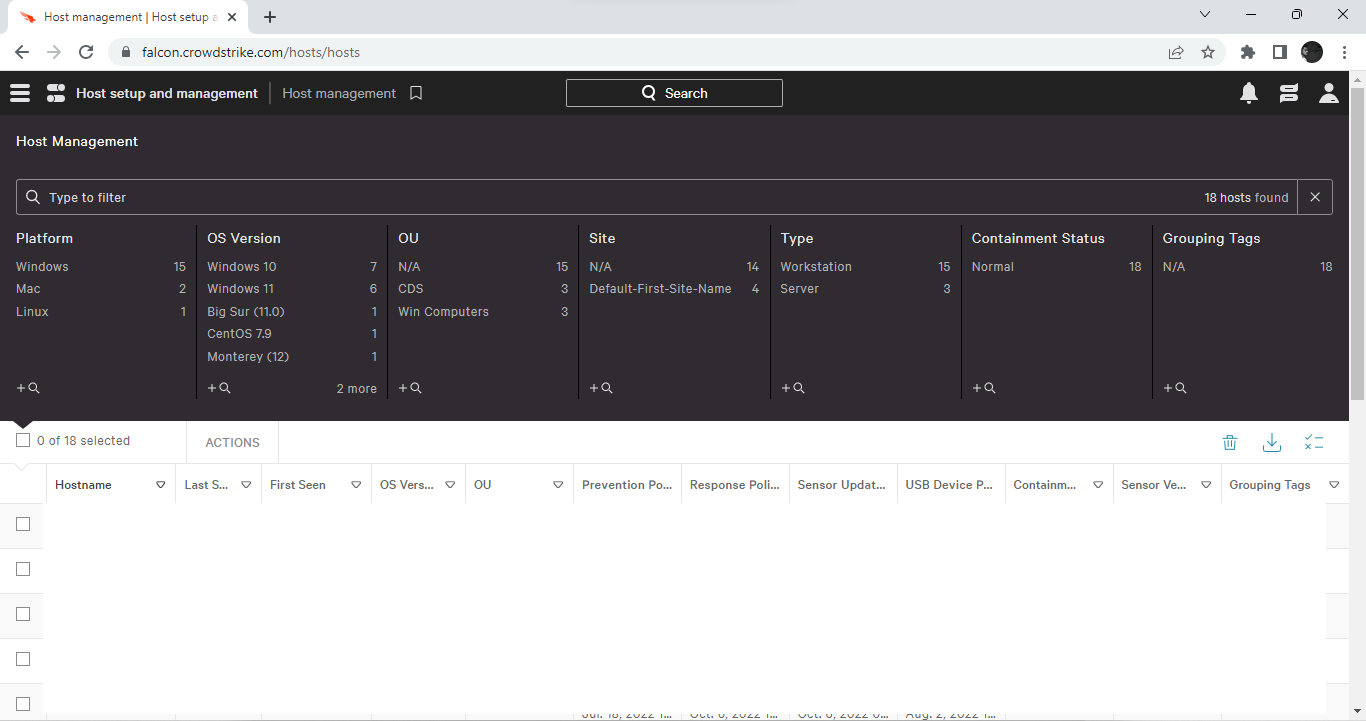
You’ll see a window like this.
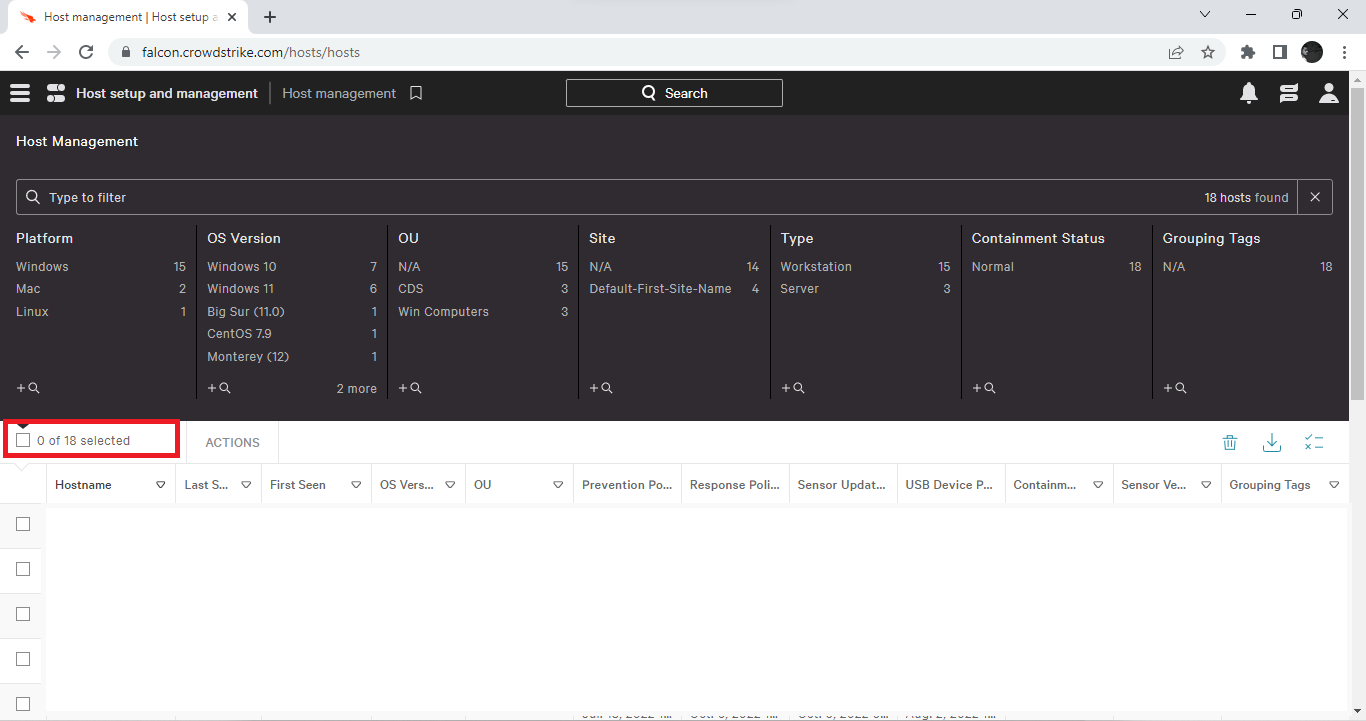
You’ll see the number of hosts.
 |