Configure the Netskope Plugin for Ticket Orchestrator
This document explains how to configure the Cloud Exchange integration with the Cloud Ticket Orchestrator module of the Netskope Cloud Exchange platform.
Prerequisites
To complete this configuration, you need:
A Netskope Tenant (or multiple, for example, production and development/test instances) that is already configured in Cloud Exchange.
A Netskope Cloud Exchange tenant with the Ticket Orchestrator module already configured.
Workflow
Configure the Netskope plugin.
Configure the Ticket Orchestrator Business Rule and a Queue to create tickets based on the business rules.
Validate the Netskope plugin.
Choose Settings from the Navigation Pane then Plugins
Select the Netskope ITSM (CTO) box to open the plugin creation page.
On the Basic Information page, enter a Configuration Name.
Adjust the Sync Interval to appropriate value: Suggested is 5+ minutes.
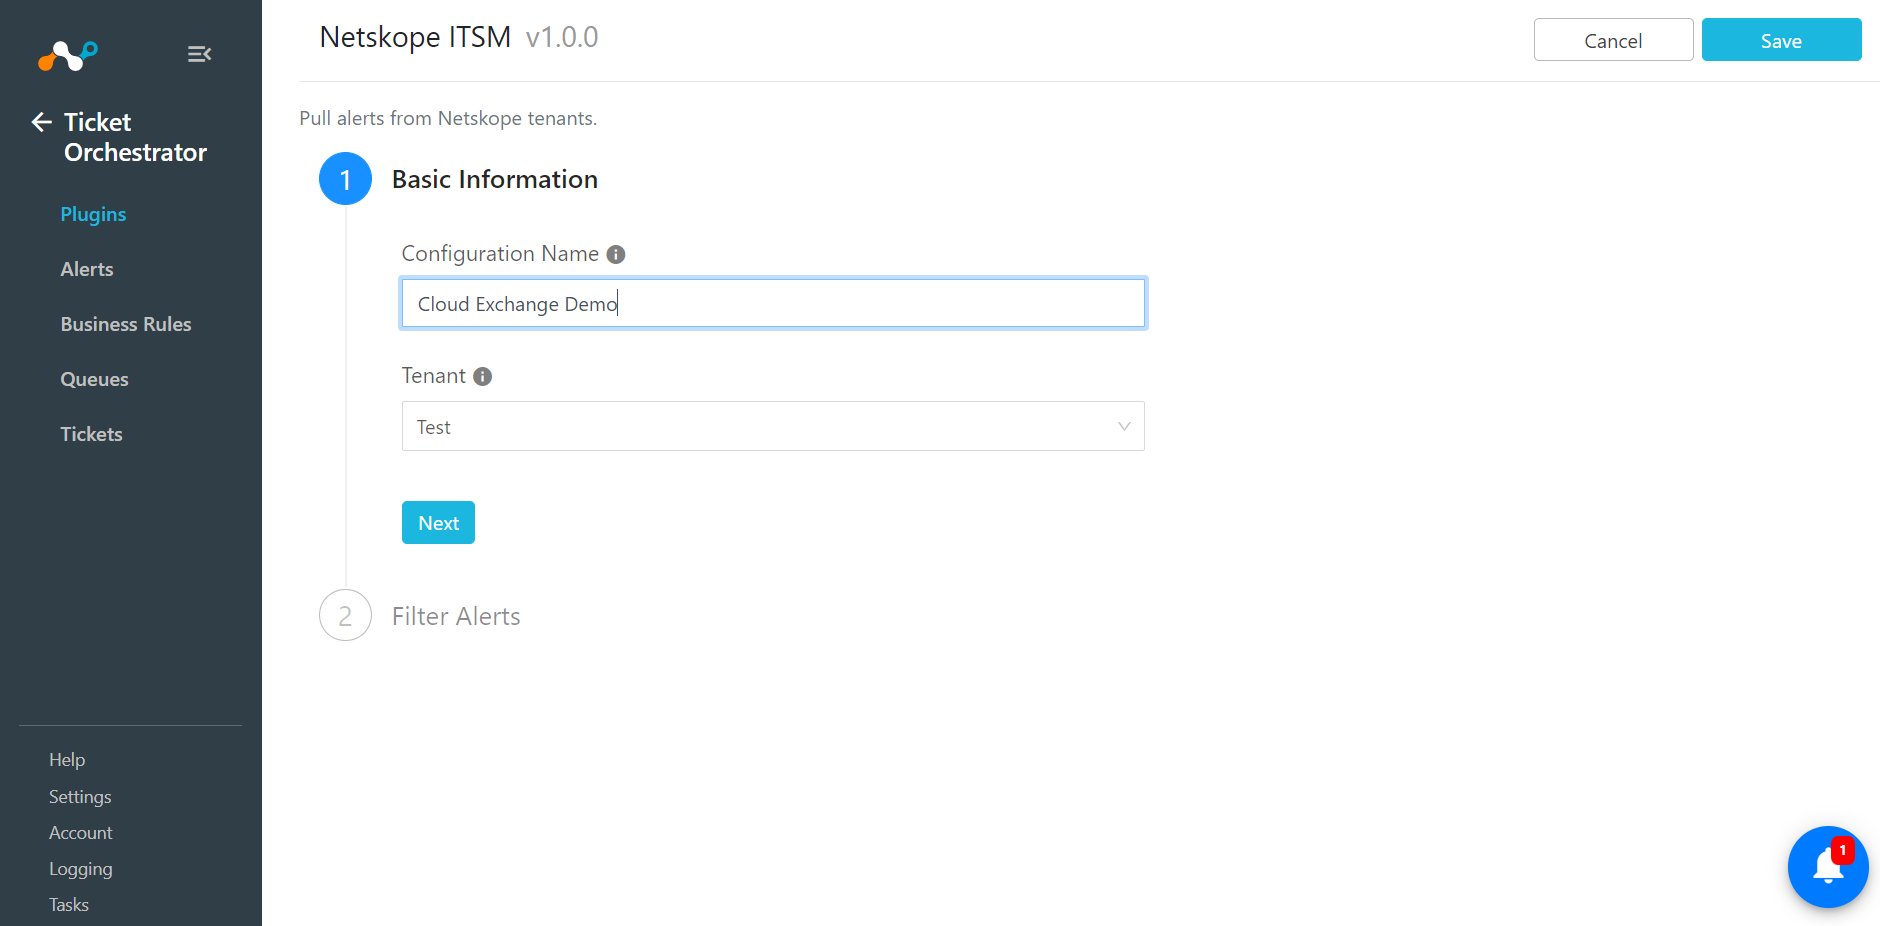
Click the Next open the Filter Alerts page.
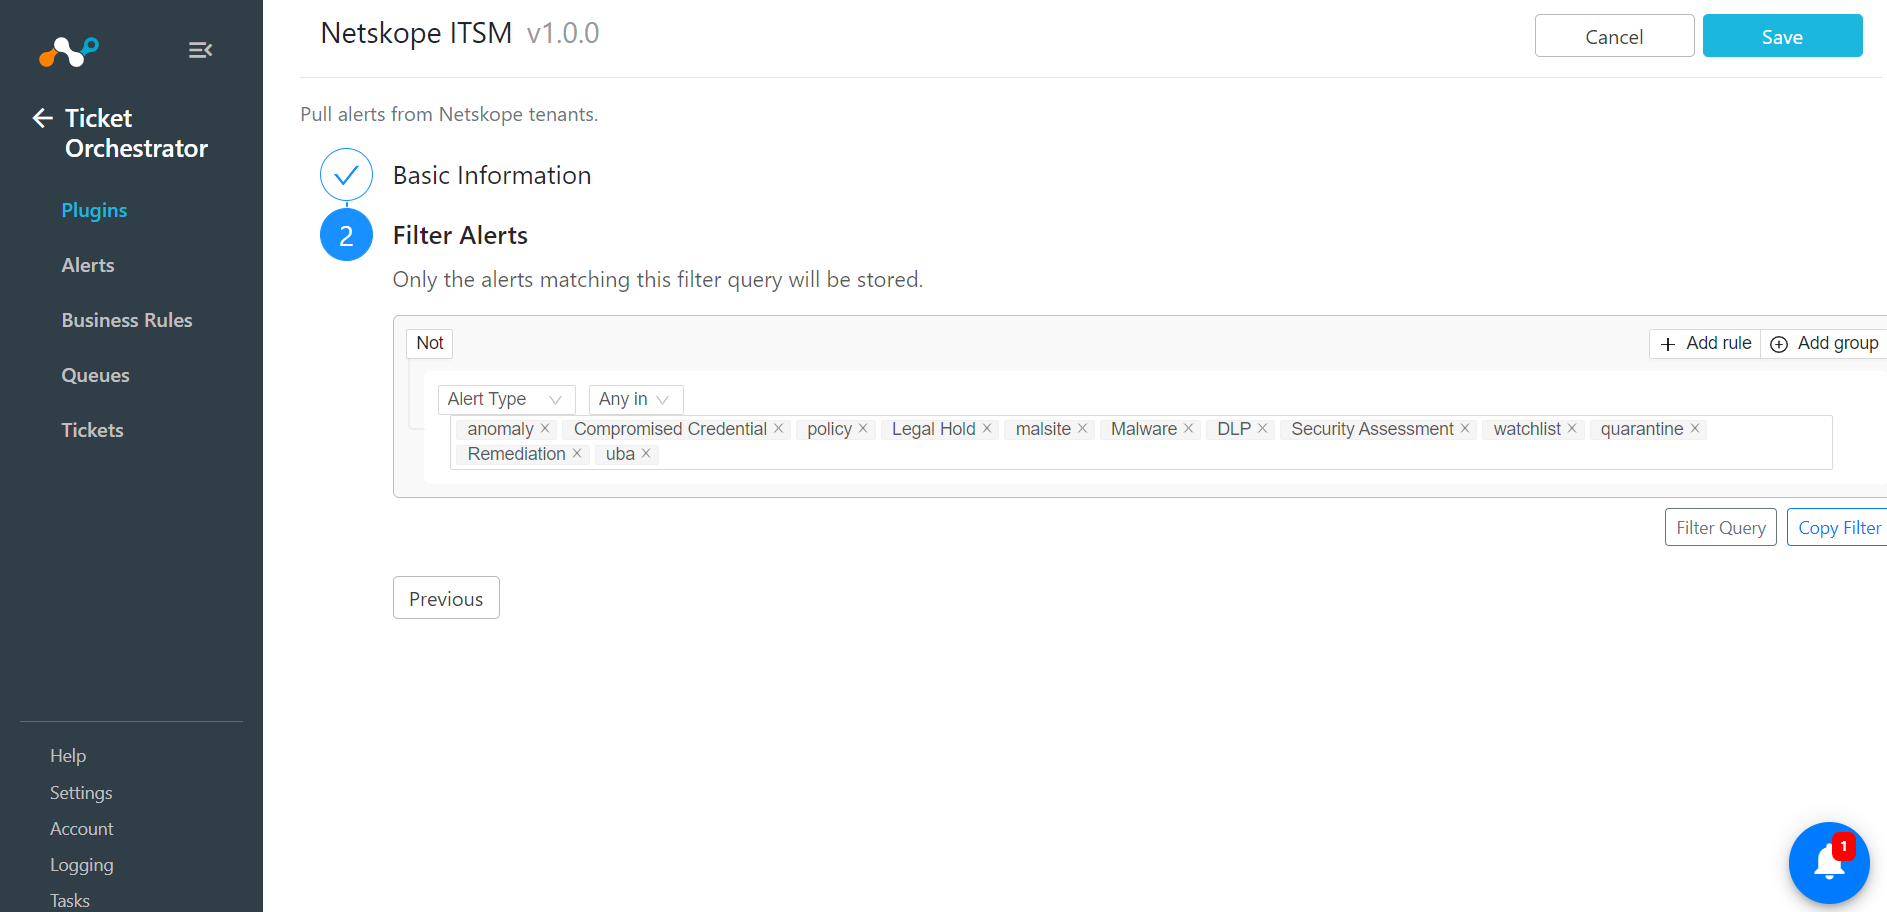
Choose Alert Types. (This will filter alerts based on types you select.)
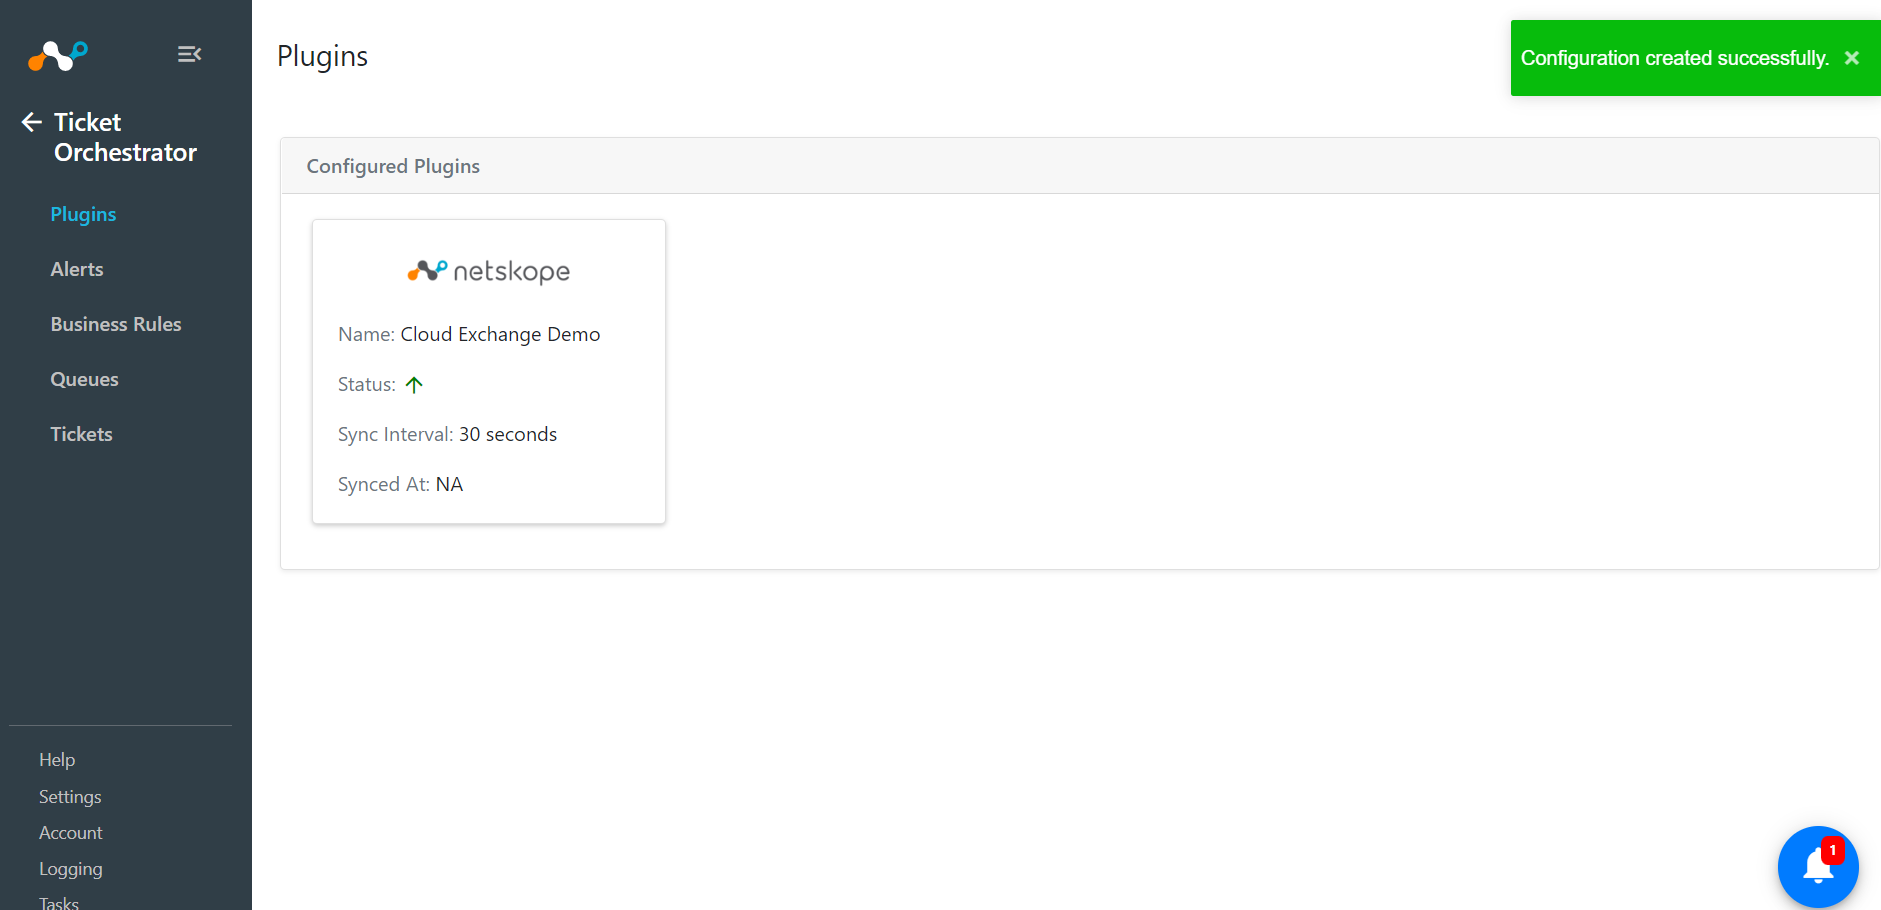
Click Save.
In Ticket Orchestrator, click Business Rules.
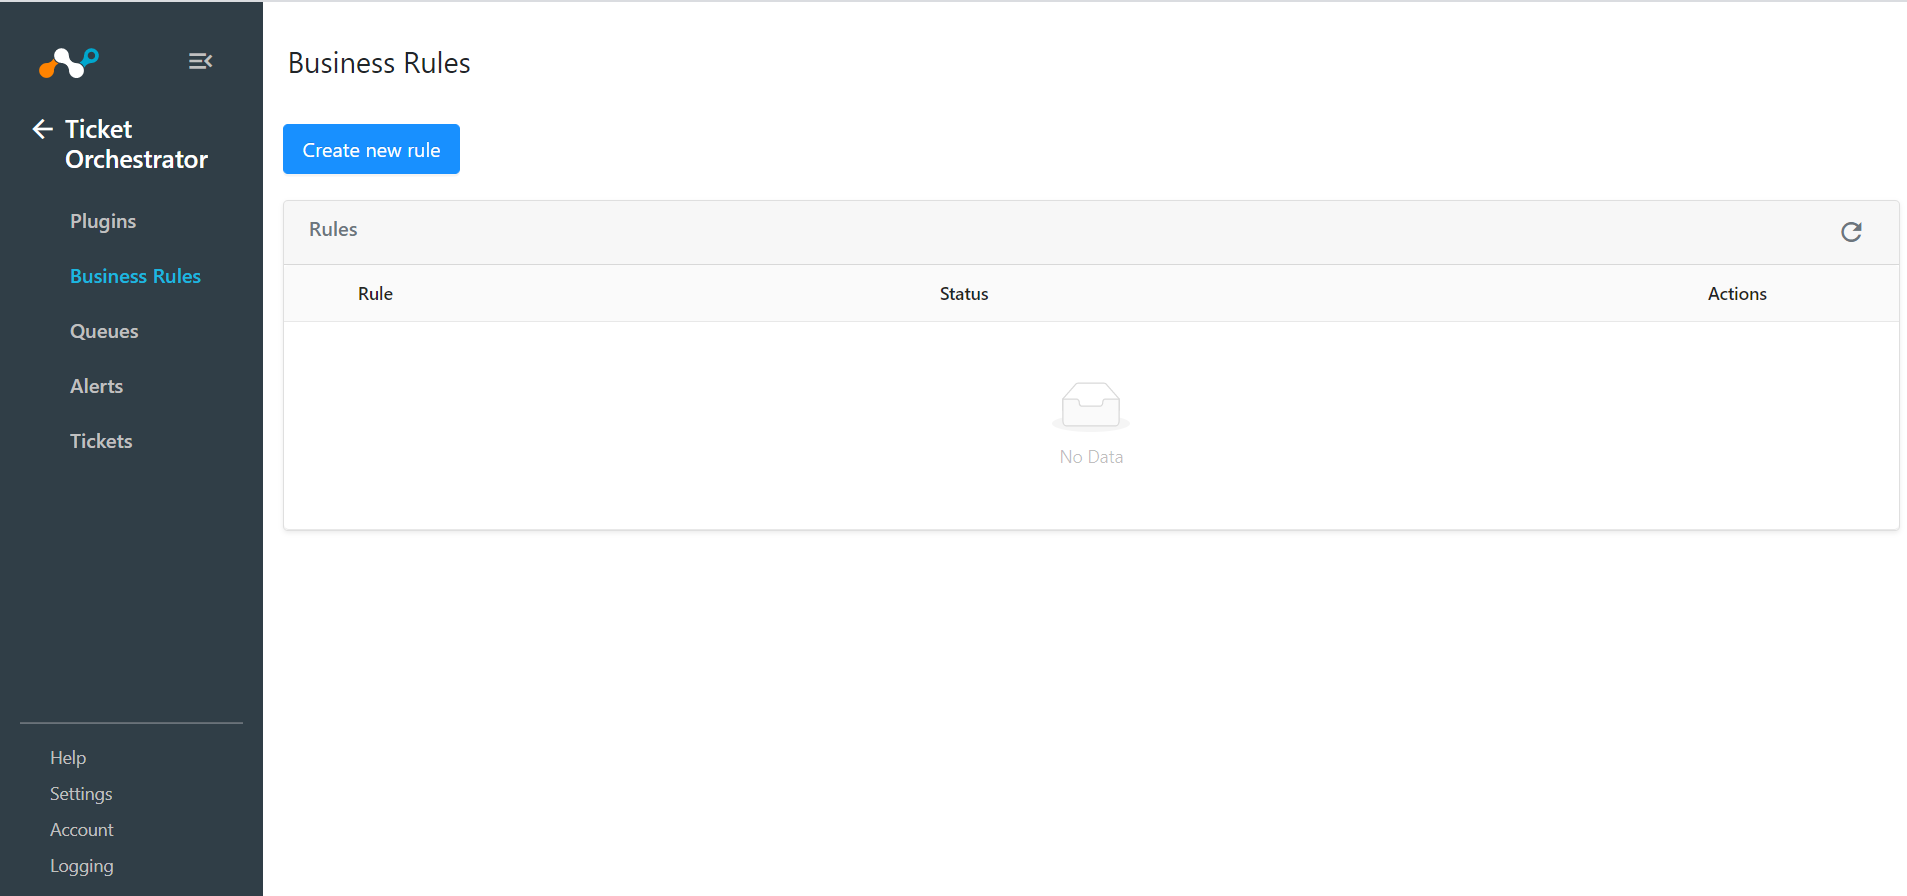
Click Create New Rule.
Enter the appropriate Rule Name in the text box and build the appropriate filter query condition on the field(s) for the business rule. You can also type the query manually by pressing the Filter Query button.
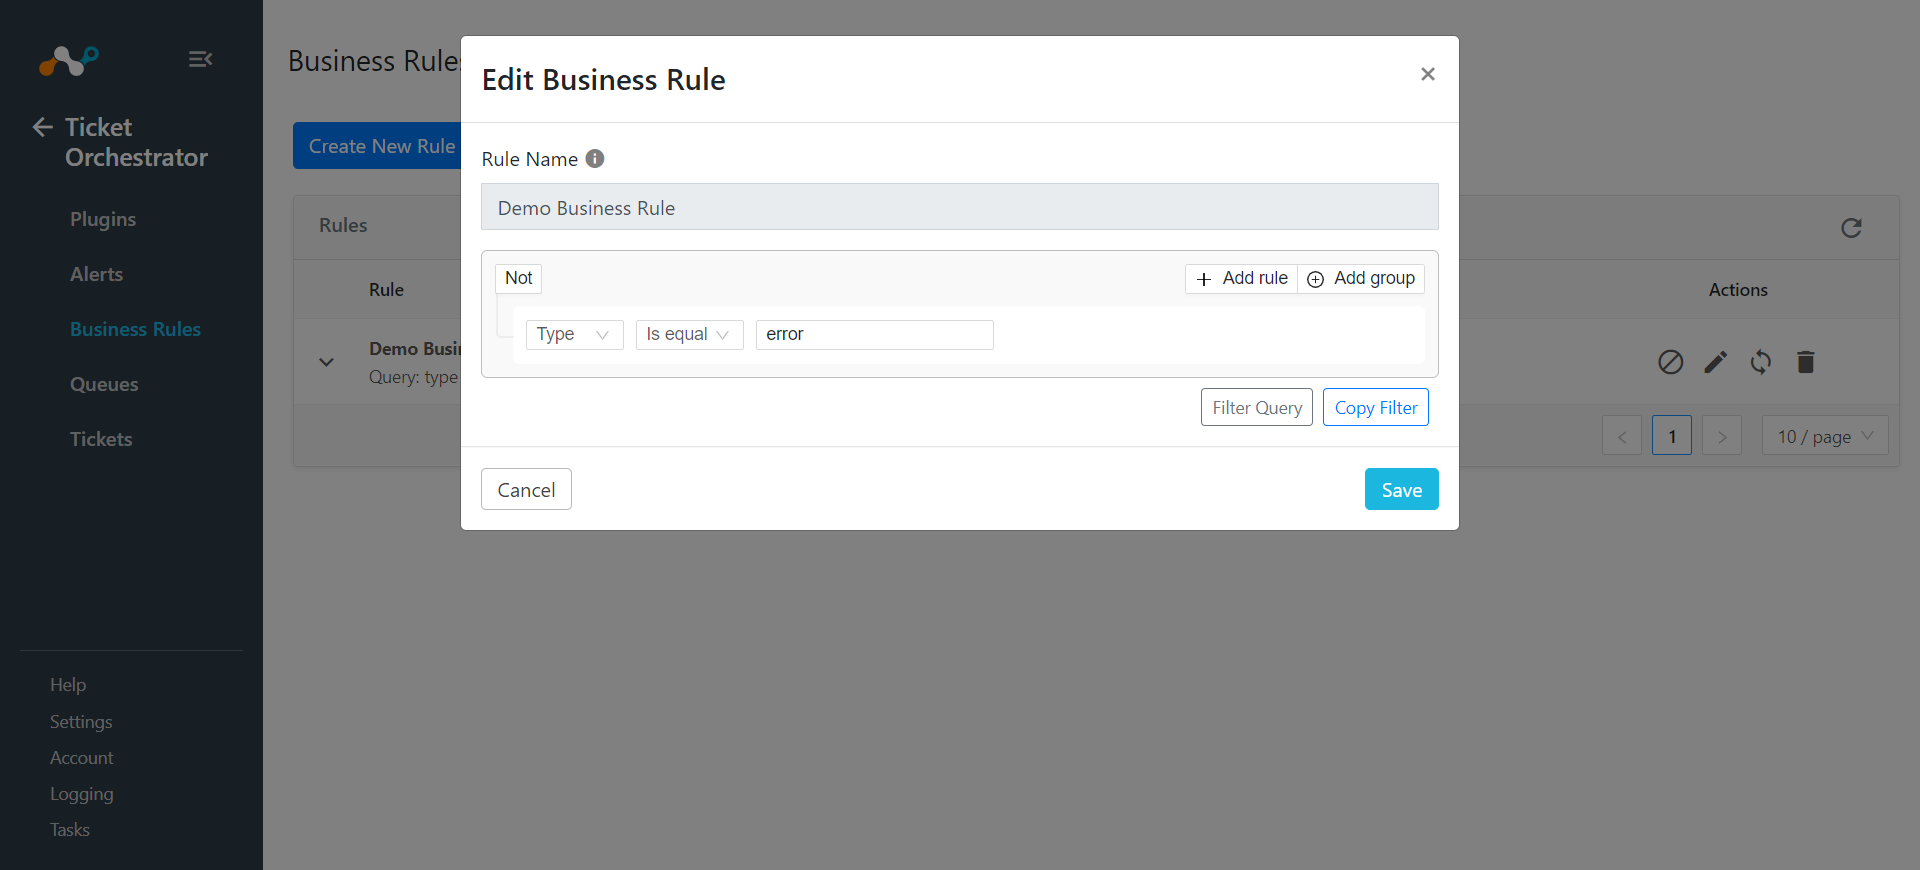
Click Save.
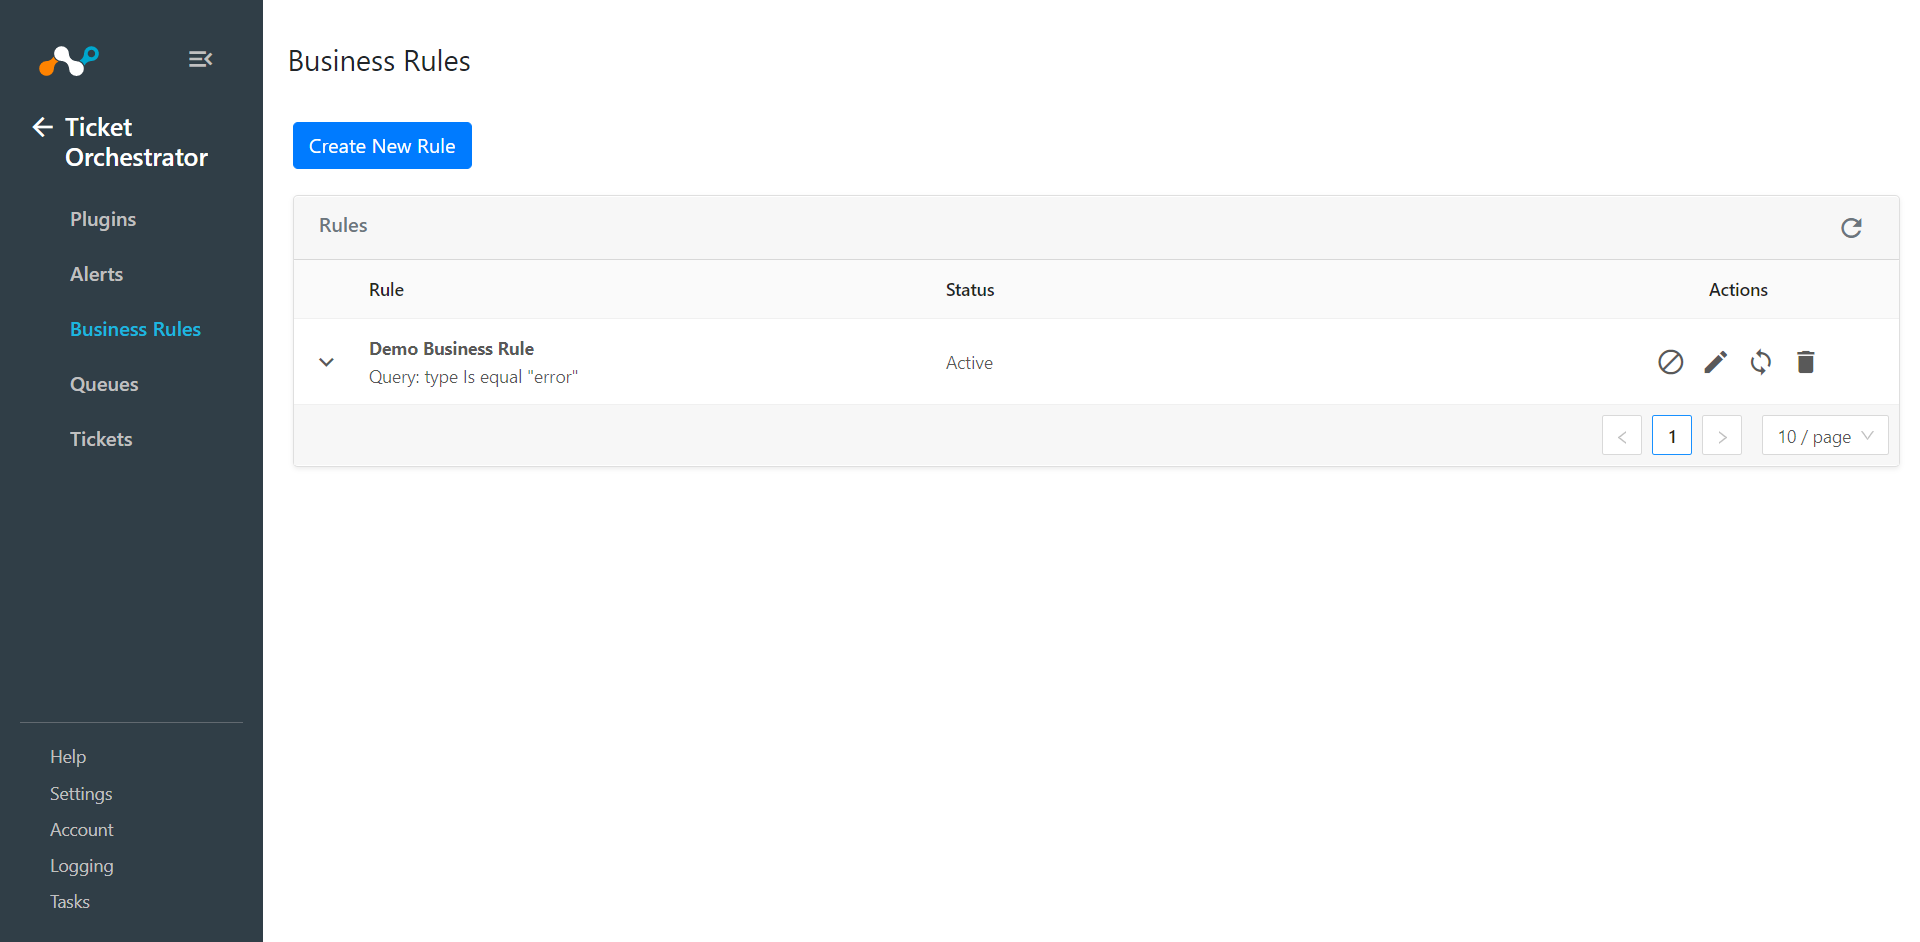
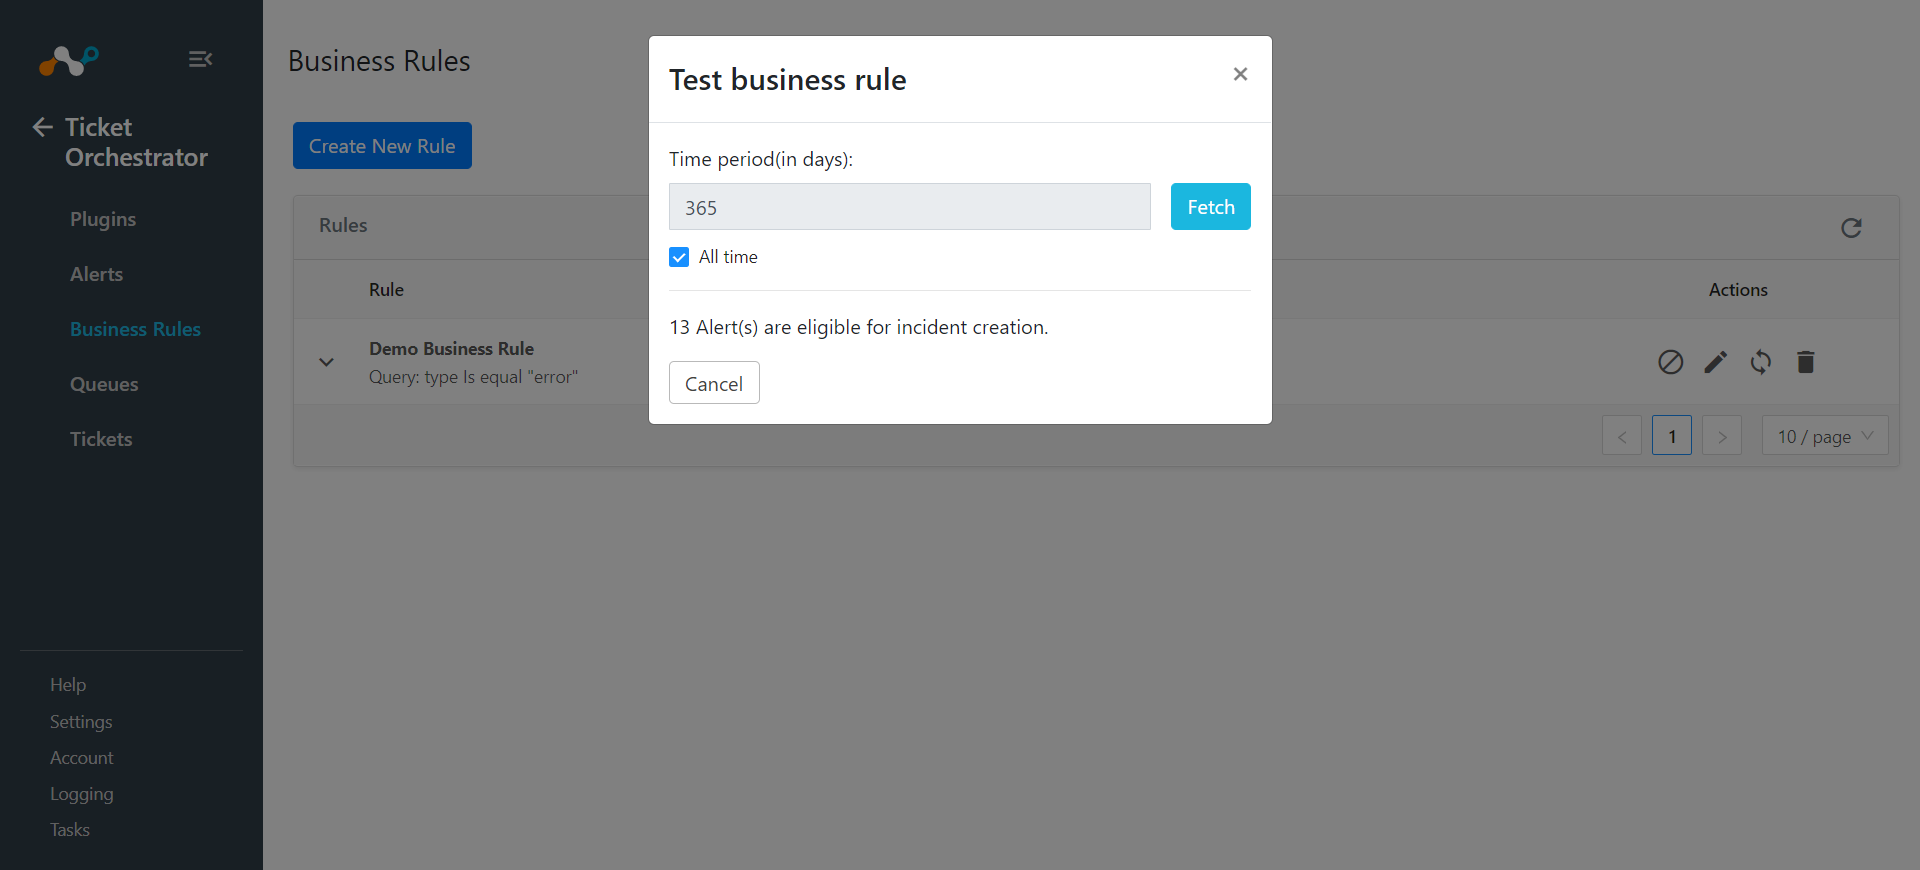
To test the newly created business rule, click on the
 icon and enter a time period (in days) and click the Fetch button. This will show the number of alerts that are eligible for incident/ticket creation.
In Ticket Orchestrator, click Queues.
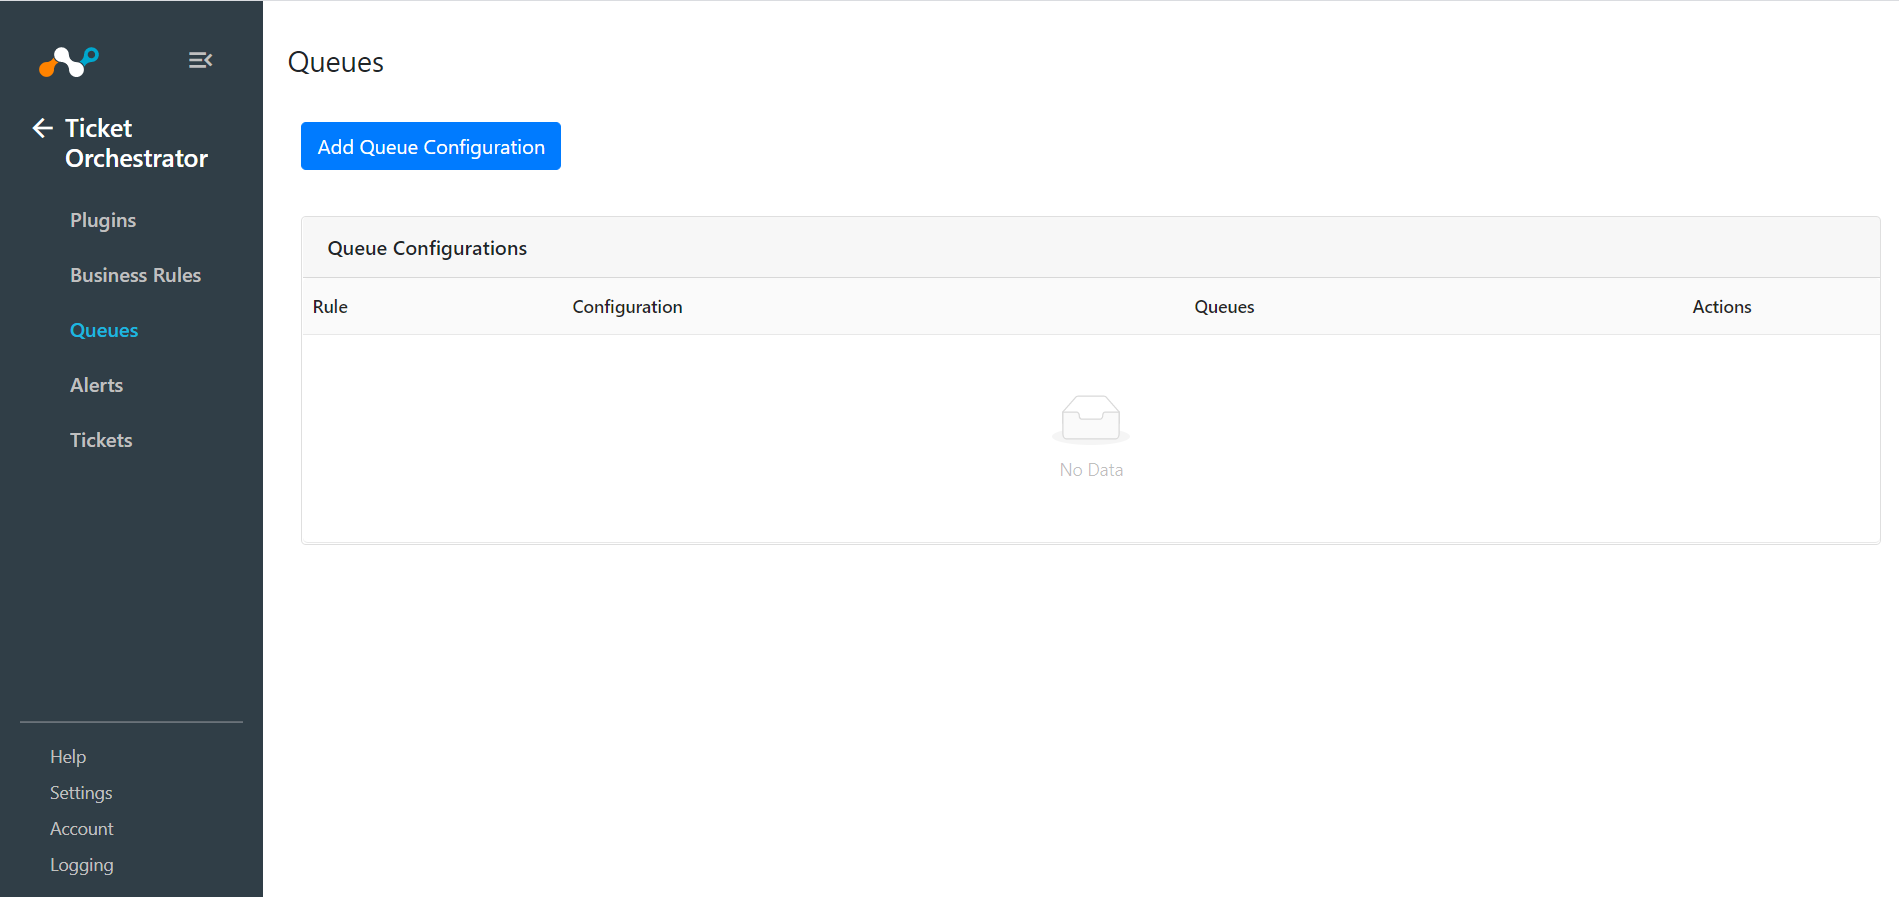
Click Add Queue Configuration.
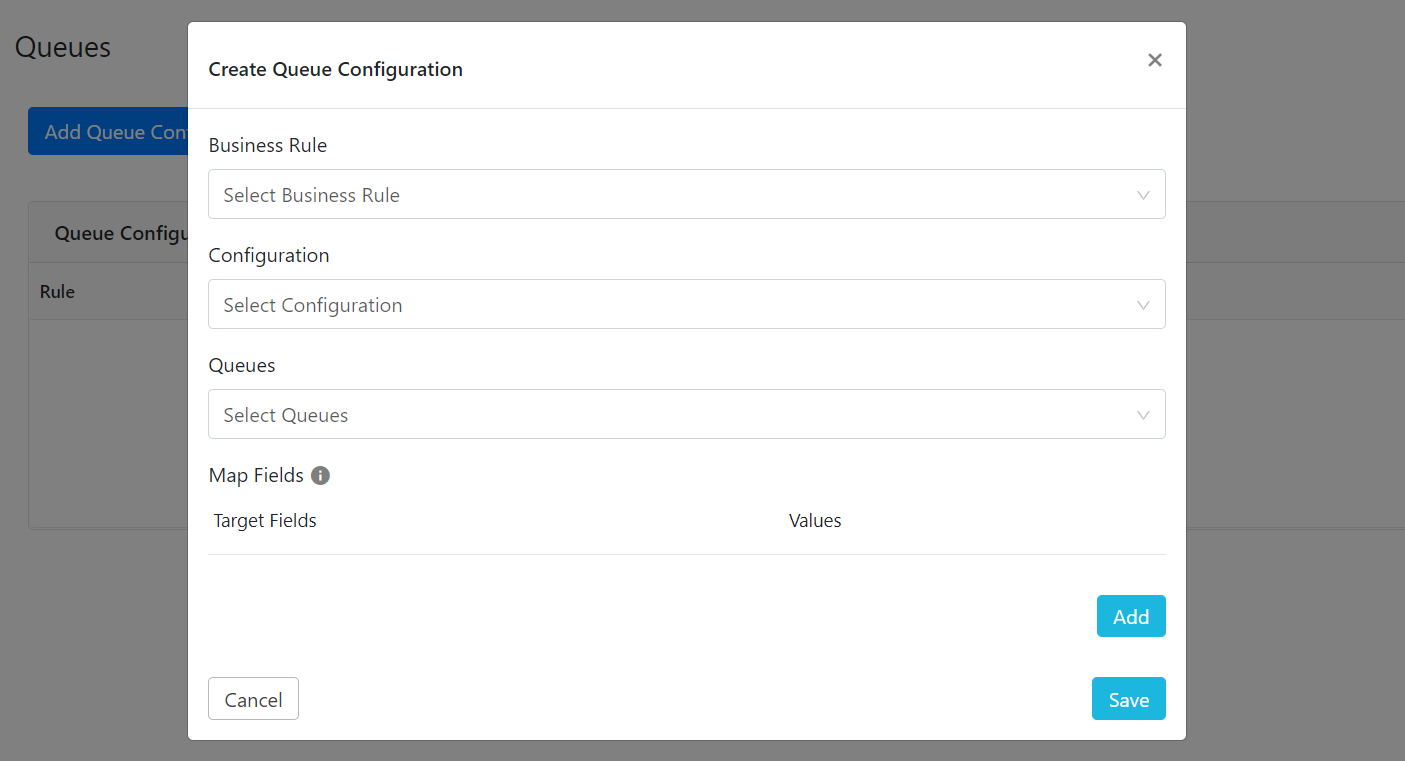
Select the Business Rule created previously from the dropdown.
Select the plugin Configuration for which the queue is being configured from the dropdown.
Select the Queues from the dropdown. This will list the groups available on the configured Target instance. The issues/tickets will be assigned to the selected group.
Add/Map appropriate values between alerts and incidents under the Map Field section. Alert’s attributes can be accessed via “$” in the custom message field. Click on the Add button to add more field mappings.
Click Save.
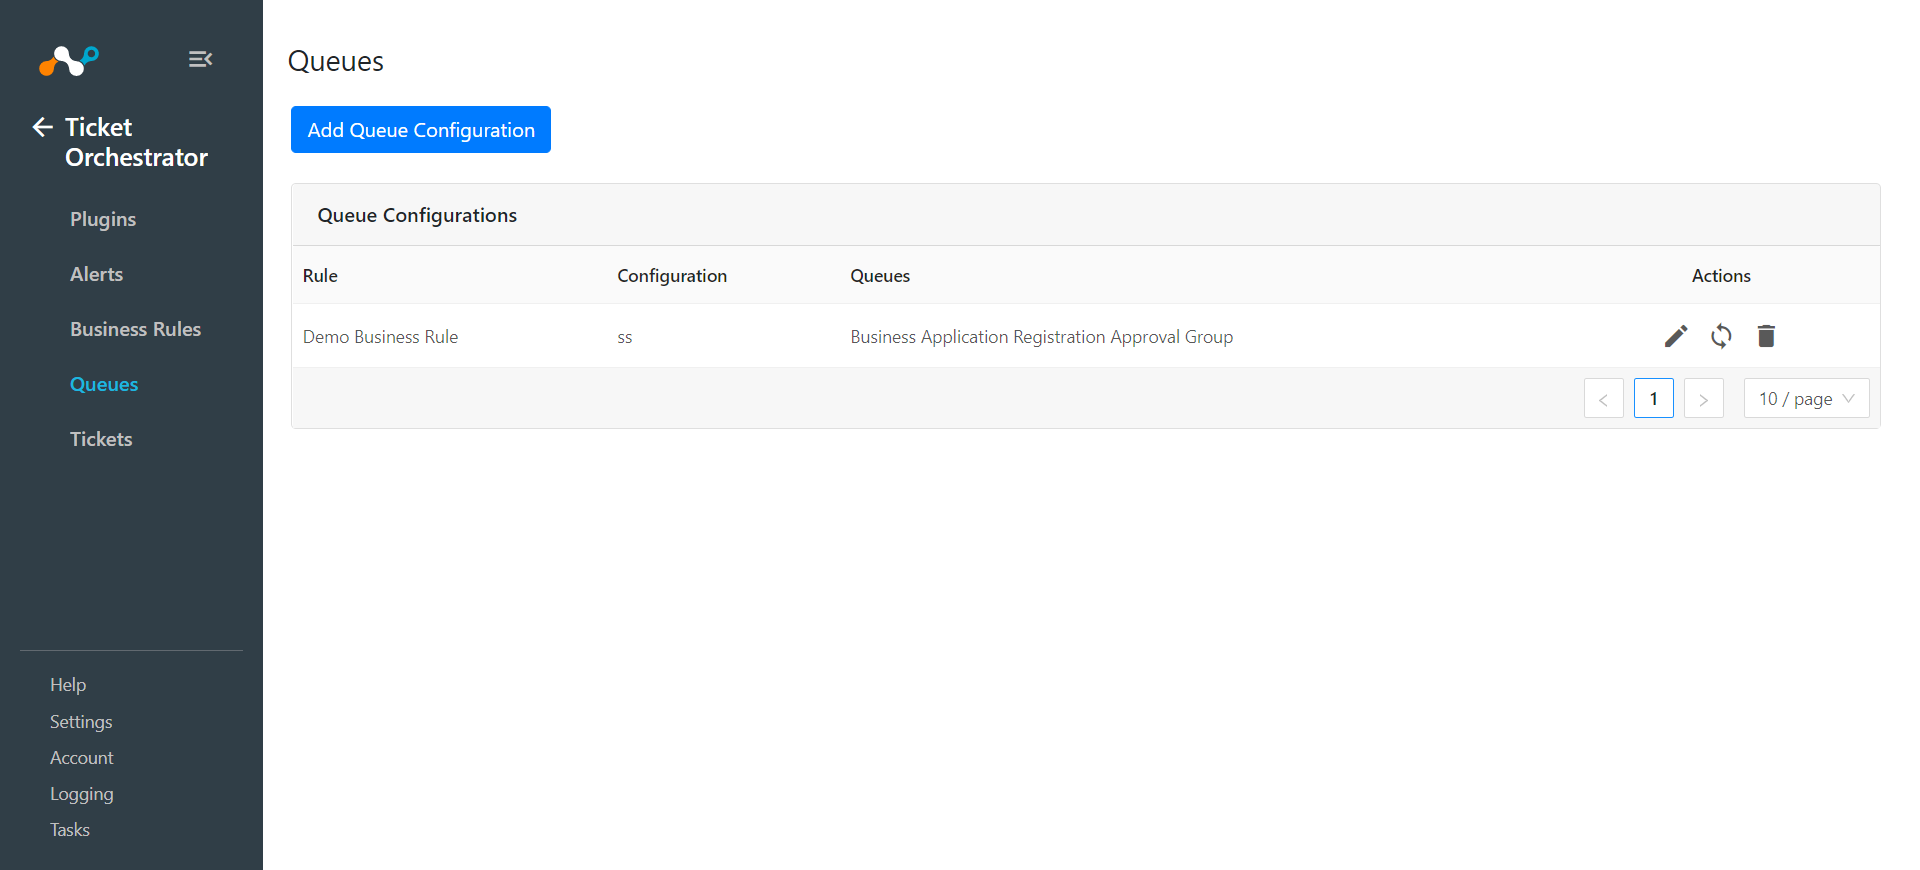
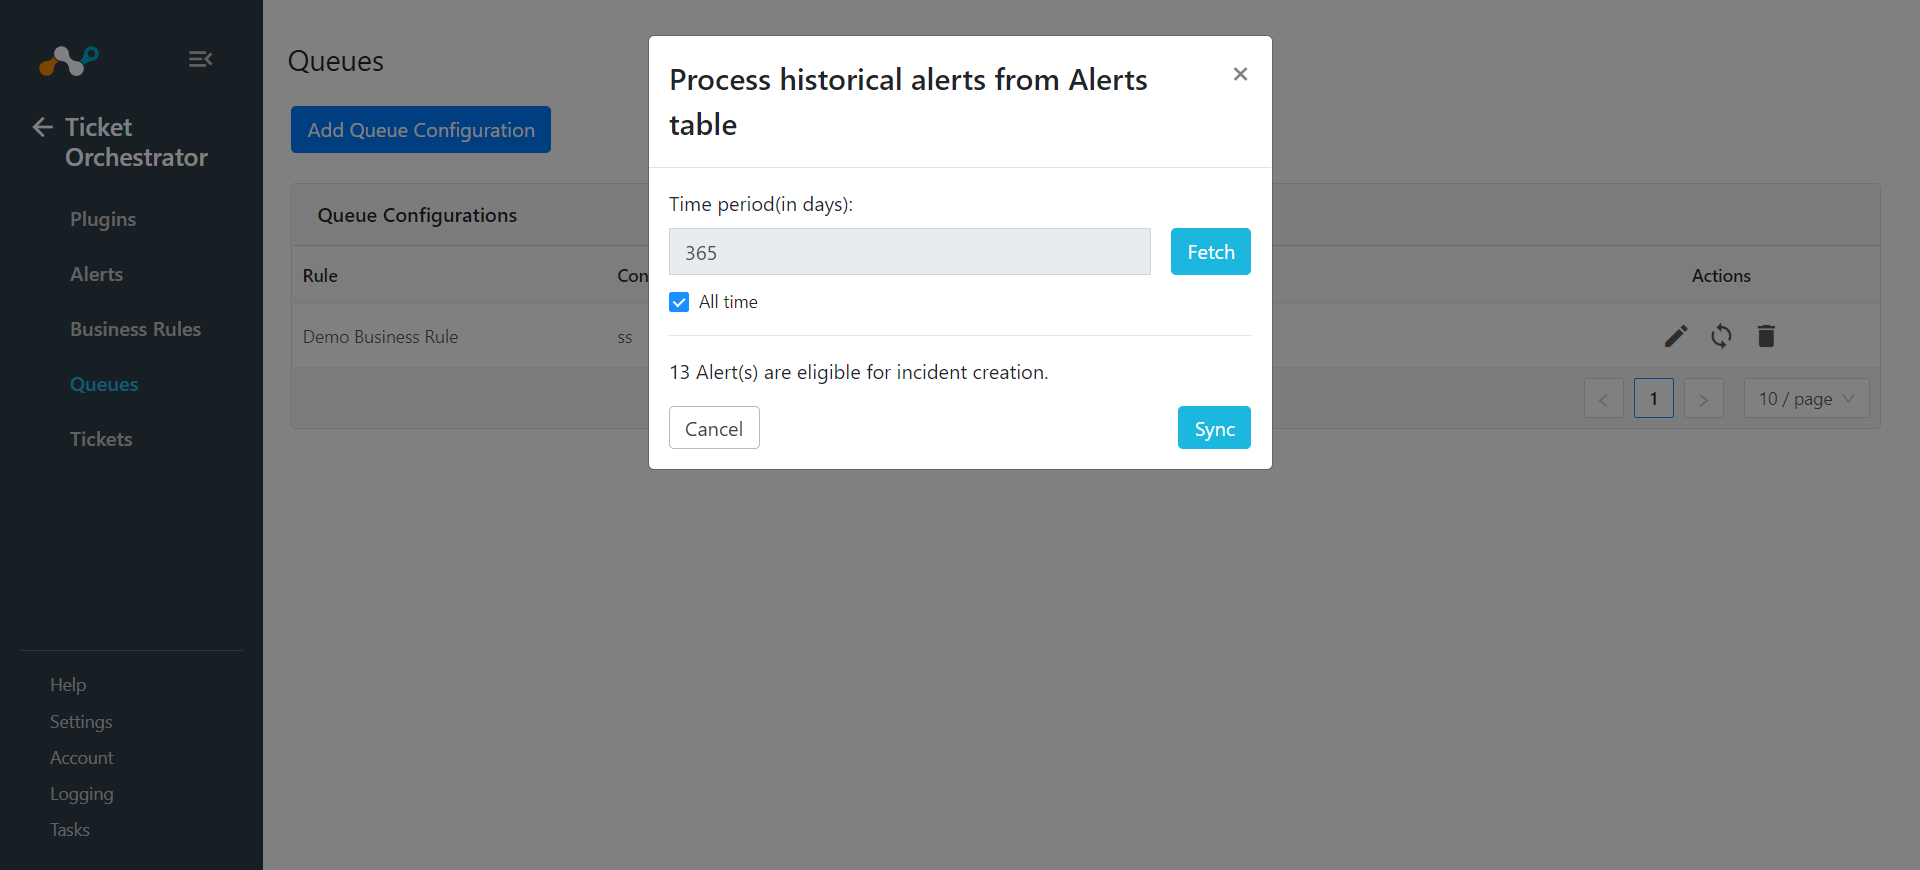
Based on the business rule(s), issues/tickets for incoming alerts will be created automatically. To create issues/tickets for historical alerts, click on
 button on the configured queue and enter the time period (in days) and click the Fetch button. This will show the number of alerts that are eligible for issues/tickets creation. Click on the Sync button to create issues/tickets for those alerts.
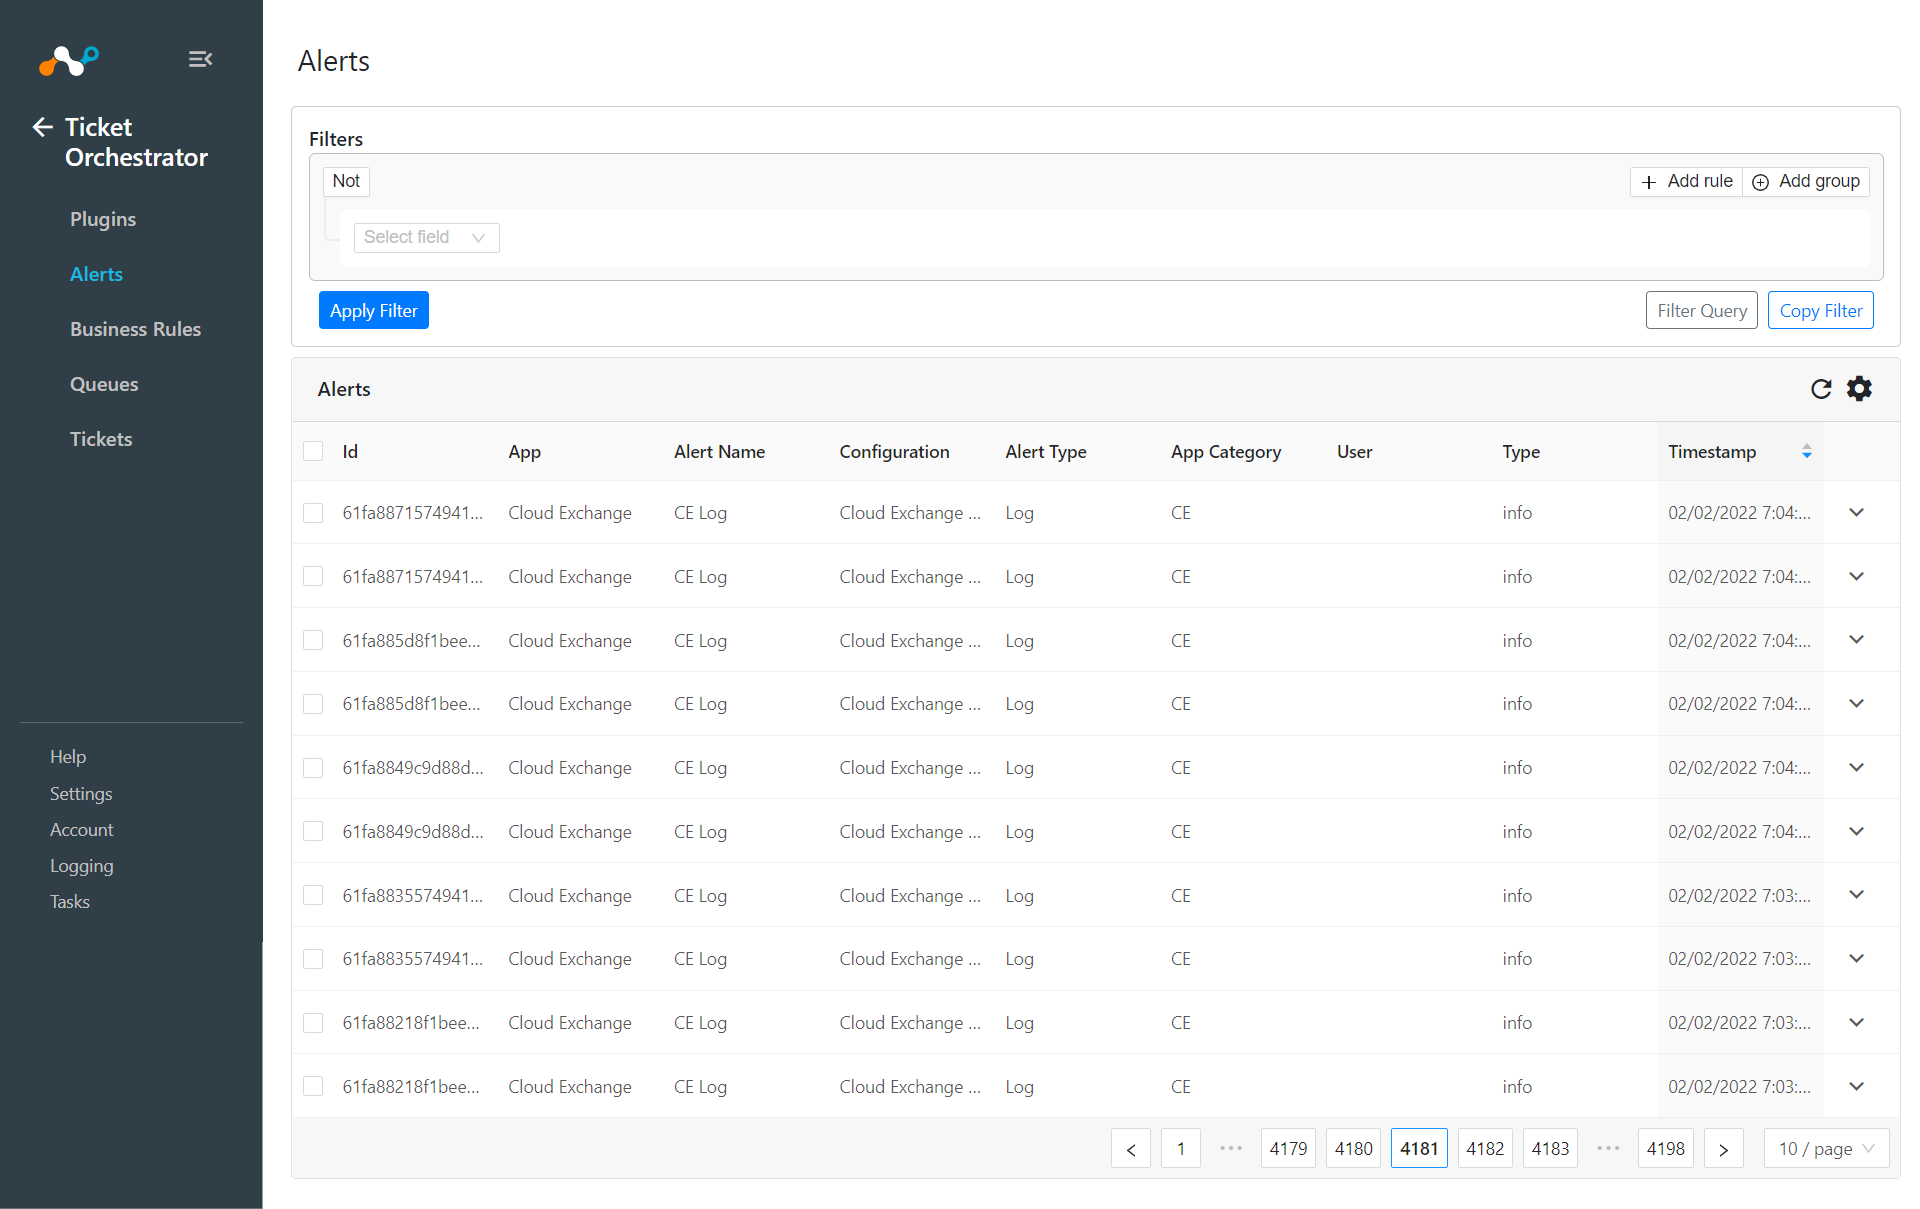
In order to validate the workflow you must have Netskope Alerts.
In Ticket Orchestrator, go to Alerts.
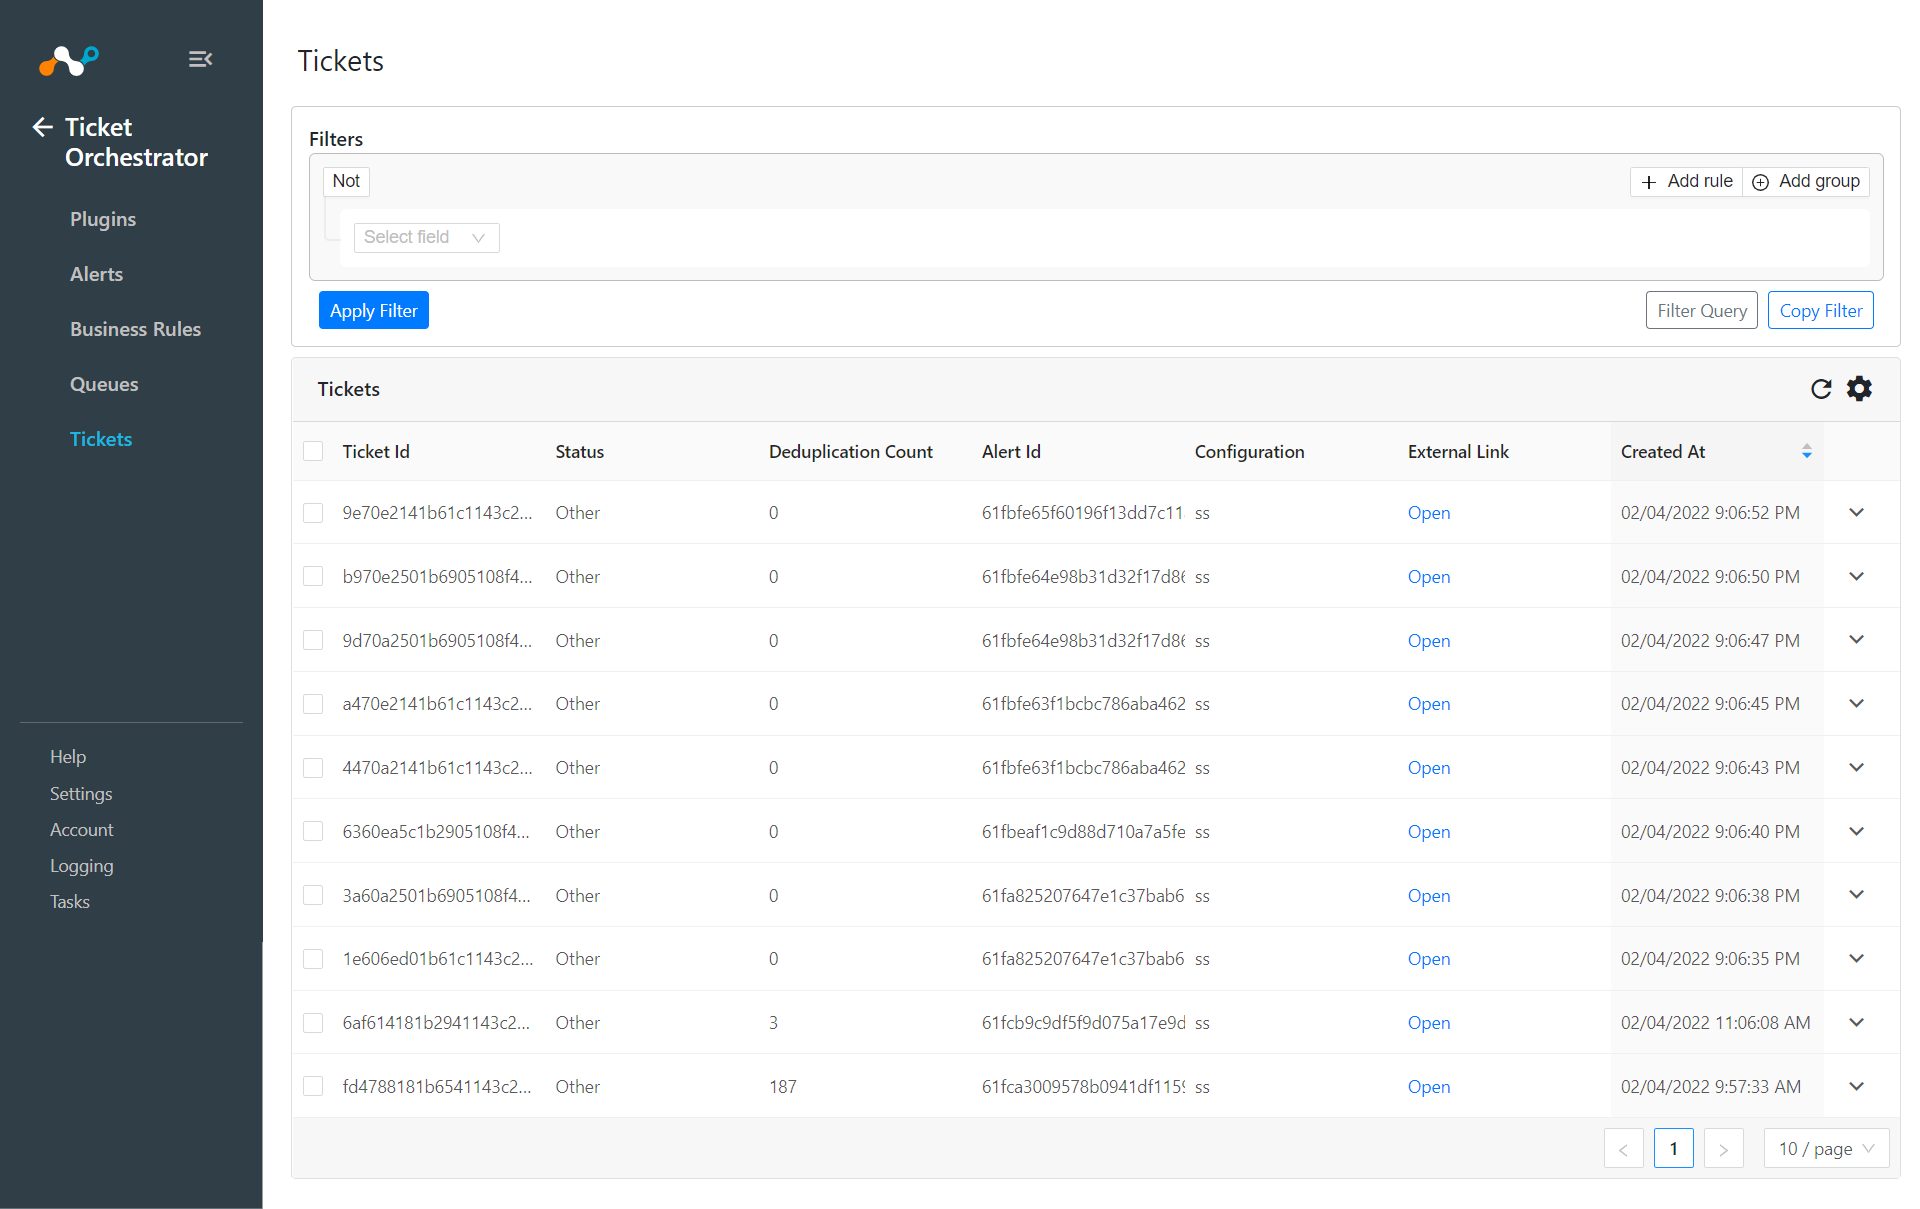
To view the list of tickets created, go to Tickets.
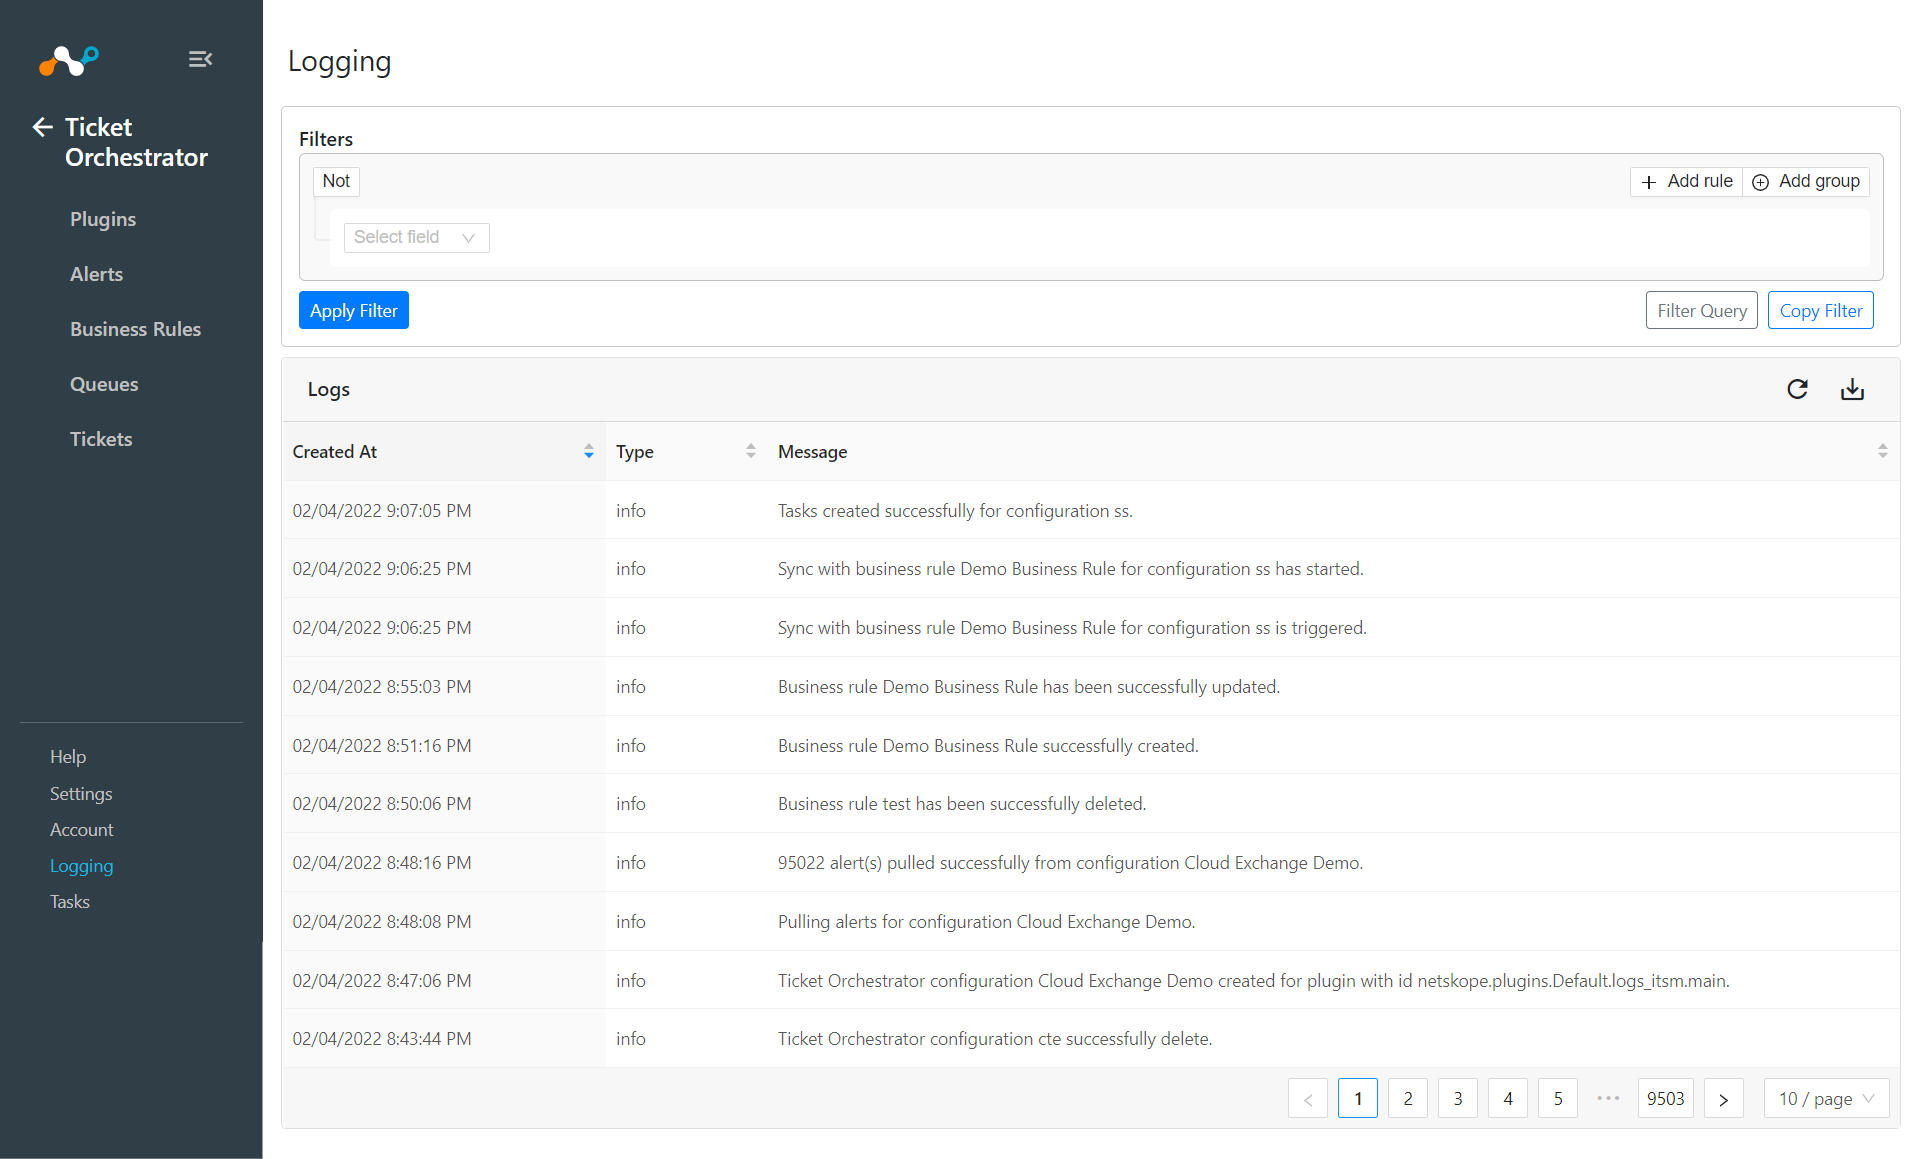
If issues/tickets are not being created, look at the audit logs in Cloud Exchange. Go to Logging and look through the logs for errors.
