Configure the Netskope Plugin for User Risk Exchange
This document explains how to configure the Netskope integration with the Cloud Risk Exchange module of the Netskope Cloud Exchange platform. This integration extracts users from UBA alerts and populates user scores from Netskope.
Prerequisites
To complete this configuration, you need:
A Netskope Tenant (or multiple, for example, production and development/test instances) that is already configured in Cloud Exchange.
A Netskope Cloud Exchange tenant with the User Risk Exchange module already configured.
Workflow
Obtain your SCIM Server URL and SCIM Key from your Netskope Tenant.
Configure the Netskope plugin for User Risk Exchange.
Configure User Risk Exchange Business Rules and Actions for the Netskope plugin.
Validate the Netskope plugin for User Risk Exchange.
Log in to the Netskope UI.
Go to Settings > Tools > Directory Tools.
Select the SCIM Integration tab from the top of the page.
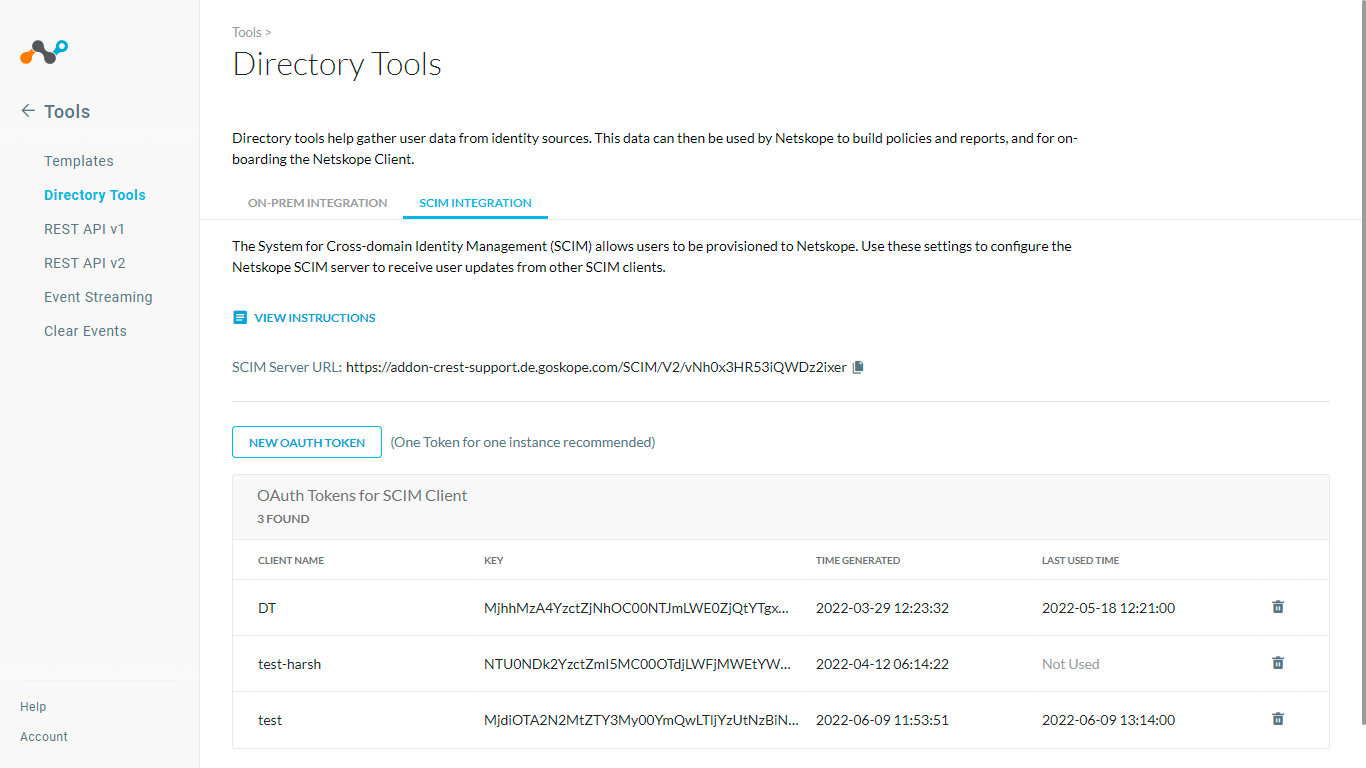
Make note of the SCIM Server URL.
Click New Auth Token , enter a Client name, and click Generate Token.
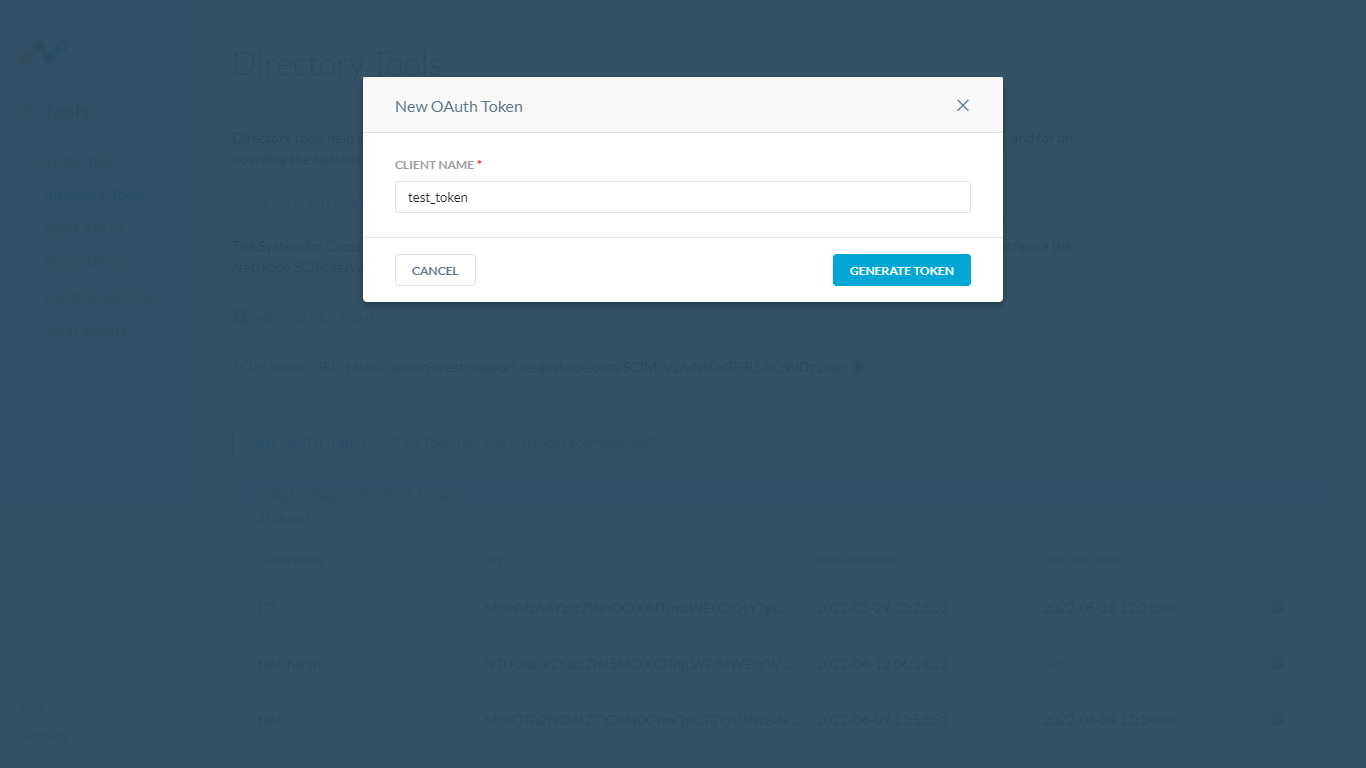
Save the token and use it for the SCIM Key when configuring the Netskope plugin.
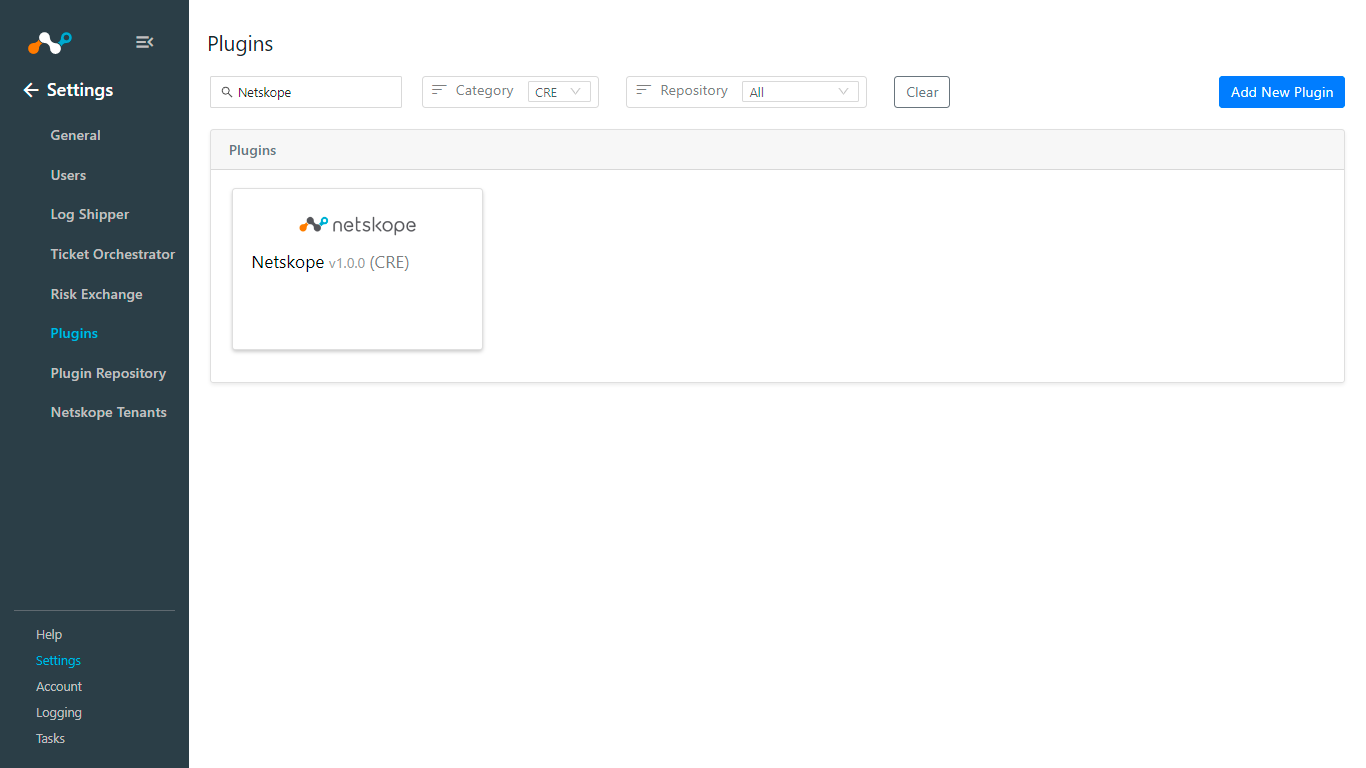
In Cloud Exchange, go to Settings > Plugins.
Select the Netskope (CRE) box to open the plugin creation page.
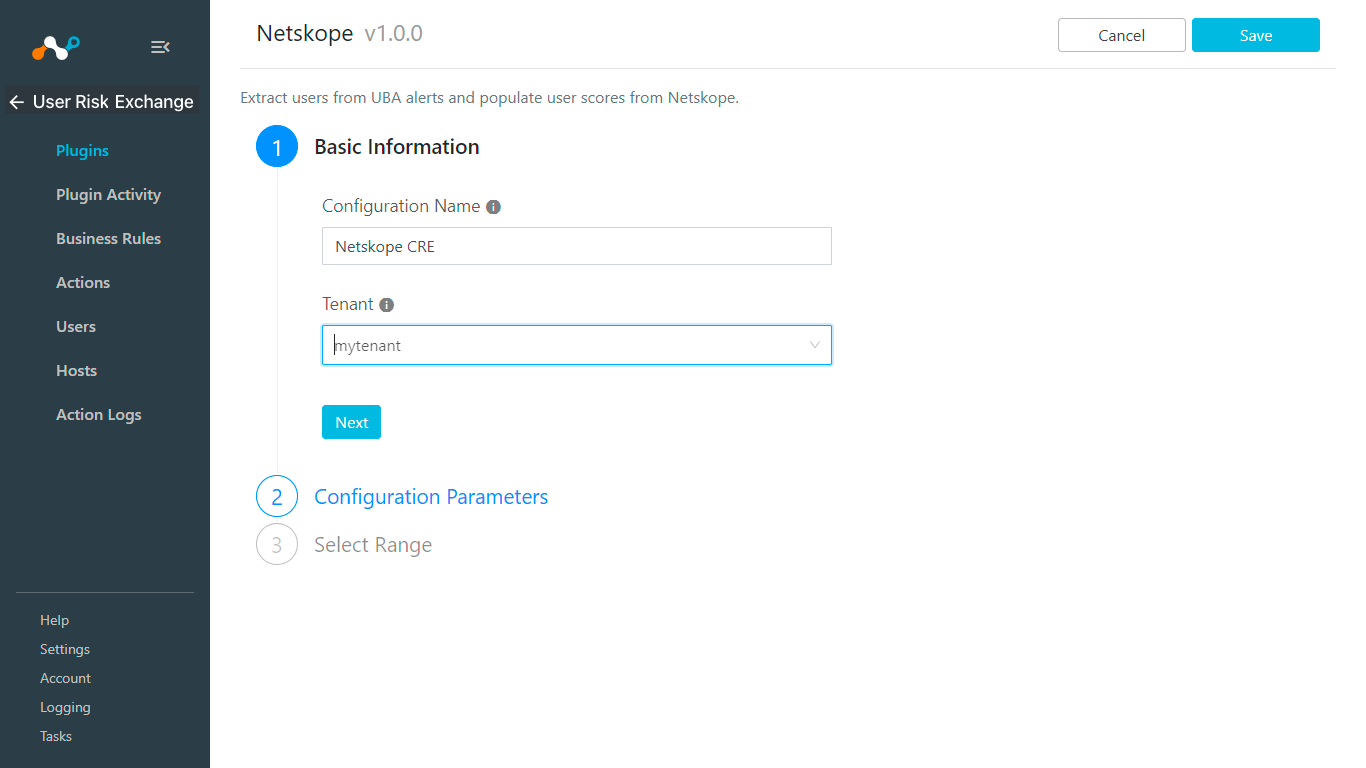
Enter a configuration name and select your Netskope tenant.
Enter your SCIM Server URL and SCIM Key.
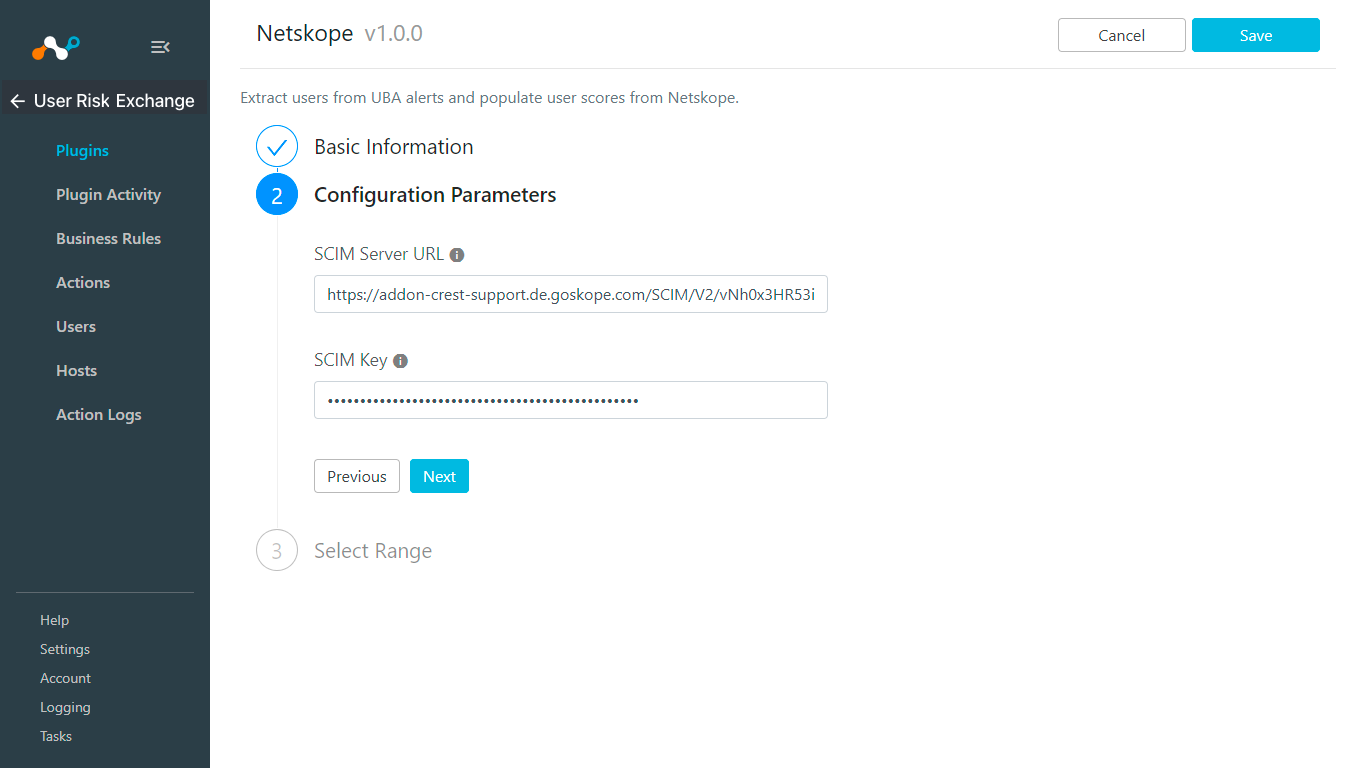
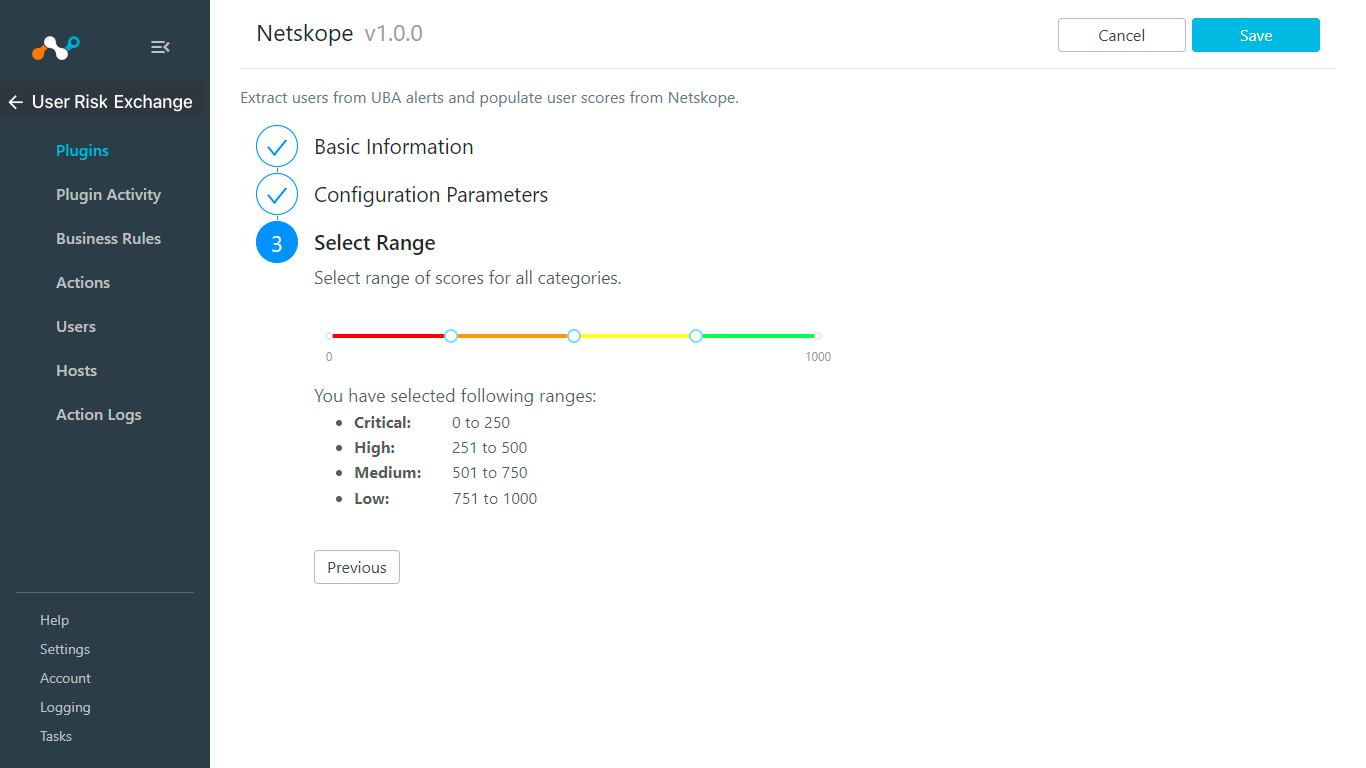
Select the range of scores.
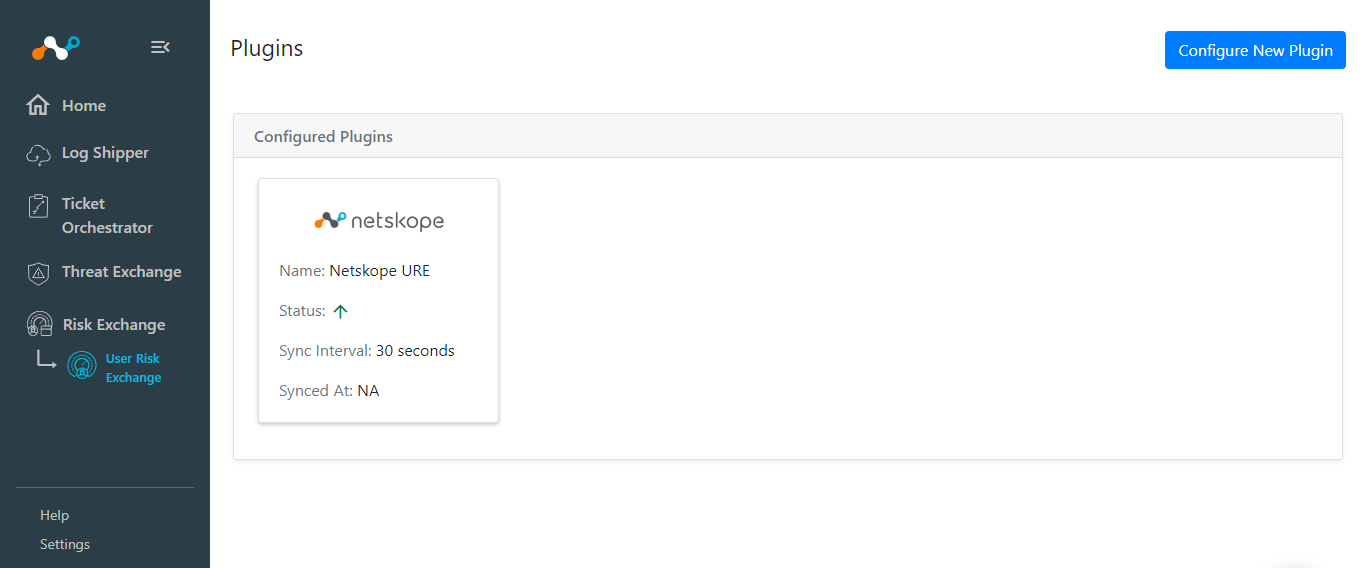
Click Save.
Go to User Risk Exchange and click Business Rules.
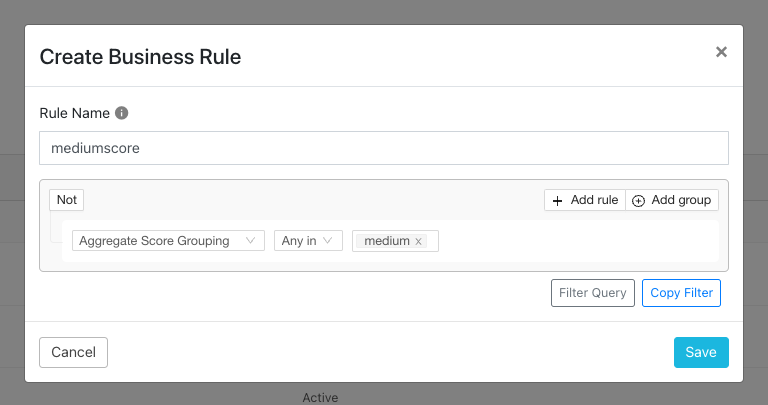
Click Create New Rule.
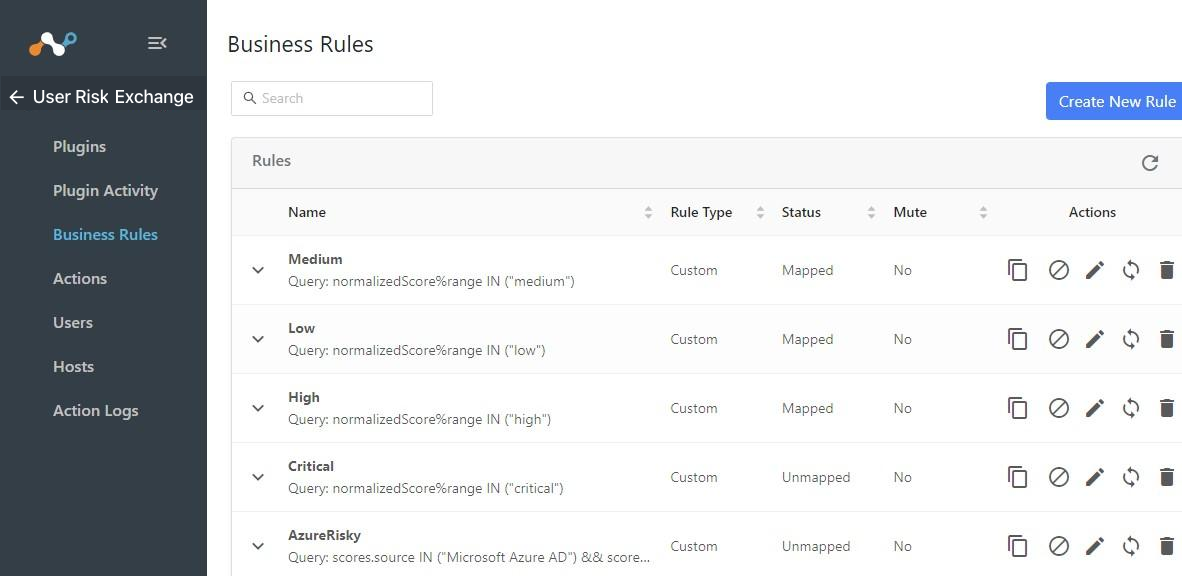
Select the options in the filter that you want to use. From the dropdowns, select a field, an operator, and a value. For example: Aggregate Score Grouping – Any in – medium.
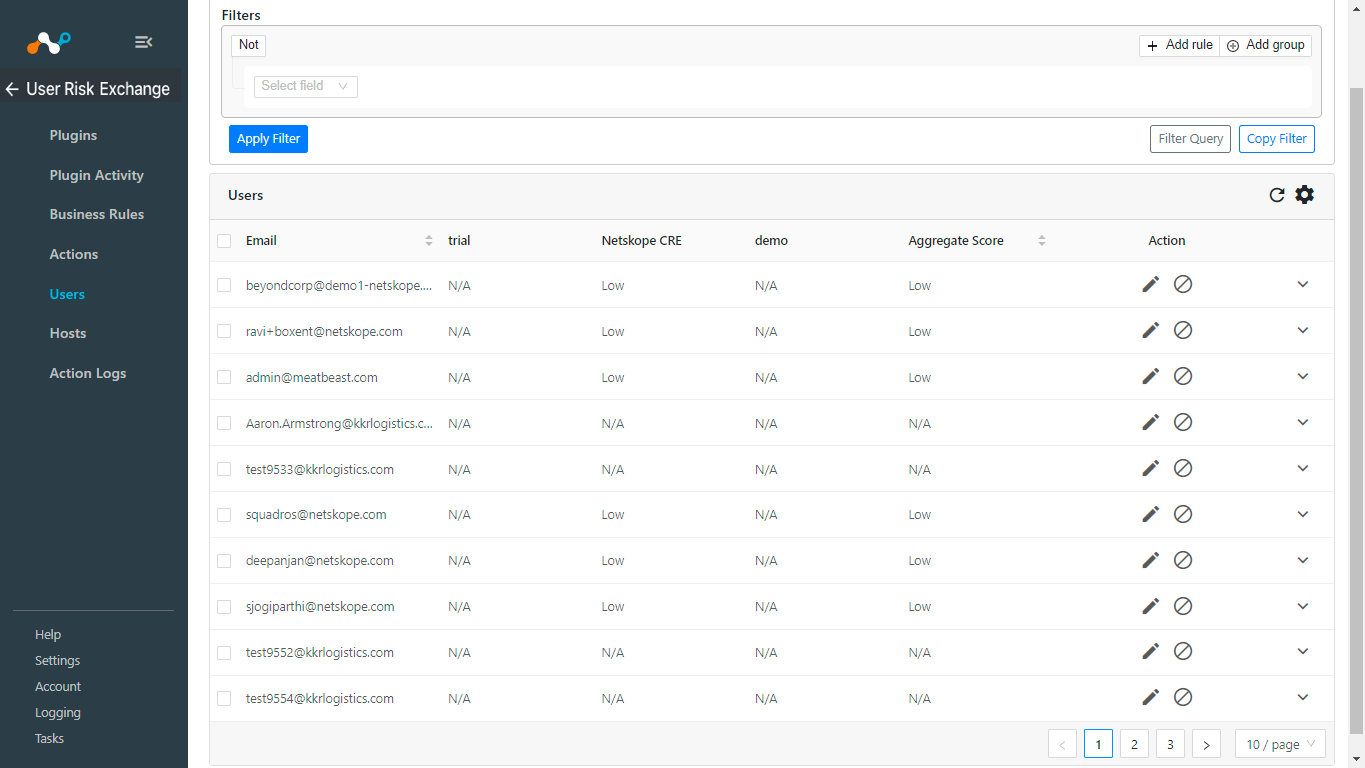
You can see what your users' scores are by going to Users in the Risk Exchange left panel.
Go to User Risk Exchange and click Actions.
Click Add Action Configuration.
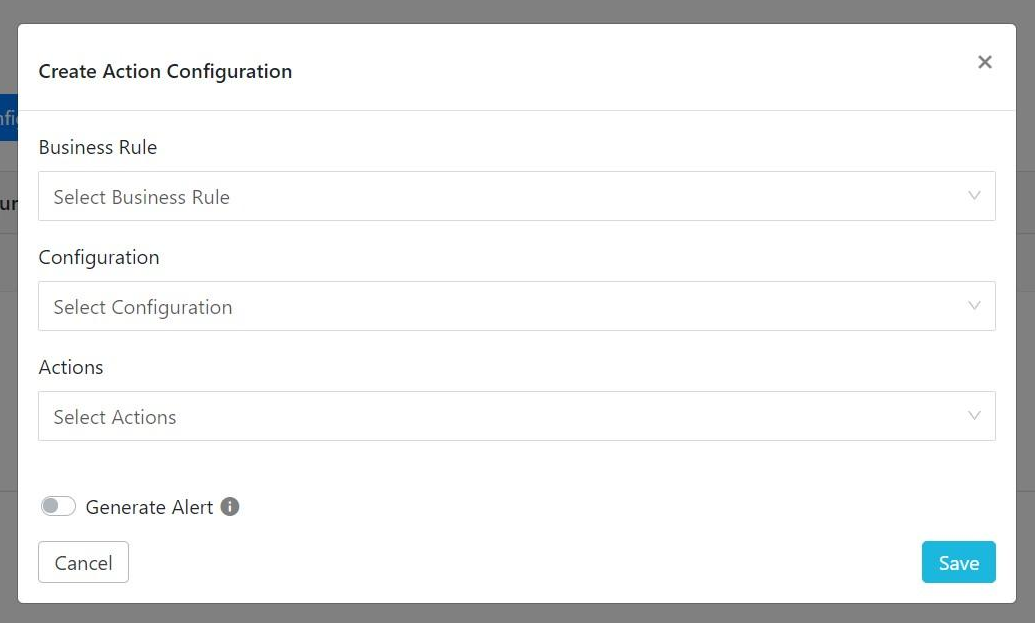
Click the Business Rule dropdown and select the Business rule you created.
From the Configuration dropdown, select your Risk Exchange plugin.
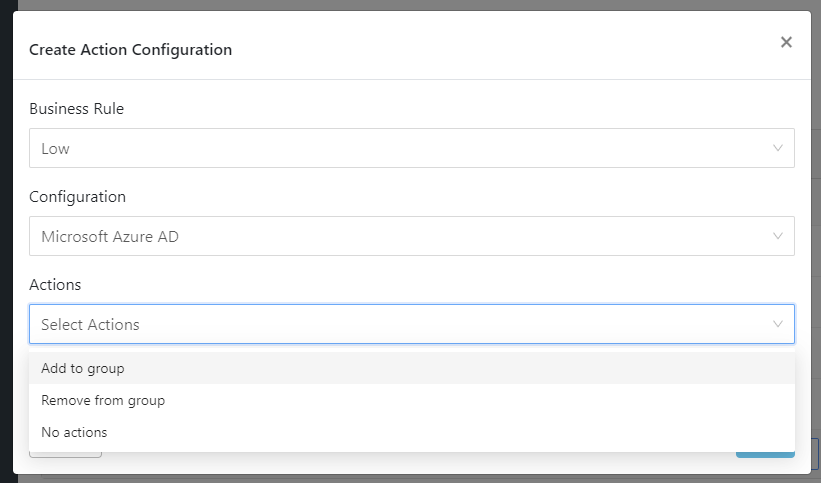
From the Actions dropdown, select the Add to Group, Remove to Group, or No Action options.
Add to Group: When triggered, users are added to that group.
Remove to Group: When triggered, users are removed from that group.
No Action: This does not perform any actions on users.
Enable the Generate Alert toggle. This ensures that new alerts are added in the Ticket Orchestrator module whenever this action is taken.
Click Save.
To verify the plugin is working correctly, go to Risk Exchange > User and confirm whether any risky users are being listed.
 |