Log Shipper Module
Log Shipper is a logging service that pulls all or a subset of customer tenant events and alerts logs and sends them in a customized, customer-selected format to its SIEM and datalake(s) using either the mapping wizard or the raw editor. Use either tool to add or remove fields, change mappings, change field headers, transform field extended attributes, or insert static placeholders to meet your specific log requirements.
Click play to learn how to set up Log Shipper.
Log Shipper Global Settings
Only Admins can change Log Shipper Global Settings. Go to Settings > Log Shipper. There are two tabs: General and Mappings.
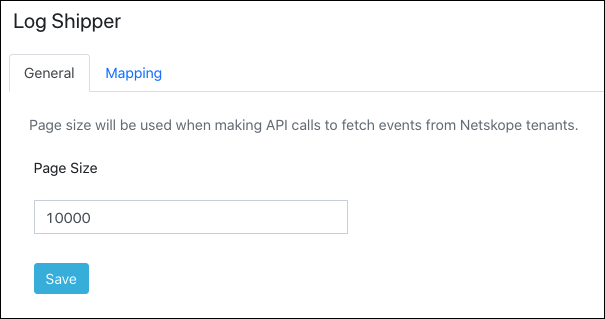
On the General tab, you can set the number of entries per page expected to be polled from Netskope. This setting should only be modified when directed to do so by Netskope. Default page size is set as 10000, but you can set page size in the range between 1- 500000.
 |
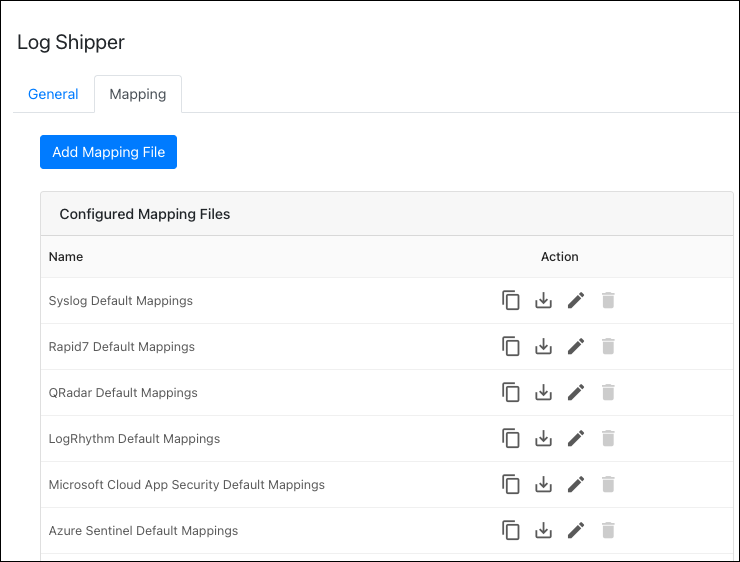
On the Mapping tab, you can open and edit each of the mapping files available for use by the installed plugins by clicking the pencil icon.
Note
Per the API changes in 4.1.0, this feature will not be useful and will be deprecated soon.
 |
You can also create a new mapping file to be invoked by a configured plugin as an alternative to the defaults provided. In the Wizard view, you can modify the mapping file to enable the addition, deletion, or modification of new fields to the default.
Note
Amazon S3, Azure Blob, and Google GCS plugins for web transaction logs can not be edited. Those plugins push the original .gzip files obtained from Netskope to the cloud service providers without decompressing or modifying the content.
Click on Add Mapping file button / Copy icon from any of the default mapping file.
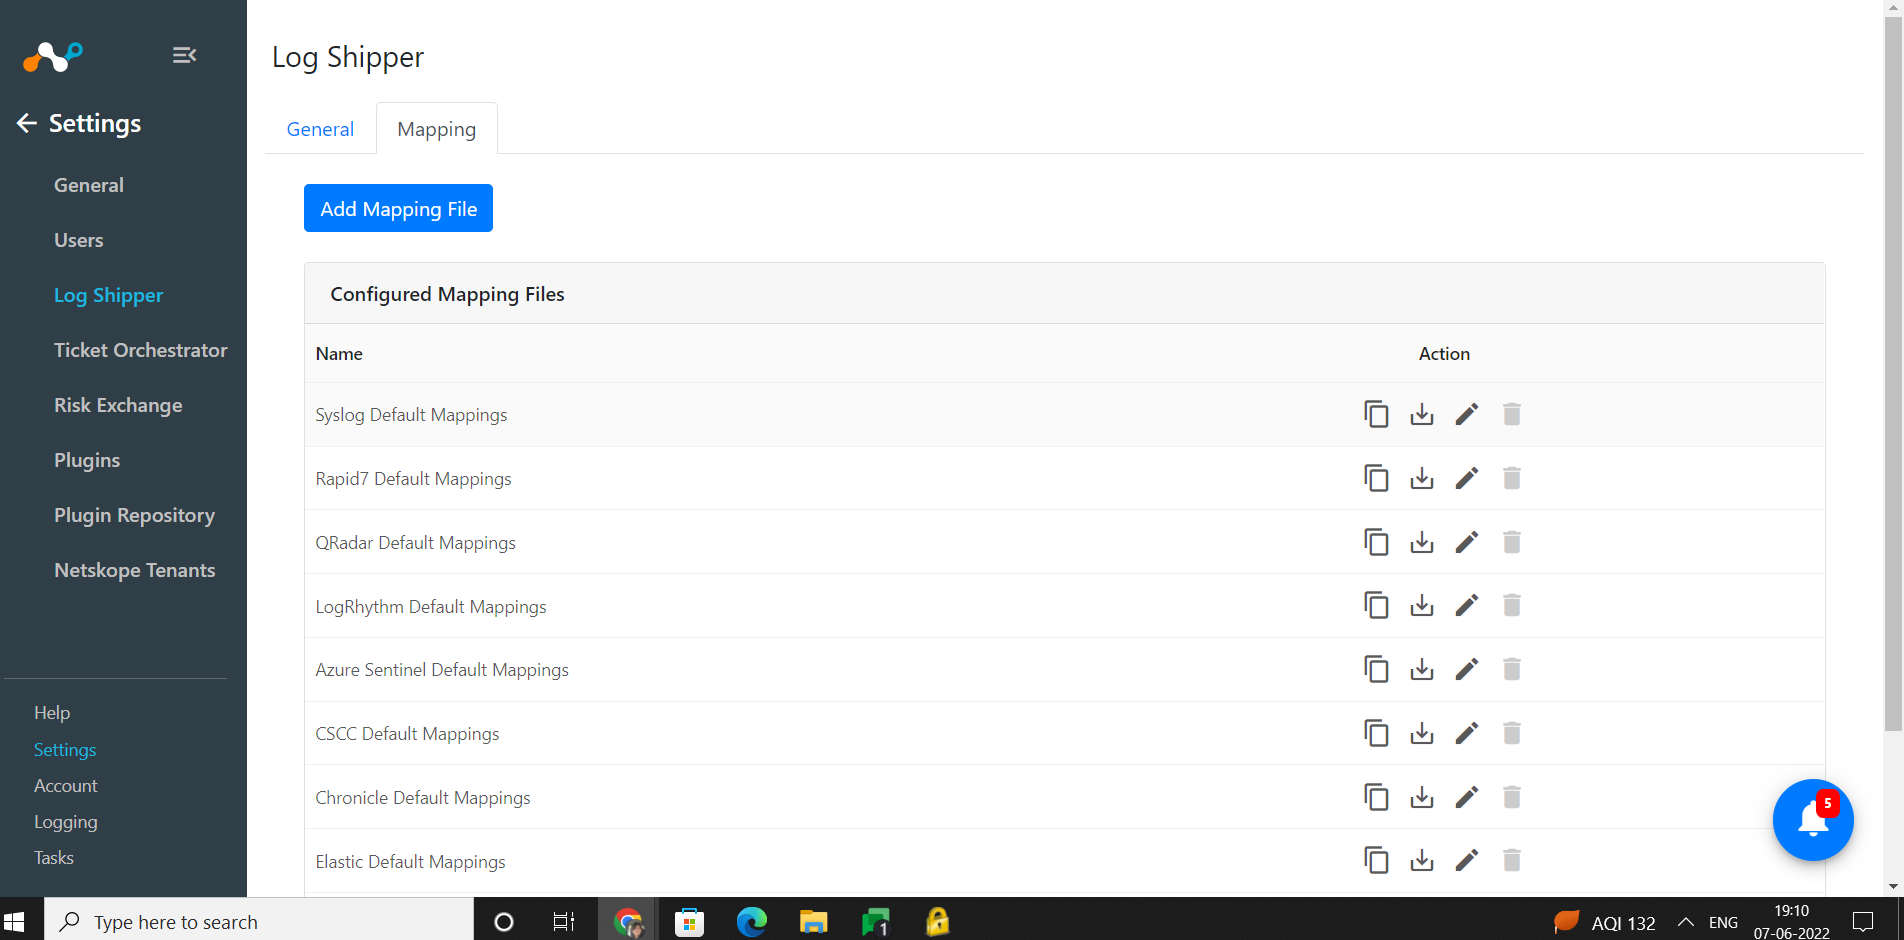
Enter a Name.
Select the Wizard radio button.
From the Alerts/Event tab, expand the Alert/Event row.
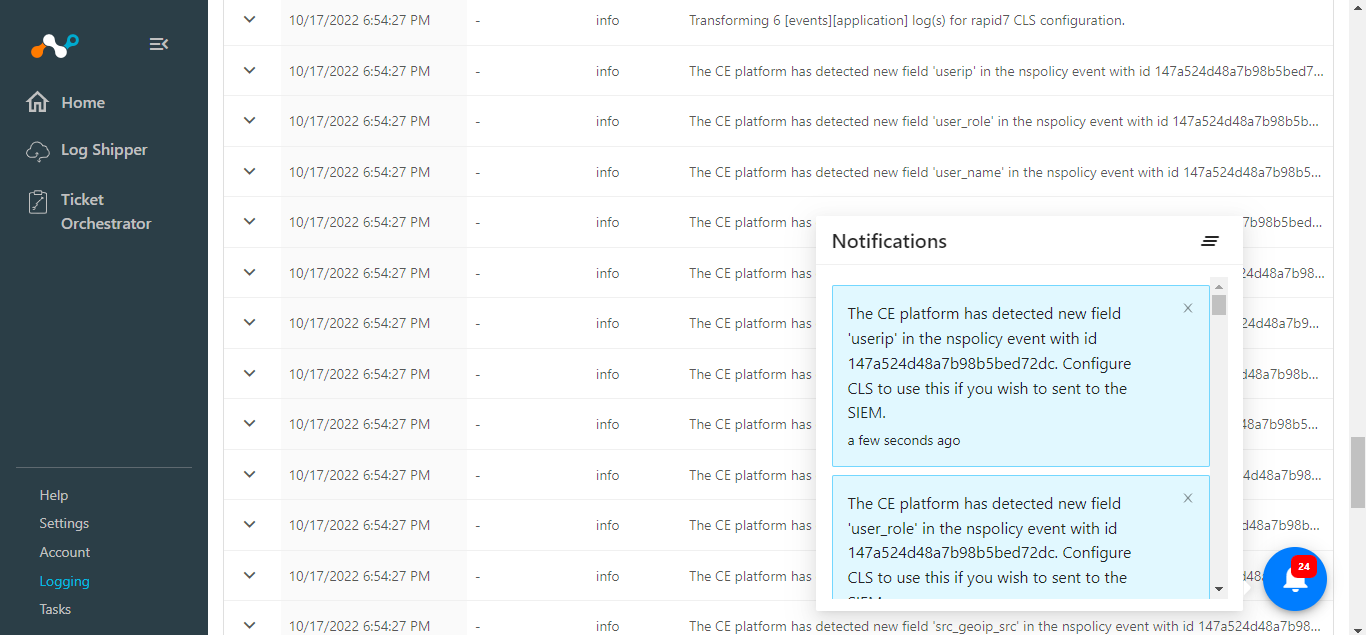
From Header expand, select the Netskope field for each Target field & Edit Default value if required. The new fields coming from new alerts/events will be added in Netskope field. The newly available fields will also be shown in notifications as well as in Netskope CE logs.
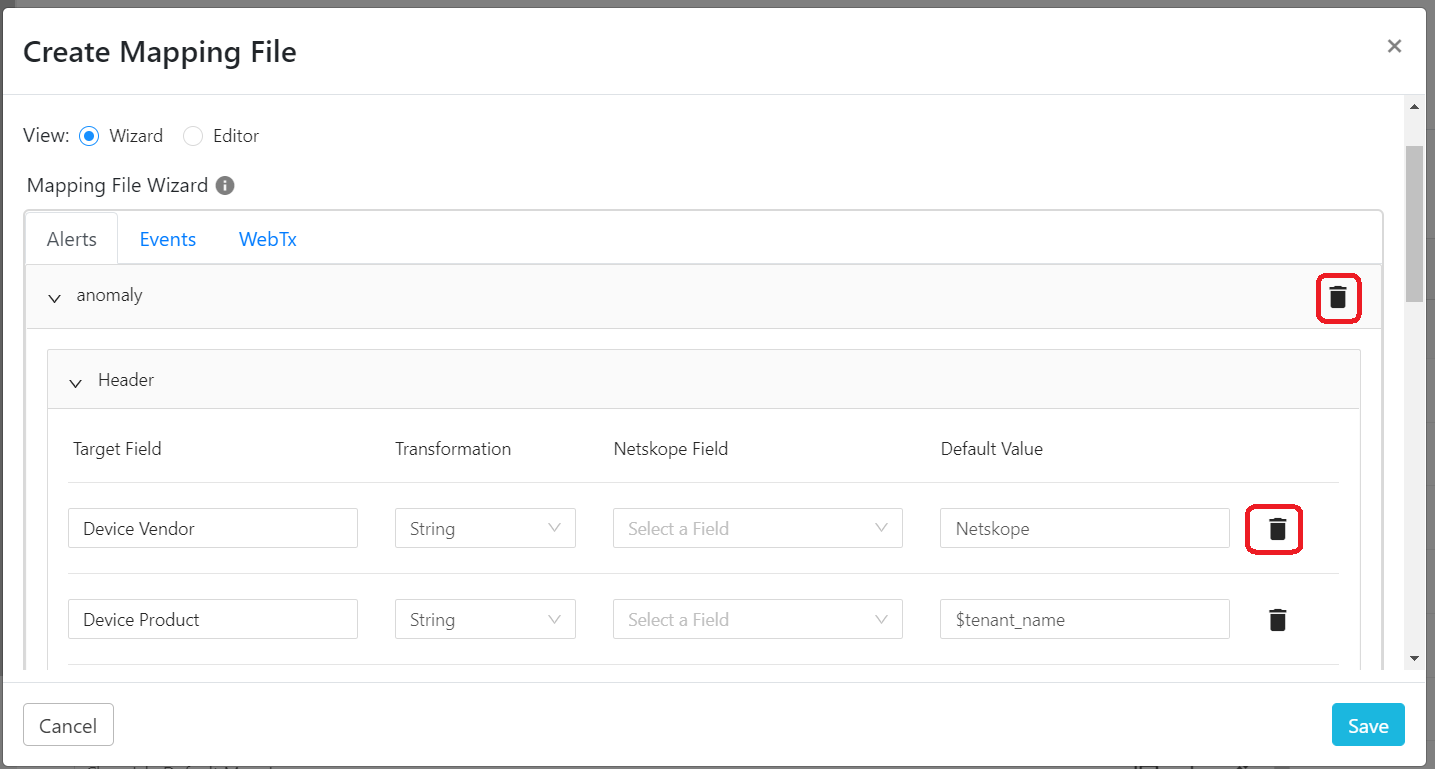
You can delete the alert/event value row from wizard by clicking on Delete icon which are not required
You can also delete a target field as well by clicking on Delete icon.
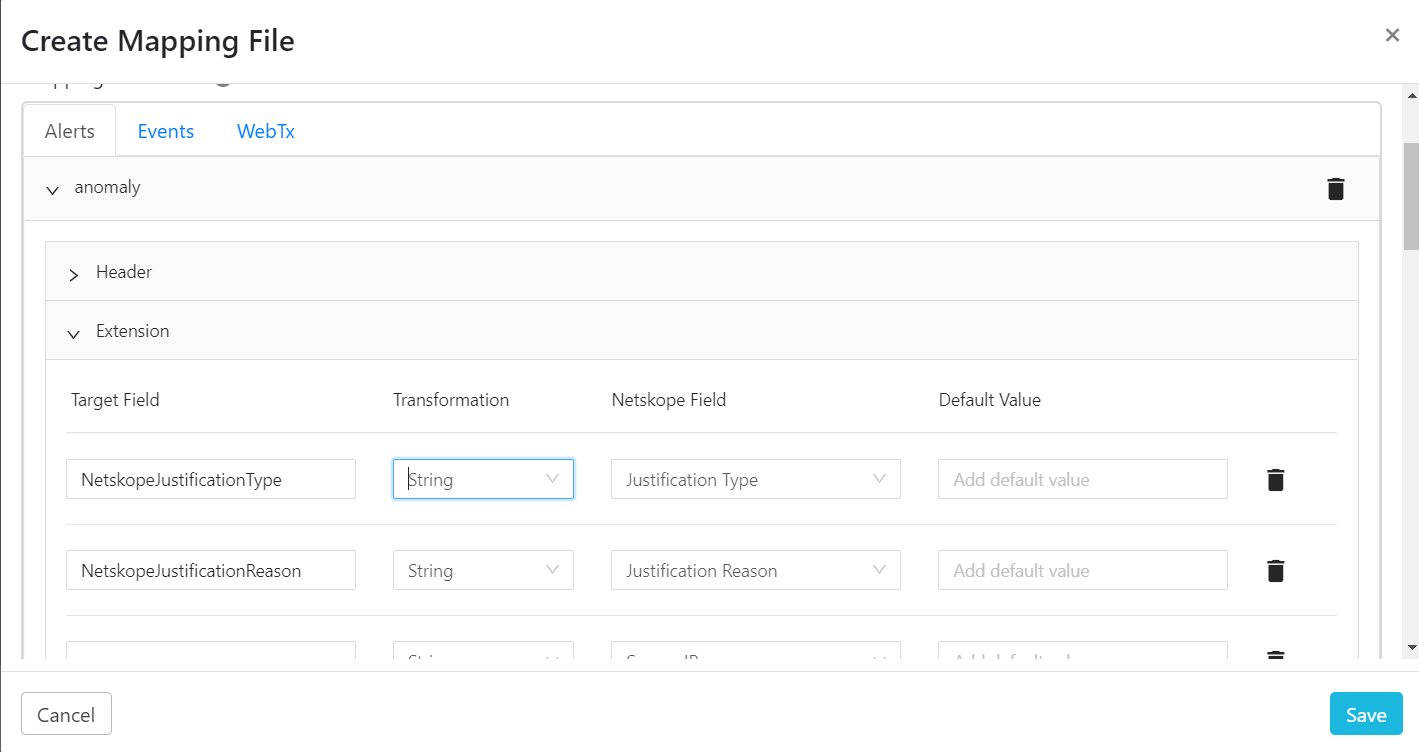
From Extension expand, select a Transformation for each Target field & Enter Default value.
Delete the alert value & Target field value row as well from Delete icon. Click Extension Expand.
Add a New Alert/event field on clicking Add Alert Field.
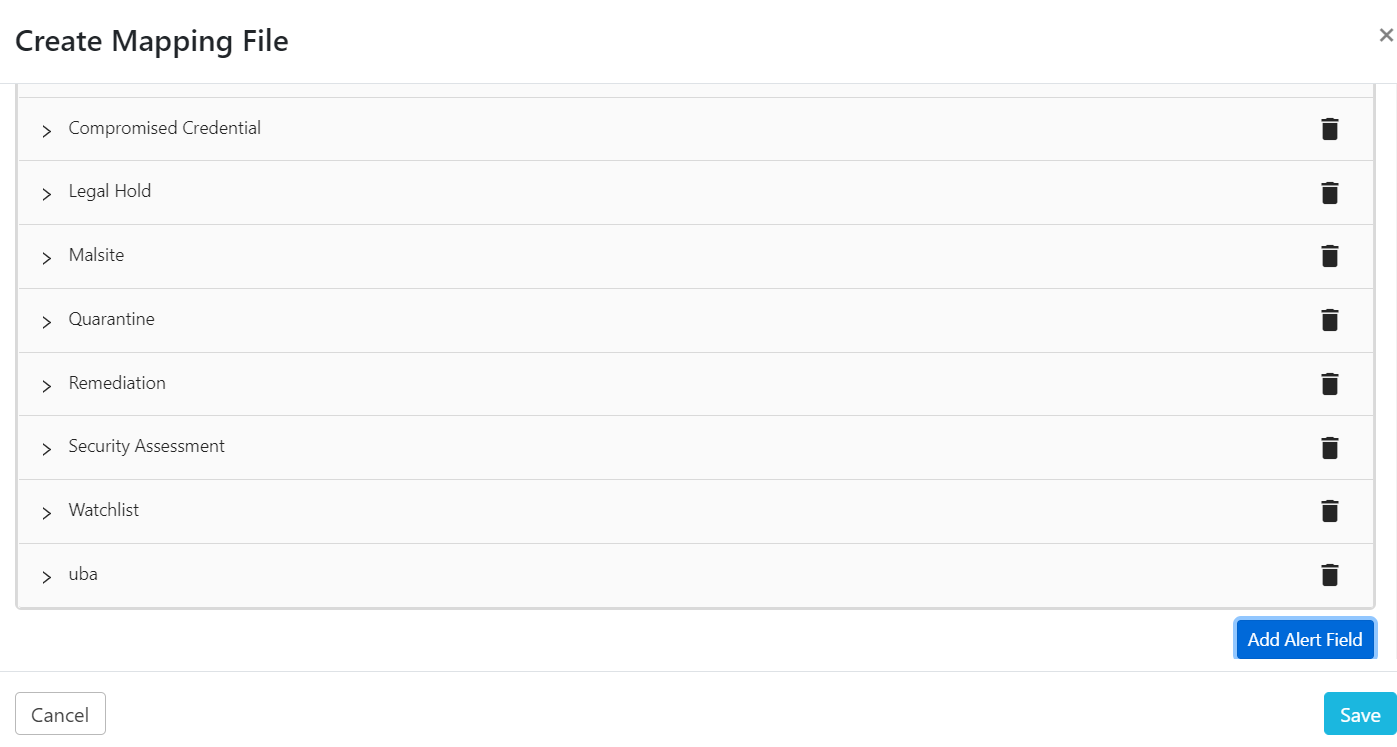
Enter a Field name & click Add.
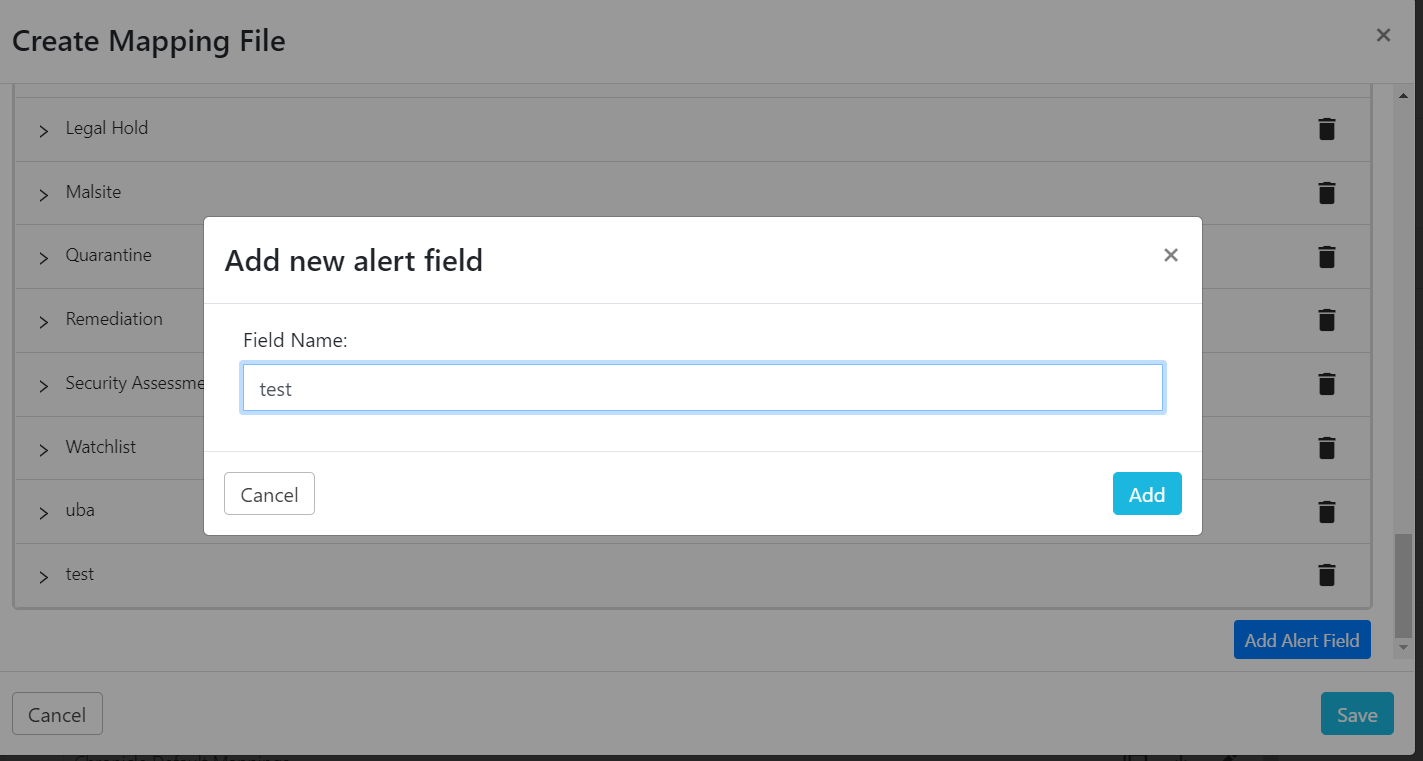
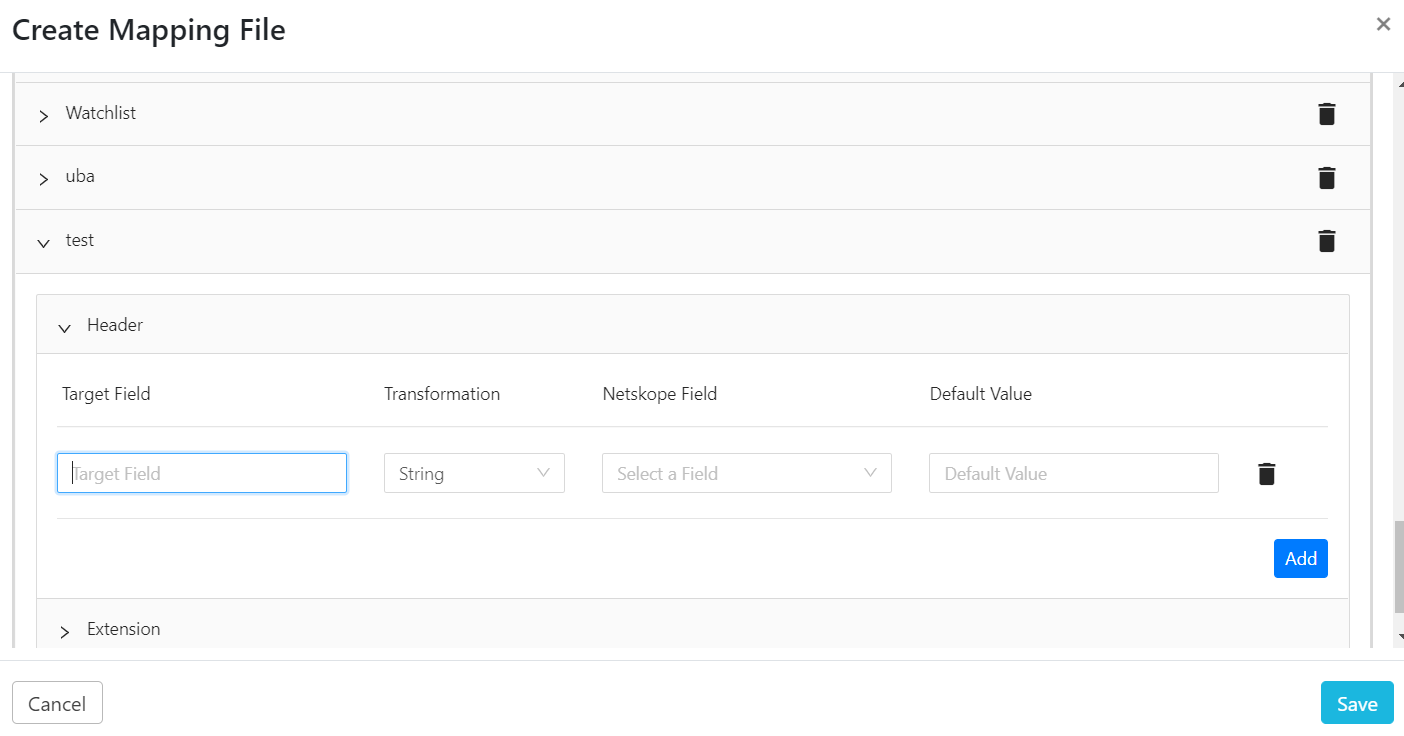
Enter New added Alert field and add Target field & default value for respected Netskope field mapping & click on Add button
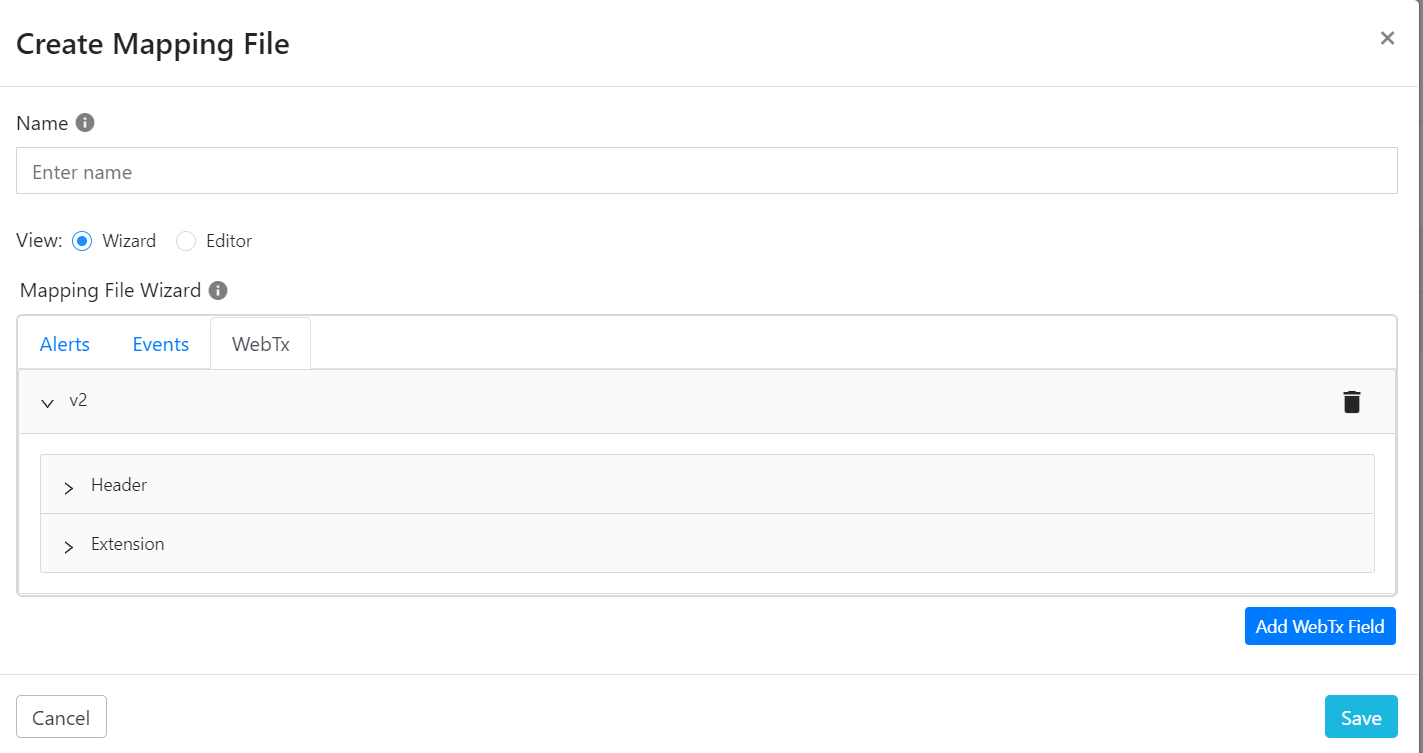
Click WebTx the tab and select Header & Extensions Target fields with respected Netskope field, and also can delete the same as above. You can delete the WebTx field by clicking Delete.
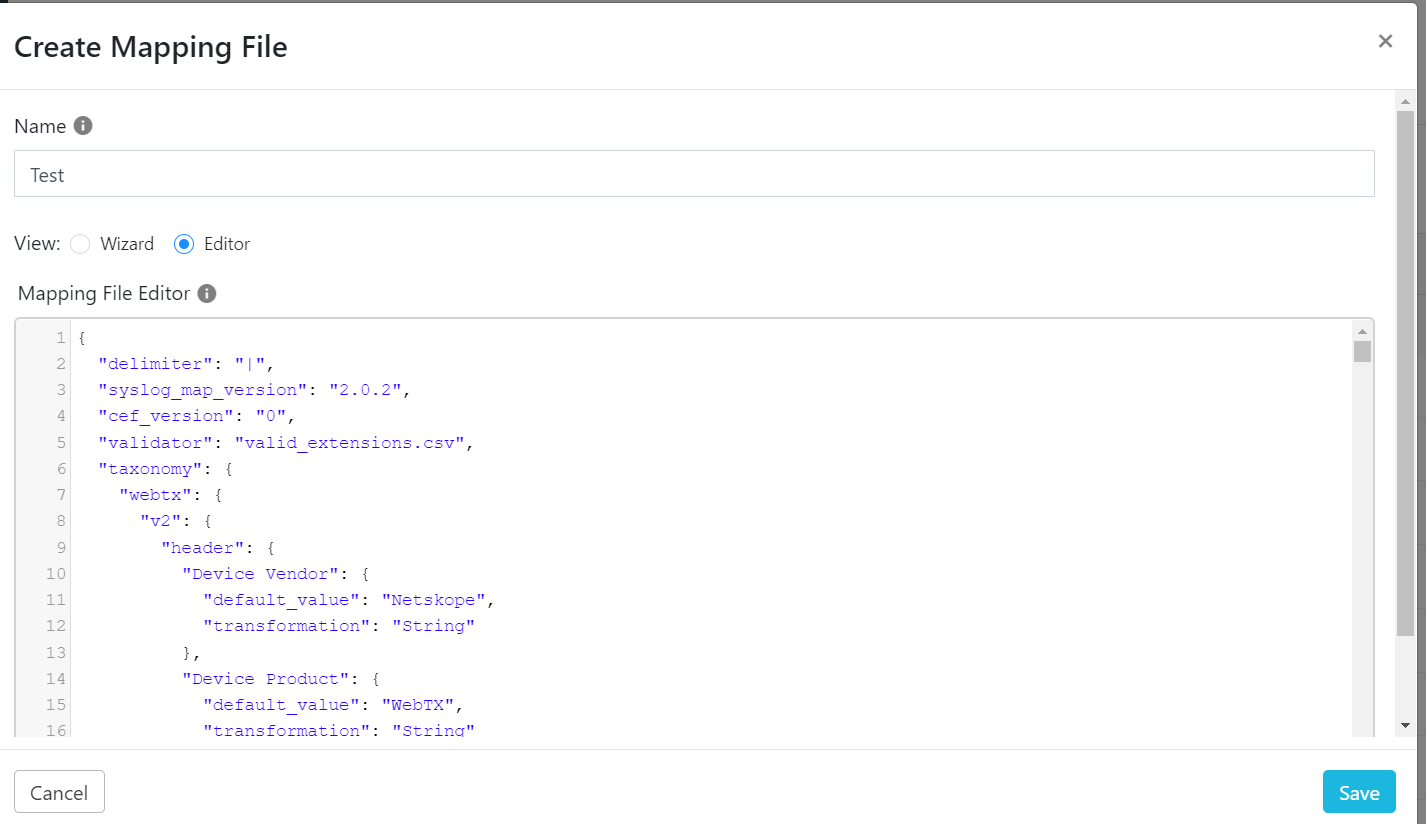
Click on Editor radio button to add/edit/delete the Event & alert name from window format.
Click Save.
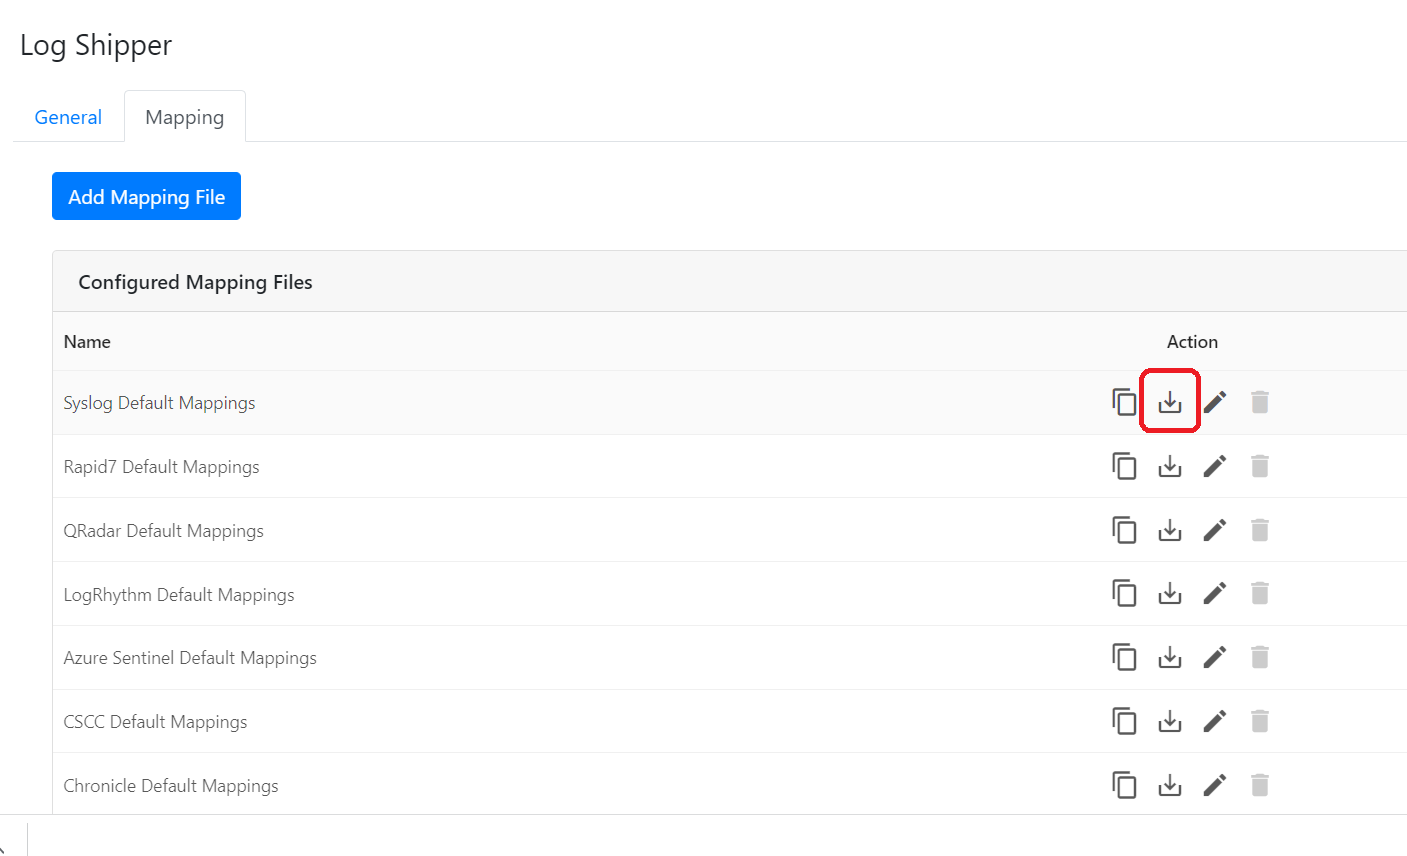
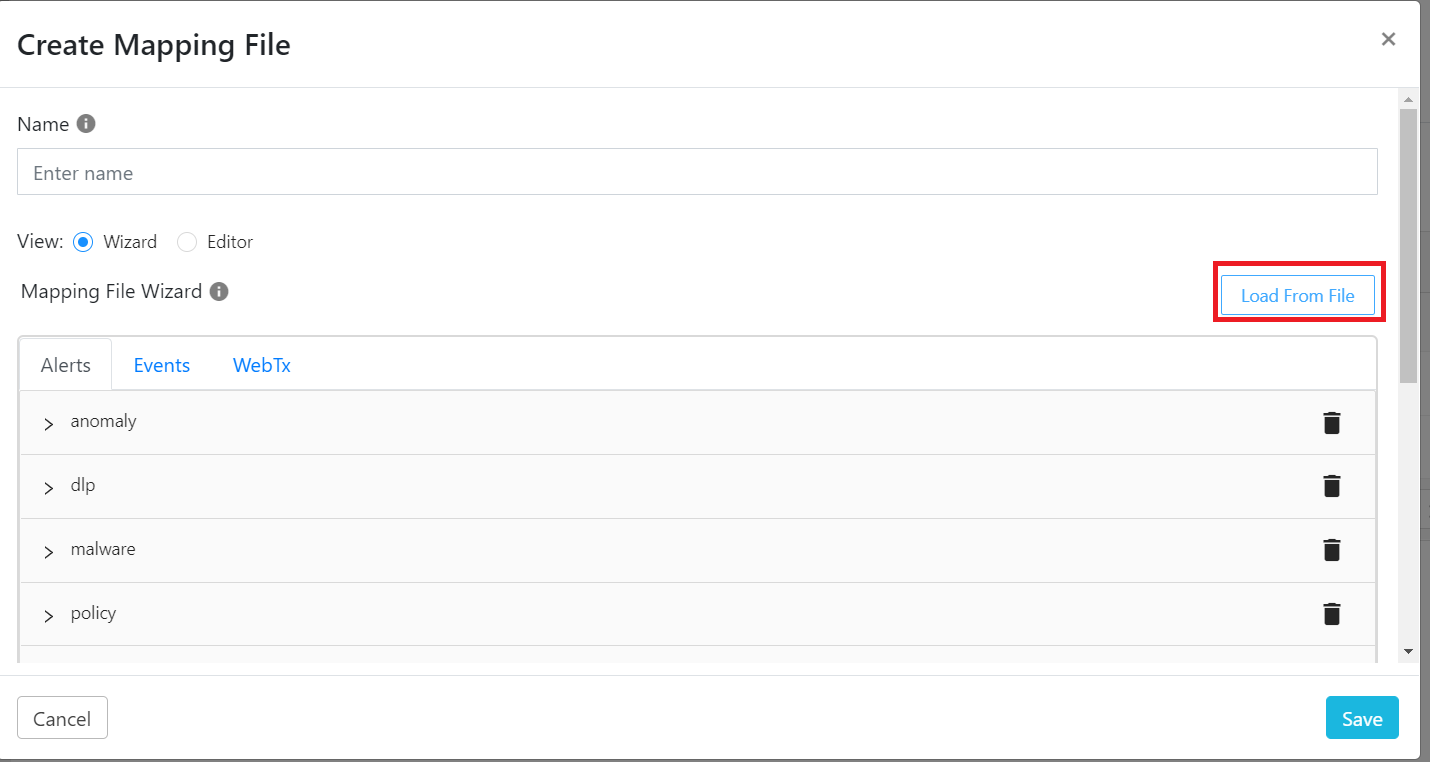
You can download the custom or default mapping file from the download icon from list & can upload the same from Load from file option on Create mapping file window and click Save.
You can enable the toggle button displayed in the CLS plugin configuration (which are supporting this functionality to send the data in JSON to the SIEM) to send the data in JSON format without transforming the data using Default Mapping file. There is a functionality to send specific fields only to the target SIEM, user can select the number of fields they want to send using the CLS Mapping wizard.
