Deploy Client on Windows Using VMware Workspace ONE
This document lists the steps to deploy Netskope Client on Windows devices.
Create Enrollment User
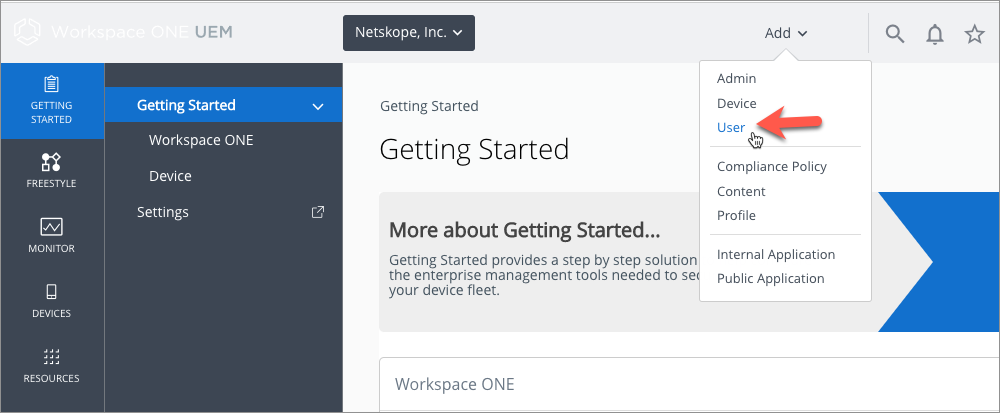
Login to Workspace One admin console and click Add > User from the header menu options.
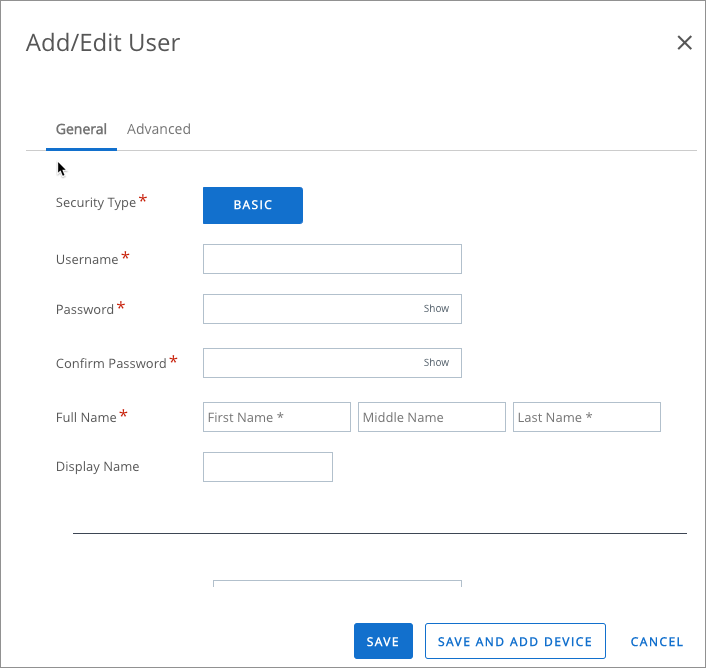
In the Add / Edit User pop-up windows, enter all required user details
Upload Client Installer File
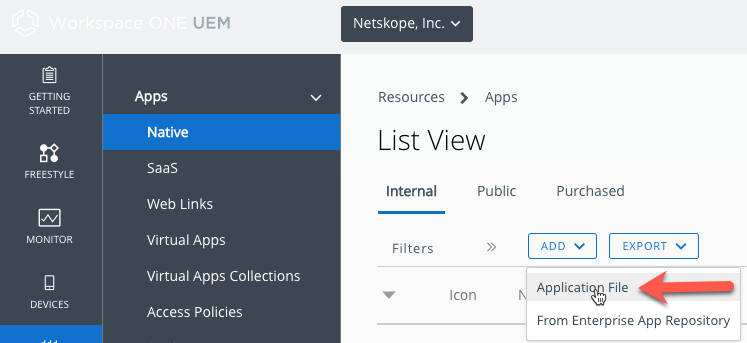
Goto Resources > Apps > Native.
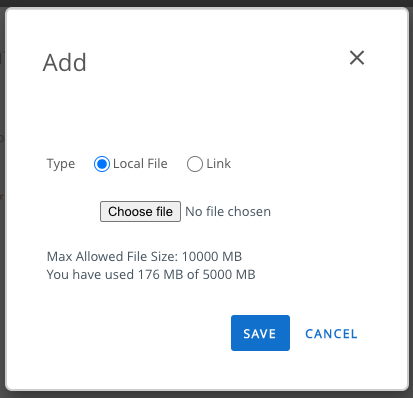
In the Internal tab, click Add and select Application File.
Click Choose file and locate the Netskope Client installation file (with the msi extension) . You can download the latest installation files from Netskope Support. After selecting the file, click the SAVE button to continue.
In the Add Application pop-up, select NO for Is this a dependency app? option.
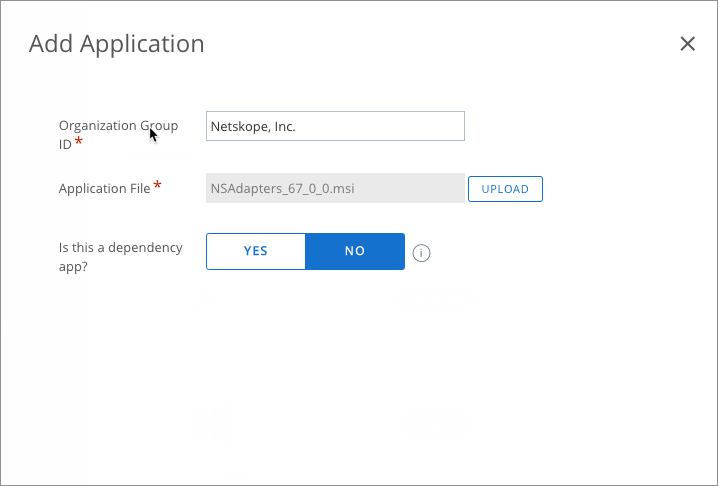
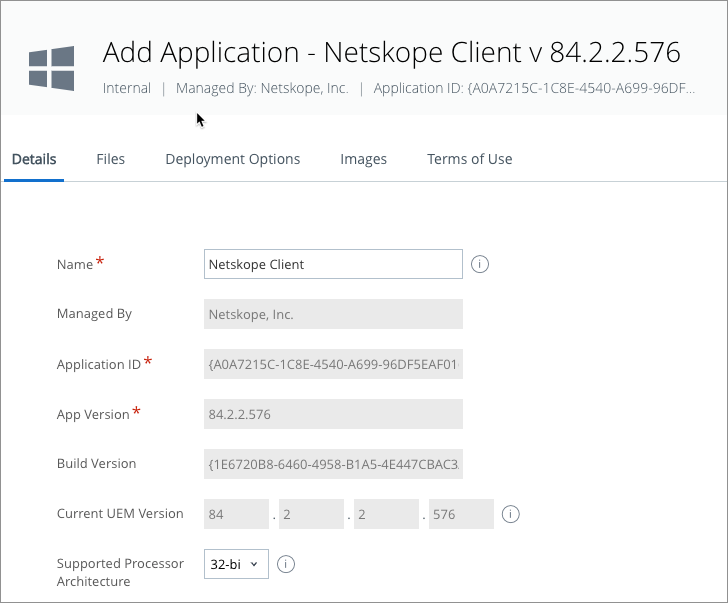
Click the Continue button. This will display the details of uploaded installer file. In the Details tab, leave the form data with default values.
In the Deployment Options tab, scroll down to the Install Command field and enter the following command:
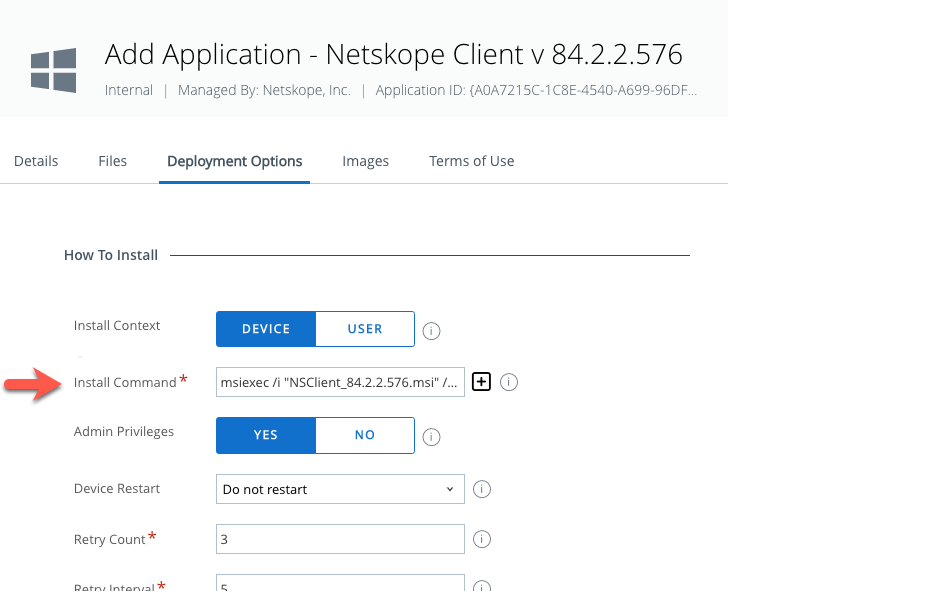
msiexec /I NSClient.msi installmode=idP tenant=corp domain=eu.example.com /qn
Note
Ensure that you end the command with the /qn parameter for silent and uninterrupted installation. Leave all other options with default values.
Click Save and Assign.
From the Assignment page, enter the following details:
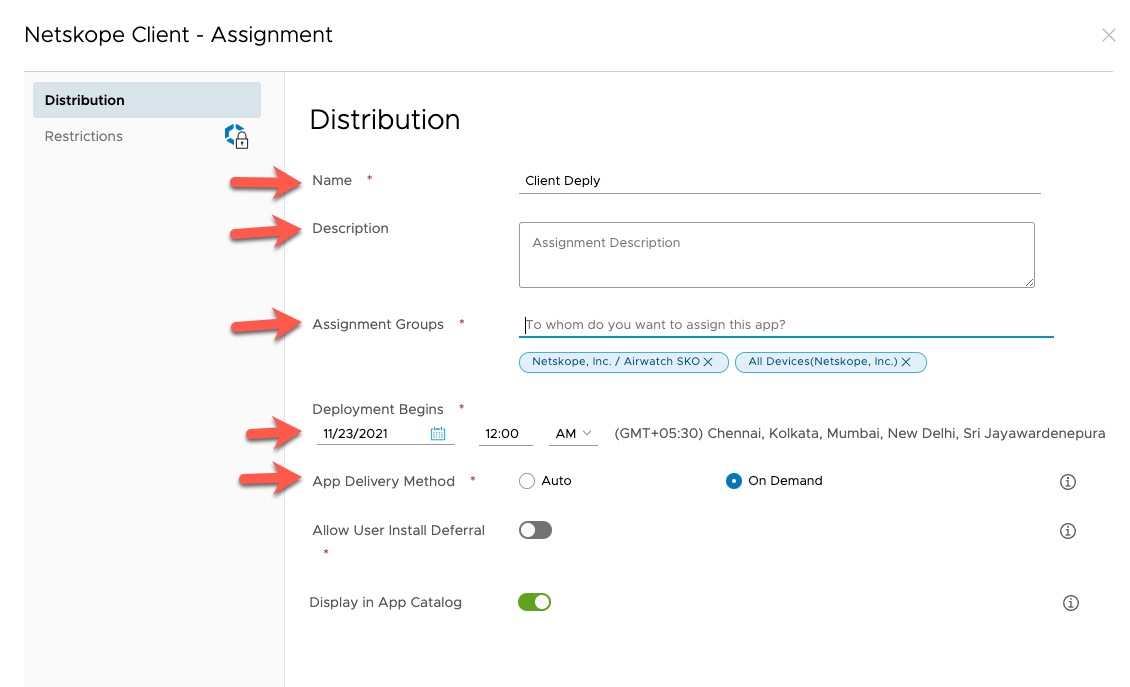
Name: Specify a name for this delivery or deployment.
Description: Optional parameter to add more information about the deployment.
Assignment Groups: Select the groups in your organization to deploy the Client.
Deployment Begins: Time to start the deployment. Leave the default options as is.
App Delivery Method: Select Auto or On-Demand. Auto option will auto deploy client at the configured time. On-Demand can be used to deploy only when required for specific devices or groups.
Click Create.
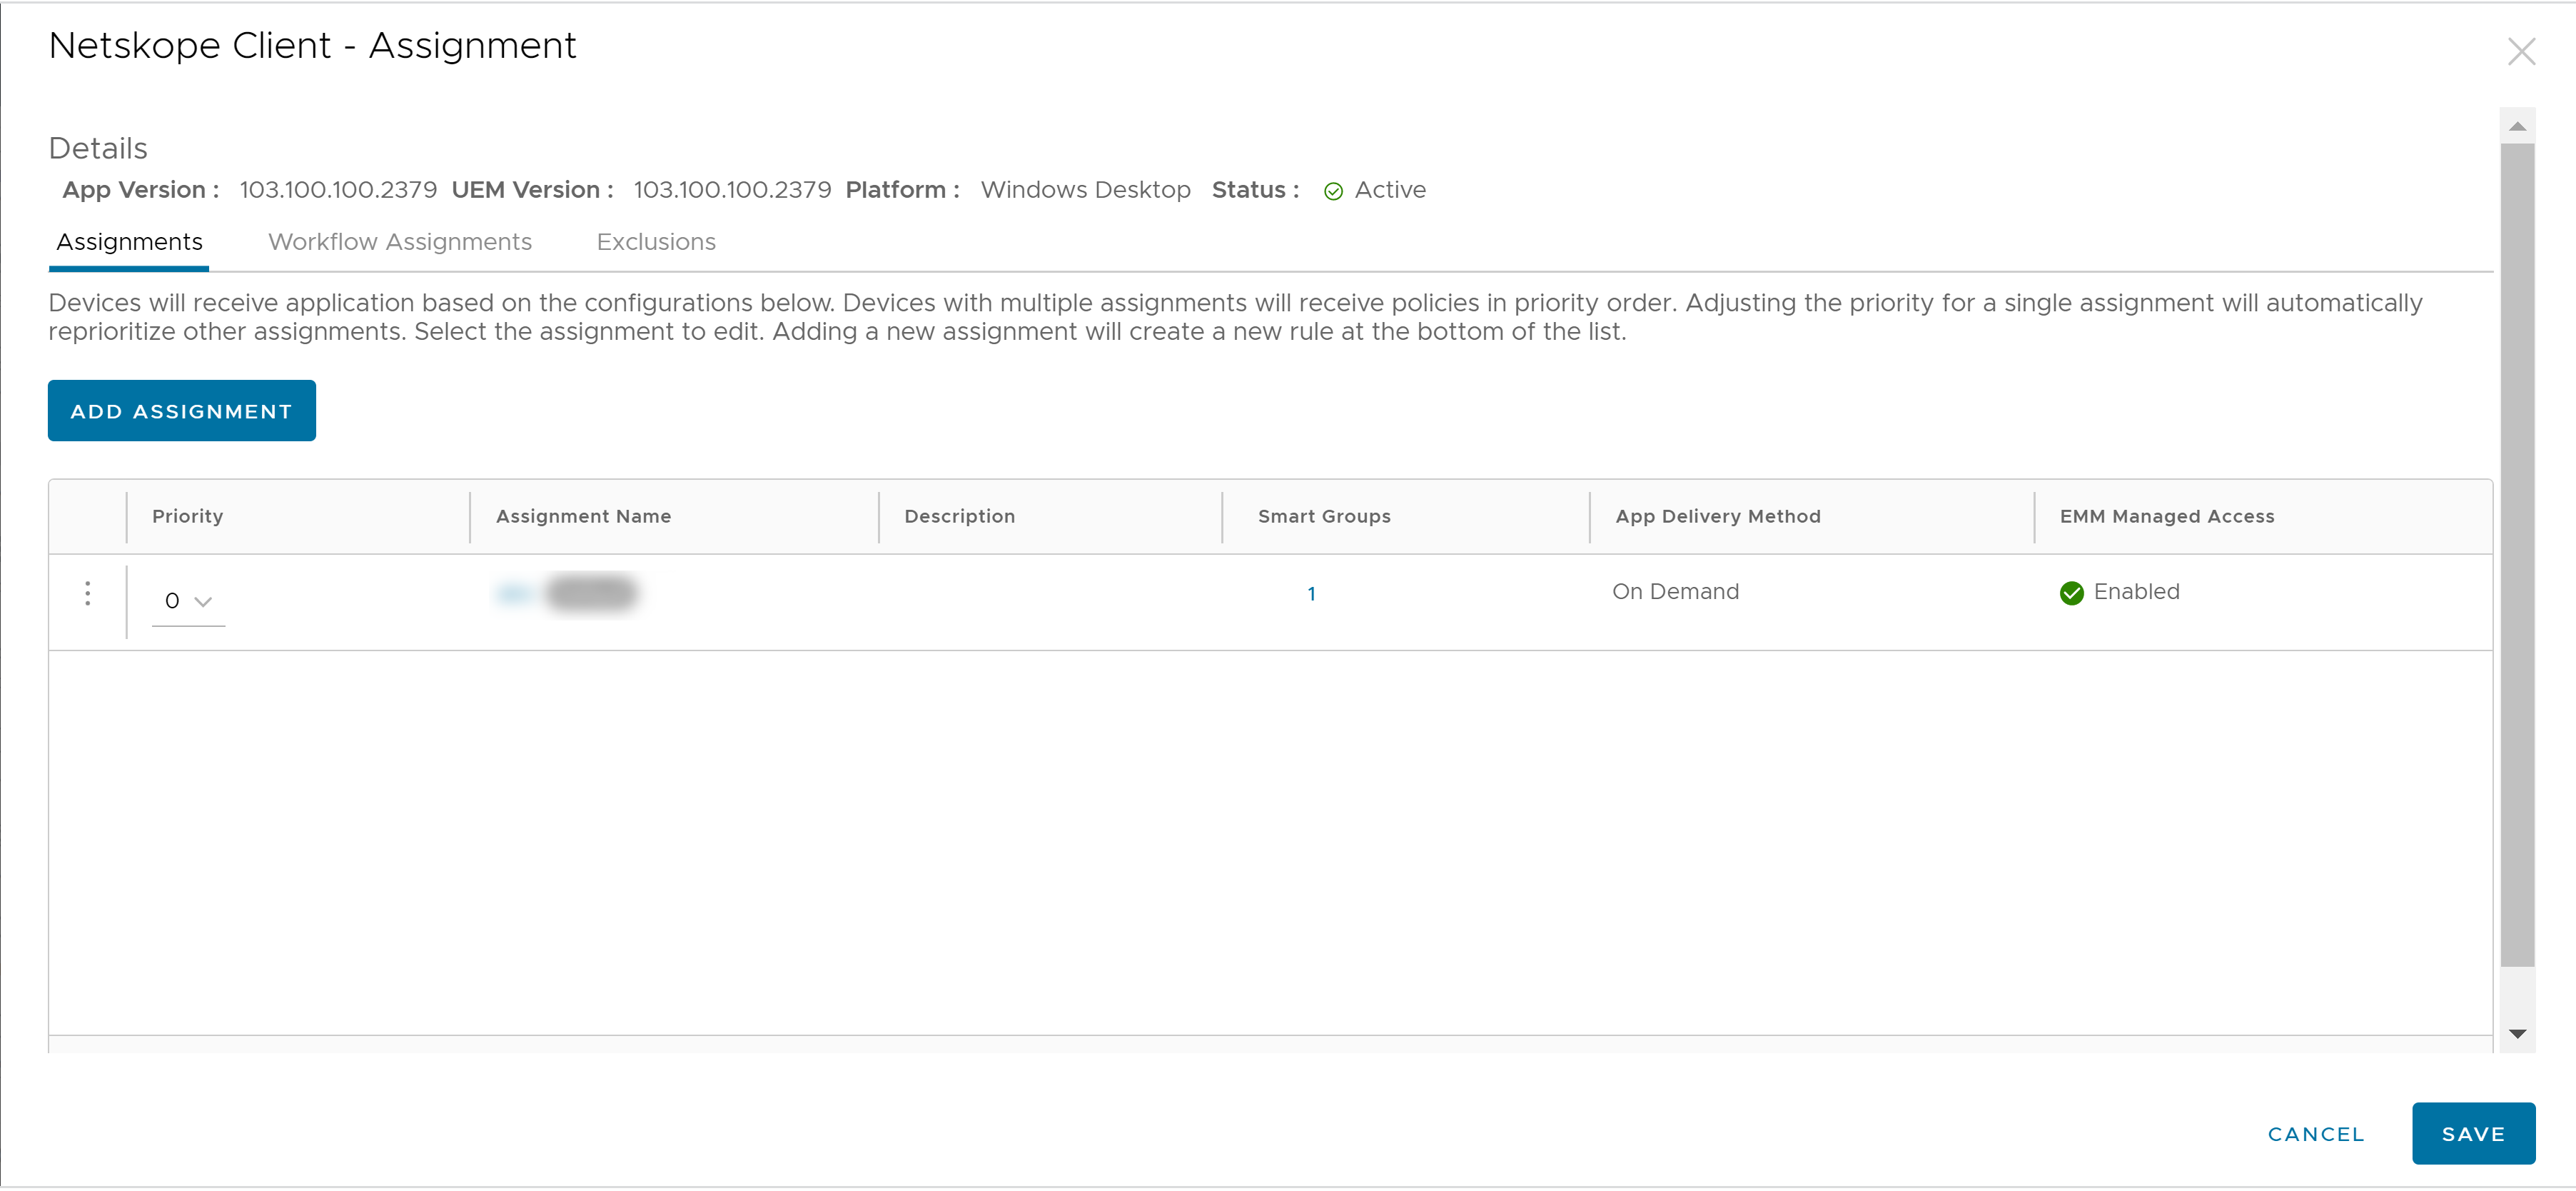
From the Assignment details page, click Save.
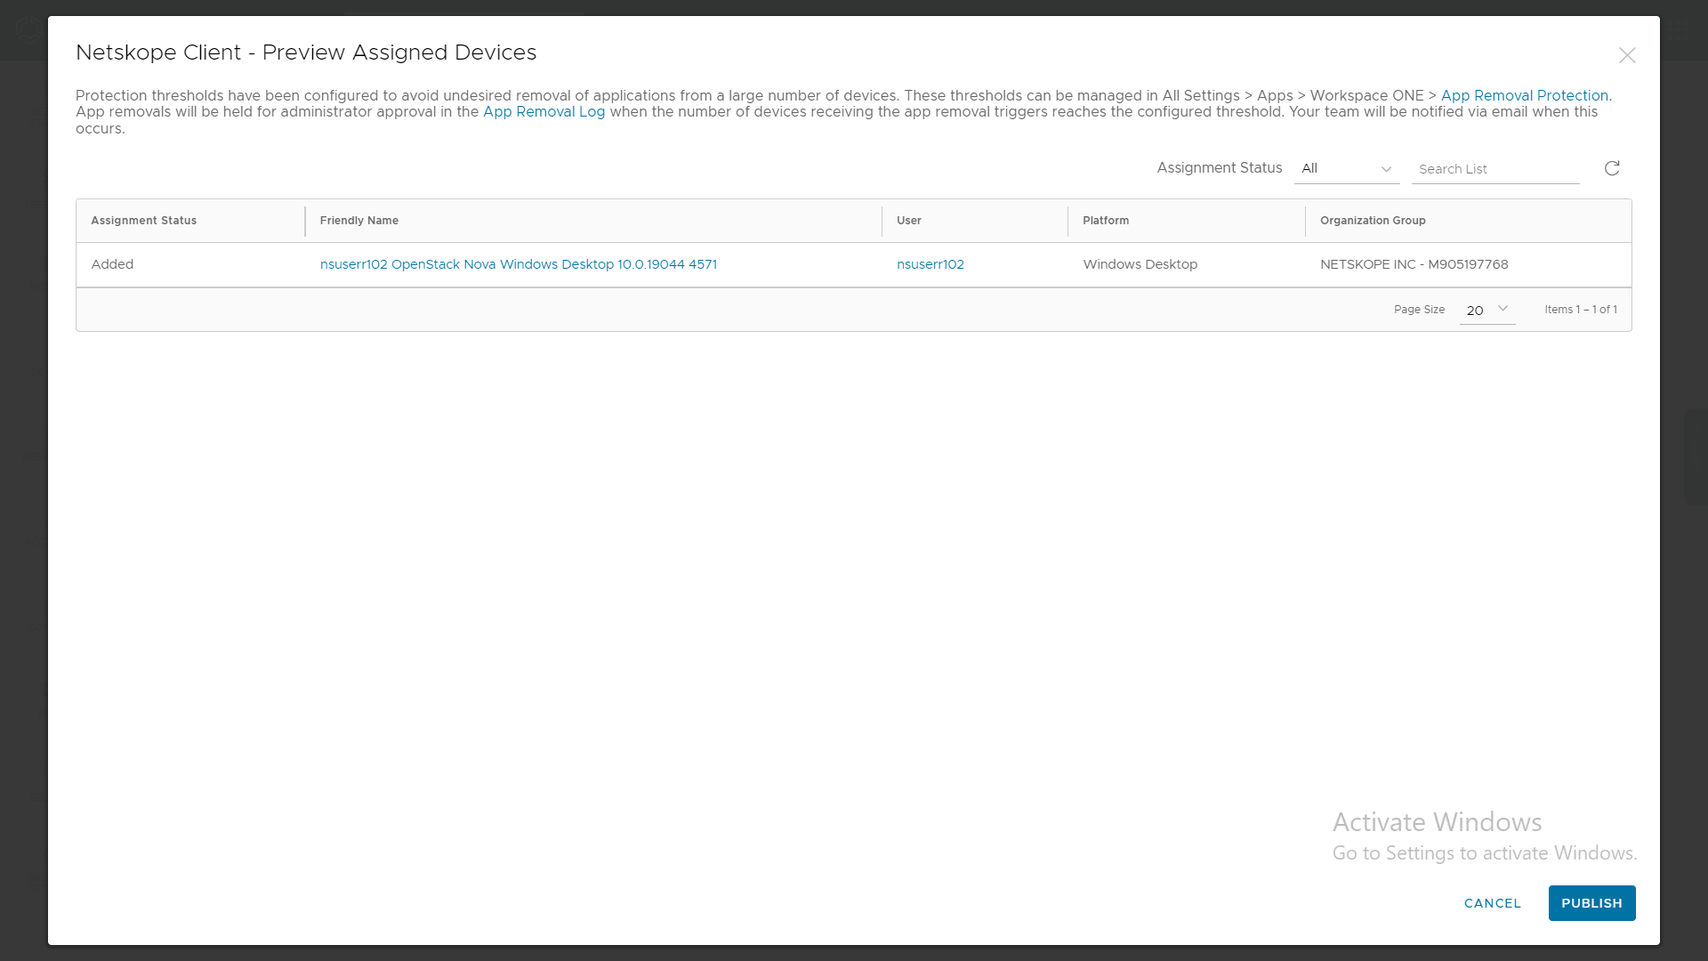
From the Preview of the assigned devices, click Publish.
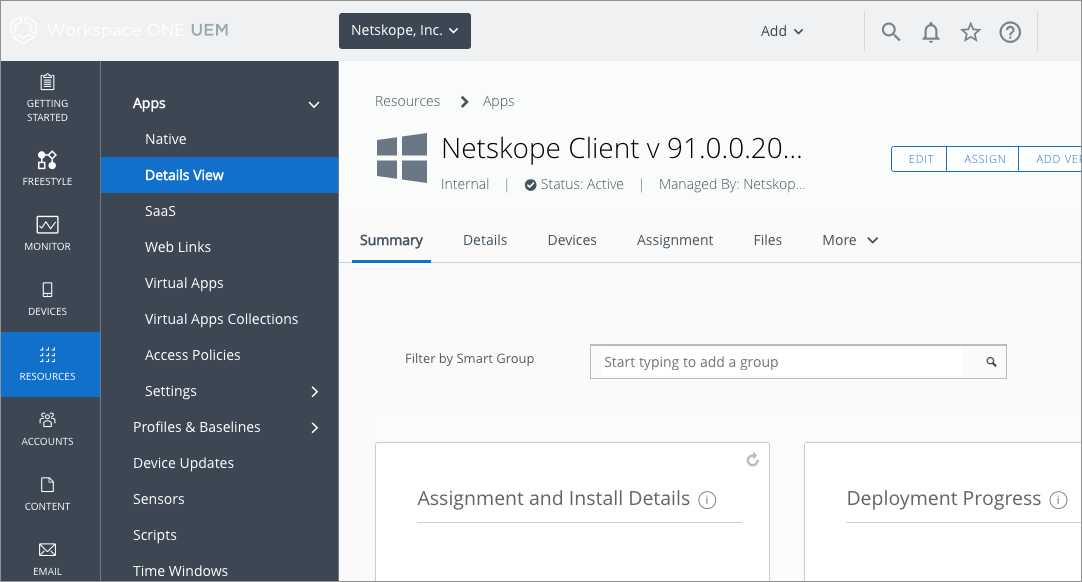
Once the deployment is complete, go to Resources > Native and click the uploaded client. This will display a pop-up window with the status deployment.
