Security Advisor Plugin for User Risk Exchange
This document explains how to configure the Security Advisor integration with the User Risk Exchange module of the Netskope Cloud Exchange platform. This integration allows fetching behavior scores of users from your Security Advisor instance.
To complete this configuration, you need:
A Netskope tenant (or multiple, for example, production and development/test instances).
A Netskope Cloud Exchange tenant with the User Risk Exchange module already configured.
A Security Advisor instance.
Get your Security Advisor Base URL and API token.
Configure the Security Advisor plugin.
Configure Actions for the Security Advisor plugin.
Validate the Security Advisor plugin.
Click play to watch a video.
Go to https://www.securityadvisor.io
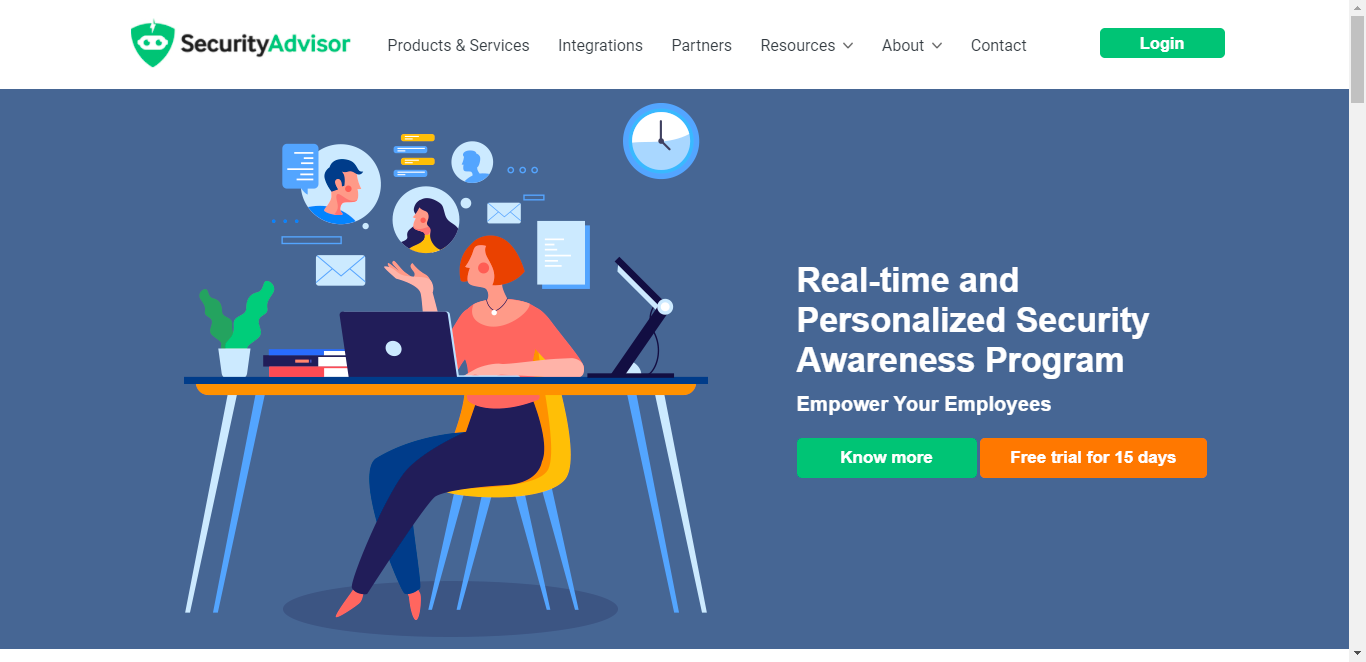
Click on the Sign In button.
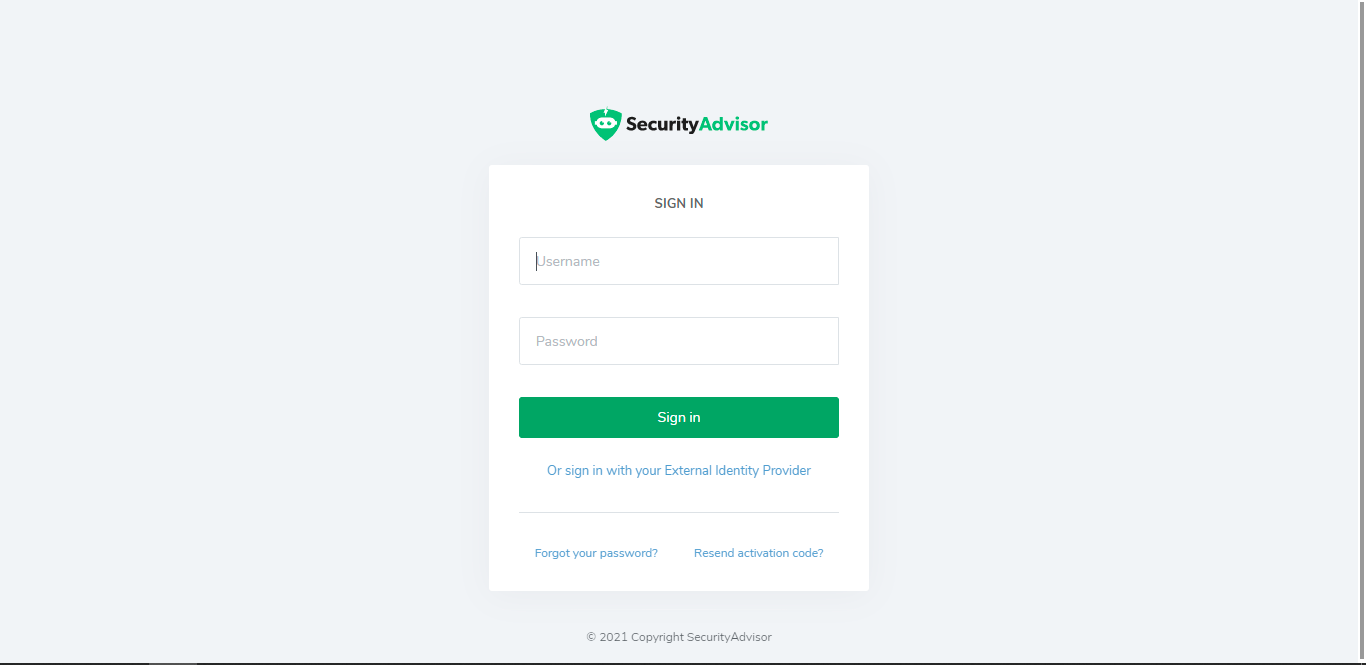
Enter login credentials and signin.
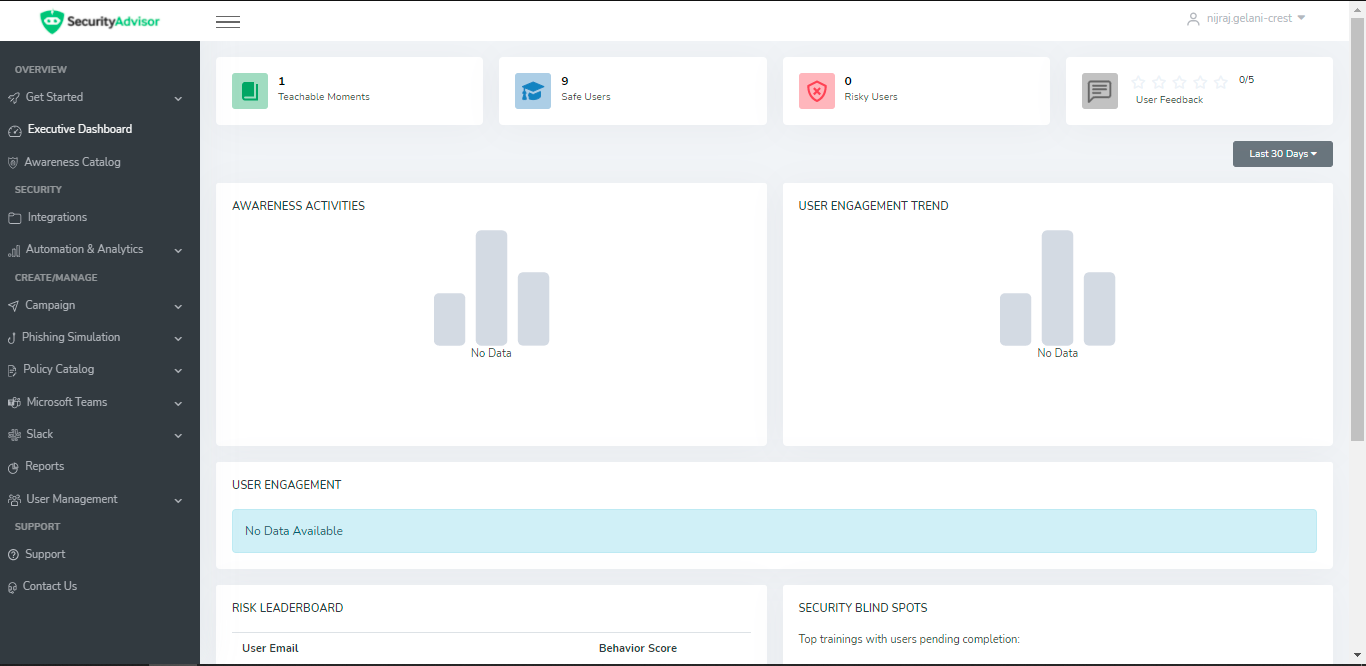
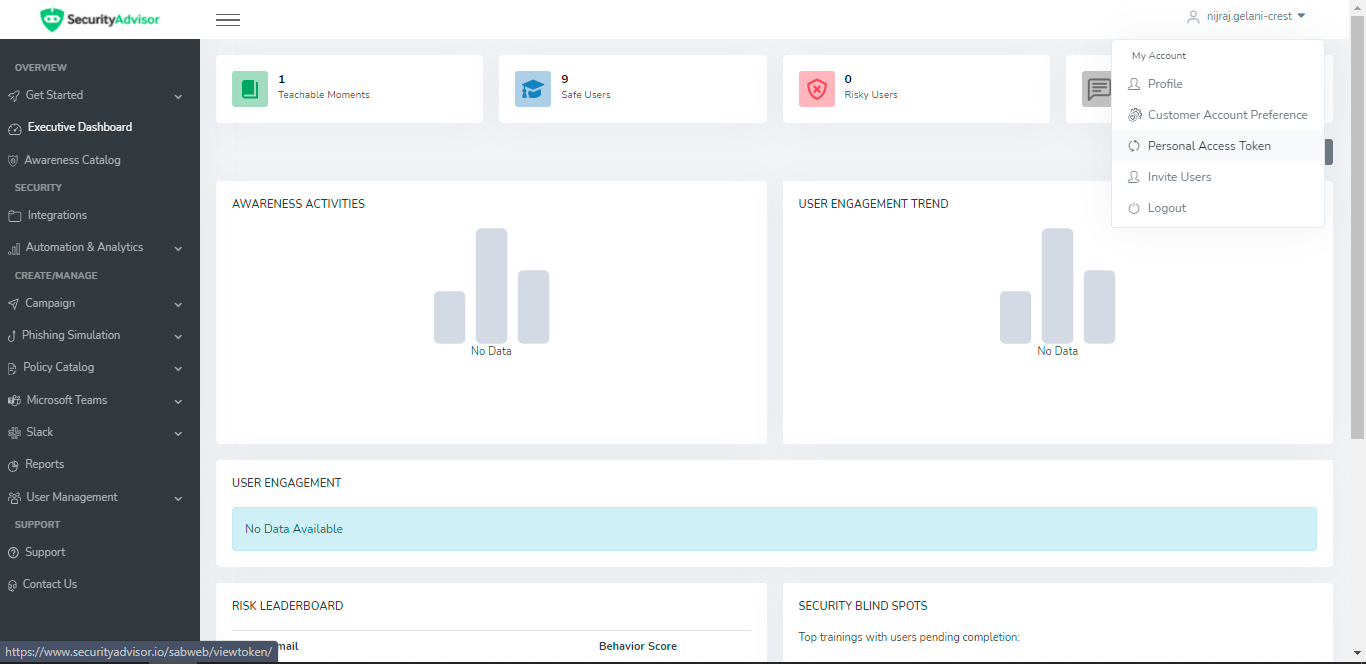
Click on Personal Access Token by hovering over Profile Username.
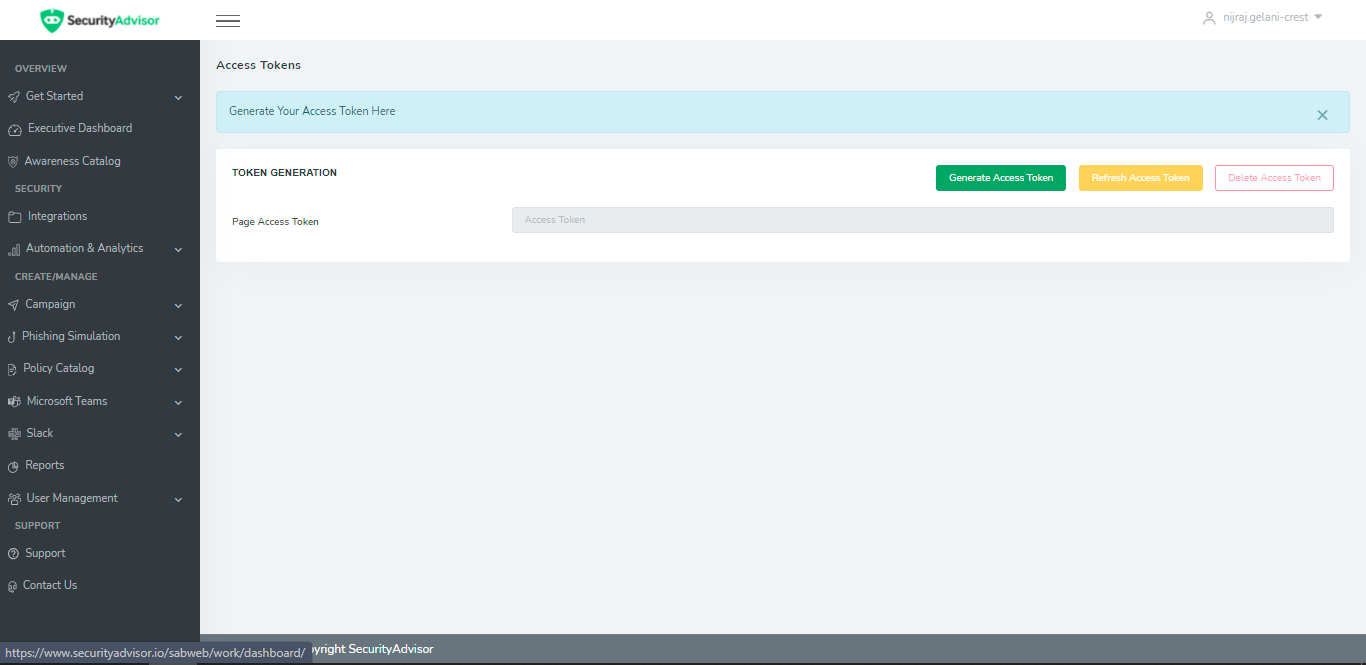
Click the Generate Access Token button to get a new Access Token.
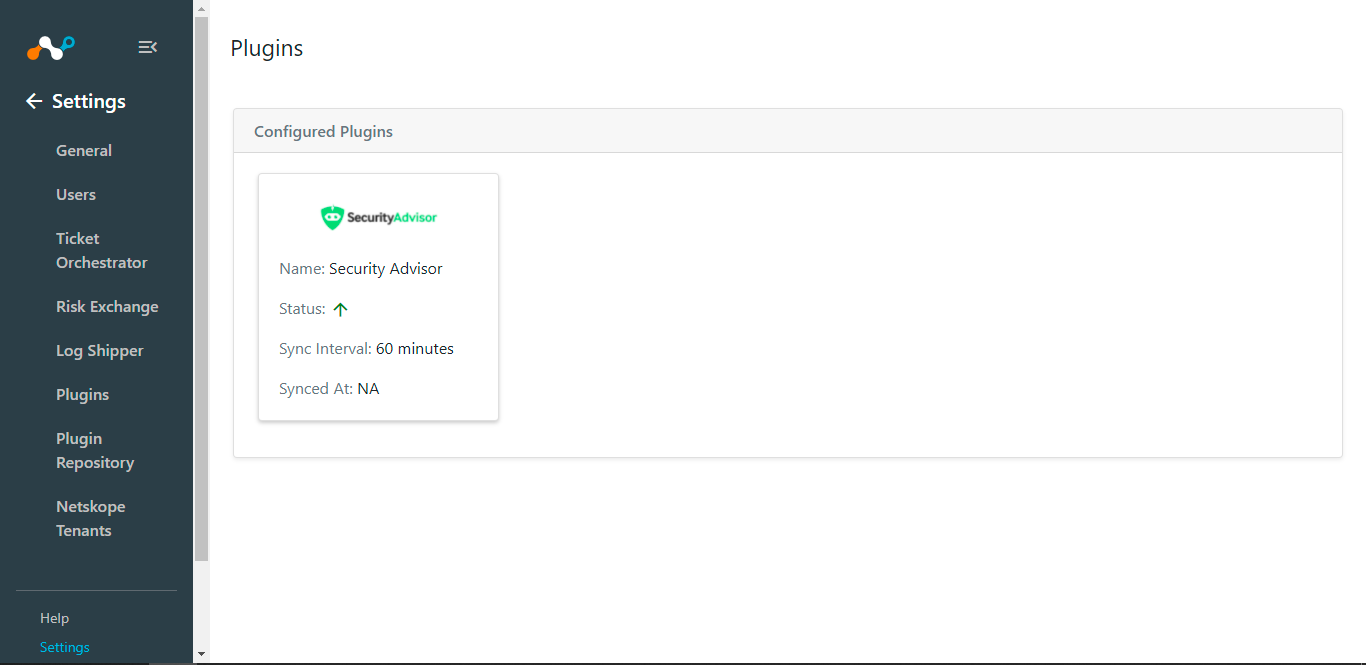
Go to Settings > Plugins.
Search for and select the Security Advisor box to open the plugin creation dialog.
Enter a Configuration Name.
Adjust the Sync Interval to appropriate value: Suggested is 5+ minutes.
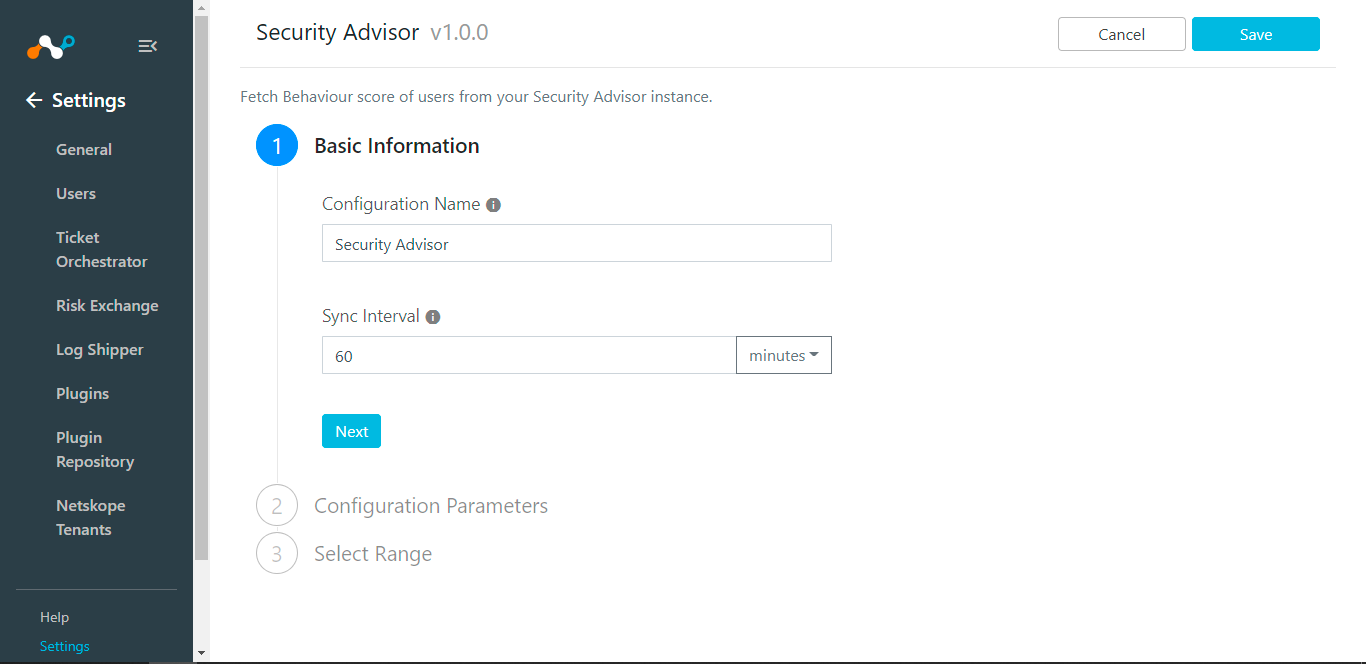
Click Next.
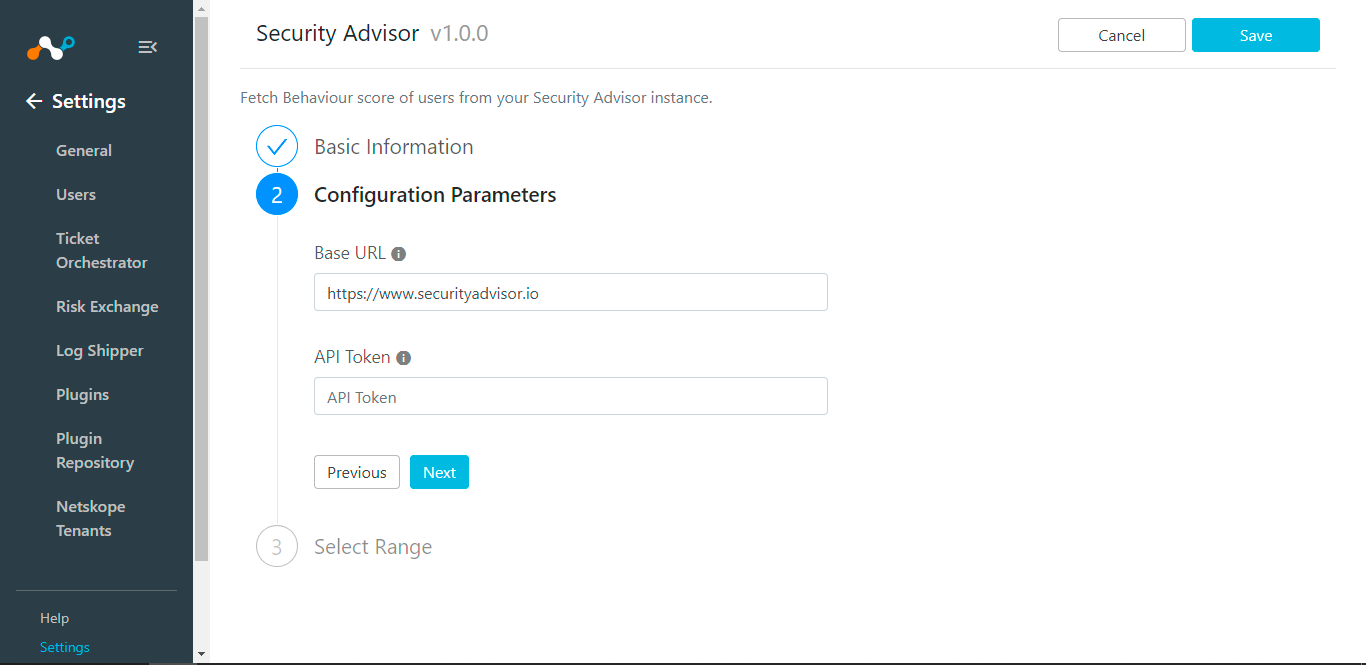
Enter your Security Advisor Base URL, if you have other than the default one.
Enter your Security Advisor API Token.
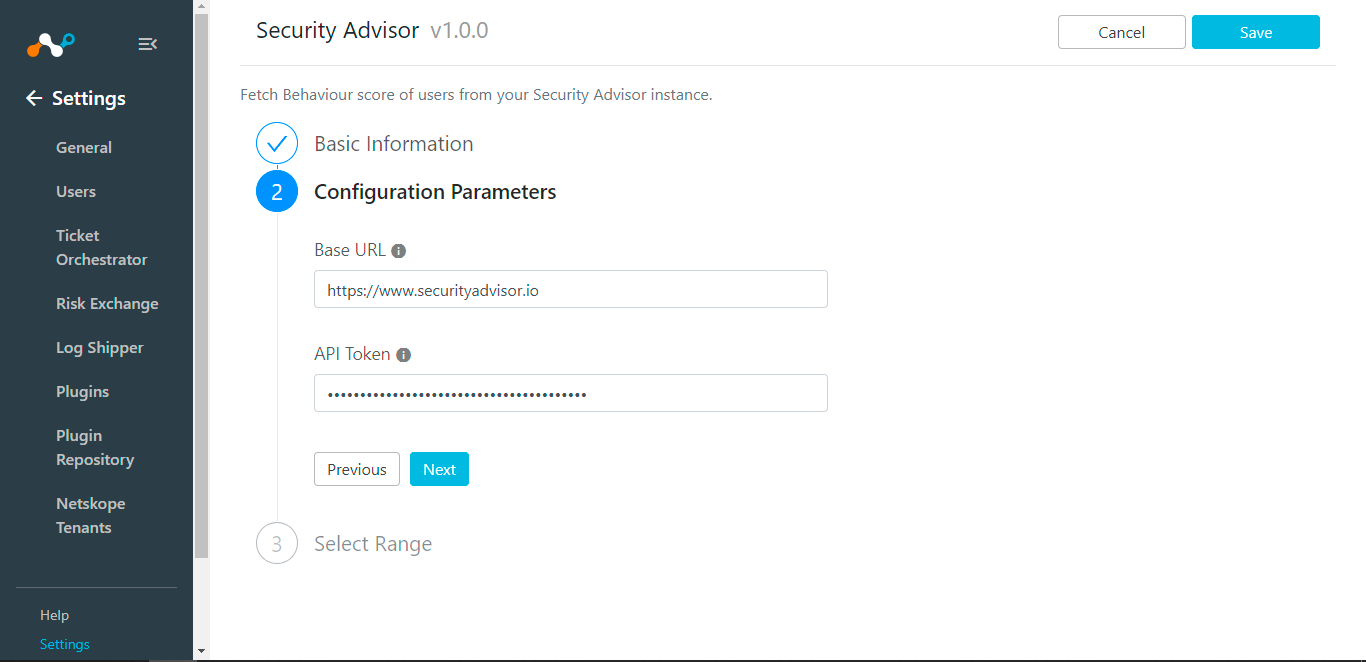
Click Next.
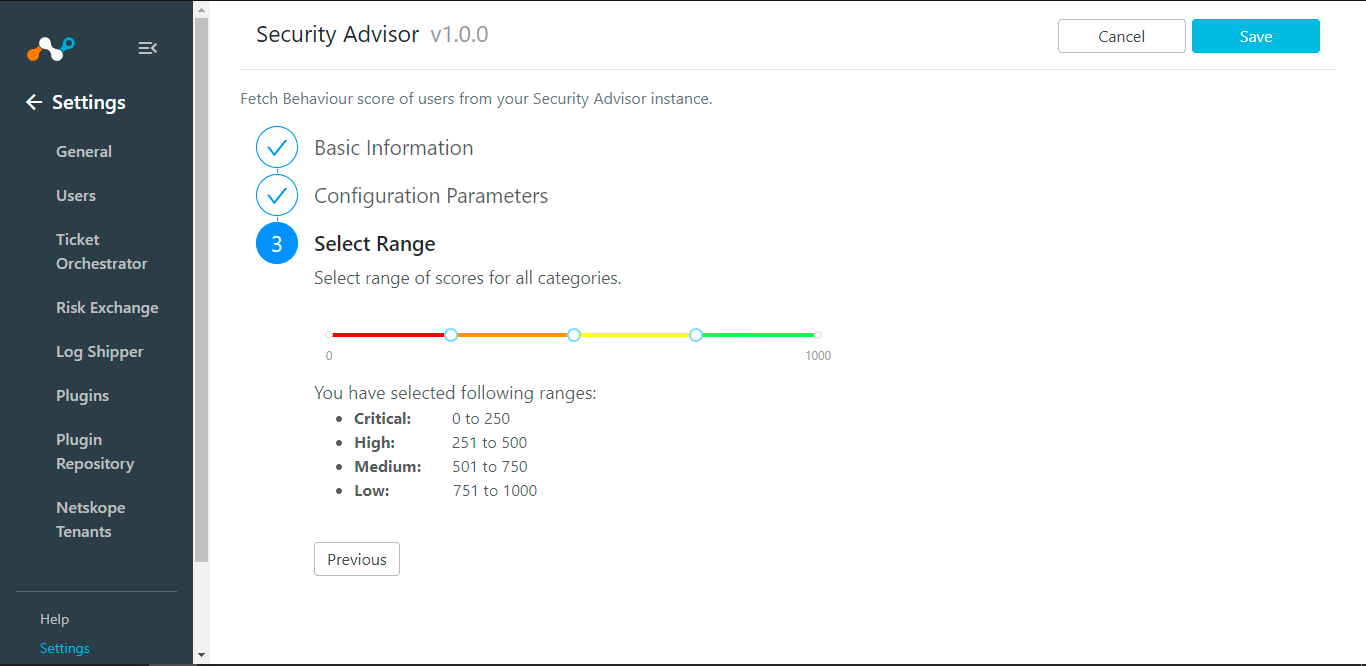
Select an appropriate range for Aggregate Score. Refer to Score Calculation for details on how Risk Exchange maps the original score to a range of 0-1000.]
Click Save.
Go to User Risk Exchange and click Actions.
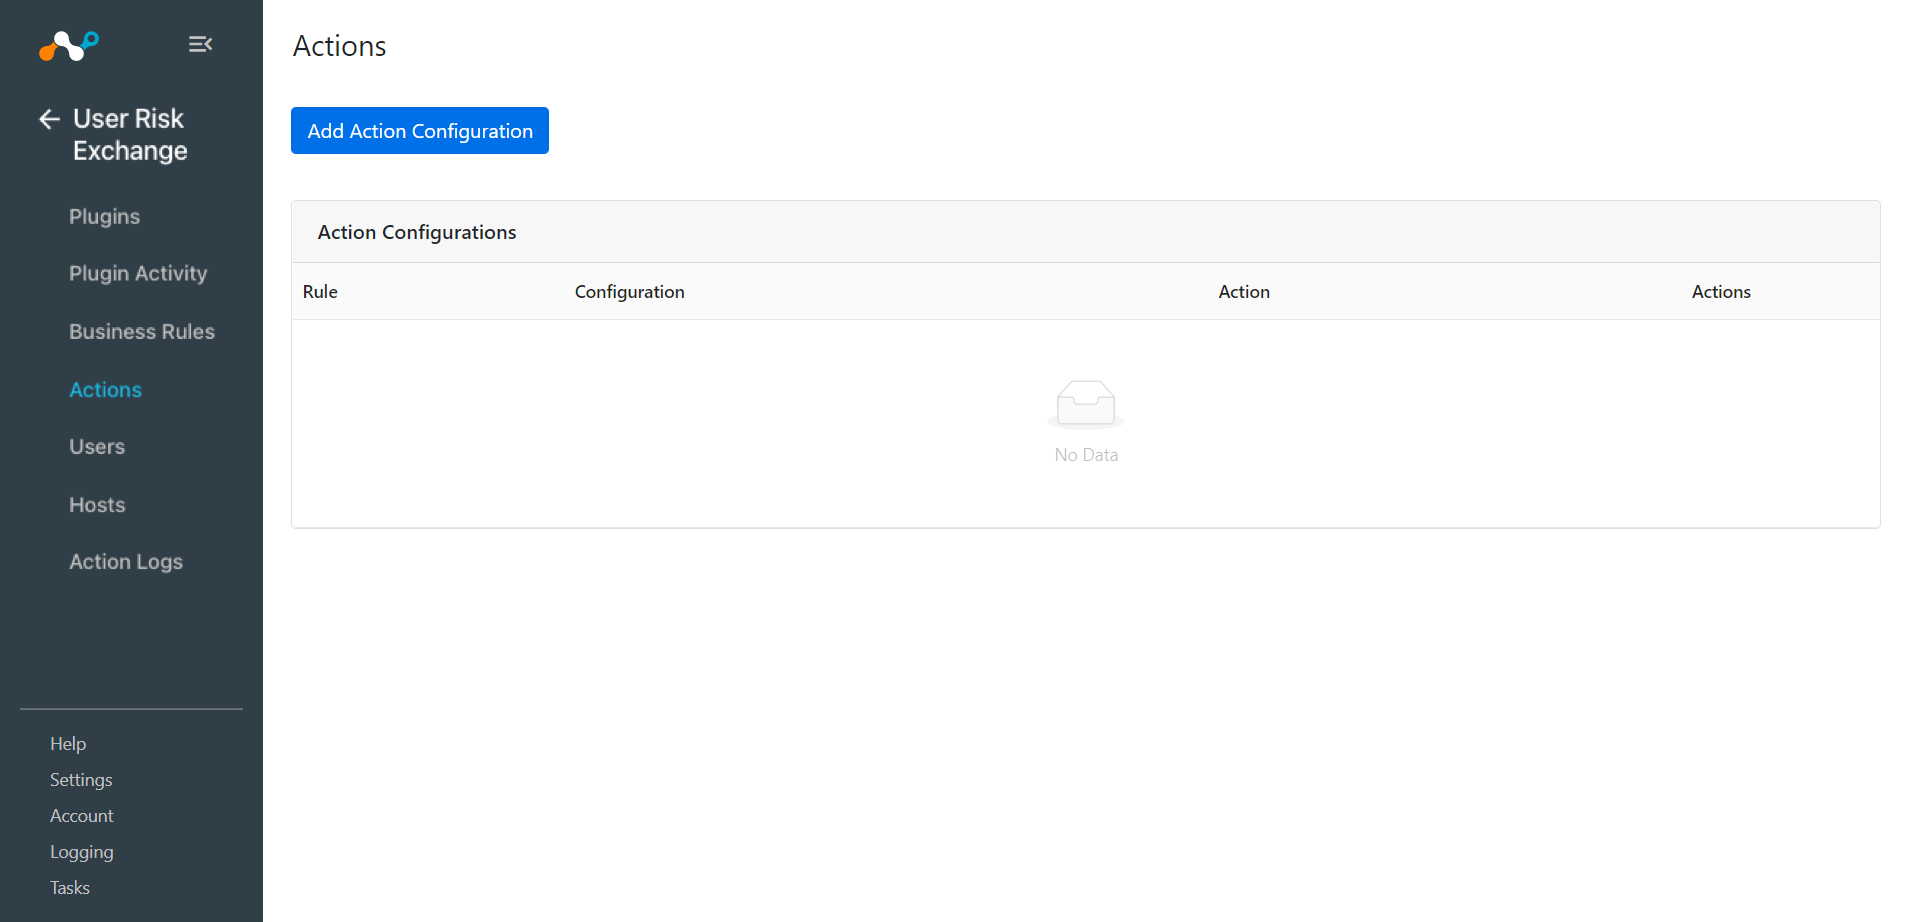
Click Add Action Configuration.
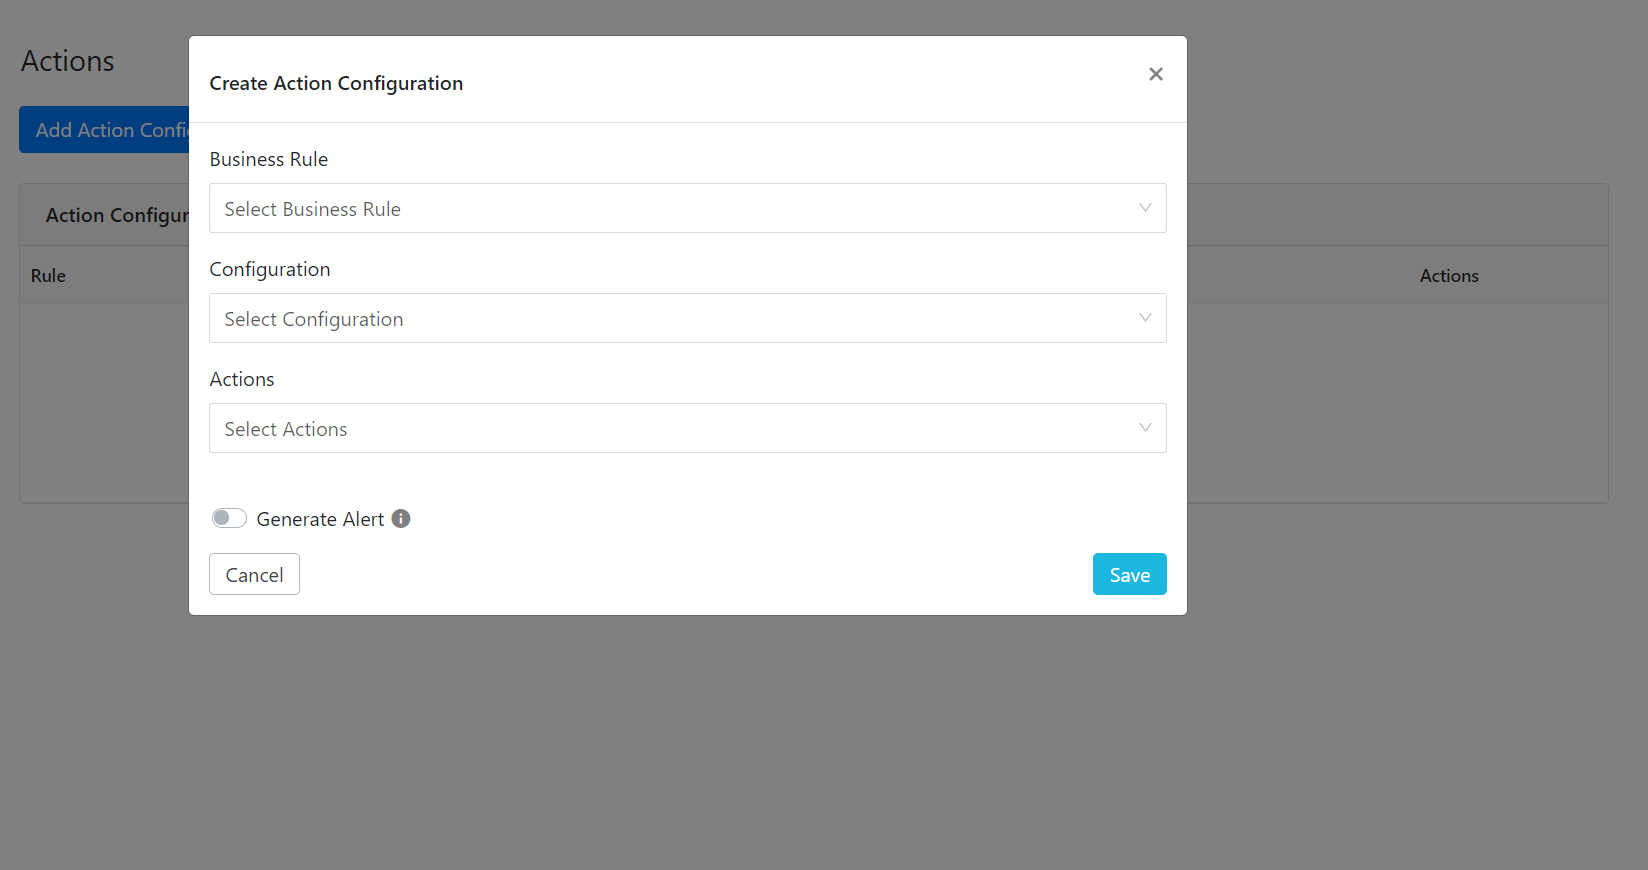
Click the Business rule dropdown list and choose the appropriate Business rule.
Select the Configuration dropdown list and choose Security Advisor.
Select Actions from the dropdown list and choose (Add to Group, Remove to Group or No Action).
Add to Group: When triggered, users are added to that group.
Remove to Group: When triggered, users are removed from that group.
No Action: This does not perform any actions on users.
Click on the Generate Alert switch to enable it. This would ensure that new alerts are added in the Ticket Orchestrator module whenever this action is taken.
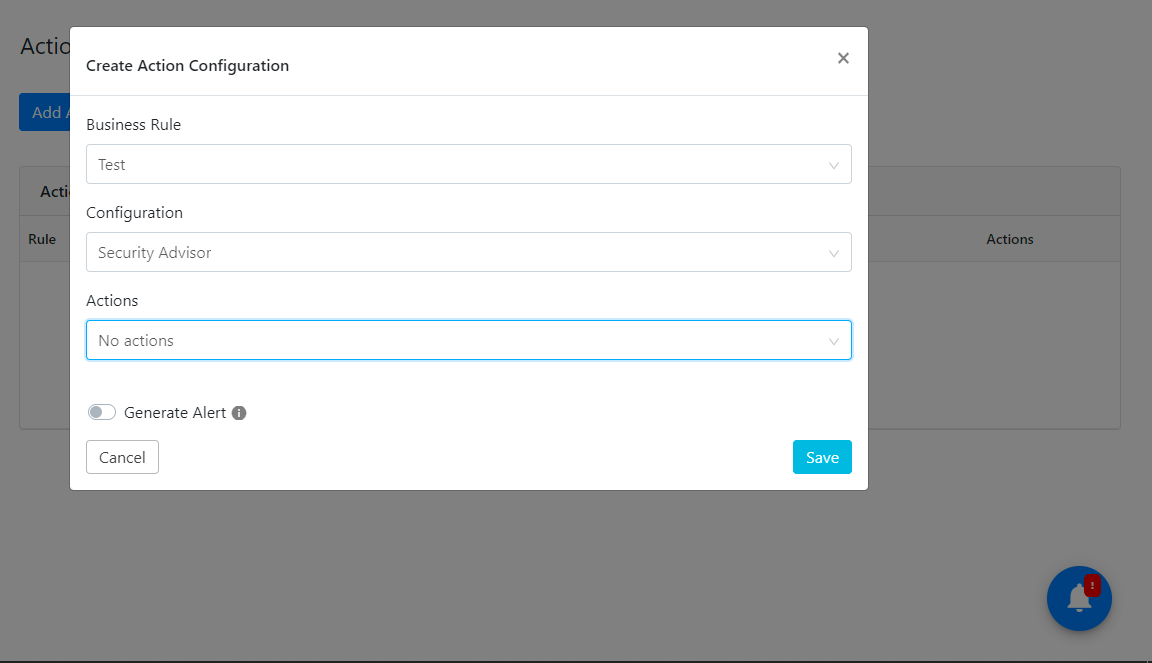
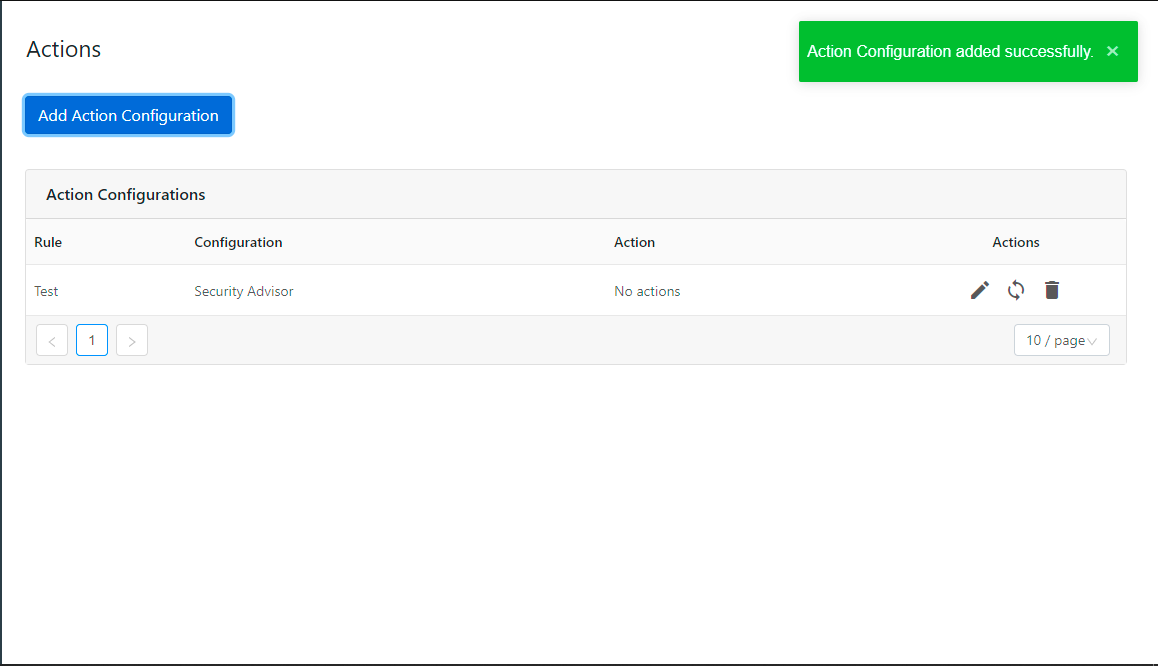
Click Save.
In order to normalize the score fetched from the Security Advisor into a 1-1000 range, perform the following steps:
1-900 score is first converted to the range of 0 to 1 using this formula:
score = (behavior_score - minvalue) / (maxvalue - minvalue)
Convert result of above formula in the range of 1 to 1000 using the below formula:
score = (score * 999) + 1
The result will be the user’s score in the 1-1000 range for the user.
In order to validate the workflow, you must have Security Advisor scores. Syncing Intervals are defined during plugin configuration.
Go to User Risk Exchange and click Users.
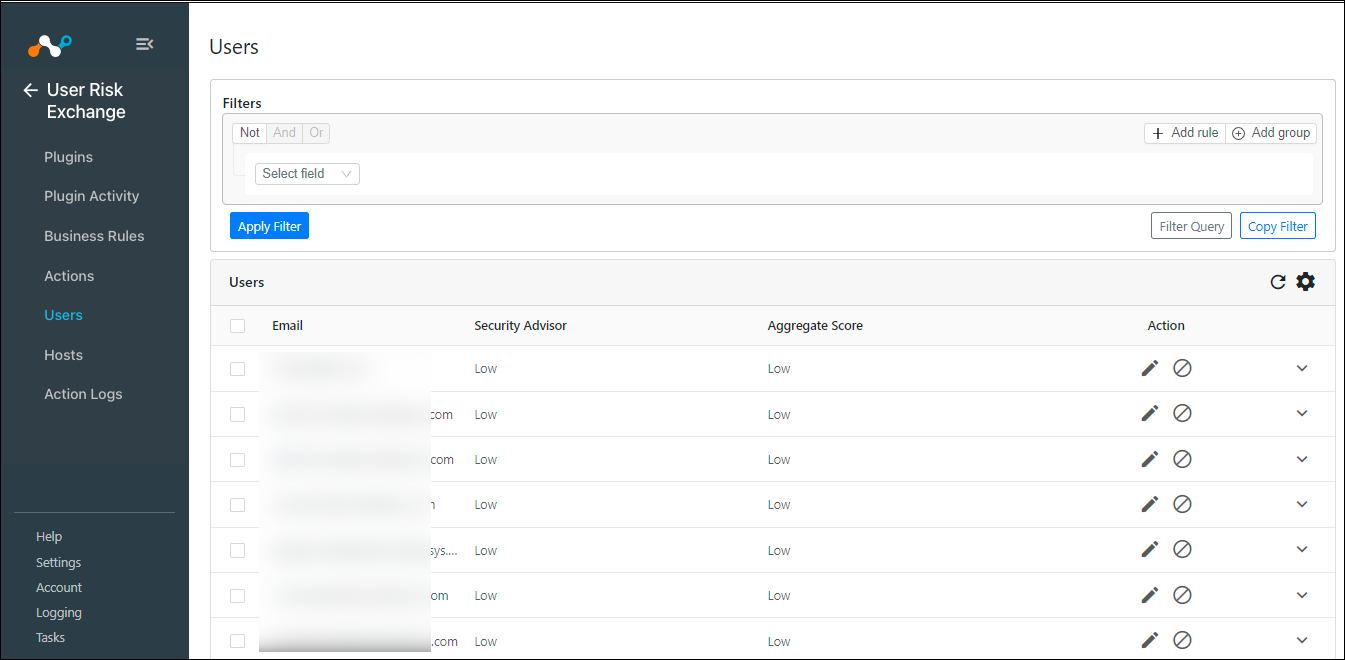
If data is not being brokered between the platforms and you want to verify the Security Advisor plugin is fetching scores, then you can look at the audit logs. Go to Logging.
