Jamf Pro
Jamf Pro is an enterprise mobility management tool that is used to enroll and manage devices such as iOS, iPad, and so on.
This document describes the steps to deploy the Netskope Client app in the endpoint device using JAMF Pro.
To deploy client using Jamf Pro:
Log into Jamf Pro.
Click Devices.
On the left pane, click Configuration Profiles.
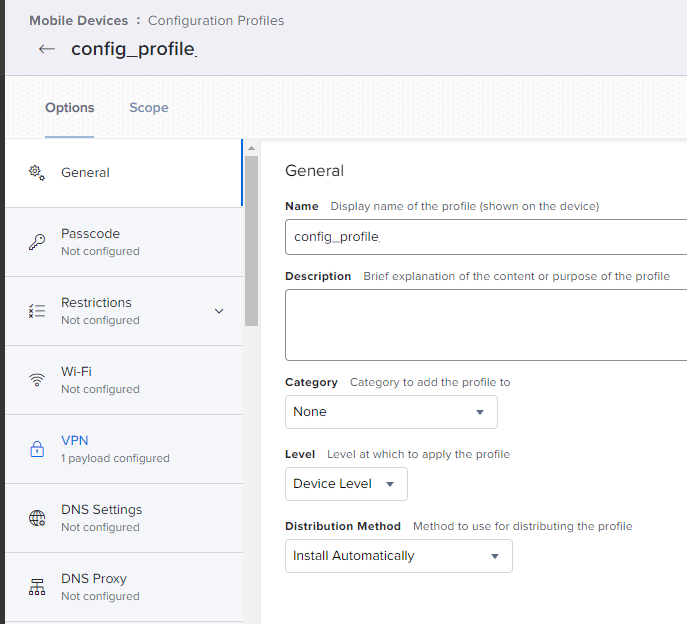
Click New > Options and provide the details to create a new profile.
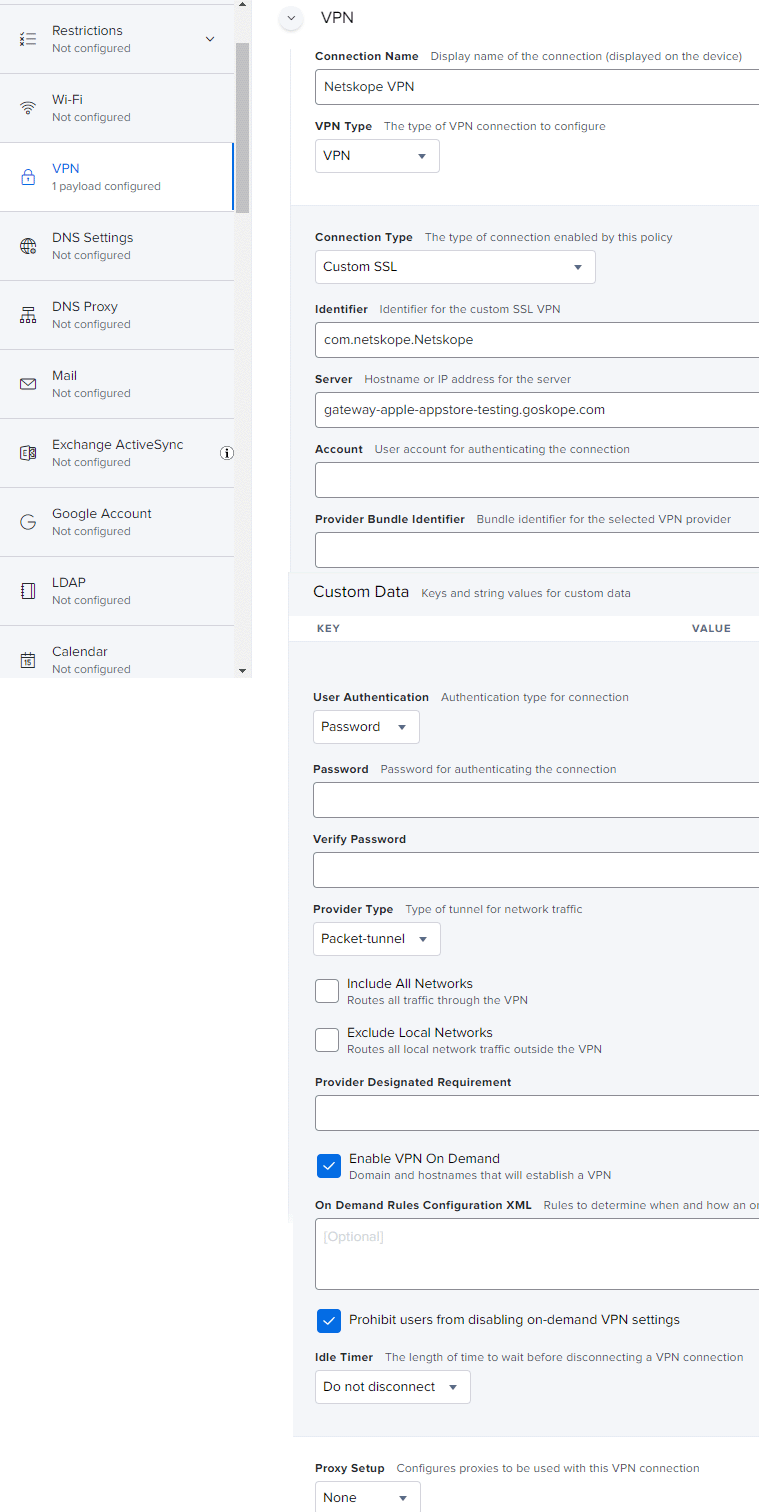
Click VPN and provide the details to configure VPN.
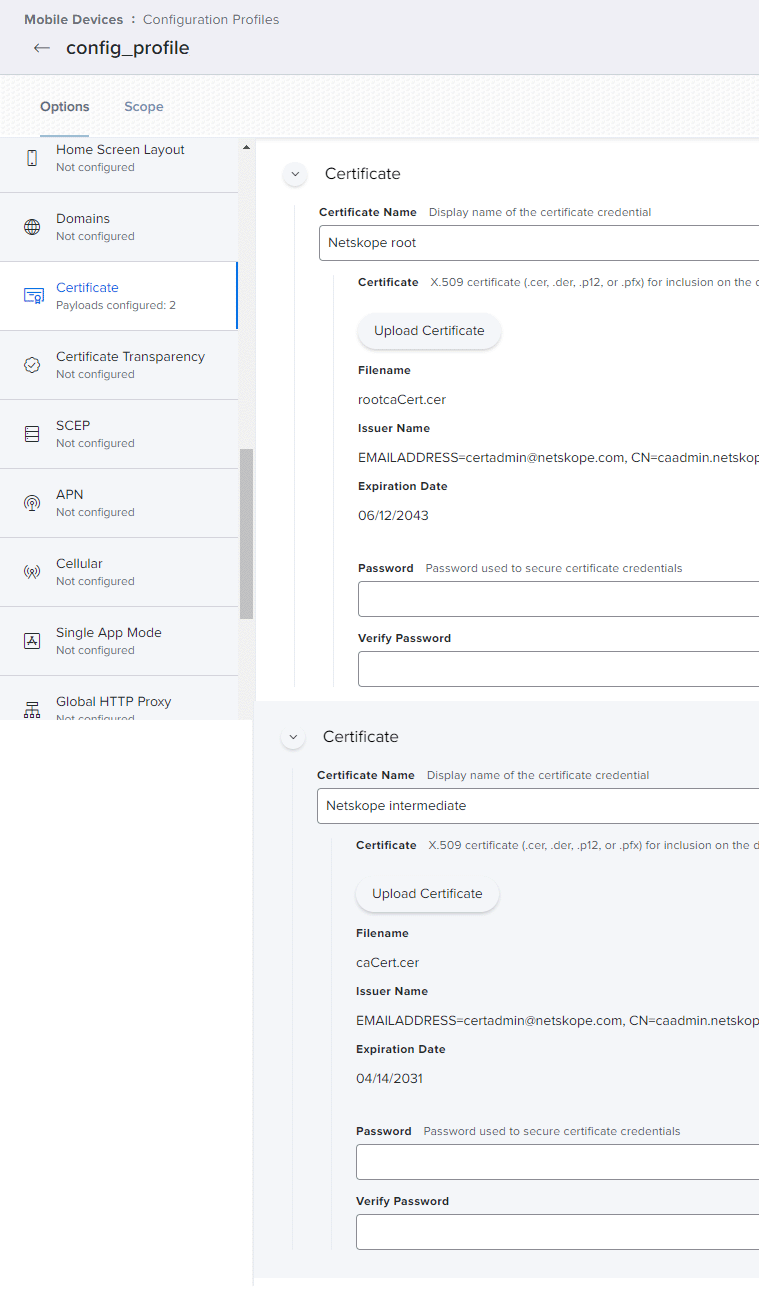
Click Certificate and provide the details to configure certificates.
Note
Go to your Netskope account to download root and intermediate certificates. Once you download the certificates, upload them to Jamf Pro.
Click Save to store the configuration profile.
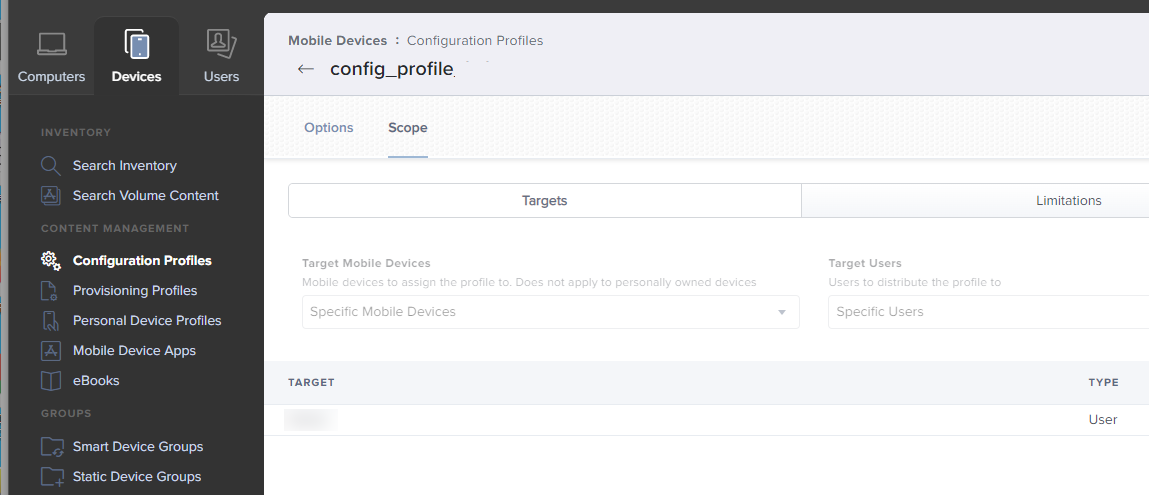
Click Scope and select a specific user (or a device).
Next, on the left pane, click Mobile Device Apps.
Click New to create a new app.
Choose an App Type and click Next.
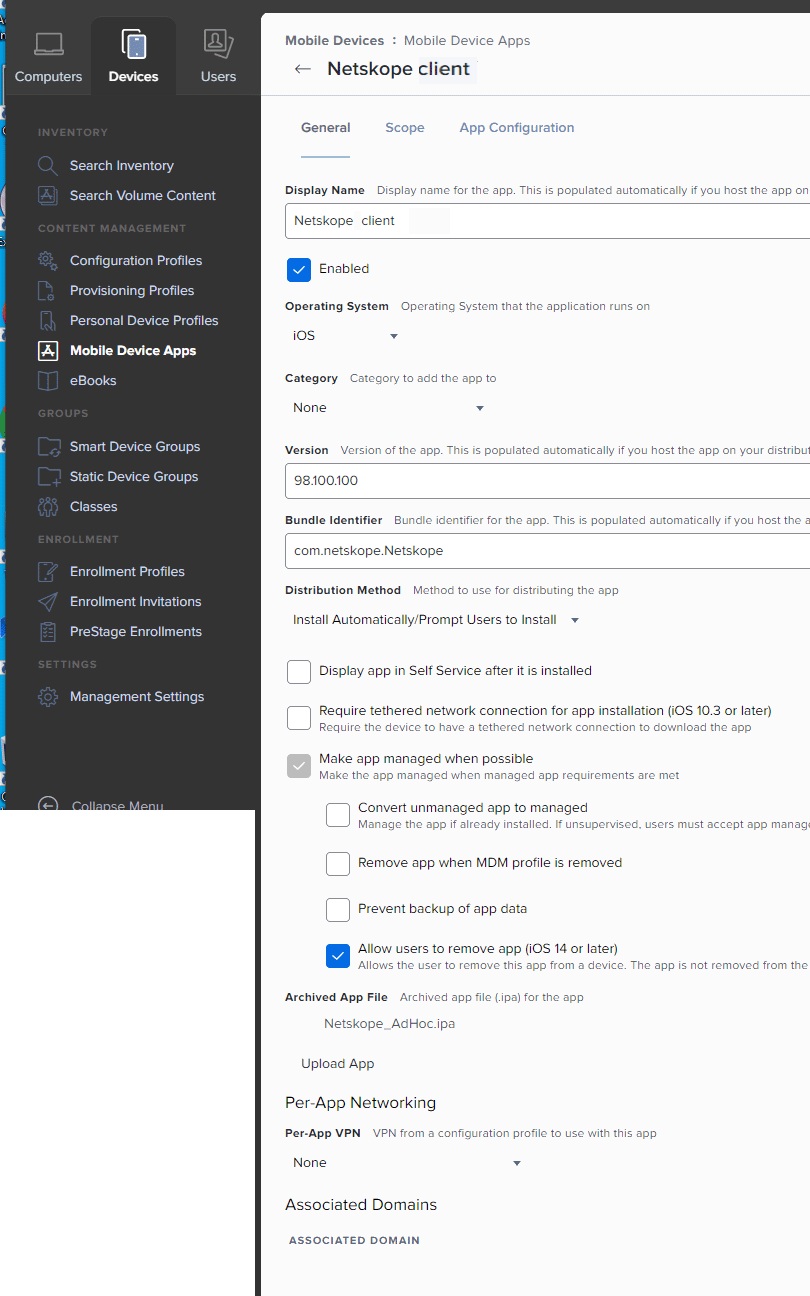
Under the General tab, upload Netskope_adHoc.ipa under Archived App File. Click Upload App to choose a file.
Note
Version and Bundle Identifier fields are automatically updated after you upload Netskope_adHoc.ipa.
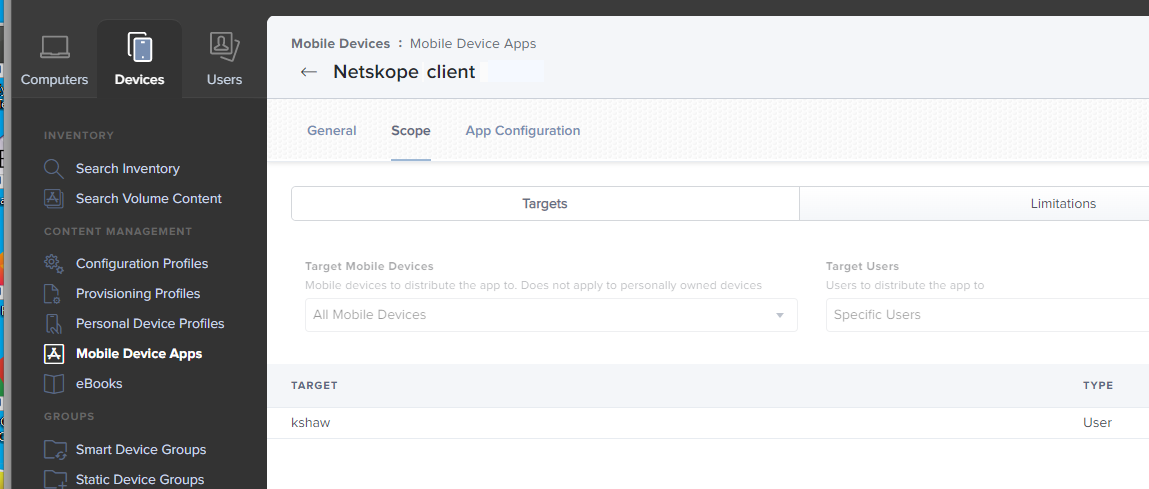
Click the Scope tab in Mobile Device Apps and select a specific user (or a device).
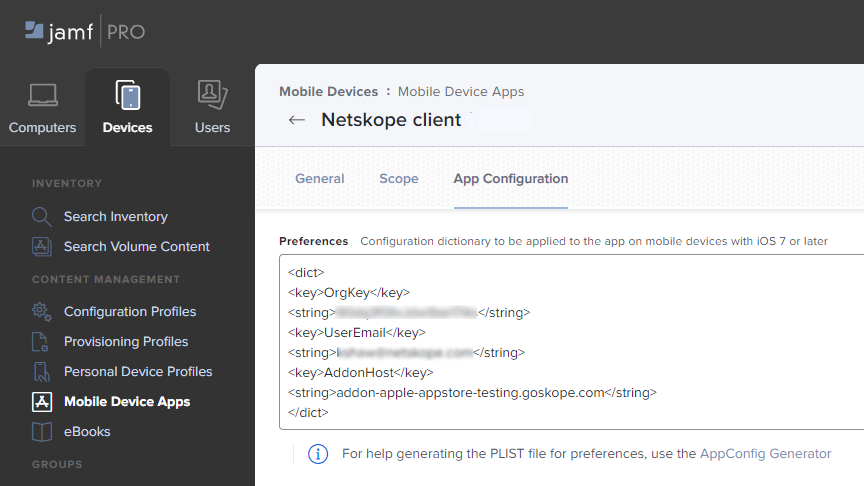
Click the App Configuration tab under Mobile Device Apps and provide the configuration details.
Note
The email would be better to use variables like <string> $EMAIL</string>.
Click Save to save the new Mobile Device App.
Next, click Settings to deploy using email.
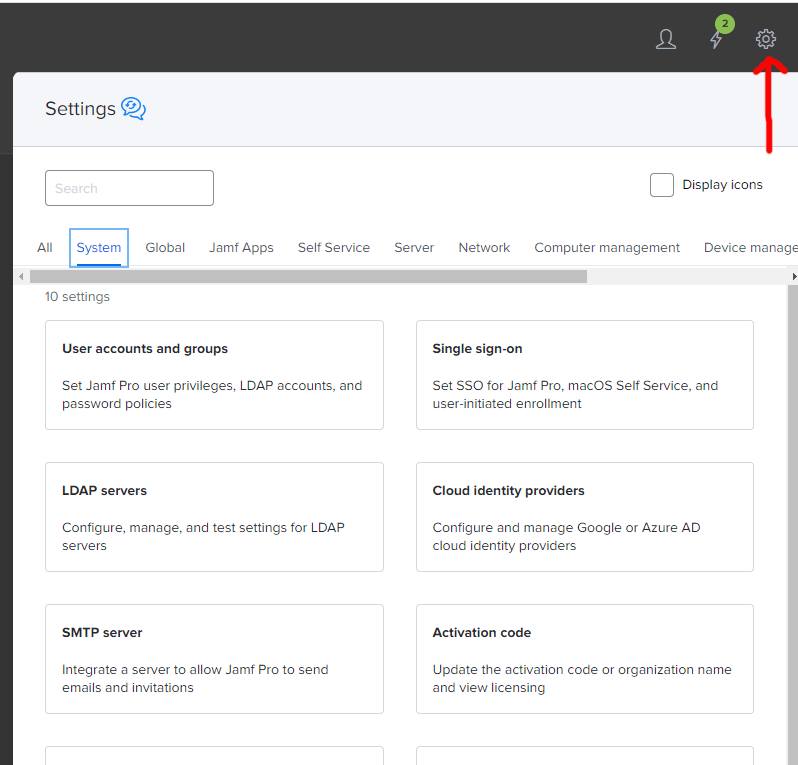
Configure email SMTP server.