Netskope SSO with Azure AD
This document explains how to configure Azure Active Directory (AD) for Single Sign On (SSO) to the Netskope tenant. Netskope now offers a gallery application in Azure AD for both admin SSO and user provisioning via SCIM. This document covers configuring the Azure AD gallery application for Admin SSO.
Prerequisites
You need the following:
An Azure AD subscription that supports Enterprise Applications.
A Netskope tenant.
An Azure Active directory user with which to test functionality.
Workflow
Create Enterprise Application and configure SSO in Azure AD.
Configure SSO parameters between Netskope and Azure AD.
Assign Users and/or Groups to the Netskope application in Azure AD.
Log in to the Microsoft Azure Portal.
Select Azure Active Directory.

Select Enterprise applications.
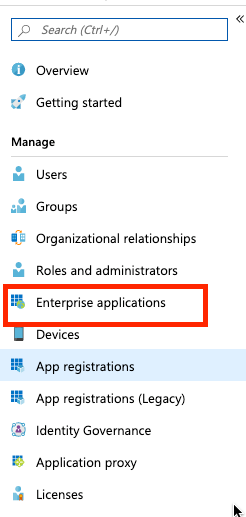
Select New application.

Search for Netskope in the gallery.
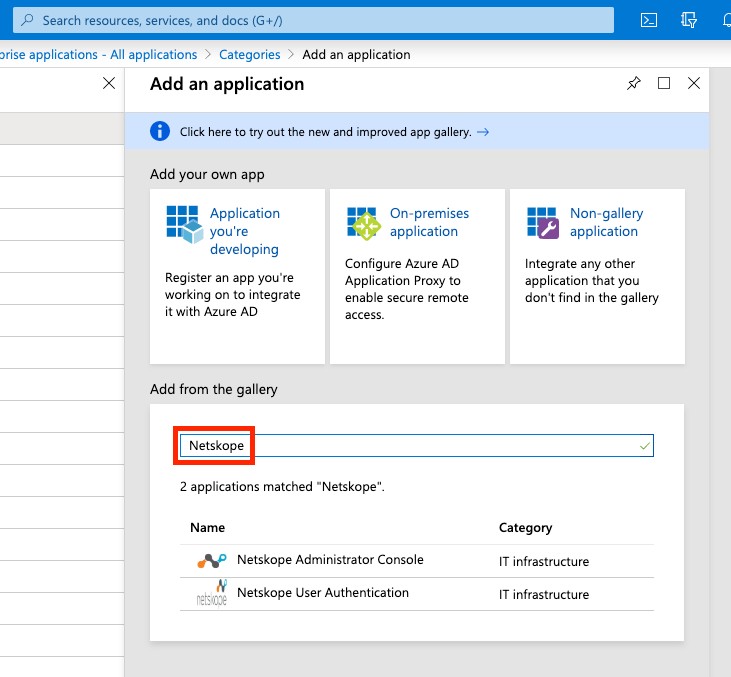
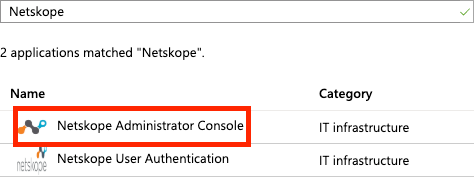
Select Netskope Administrator Console.
Enter a name for the application. Keep in mind that this is the name your users will see on their Access Panel.
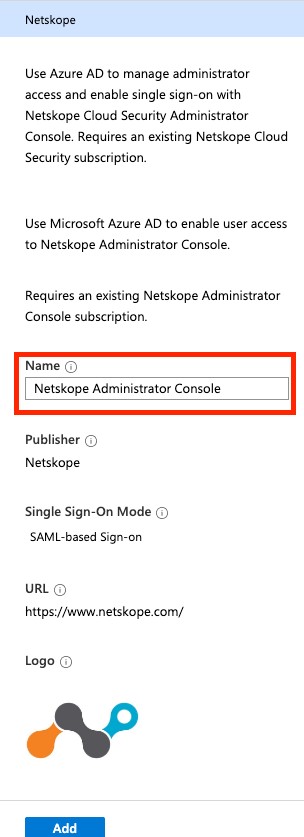
Click Add.
Click Get Started on the Set up single sign on tile.
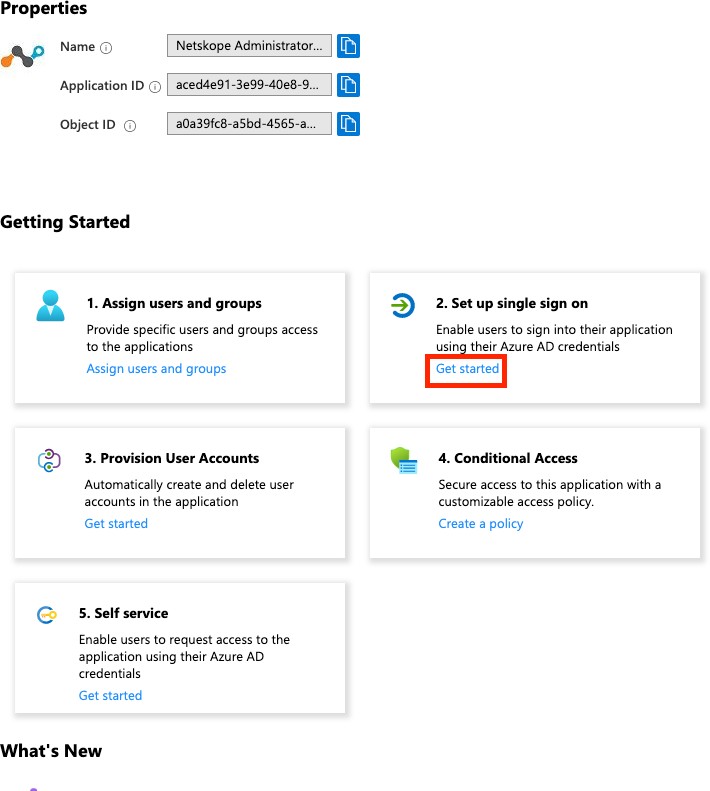
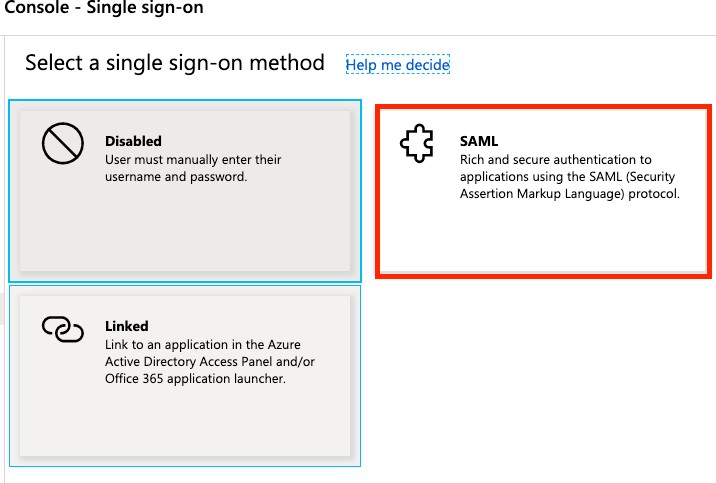
Select SAML for the single sign-on method.
Click the pencil icon under Basic SAML Configuration.

You will need URLs and information from Netskope at this point. Proceed to the next section.
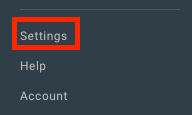
Log in to your Netskope tenant and click Settings in the bottom left corner.
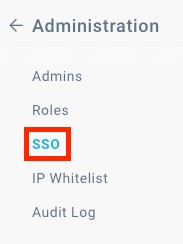
Go to Administration and then SSO in the right pane:
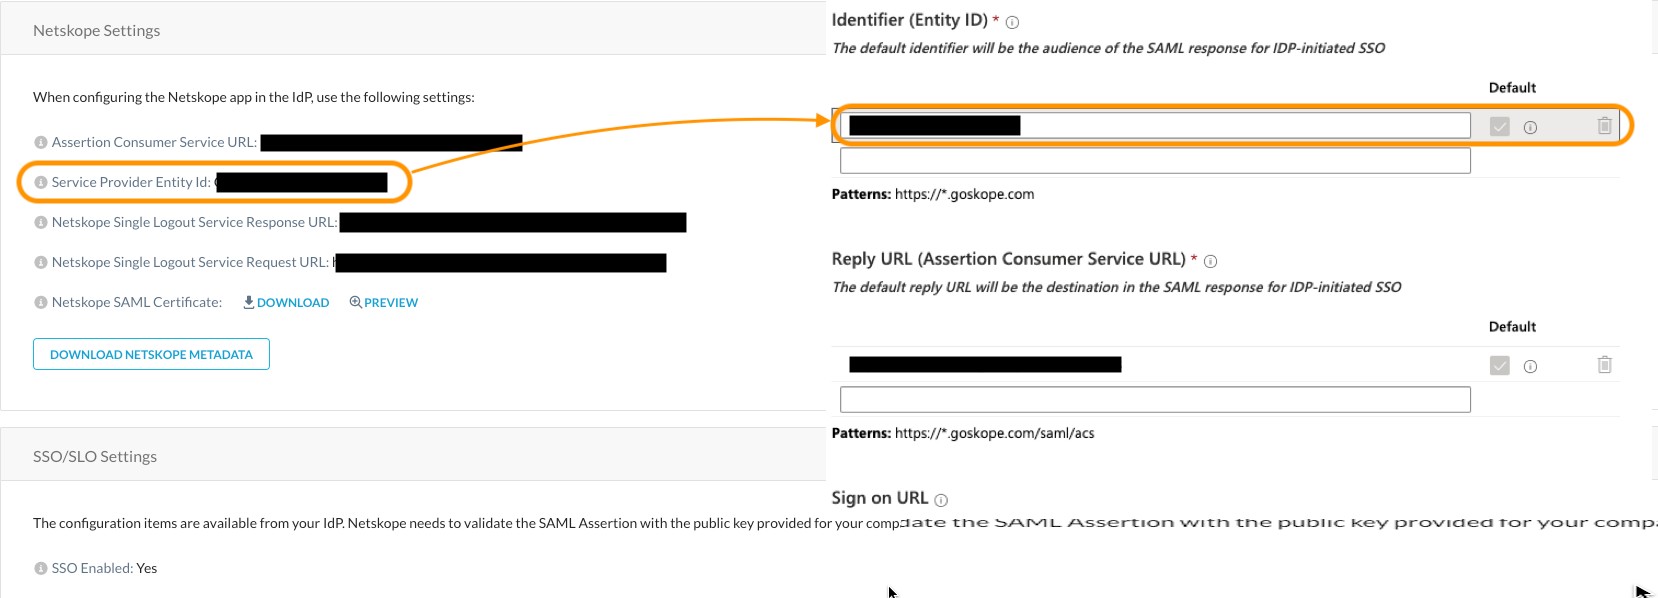
Copy the string from Service Provider Entity ID under the Netskope Settings section. The string should be similar to Cdc7athjXYFU06mul. Paste this into the Identifier (Entity ID) field in the Azure portal. See image below.
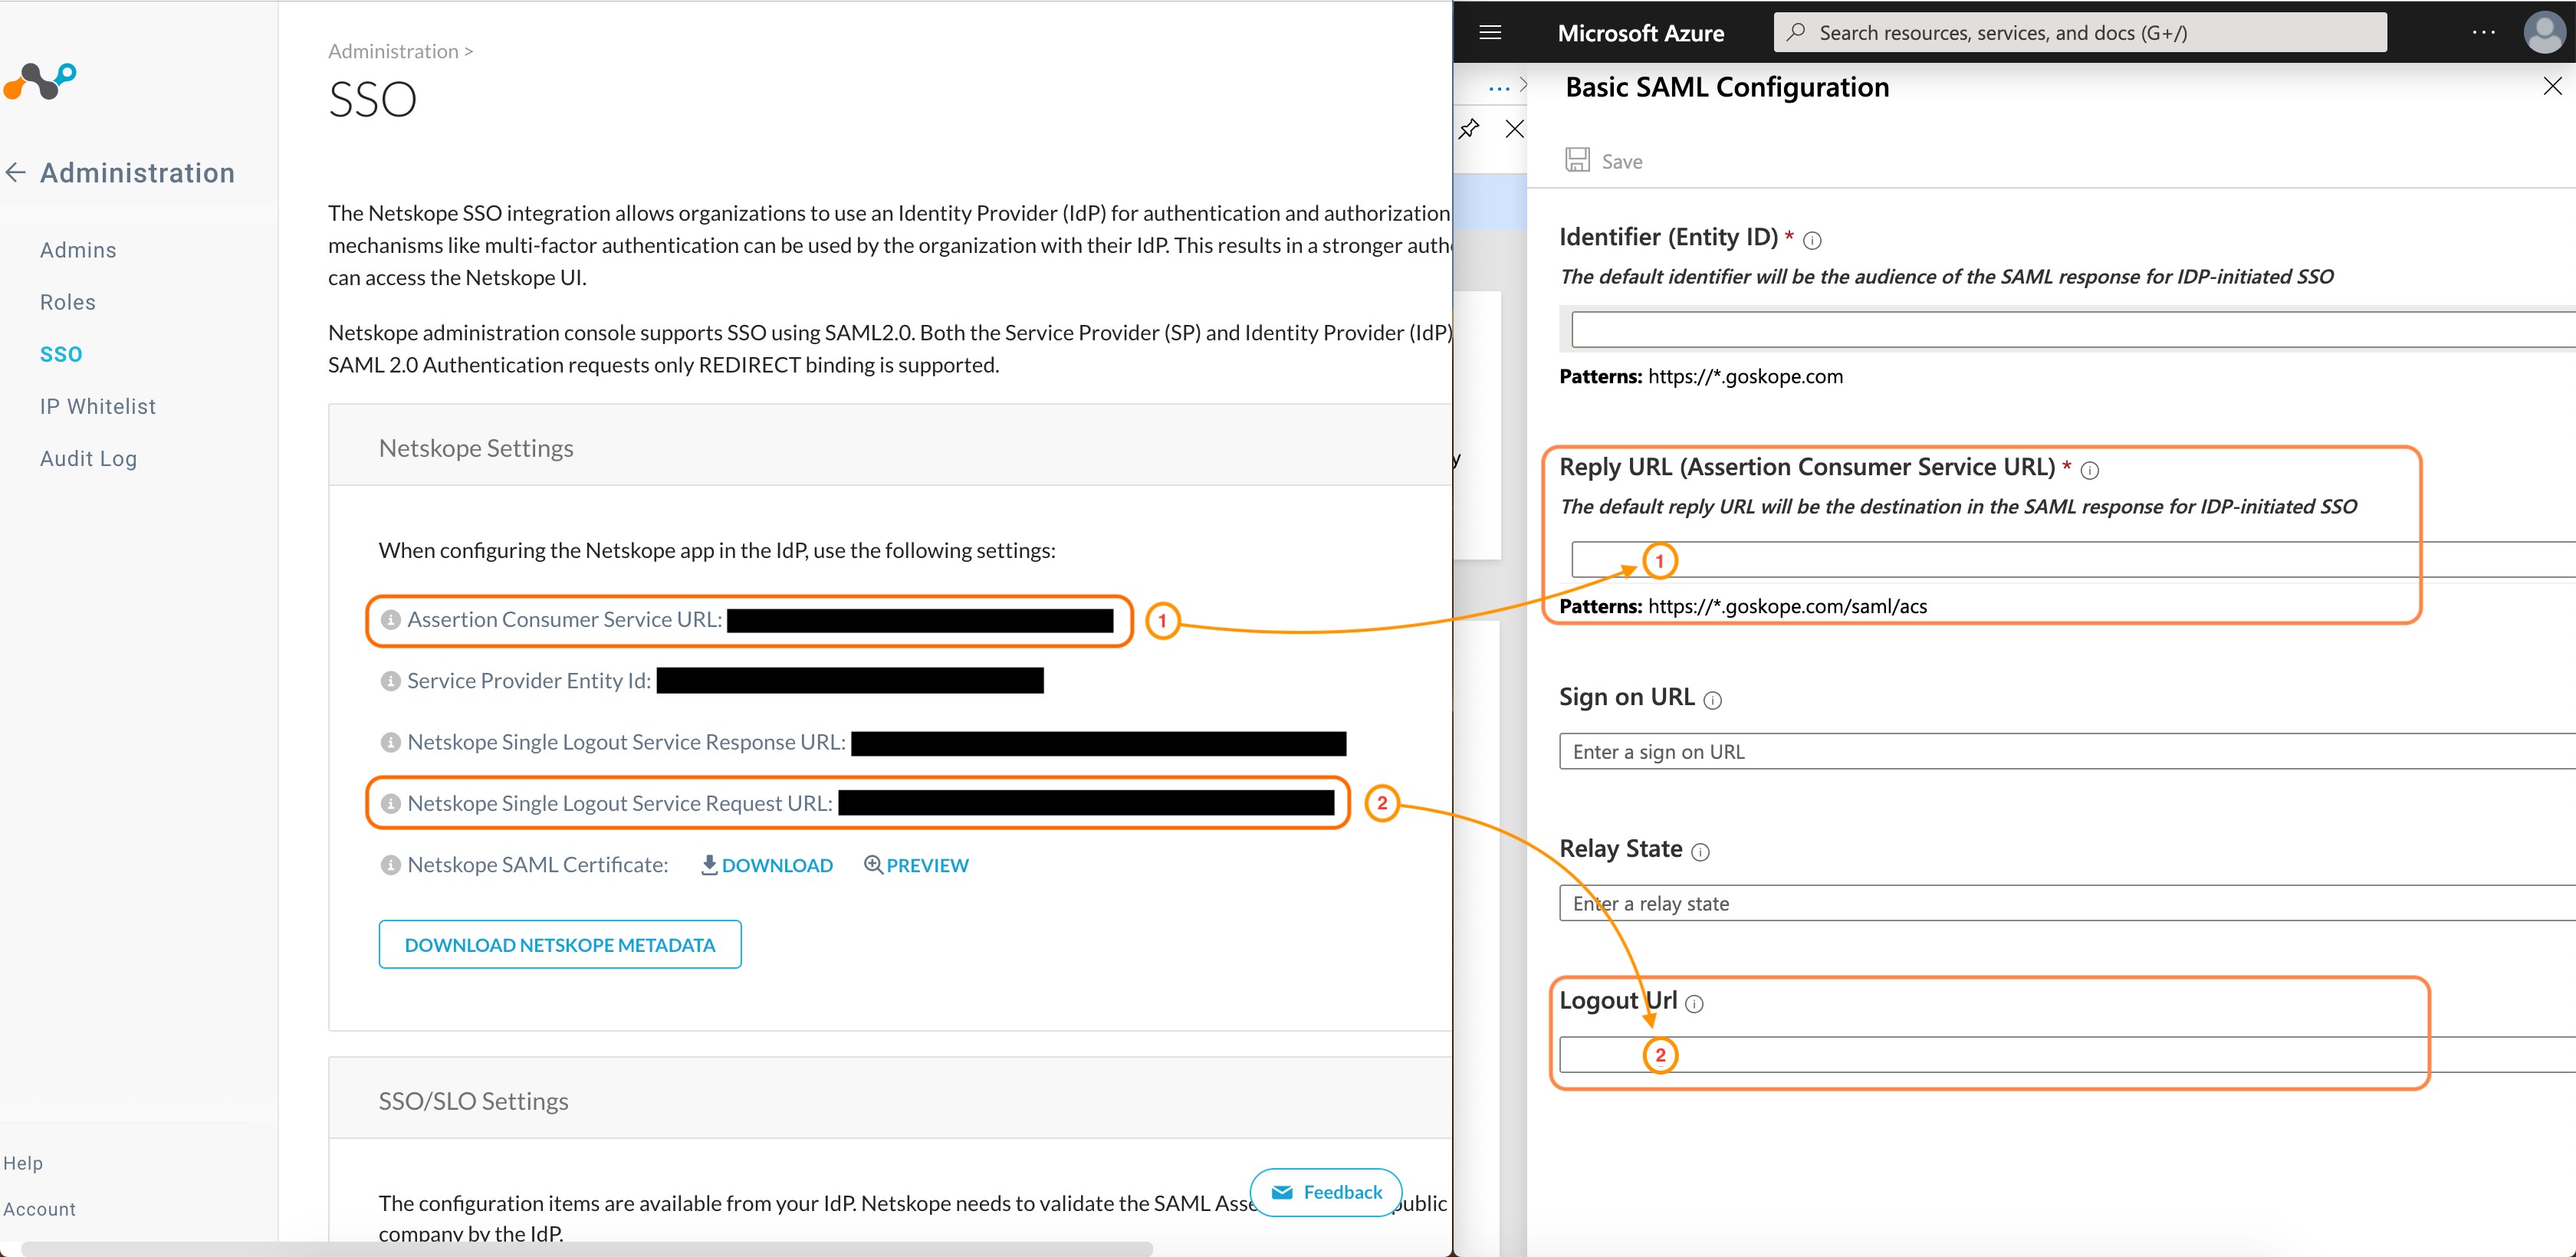
Copy the URLs from Netskope according to image below:
Assertion Consumer Service URL to Reply URL (Assertion Consumer Service URL
Netskope Single Logout Service Request URL to Logout Url
Click Save.

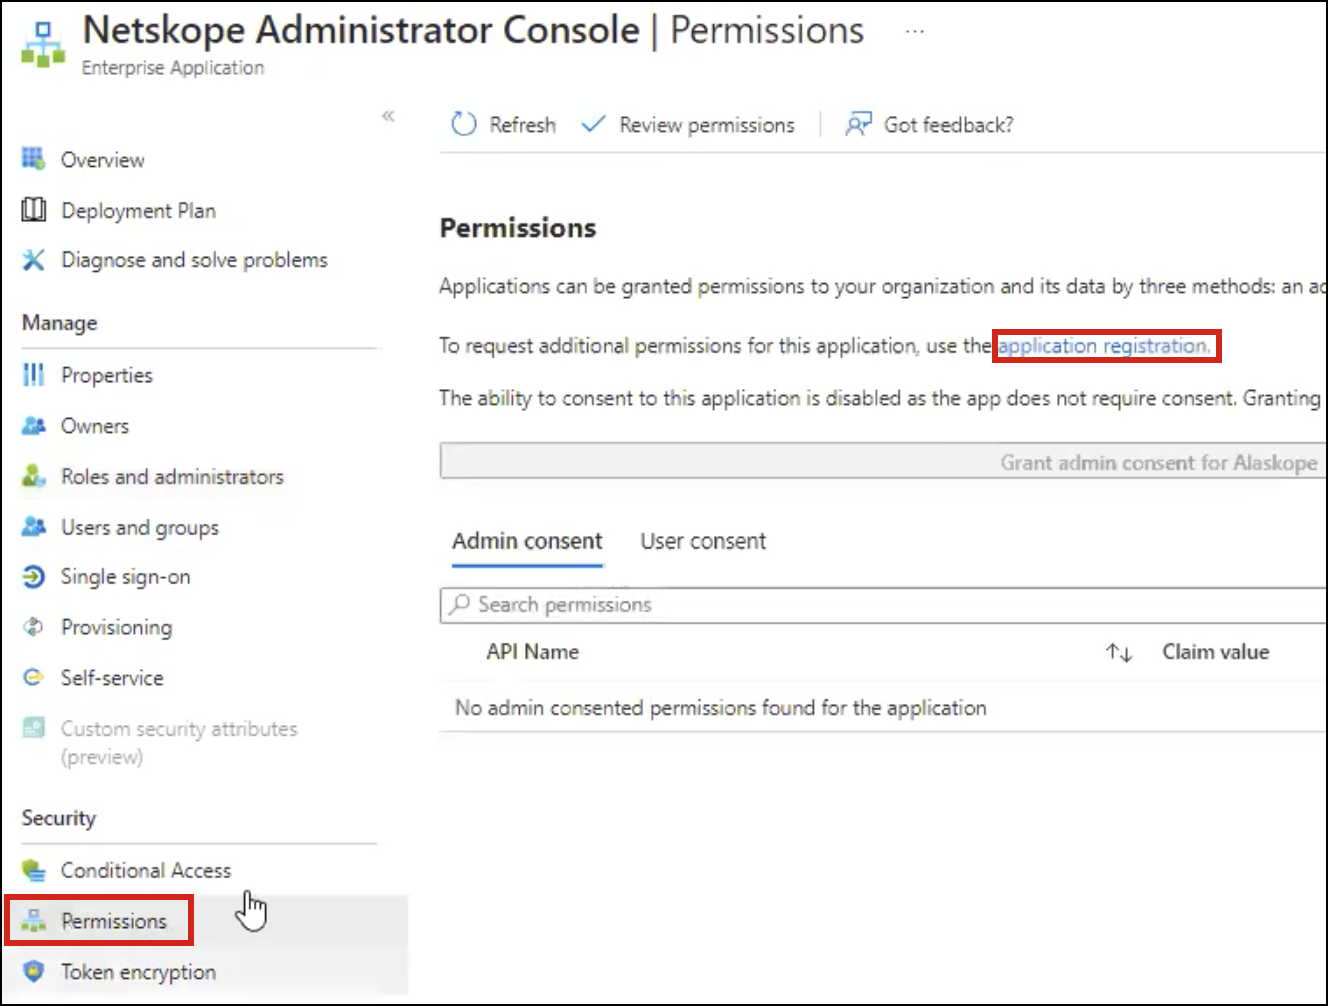
Go to Permissions and click application registration.
Click App roles and click Create app role.
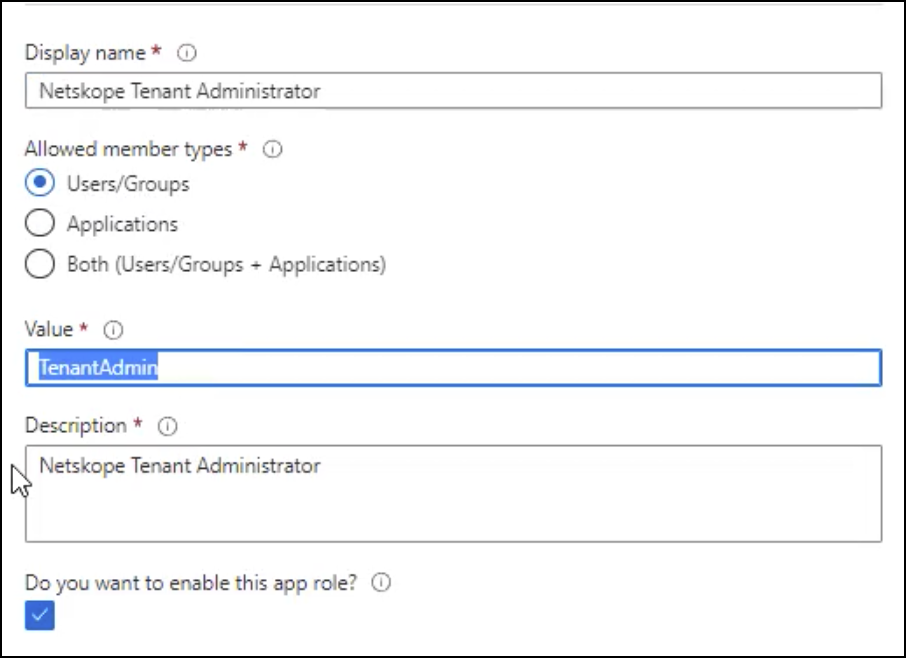
Enter a Display Name. For Allowed member types, select Users/Groups, and for Value, enter a role used in the Netskope tenant (Settings > Administration > Roles). The value cannot have blank spaces. Add a Description and enable the app role. When finished, click Apply. You can add roles for as many of the roles in the Netskope tenant as you'd like.
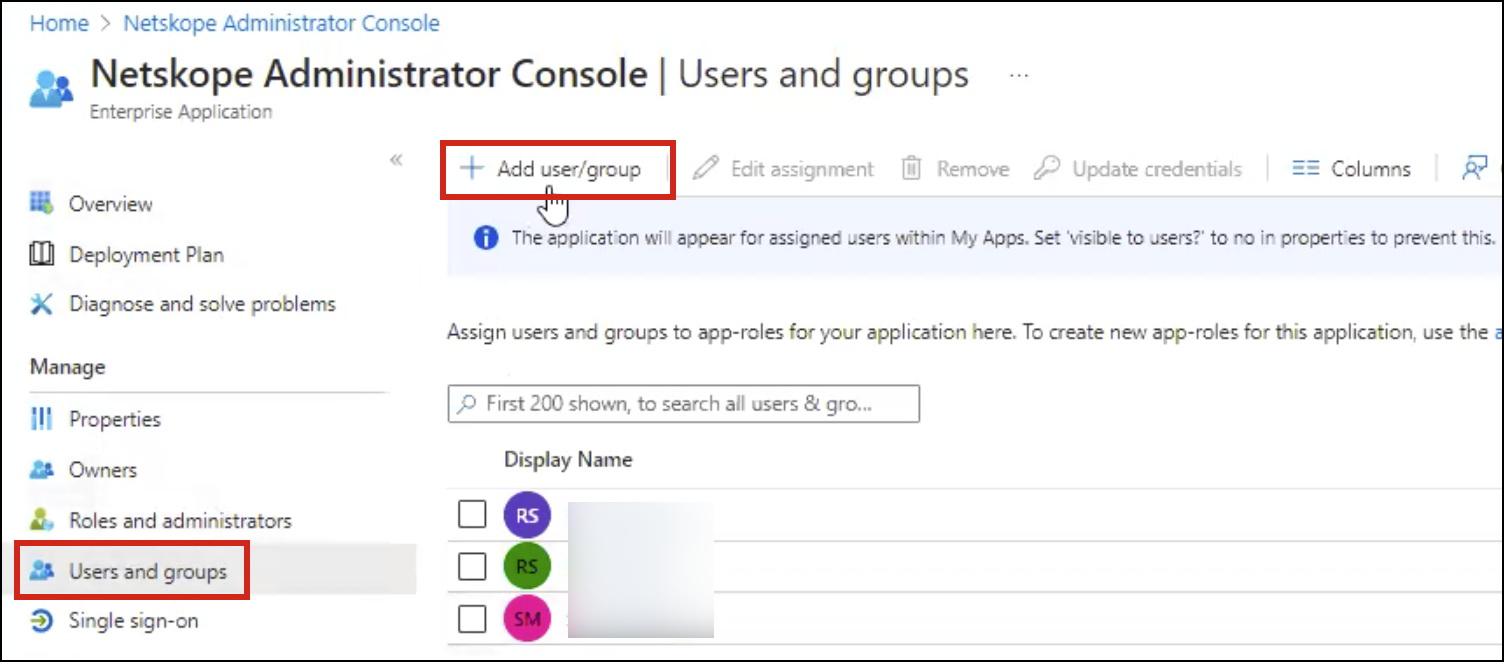
Go to Users and Groups and click Add user/group. Select users or group and then select a role. This role will be passed in the SAML assertion. When finished, click Assign.

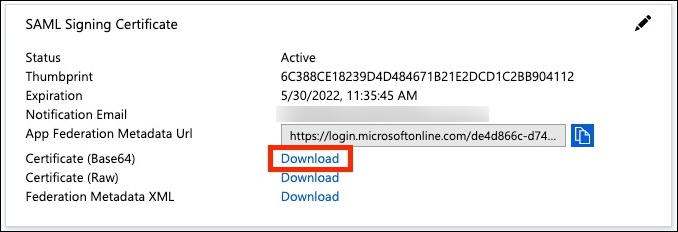
Go to Single Sign-On > SAML-based Sign-on, download the SAML Signing Certificate in Base64 format, and copy the Login URL, Azure AD Identifier, and the Logout URL.
Go back to the Netskope tenant, and under Settings > Administration > SSO > SSO/SLO Settings, select Edit Settings.

Check the boxes to Enable SSO and Sign SSO Authentication Request. See image below.
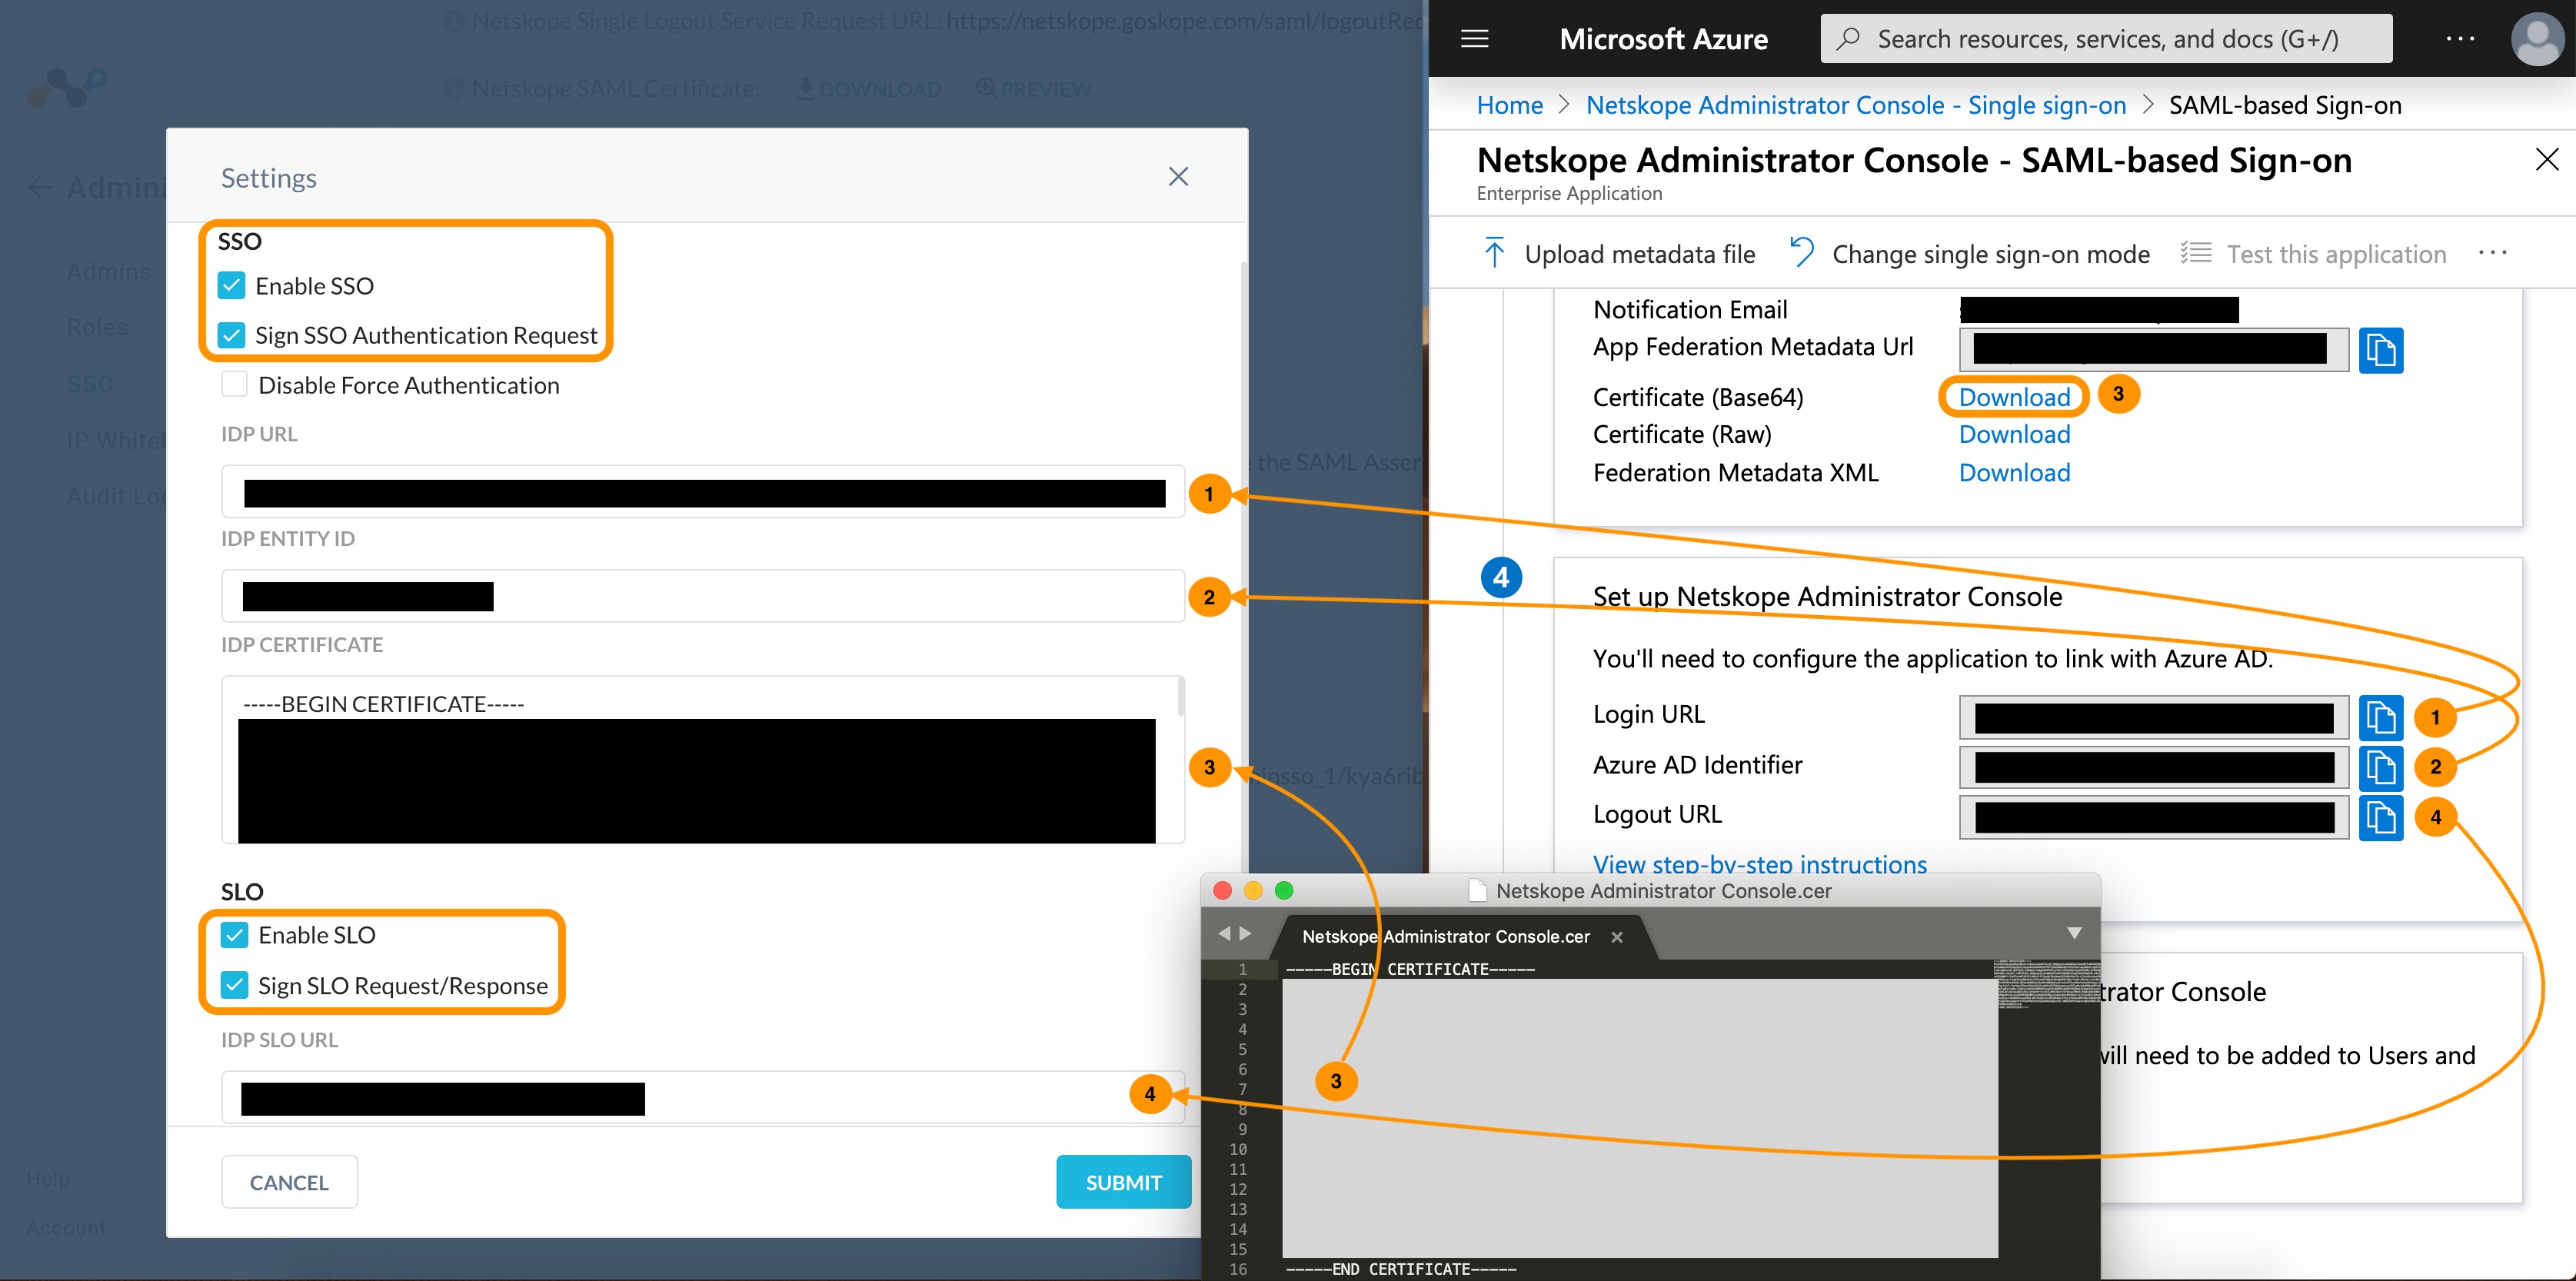
From the Azure Portal Netskope Administrator Console, copy the following info to Netskope.
Login URL to IDP URL
Azure AD Identifier to IDP Entity ID
The certificate you downloaded in step 10 to IDP Certificate.
Logout URL to IDP IDP SLO URL
Check the boxes to Enable SLO and Sign SLO Request/Response.
Click Submit.
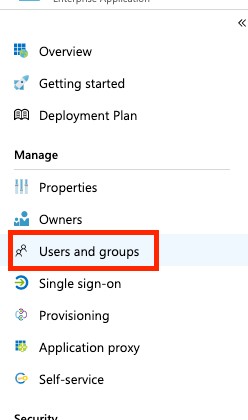
Go back to the Netskope Administrator Console Overview and select Users and groups:
Click Add user:

Click Users and groups and select the user(s) and group(s) who need access and then click Select.
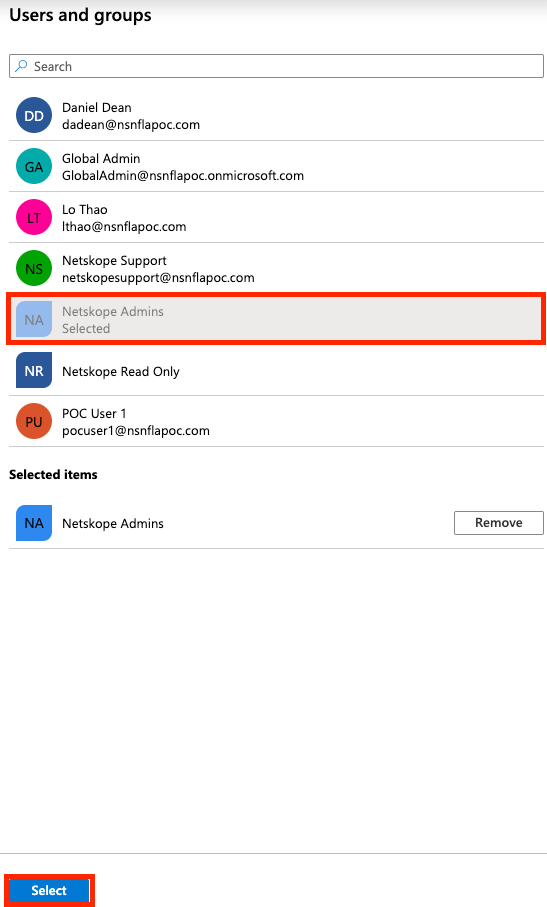
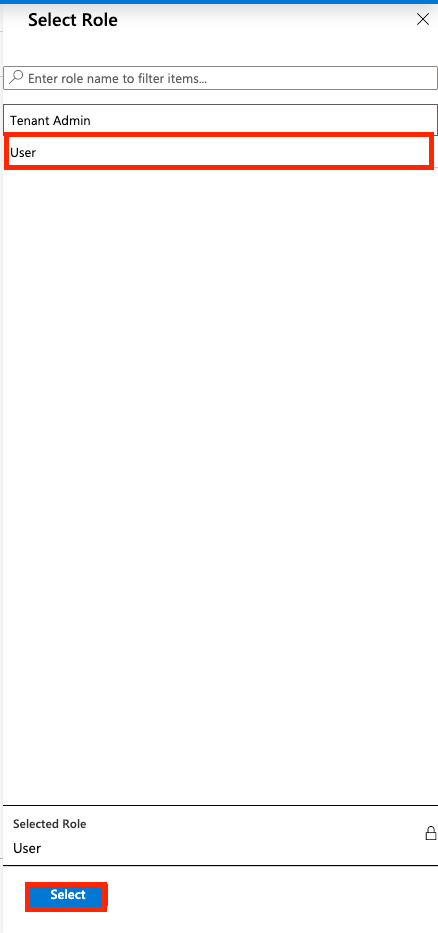
Click “Select Role”

Select the User role and click “Select.”
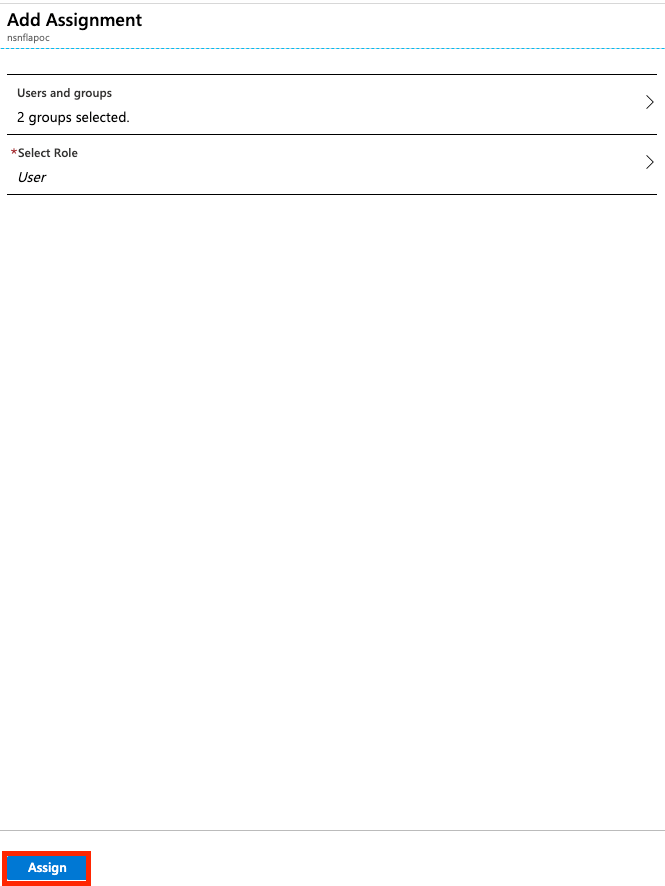
Click Assign.
This completes the setup. You can test by going directly to your tenant (tenantname.goskope.com) and verifying that SSO works. You can also try an Azure AD initated login as both should work.