CrowdStrike Falcon Identity Protection Plugin for User Risk Exchange
This document explains how to configure the CrowdStrike Identity Protect plugin with the User Risk Exchange module of the Netskope Cloud Exchange platform. This integration collects user emails and their scores from CrowdStrike’s Identity Protection platform to Netskope.
To complete this configuration, you need:
A Netskope tenant (or multiple, for example, production and development/test instances).
A Netskope Cloud Exchange tenant with the User Risk Exchange module already configured.
Your CrowdStrike instance credentials (Base URI, Client ID, Client Secret) for the API Token.
Permissions for the plugin.
Connectivity to the following hosts:
https://api.crowdstrike.com (Commercial cloud
api.crowdstrike.com)https://api.us-2.crowdstrike.com (US 2
api.us-2.crowdstrike.com)https://api.laggar.gcw.crowdstrike.com (Falcon on GovCloud
api.laggar.gcw.crowdstrike.com)https://api.eu-1.crowdstrike.com ( EU cloud
api.eu-1.crowdstrike.com)
Note
You need any one of the URLs as mentioned above for the plugin.
API Details
We’ve used the falconpy (1.2.11) SDK for developing this plugin. Refer to the approach mentioned in this document for more details.
We’ve used the api_preempt_proxy_post_graphql method of the falconpy SDK, which internally uses the /identity-protection/combined/graphql/v1 API.
API swagger link: https://assets.falcon.crowdstrike.com/support/api/swagger.html#/identity-protection/api.preempt.proxy.post.graphql
Actions
Fetched record types | Users |
Actions | No Actions |
Permissions
Scope | Read | Write |
Identity Protection GraphQL | – | Yes |
Performance
Data | Time taken to store |
11002 | 1 minute 16 seconds |
50000 | 5 minute 39 seconds |
Get your CrowdStrike credentials.
Configure the Crowdstrike Plugin for User Risk Exchange.
Configure Business Rules for the CrowdStrike plugin.
Configure Actions for the CrowdStrike plugin.
Validate the CrowdStrike plugin.
Click play to watch a video.
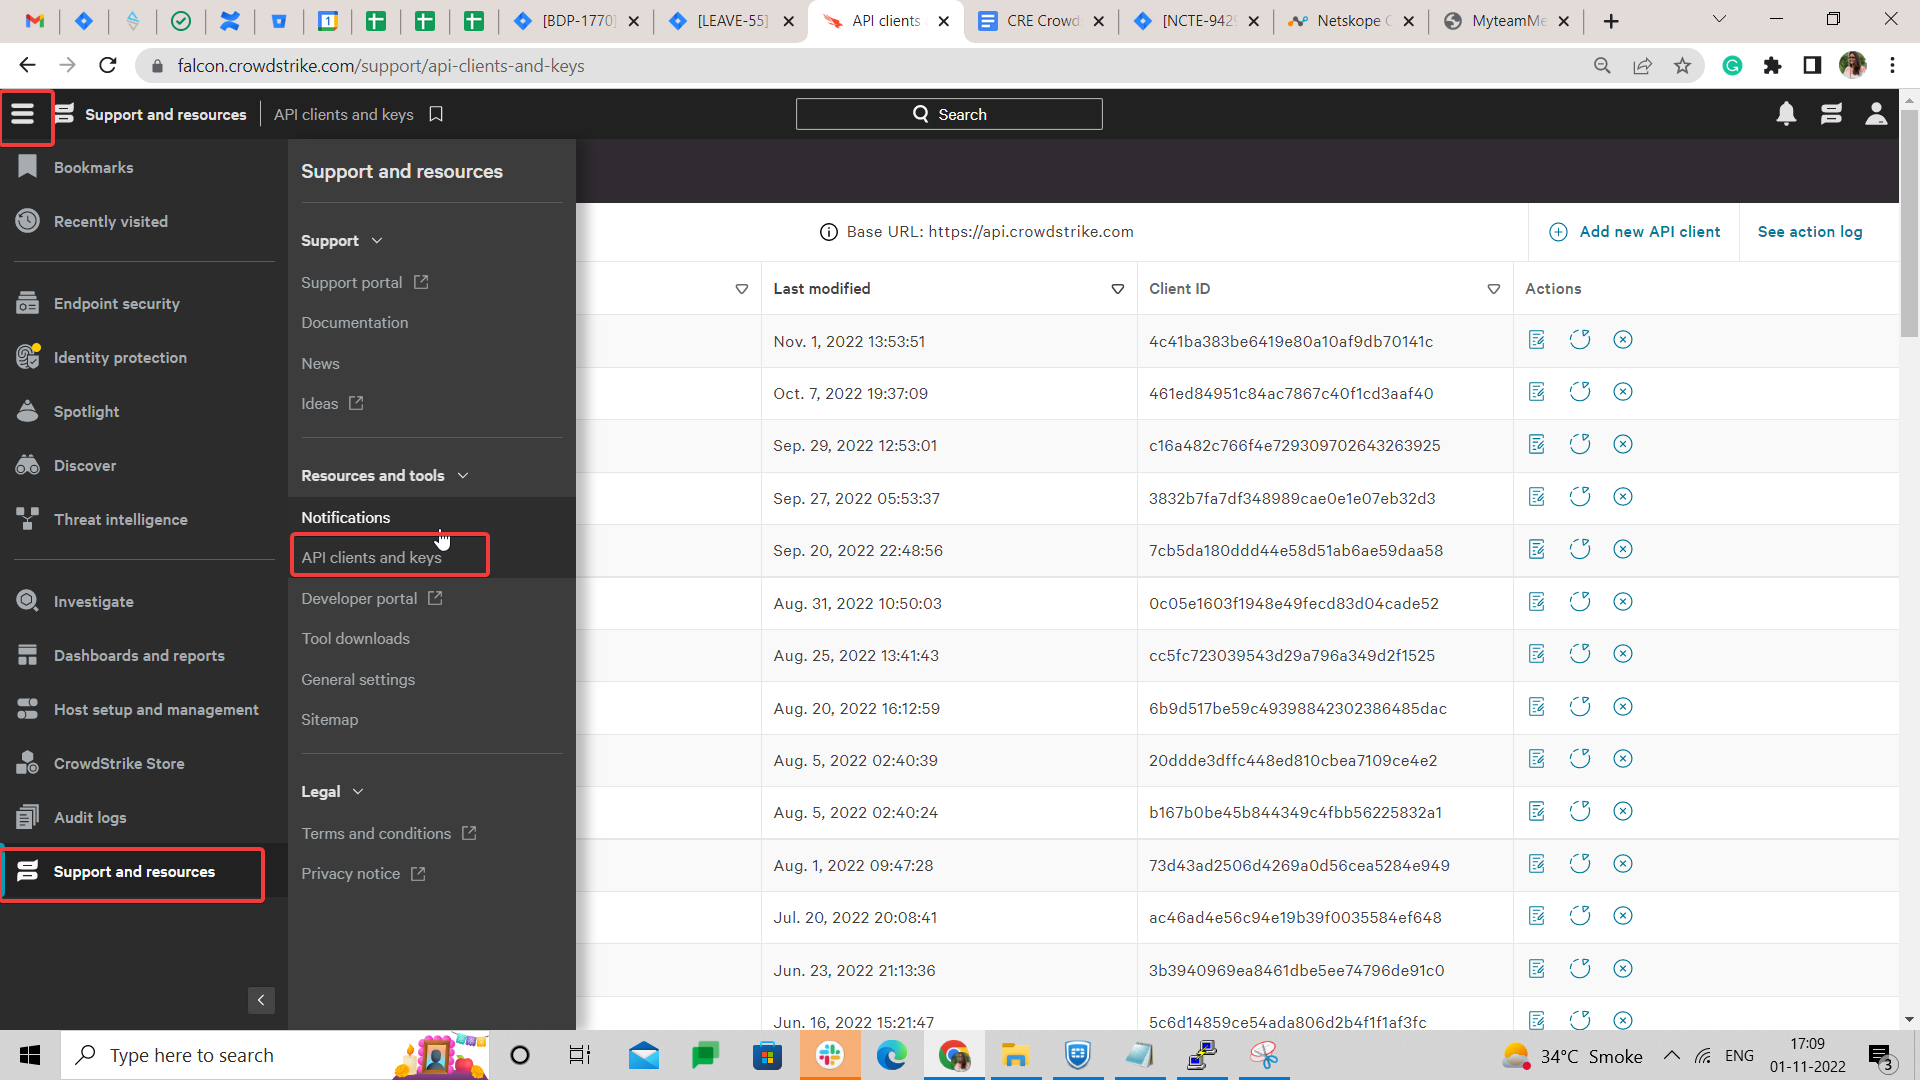
Log in into your Crowdstrike platform. Go to the Menu Icon > Support and then Resources > API Clients and Keys.
Click Add New API Client.
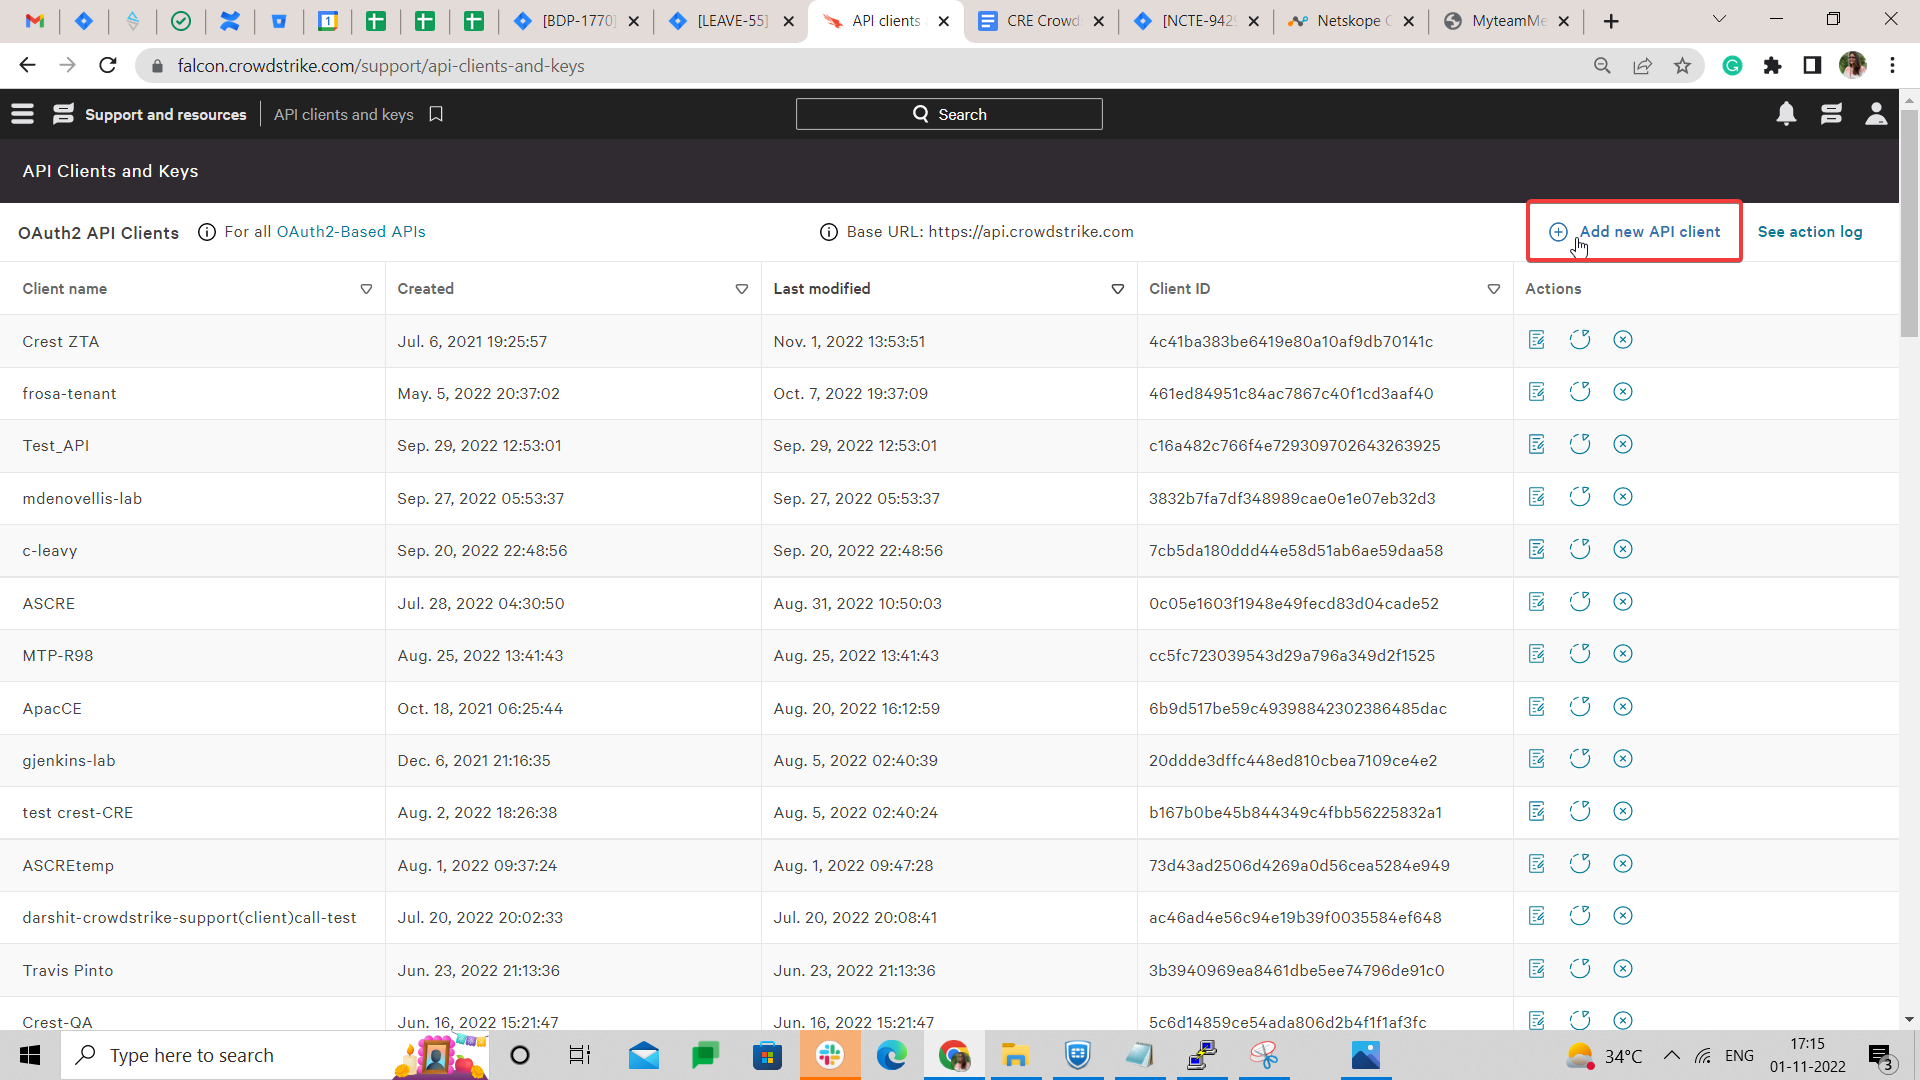
Add the following scopes while adding the API Client :
Scope
Read
Write
Identity Protection GraphQL
–
Yes
Copy the Base URL, Client ID, and Secret.
Save your changes.
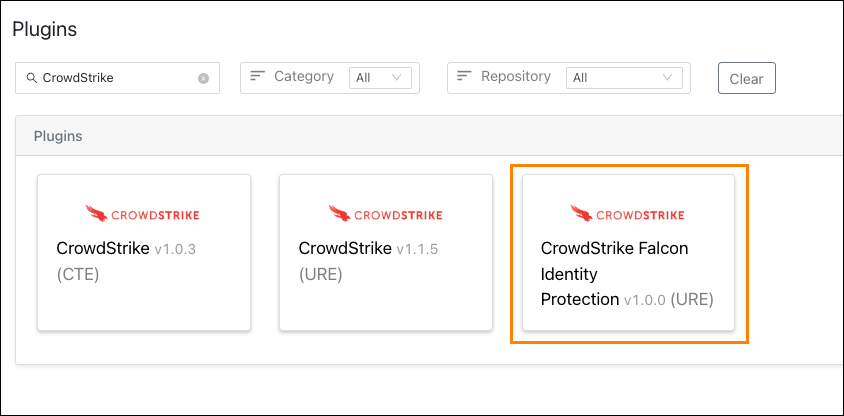
In Cloud Exchange, go to Settings > Plugins. Search for and click on the CrowdStrike Falcon Identity Protection (URE) plugin box.
Add a Configuration Name, Sync Interval, and Use System Proxy (if needed) for configuring the plugin.
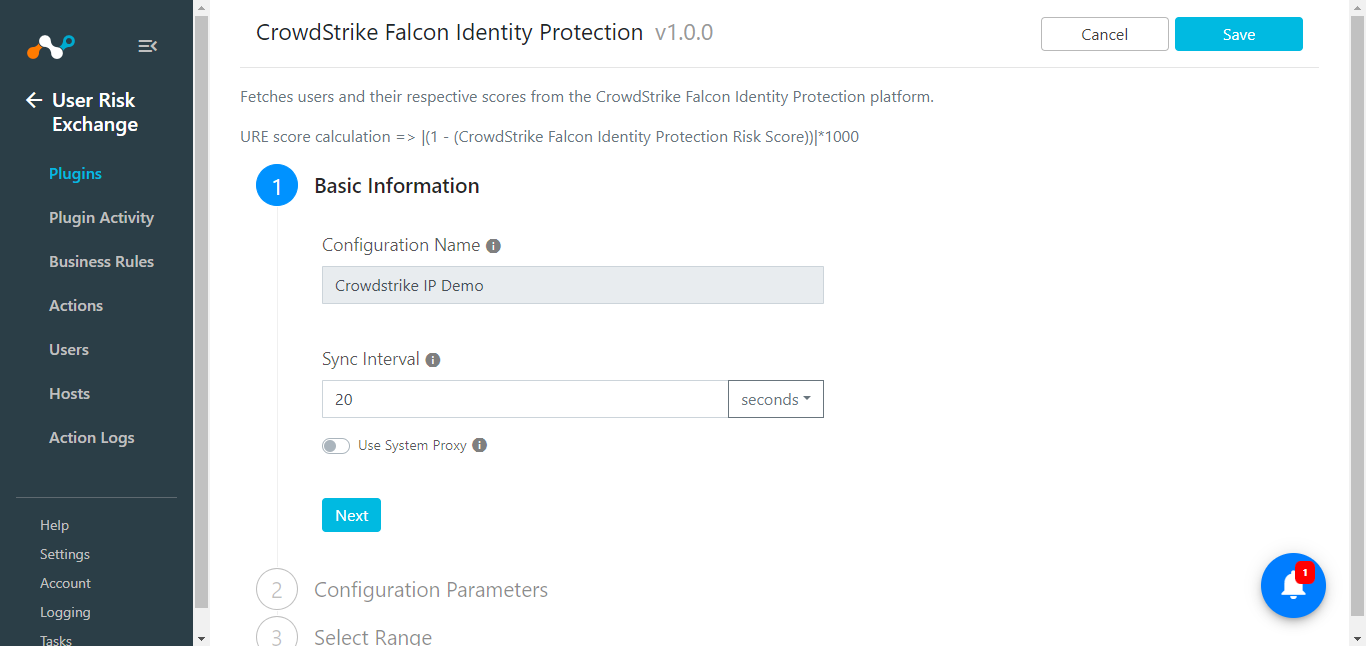
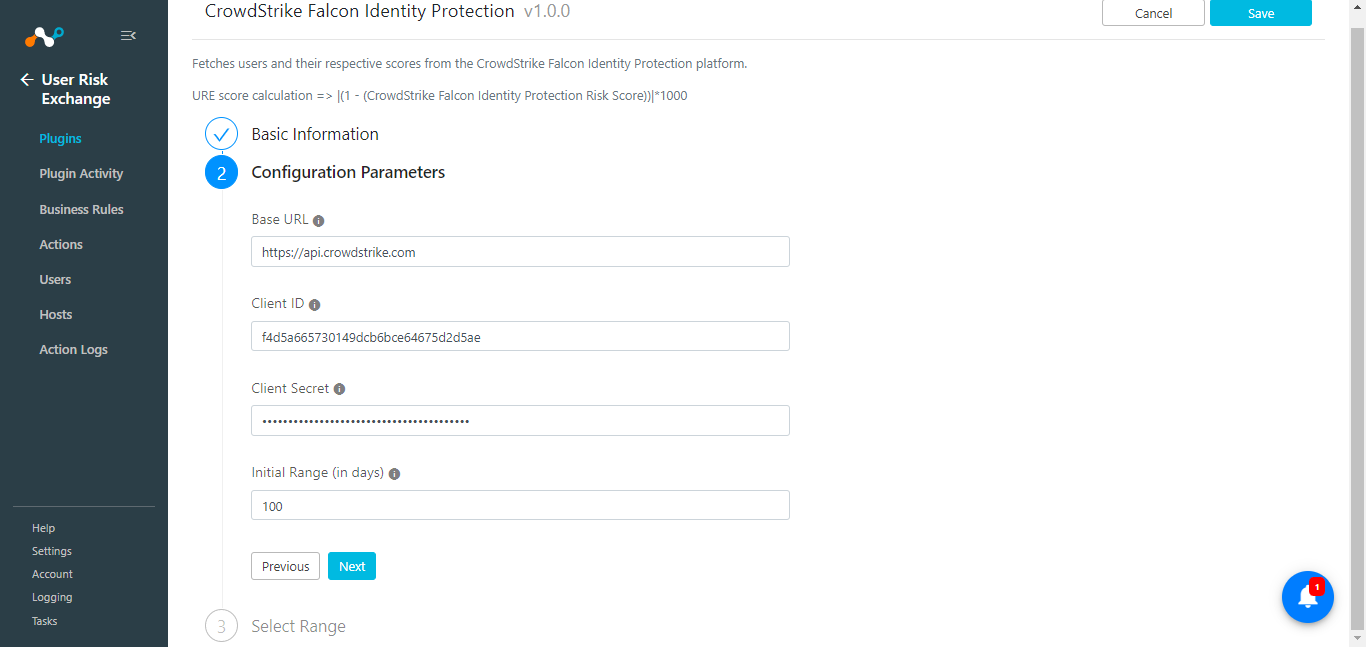
Click Next and enter the Base URL, Client ID, Client Secret, and an Initial Range.
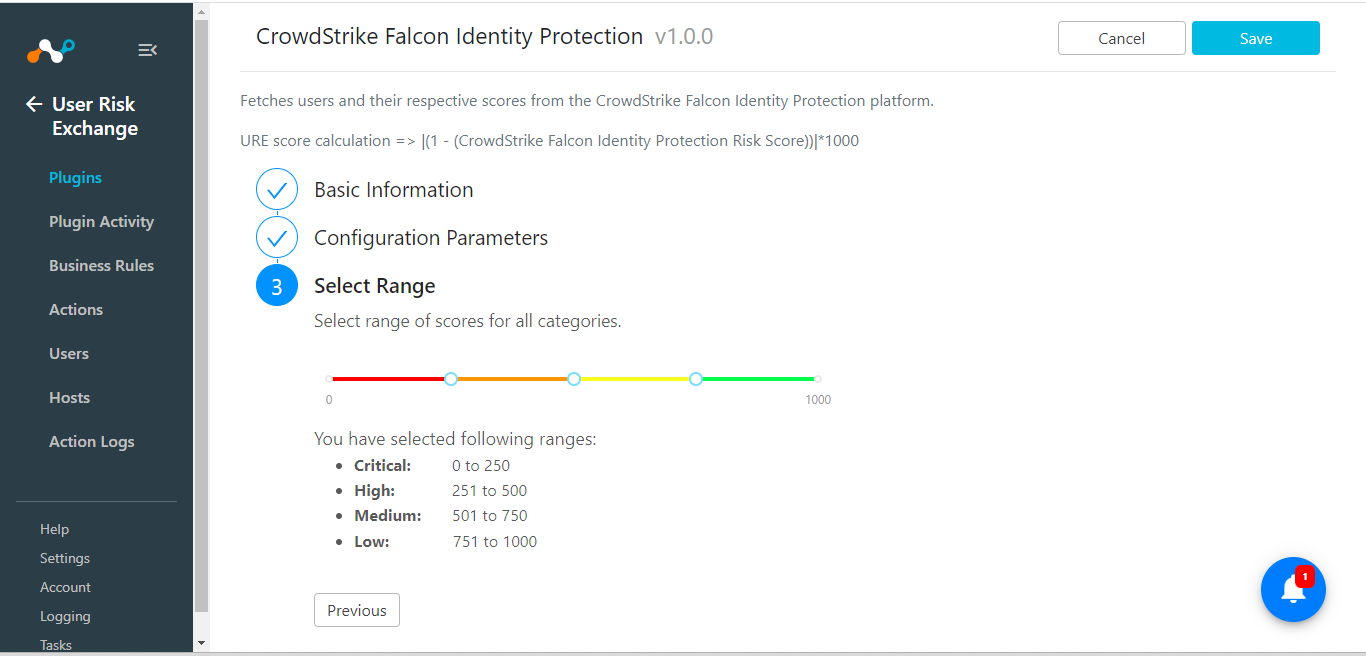
Click Next and set the score range from the Select Range page (recommend that you keep the default).
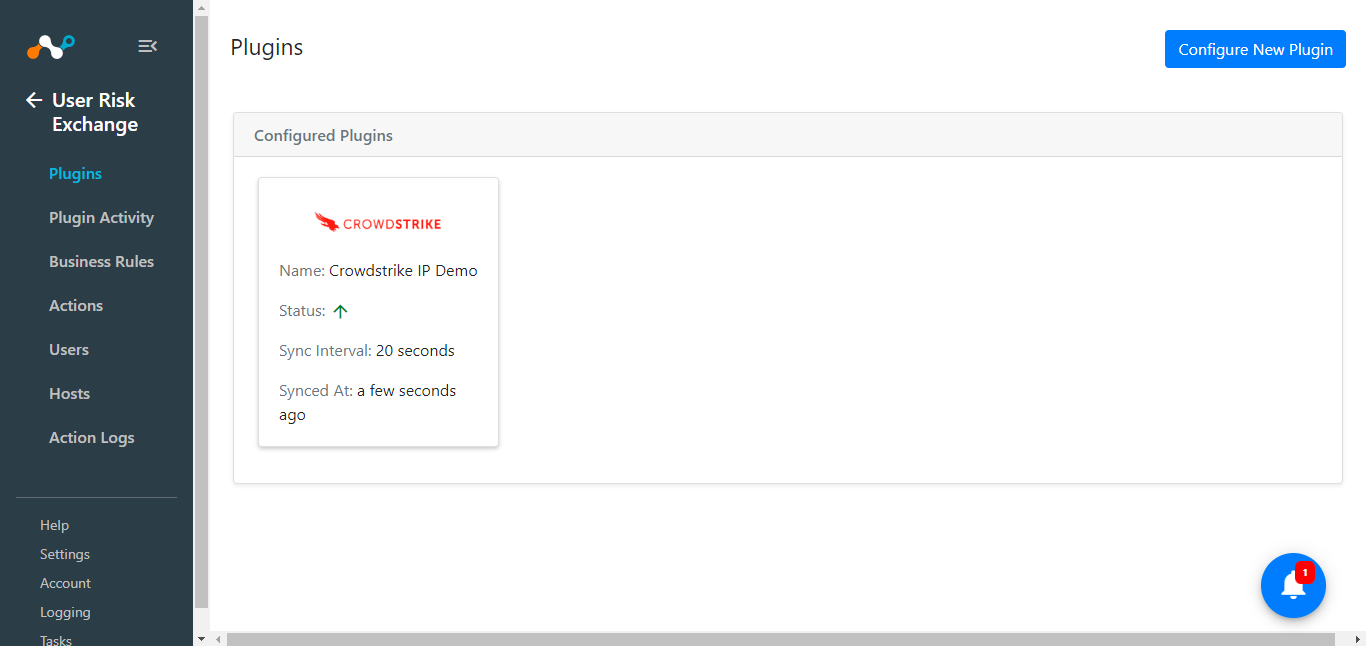
Your plugin configuration will be seen in User Risk Exchange > Plugins.
 |
Go to User Risk Exchange > Business Rule.
Click Create New Rule.
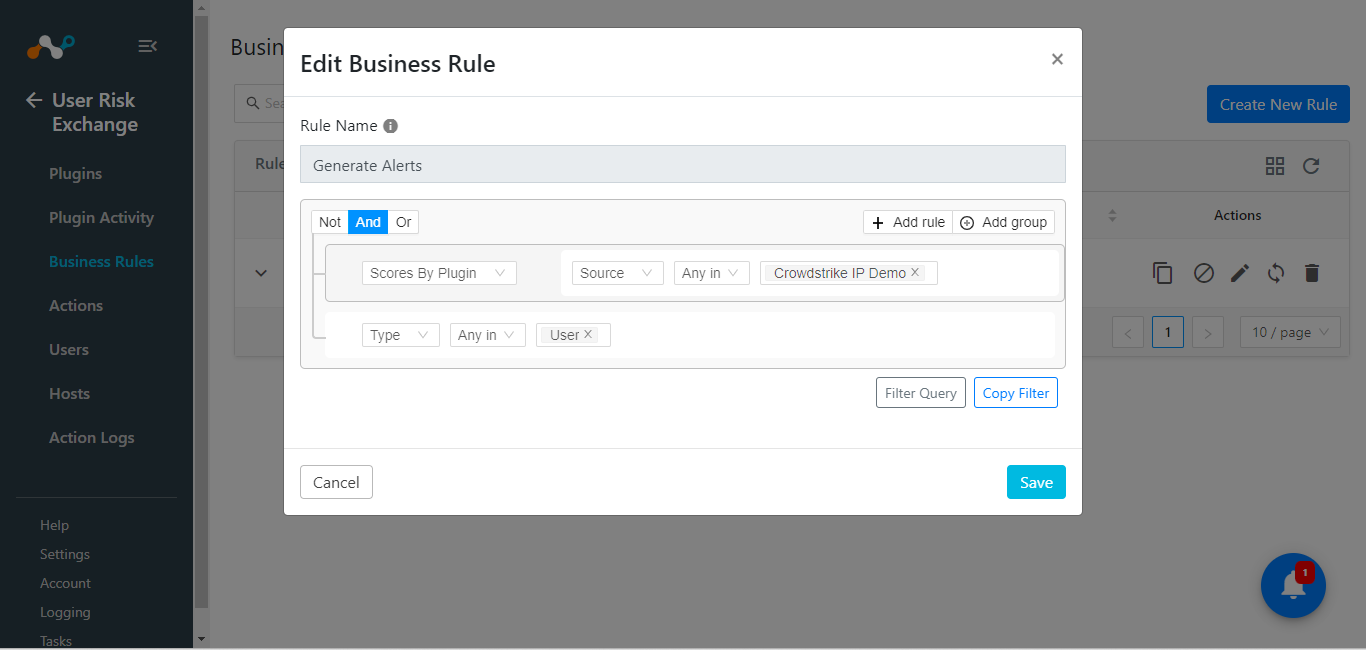
Enter the Rule Name and configure the query based on your requirements. The below example fetches all the users/hosts fetched by the Crowdstrike Identity Protection configuration.
Click Save.
The User Risk Exchange Crowdstrike plugin supports the following action types:
No Action: This action does not perform any action on the host but can generate alerts in CTO if generate Alerts is enabled.
To configure this action:
Go to User Risk Exchange > Actions.
Click Add Action Configuration.
Select a Business Rule, a plugin configuration, and leave the default action.
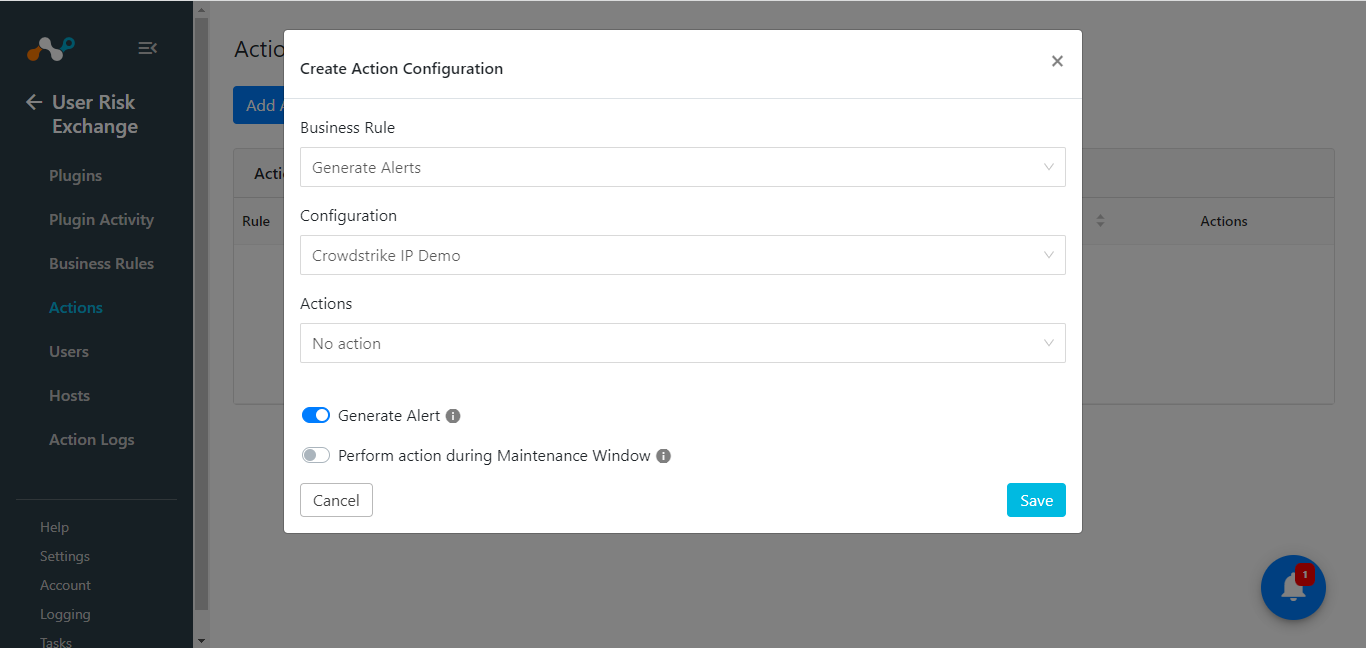
To generate Alerts in the Ticket Orchestrator module, enable Generate Alert, and similarly, enable Perform Action during Maintenance Window if you wish to perform this action during the Maintenance Window.
Click Save.
In Netskope Cloud Exchange:
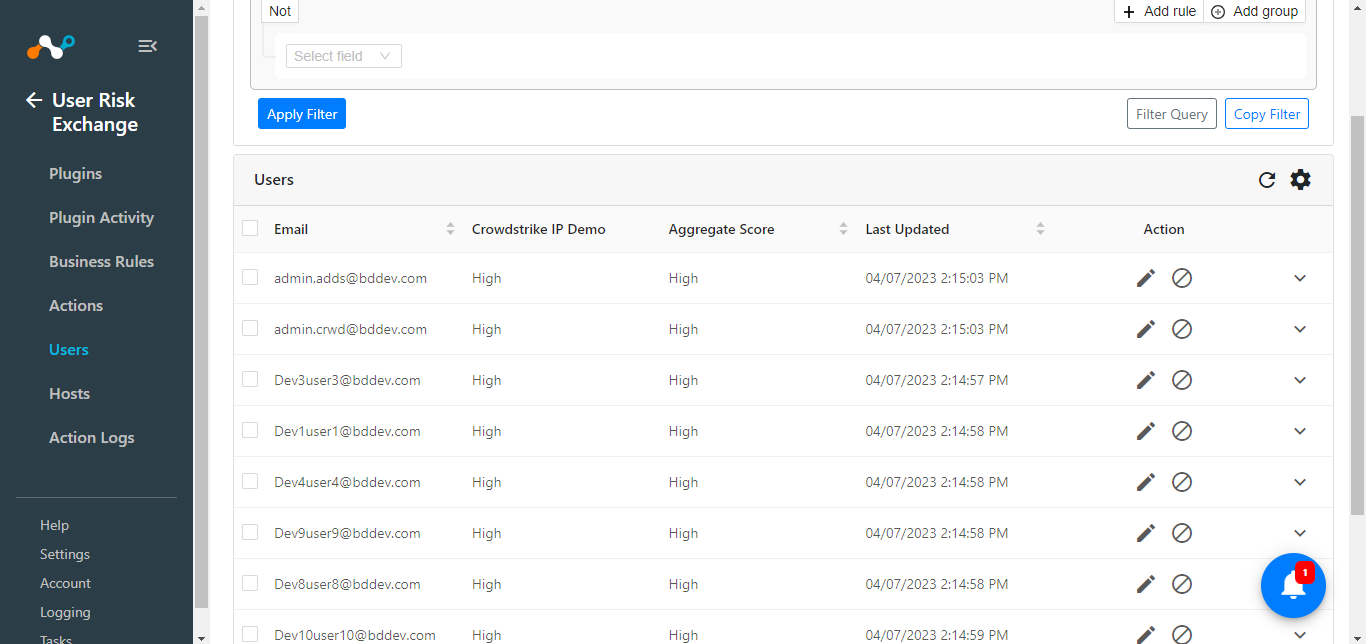
Go to the User Risk Exchange > Users.
You’ll see users similar to what is shown below.
 |
Note
The user score you’ll see will be different from what you see in the CrowdStrike Identity Protection Platform.
Formula to Convert CrowdStrike’s Identity Protection Risk Score to Netskope Cloud Exchange Risk Score
Netskope Risk Score scale: 0 - 1000 (0-maximum risk 1000- minimum risk)
CrowdStrike Risk score scale: 0 - 1 ( 0 -> minimum risk 1 -> maximum risk)
Formula: |(1 - (CrowdStrike Identity Protection Risk Score))| *1000
In the CrowdStrike Identity Protection Platform
Log in to CrowdStrike Falcon platform.
Go to Identity Protection > Users.
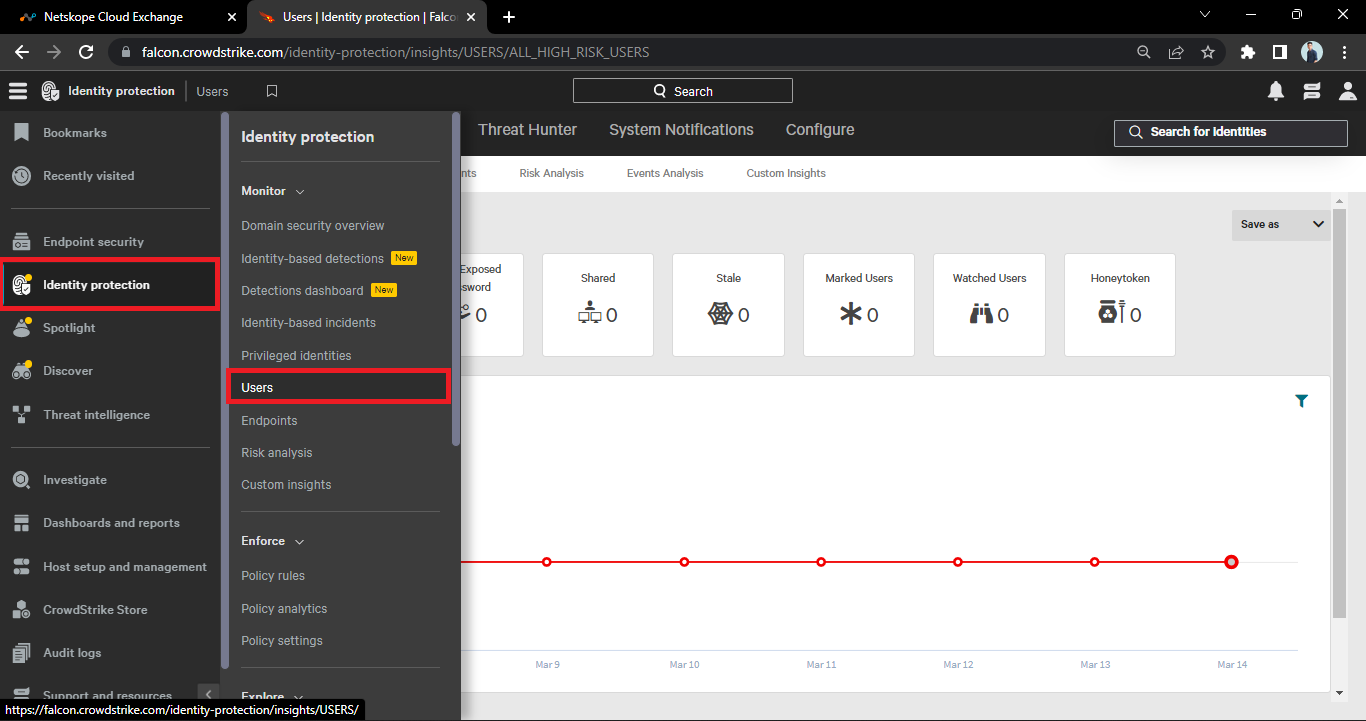
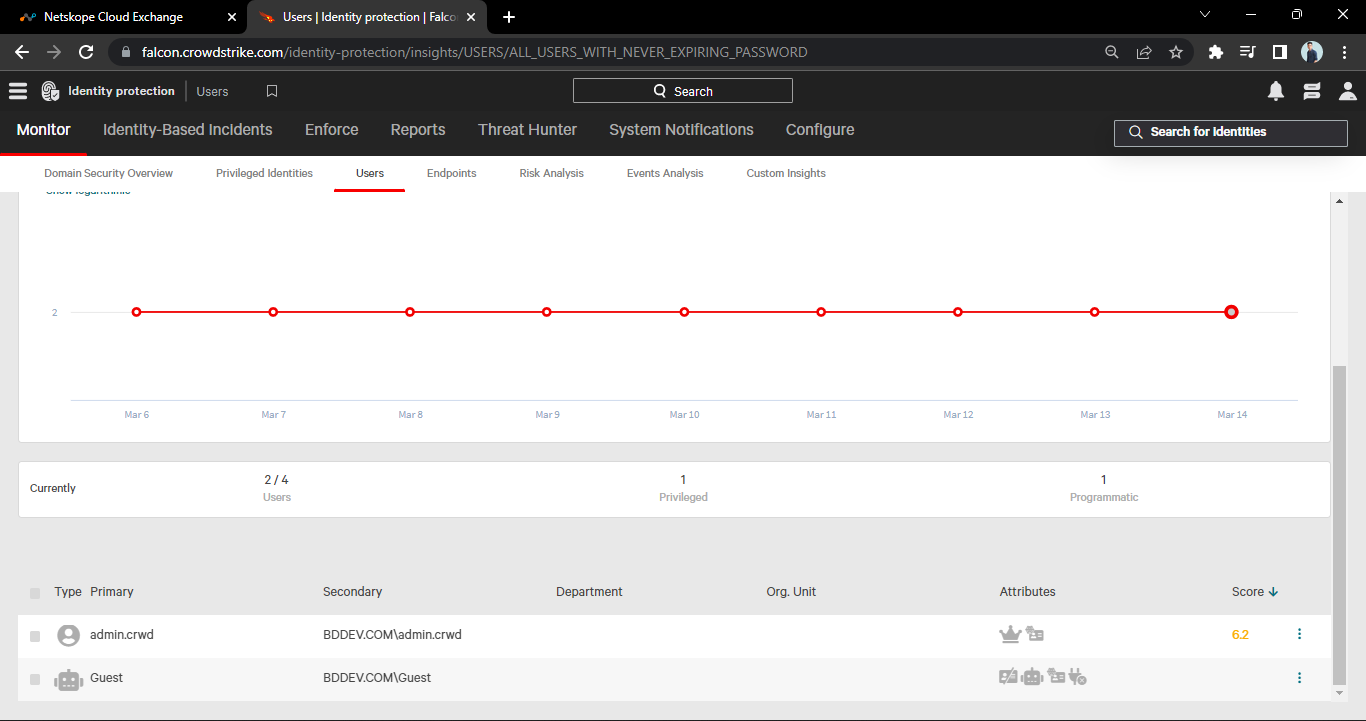
Here you’ll see the users. As shown in the below screenshot.
If the API response has no value in the emailAddresses field, the record will not be ingested.
If the API response has multiple email addresses in the emailAddresses field only the first value in emailAddresses will be pulled in CE.
The plugin will pull only the unarchived users from the CrowdStrike Identity Protection platform.