Configure API Data Protection for Forensics
Note
Netskope recommends to use a public cloud storage (like Azure Blob, AWS S3, or GCP Cloud Storage) as a forensic destination over a SaaS storage app. A SaaS storage app has the following limitations:
A SaaS storage app cannot scale for high frequency forensic write workloads. This may result in forensic data loss.
A SaaS storage app may force API rate limiting on high frequency write function.
If your environment anticipates a low frequency of forensic data writes, you can use a SaaS storage app as a forensic destination. Continue reading through this article. However, if you notice a significantly high volume of forensic data, move to a public cloud storage repository. To learn more: Forensics for Public Cloud.
This section explains how to configure API Data Protection for the Box app to use Incident Management Forensics, but you can follow these instructions to configure the API connector for other cloud apps that support the forensics feature.
To authorize Netskope to access your Box instance:
Log in to the Netskope tenant UI:
https://<tenant hostname>.goskope.com. Go to Settings > API Data Protection.Click the Box icon. and then click Setup Instance.

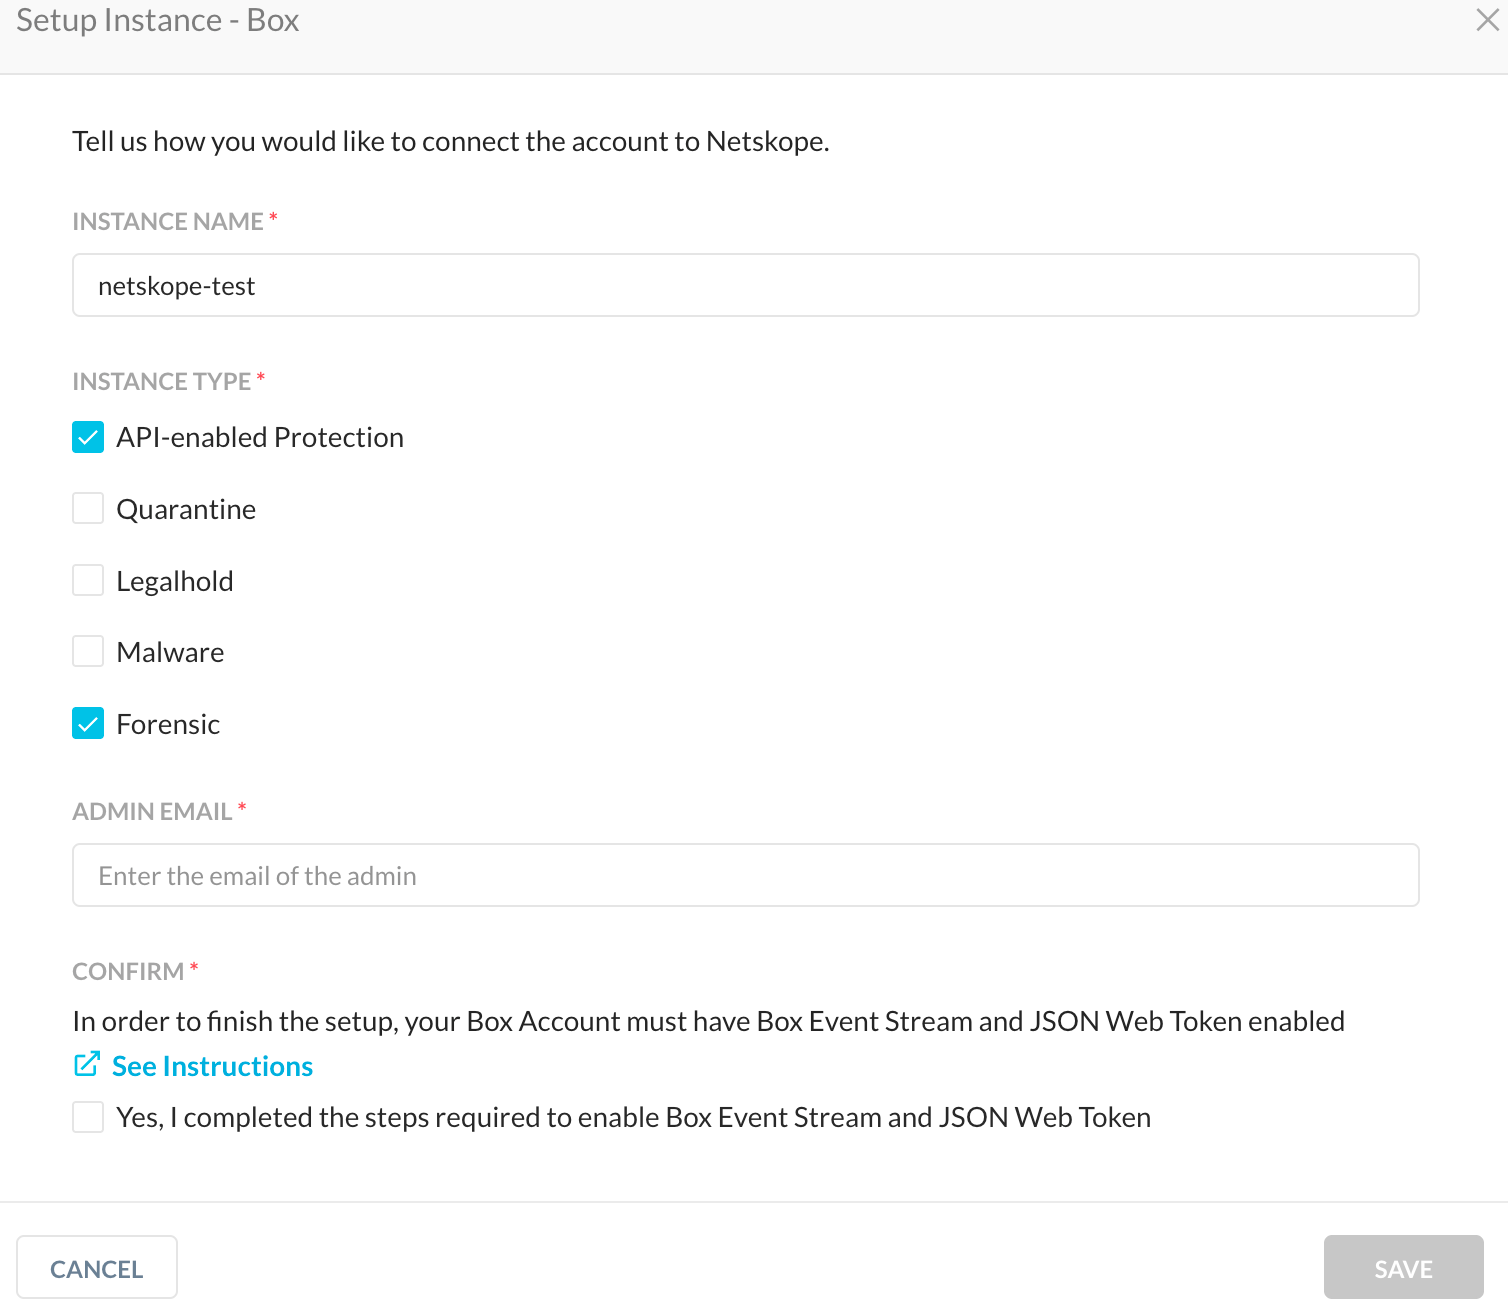
Enter an App Instance name for the Box instance; this name appears in the Instance list on the API Data Protection page. Enable the check-boxes API Data Protection and Forensics to use API Data Protection and store forensic data.
To use Forensics only for storing forensics data, just enable the Forensic checkbox.
Enter your admin email address.
Important
Netskope recommends a Box admin account to grant access to API Data Protection so that you can get full visibility of files and folders of all the users including co-admin users. If you use a co-admin account to grant access, note the following limitations:
You cannot see files and folders of an admin and other co-admin accounts in the Netskope UI.
You cannot set a policy for files and folders belonging to an admin and other co-admin accounts.
Click Save, then click Grant Access for the app instance you just created. You will be prompted to log in with your admin username and password, and then click Grant. When the configuration results page open, click Close.
Refresh your browser to see a green check icon next to the instance name.
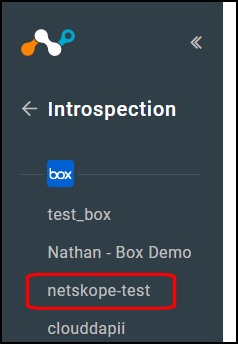
Click API Data Protection in the Netskope tenant UI. If you see your Box instance listed in the left pane, your API connector configuration is complete.
