Mimecast Plugin for User Risk Exchange
This document explains how to configure Mimecast with User Risk Exchange in the Netskope Cloud Exchange platform. This integration enables seeing multiple connected systems’ risk values for individual users and groups.
To complete this configuration, you need:
A Netskope tenant (or multiple, for example, production and development/test instances).
A Netskope Cloud Exchange tenant with the User Risk Exchange module already configured.
A Mimecast Instance with an account having a subscription to the Awareness Training package for fetching user risk scores.
Obtain the Mimecast credentials.
Configure the Mimecast plugin.
Configure Actions for the Mimecast plugin.
Validate the Mimecast plugin.
Click play to learn more about how this plugin works.
Log in to your Mimecast instance.
Make note of the region in Mimecast Instance URL. It will be in the form of
https://login-<region>.mimecast.com/...Create a new user:
Go to Administration > Directories > Internal Directories to display a list of internal domains.

Select the internal domain where you would like to create your new user.
Click New Address on the menu bar.

Complete the new address form by setting a new email address, user’s password, and phone number (required for 2FA). Click Save and Exit to create the new user.
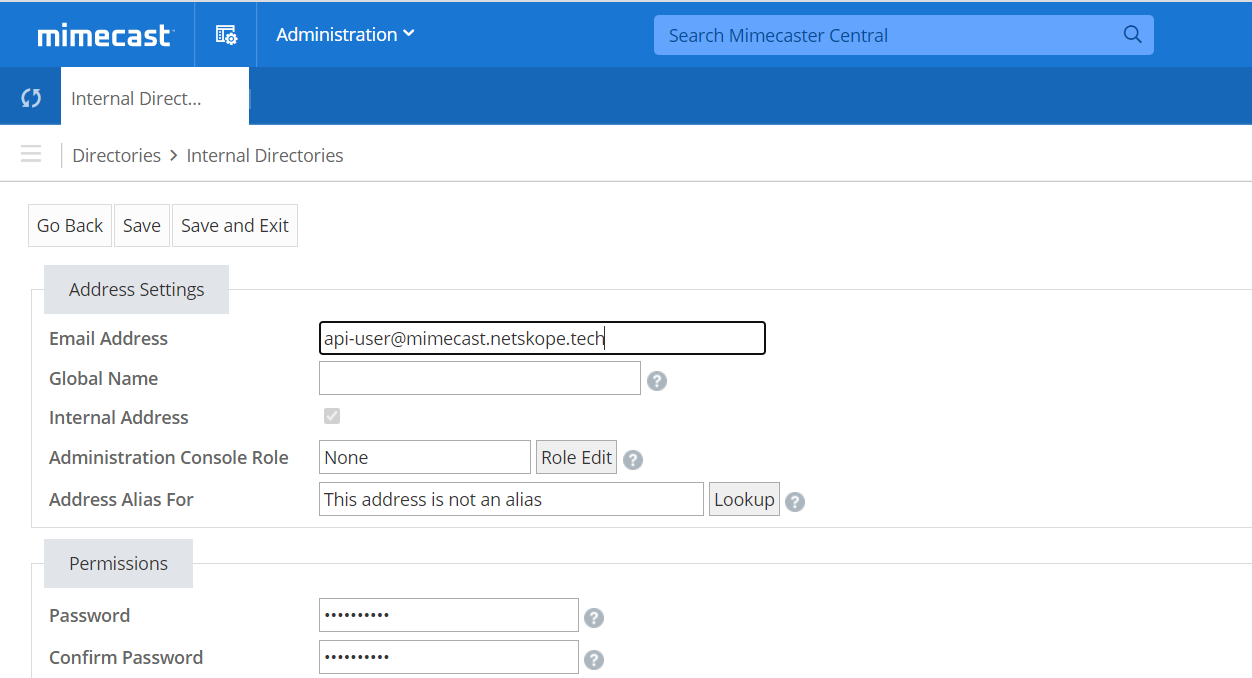
Keep a note of the password because you will use this to get your Authentication Tokens at a later stage.
Add the newly created user to an Administrative Role:
Go to Administration > Account > Roles to display the Roles page.
Right-click the Basic Administrator role and select Add users to role.
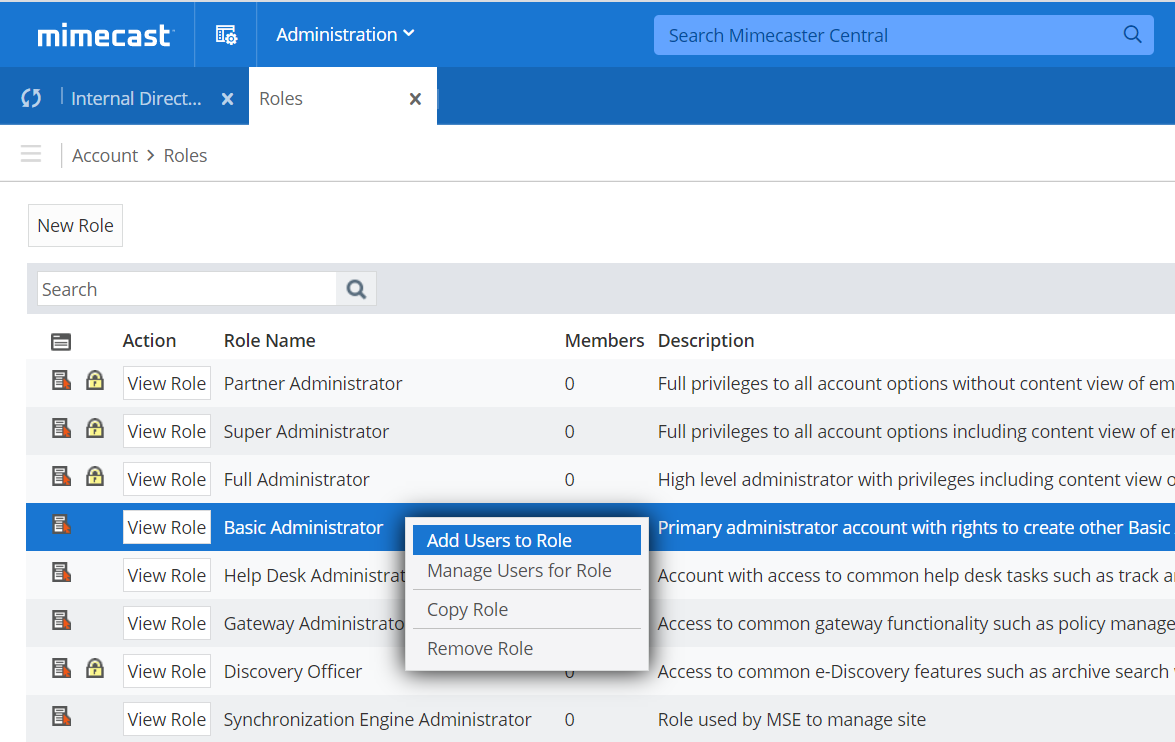
Browse or search to find the new user created previously.
Select the checkbox to the left of the user.
Click Add selected users to add the user to the role.

Create a new group and add your new user>
Go to Administration > Directories > Profile Groups to display the Profile groups page.
Create a new group by selecting the plus icon on the parent folder where you would like to create the group. This creates a new group with the name New Folder.
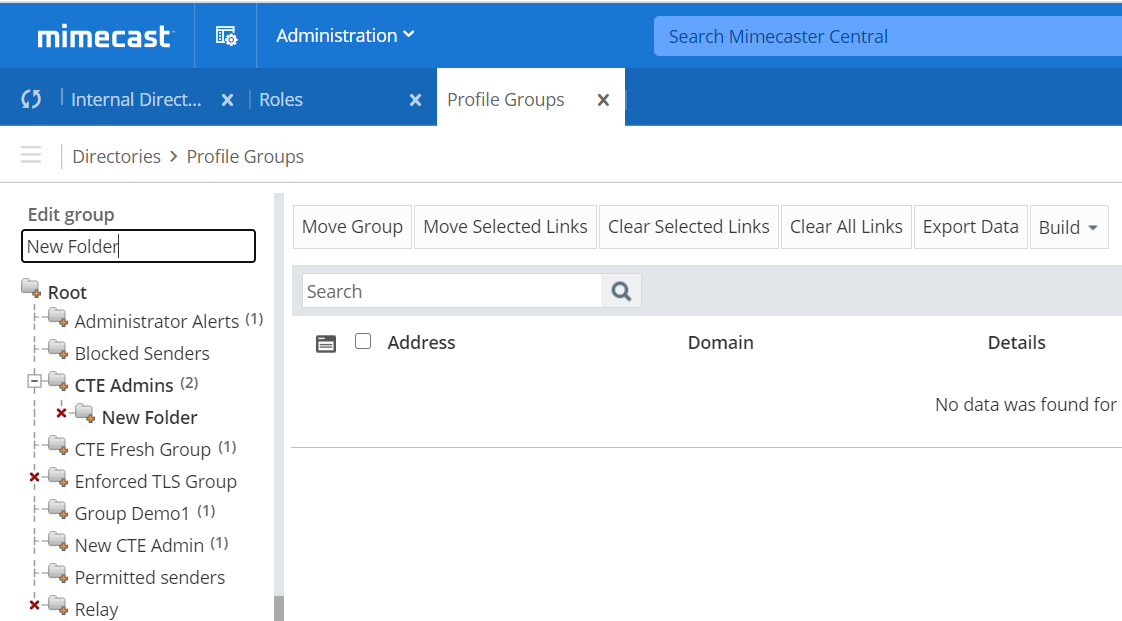
To rename the group, select the newly created New Folder group. Then from the Edit group text box, enter the name you want to give the folder, for example, Risk Exchange Admin, and then press Enter to apply the change.
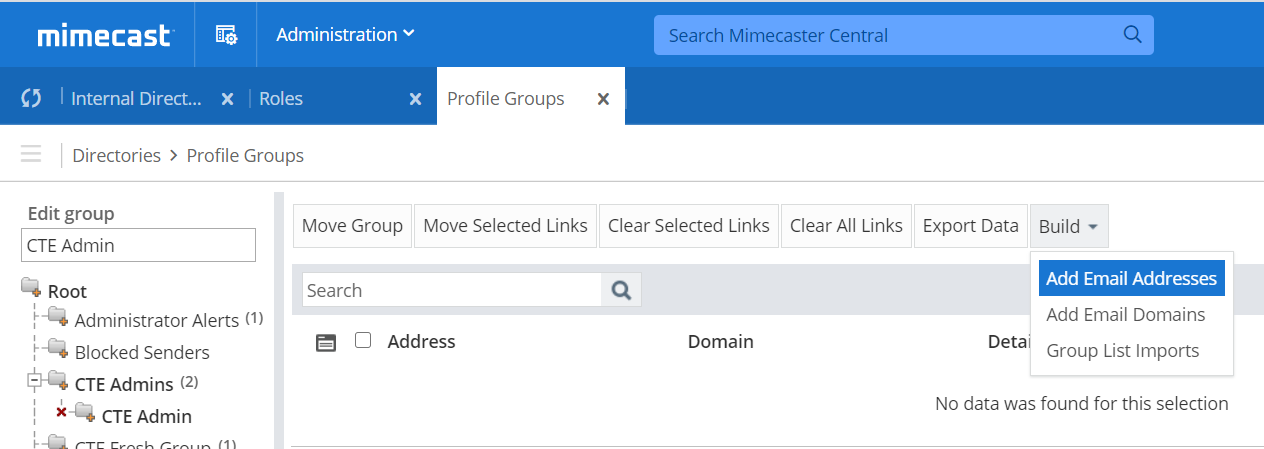
With the group selected, click on the Build dropdown list and select Add Email Addresses.
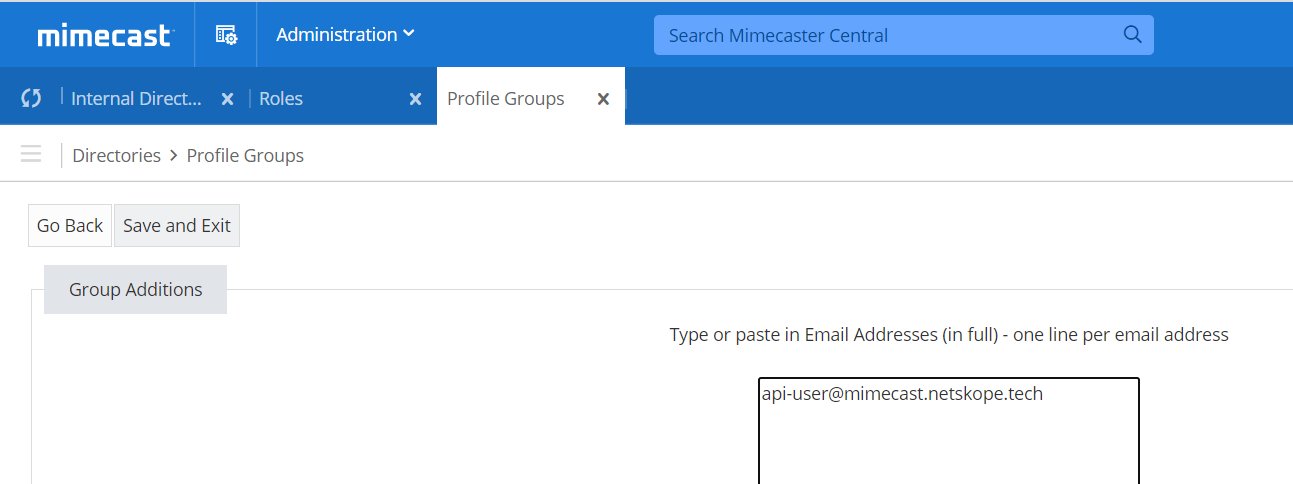
Type the name of the new user created previously.
Select Save and Exit to add the new user to the group.
Create a new Authentication Profile:
Go to Administration > Services > Applications to display the Application Settings page.
Click Authentication Profiles.
Select the New Authentication Profile button.
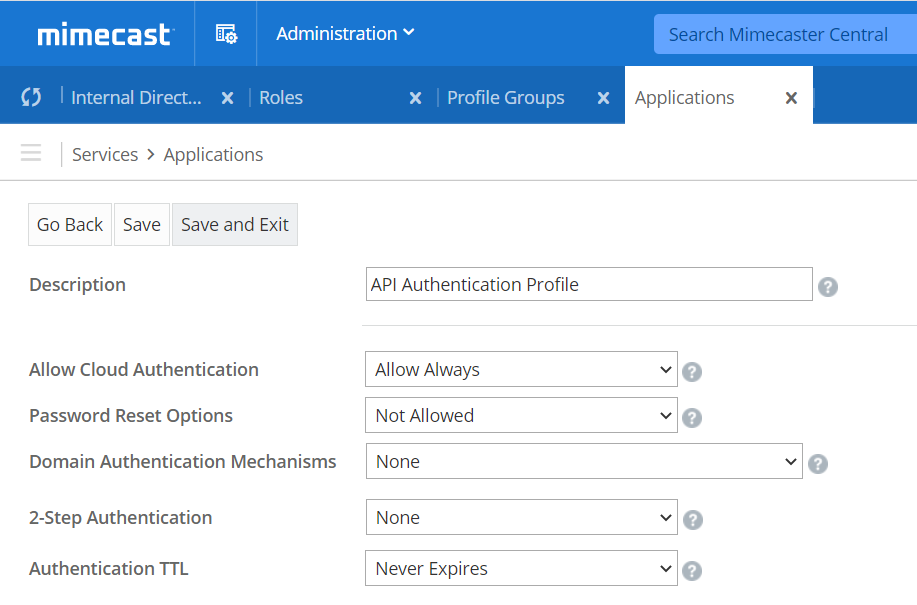
Type a Description for the new profile.
Set the Authentication TTL setting to Never Expires. This ensures that when you create your Authentication Token, it will not expire and impact the data collection of the app.
Leave all other settings as their default.
Select Save and Exit to create the profile.
Create a new Application Setting:
Go to Administration > Services > Applications to display the Application Settings page.
Click New Application Settings.
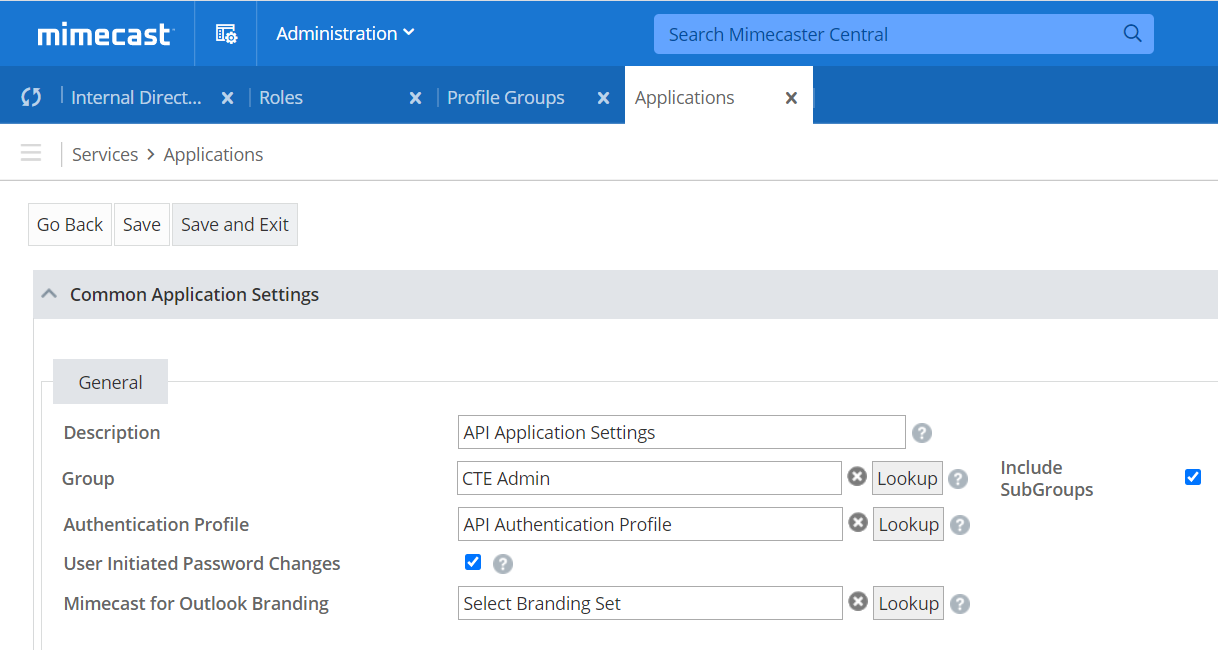
Type a Description.
Click the Group Lookup button and select the Group that you created previously.
Click the Authentication Profile Lookup button and select the Authentication Profile created previously.
Leave all other settings defaults.
Click Save and Exit to create and apply the Application Settings to your new group and user.
Create a new API application:
Go to Administration > Services > API Applications to display the available API Applications.
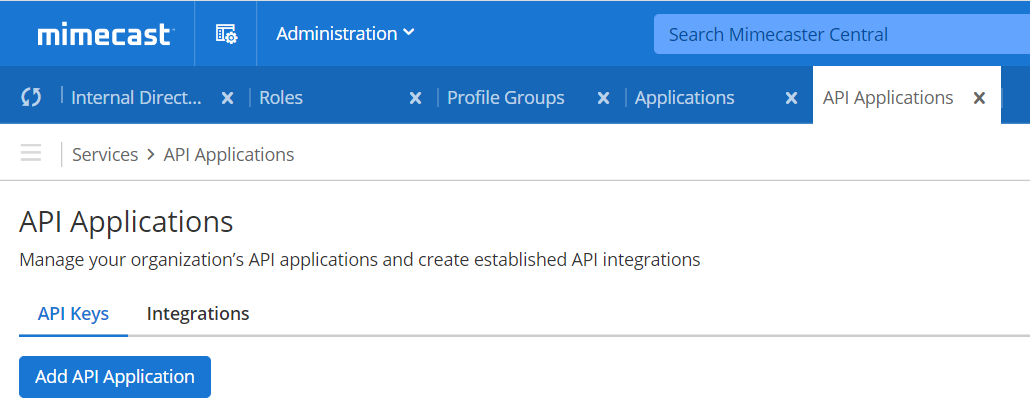
Click Add API Application to create a new API application to be used.
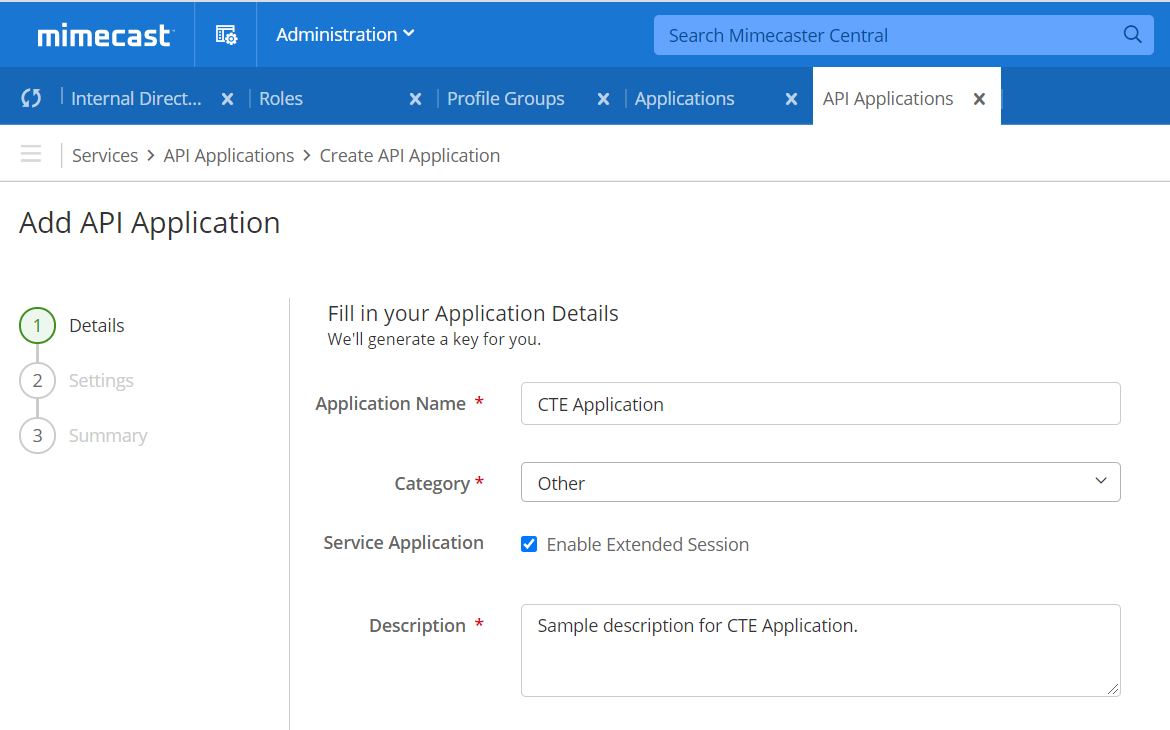
Fill out the form with appropriate information. Check Enable Extended Session, which ensures your API token will never expire. Select Other for Category, and then click Next.
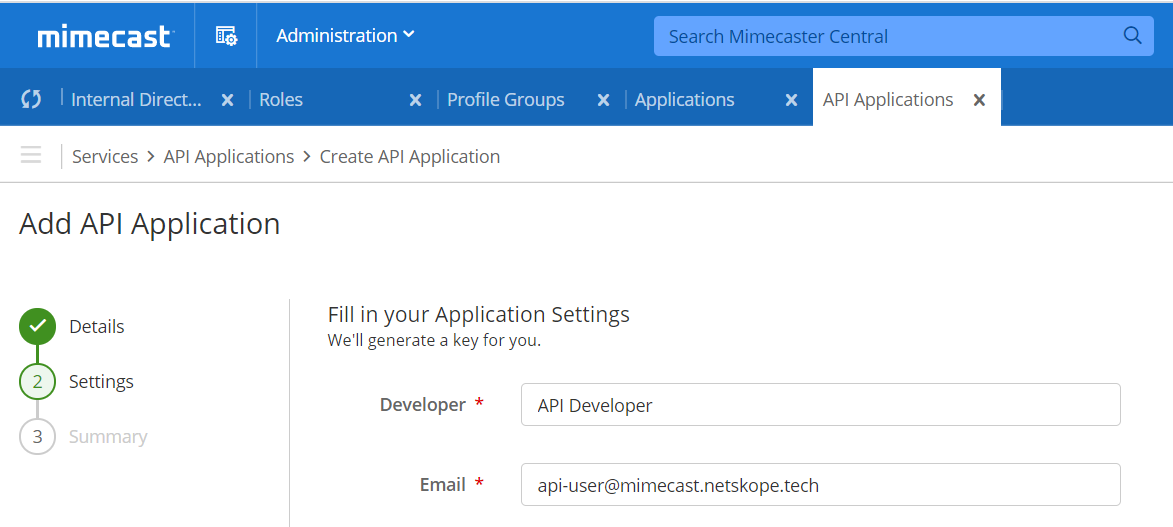
Enter the appropriate Developer Name and enter the Email address created previously, which links the user's application/profile settings to the API application. Click Next button.
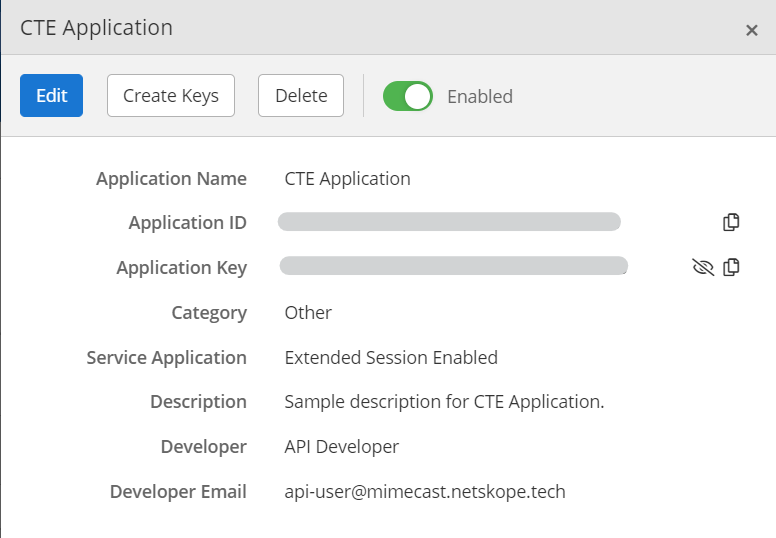
Review the entered configuration parameters, edit them if required, and then click Add.
Your API application will be created and its details will be displayed. Click on the small “eye” icon beside the Application Key to view it. Copy the Application ID and Application Key.
Get Access key and Secret Key:
The Keys can be generated only after 30 minutes of creating a new API application.
Go to Administration > Services > API Applications menu item to display the available API Applications.
Click on the newly created API application and then click Create Keys.
Enter the email address of the user created previously, and then click Next.
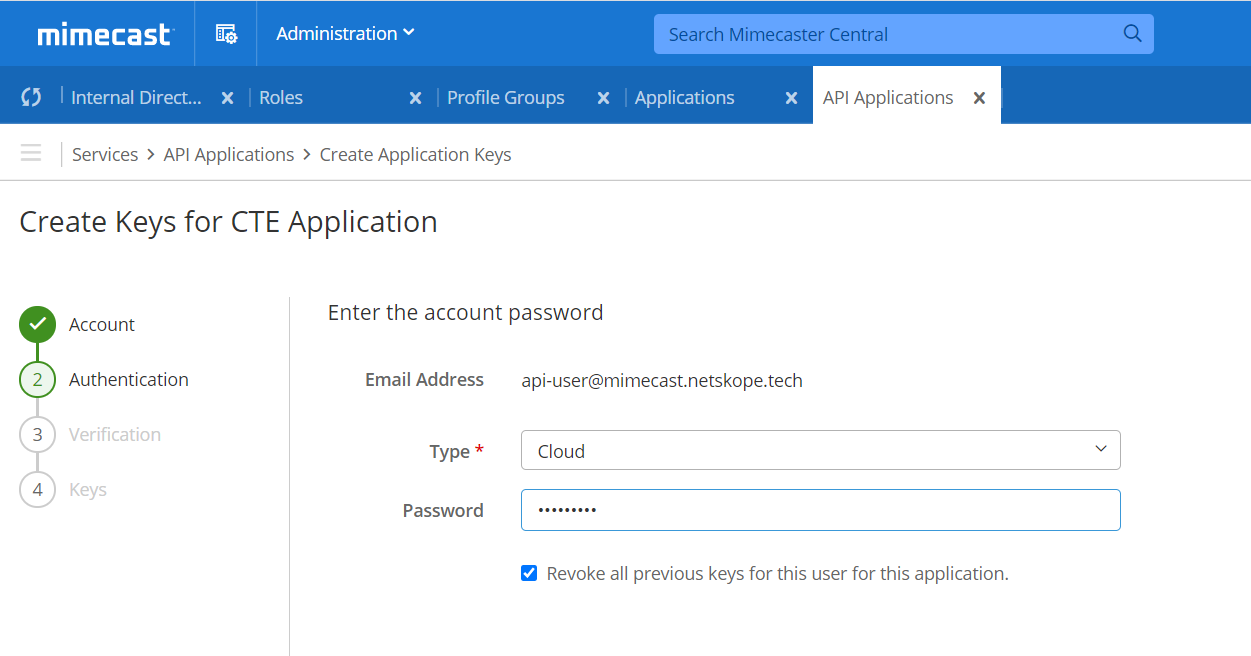
For Type select Cloud and enter the password of the user created previously, and then click Next.
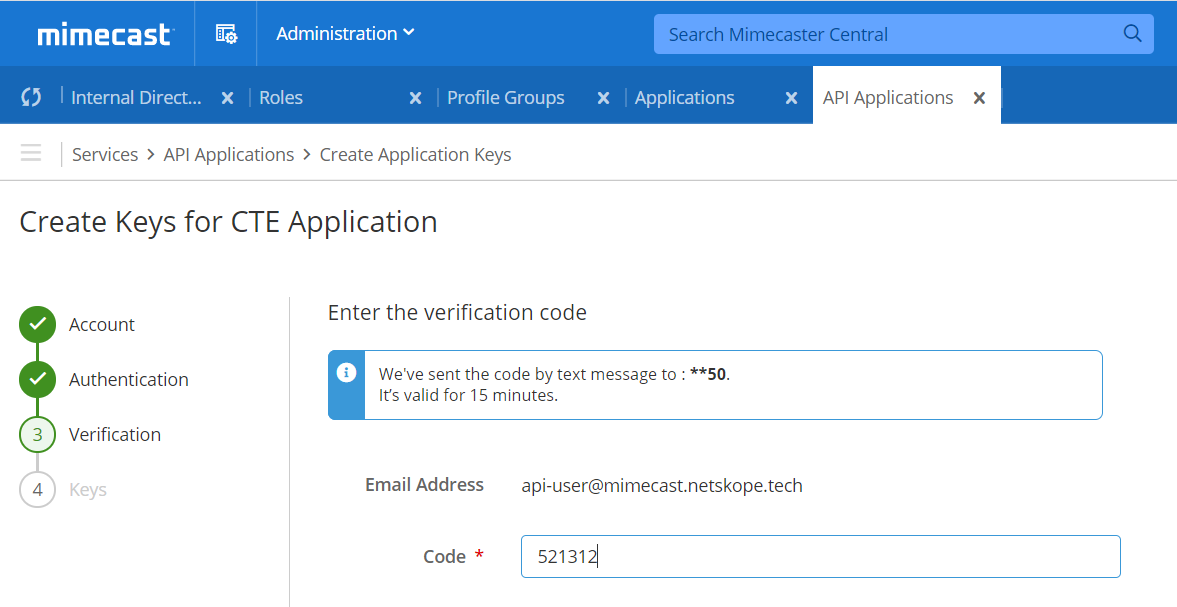
An OTP (Code) will be generated and sent to the user's mobile device. Enter the OTP here and click Next.
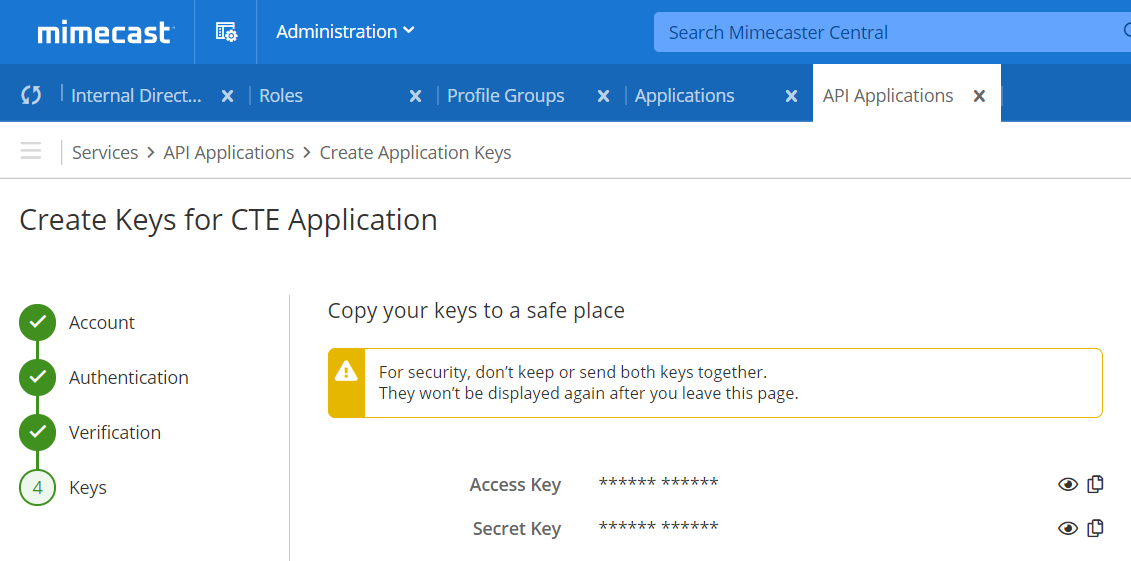
Note down both of the keys displayed by pressing the small eye icons. Click Close.
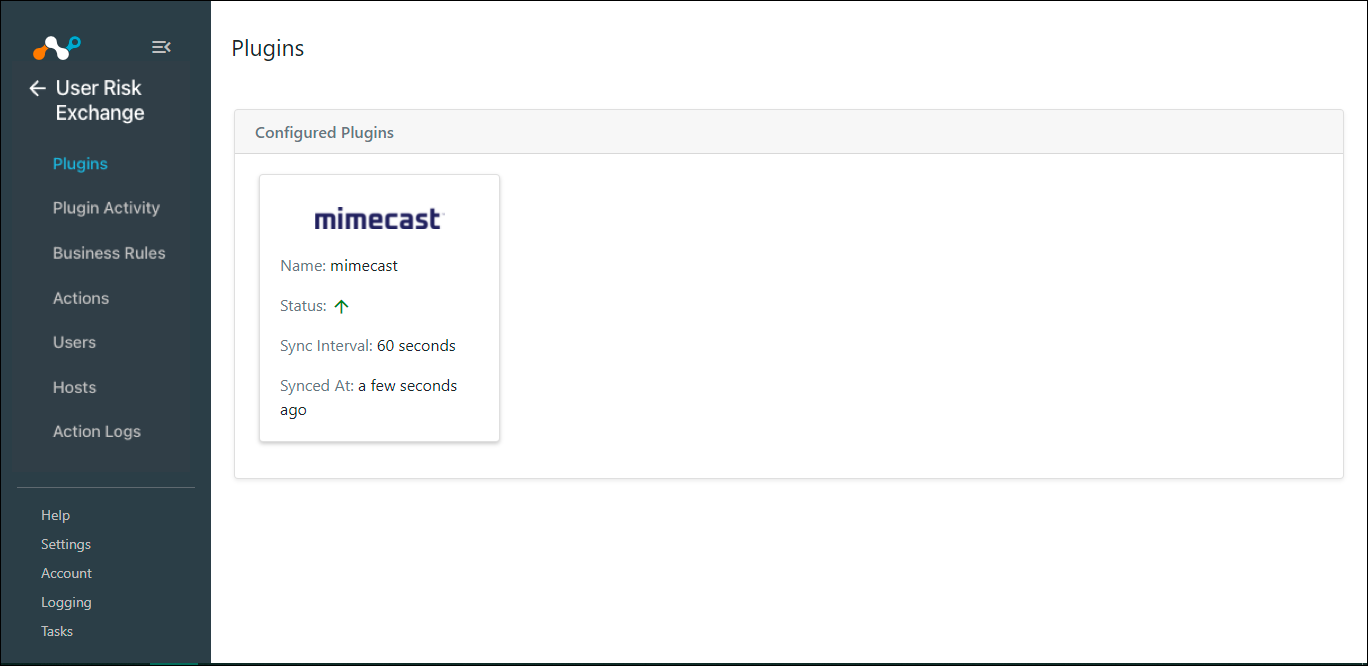
Go to Settings > Plugins.
Search for and select the Mimecast plugin box to open the plugin creation page.
Enter a Configuration Name.
Adjust the Sync Interval to appropriate value. Recommended is 5+ minutes.
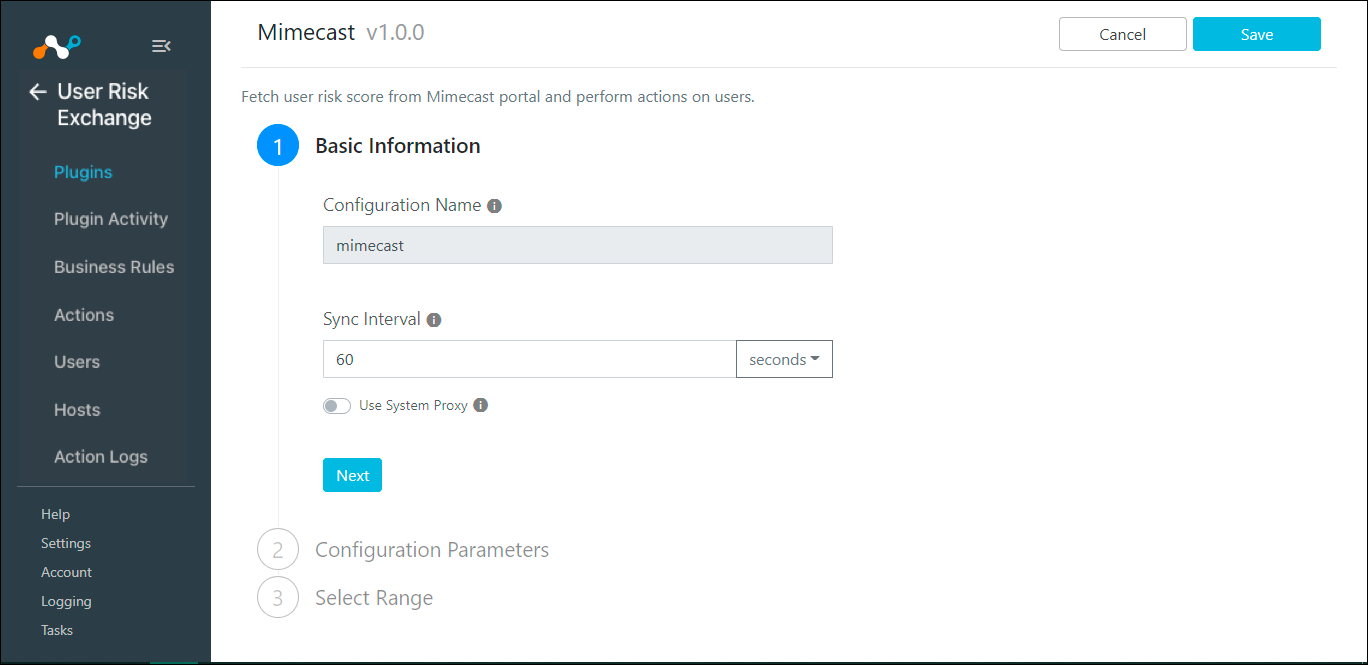
Click Next.
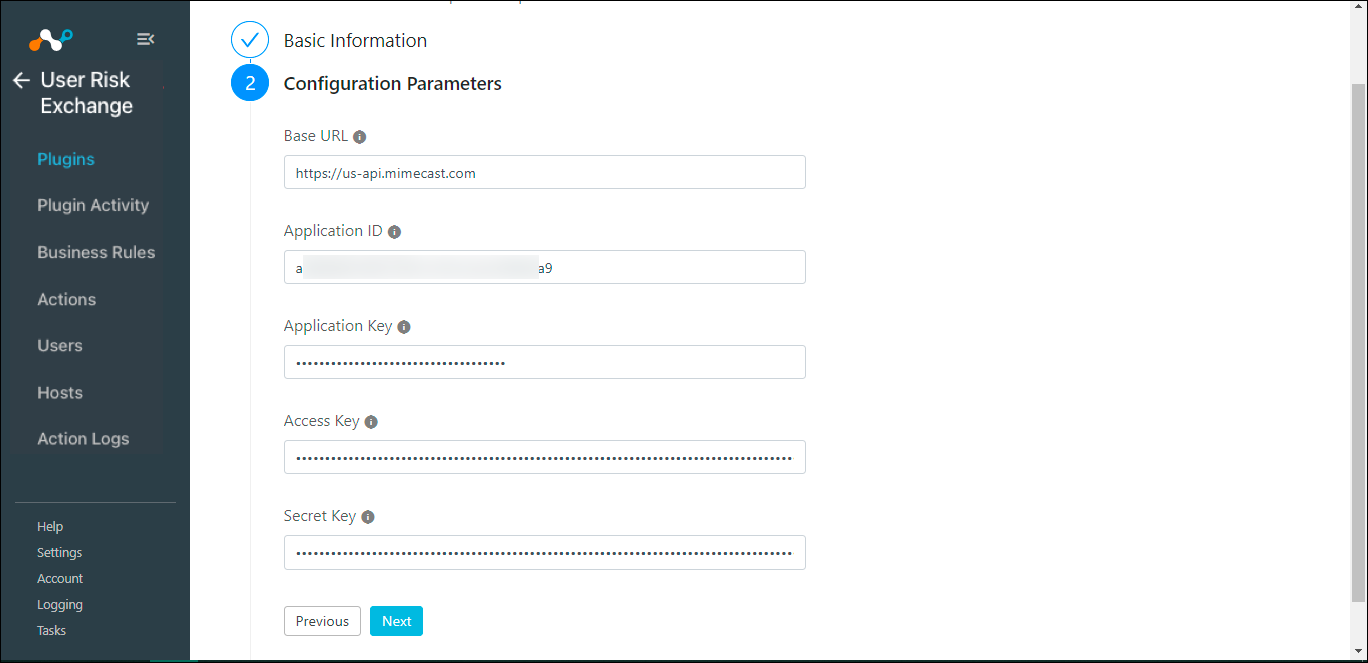
Enter your Base URL. This is the Mimecast base URL you obtained previously. For more details, refer to https://www.mimecast.com/tech-connect/documentation/api-overview/global-base-urls/.
Enter your Application ID and Application Key from Mimecast.
Enter your Access Key and Secret Key from Mimecast.
Click Next.
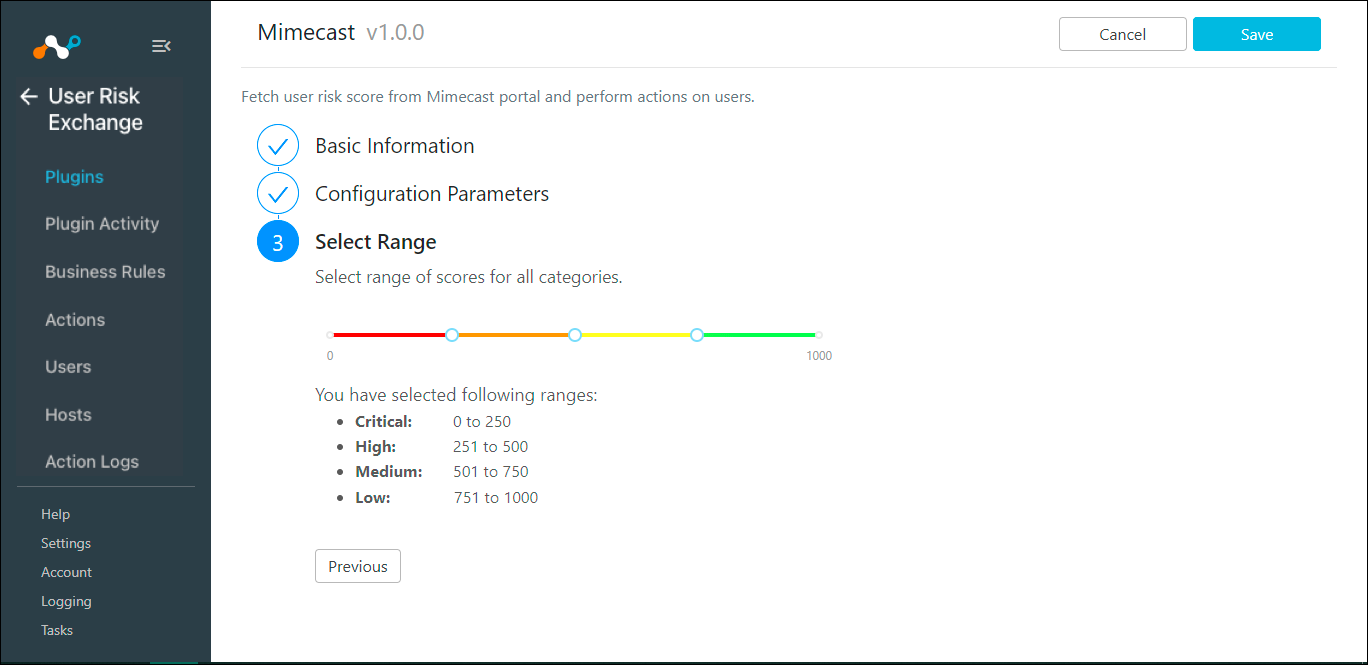
Select the appropriate range for the aggregate score.
Click Save.
Go to User Risk Exchange and click Actions.
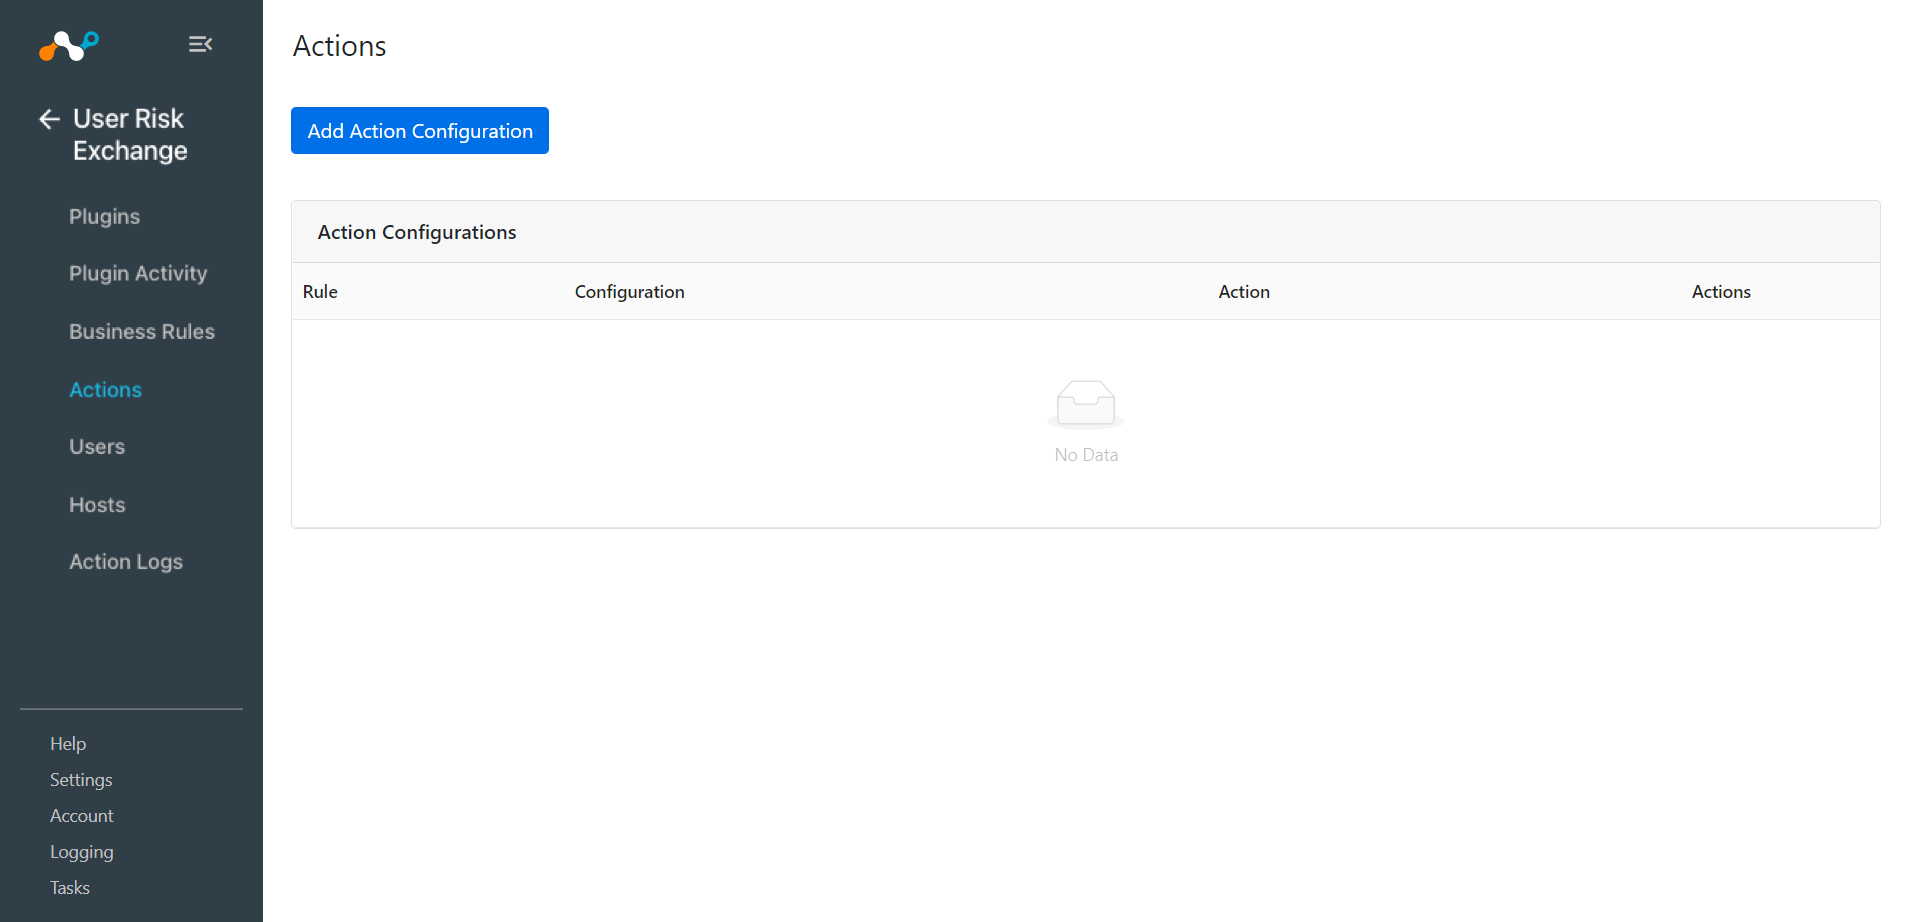
Click Add Action Configuration.
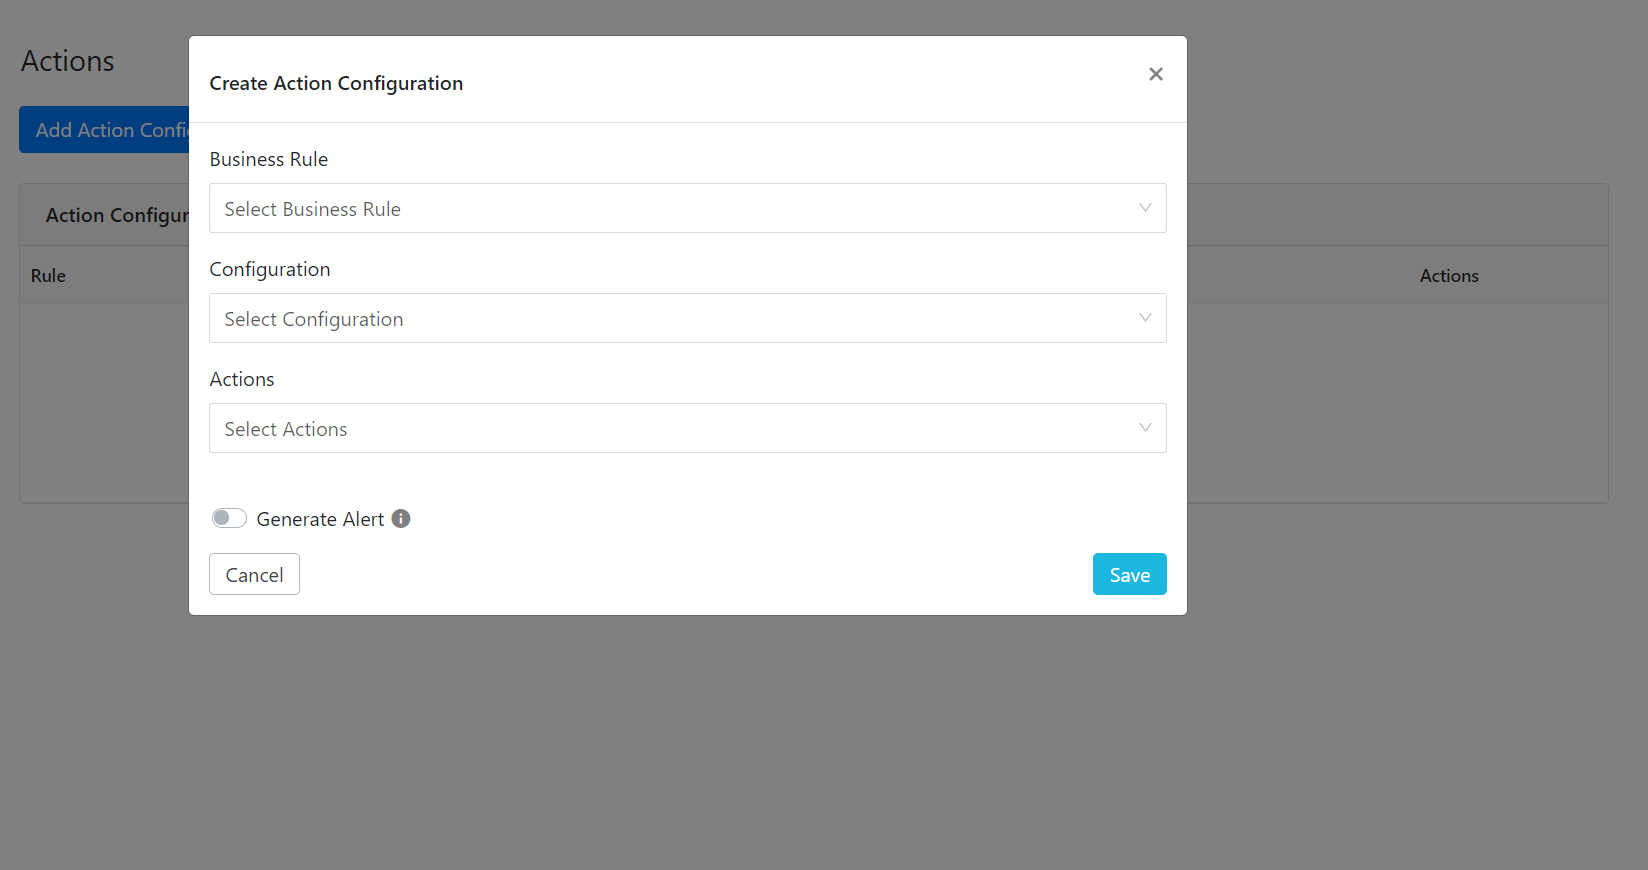
Click the Business rule dropdown list and choose the appropriate Business rule.
Select the Configuration dropdown list and choose Mimecast.
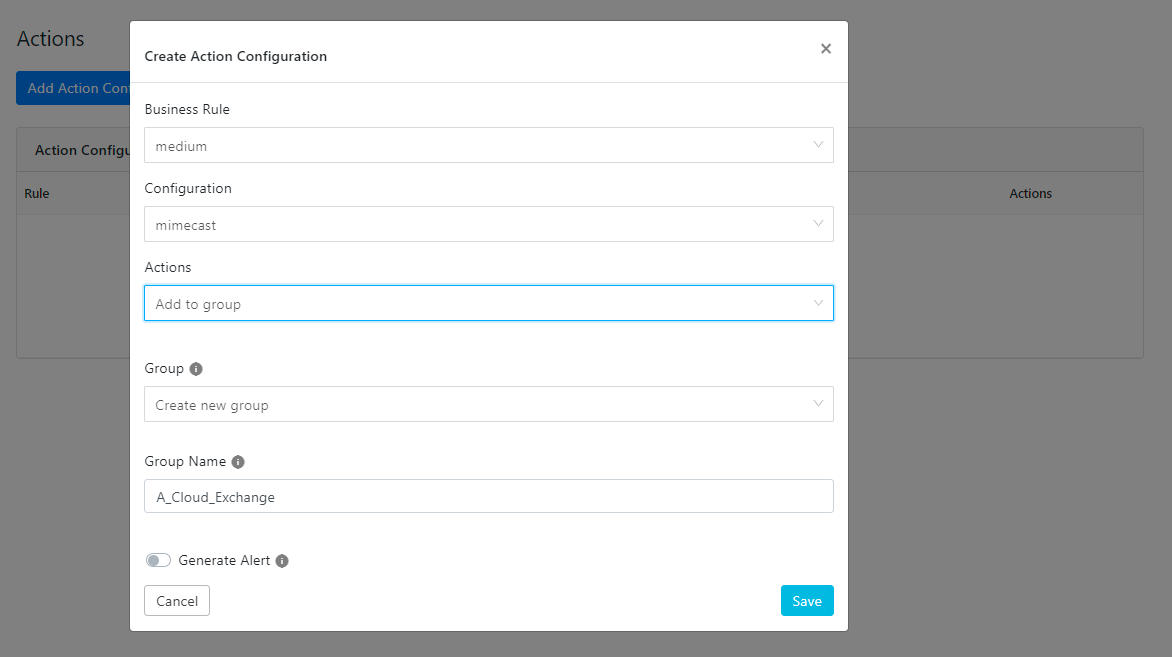
Select Actions from the dropdown list and choose (Add to Group, Remove to Group or No Action).
Add to Group : When triggered, users are added to that group.
Remove to Group : When triggered, users are removed from that group.
No Action : This does not perform any actions on users.
From the Group dropdown list, select a Group Name, or select Create new group from Group dropdown. Enter the Group Name if you want to create a new group in Mimecast.
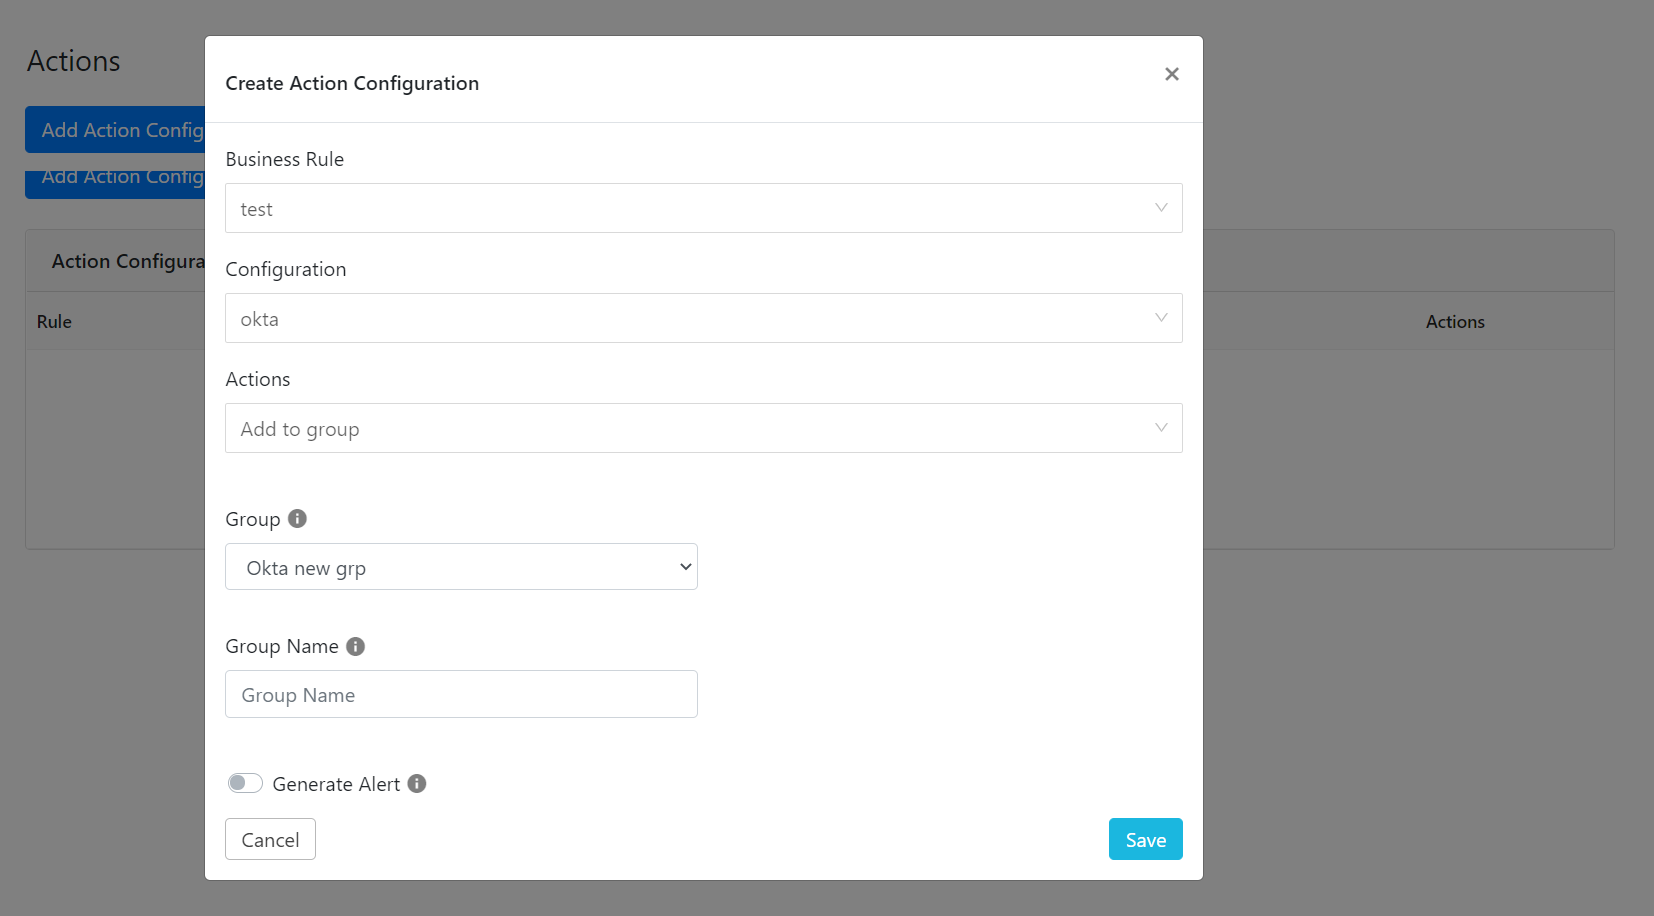
Click on the Generate Alert switch to enable it. This would ensure that new alerts are added in the CTO module whenever this action is taken.

Click Save.
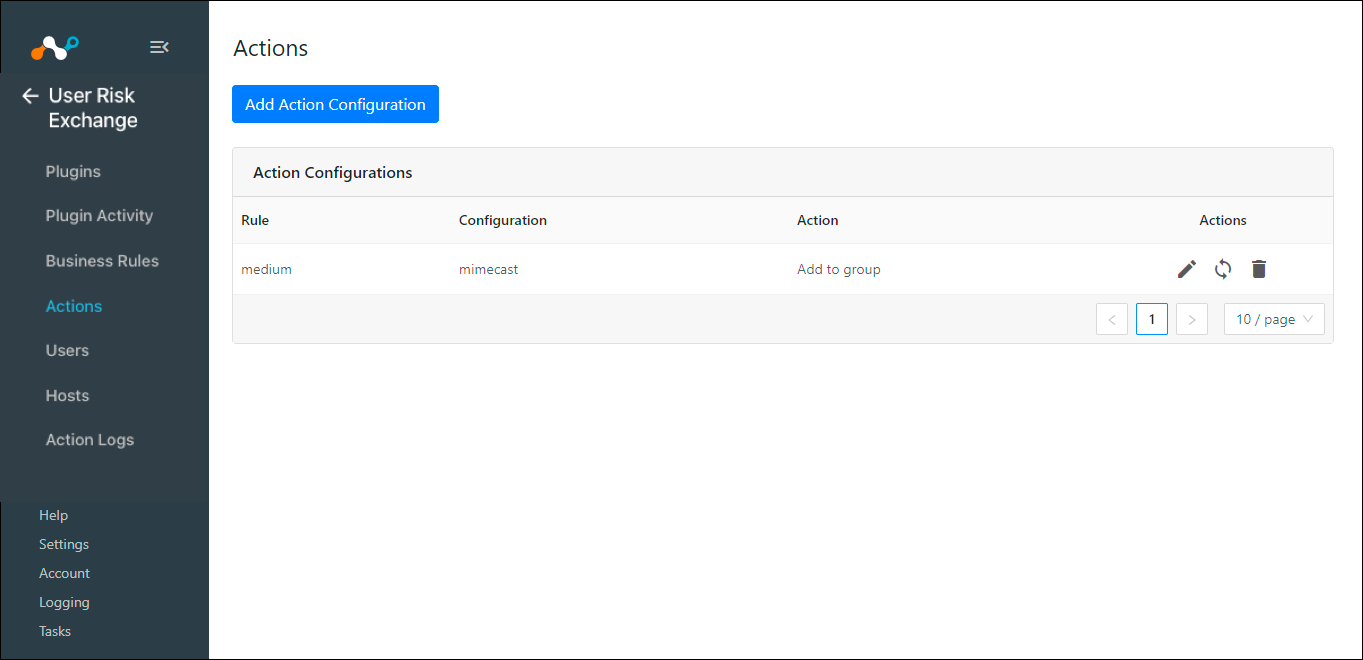
To map the grade (risk) fetched from Mimecast into 1-1000 range following mapping is used:
Map the grade fetched from Mimecast to the following range:
A: 800 - 1000
B: 600 - 799
C: 400 - 599
D: 200 - 399
F: 1 - 199
Pick the minimum value from the defined range.
Eg. If a user has grade C in the Mimecast platform then that user will have 400 score in the Cloud Exchange platform.
To validate the plugin in Cloud Exchange and Mimecast, you must have Mimecast users.
In Cloud Exchange:
In User Risk Exchange, select Users.
If you want to check how many user scores are fetched from Mimecast and added to the group in Mimecast then you can look at the audit logs in Cloud Exchange. In Cloud Exchange, select Logging.

In the Mimecast platform:
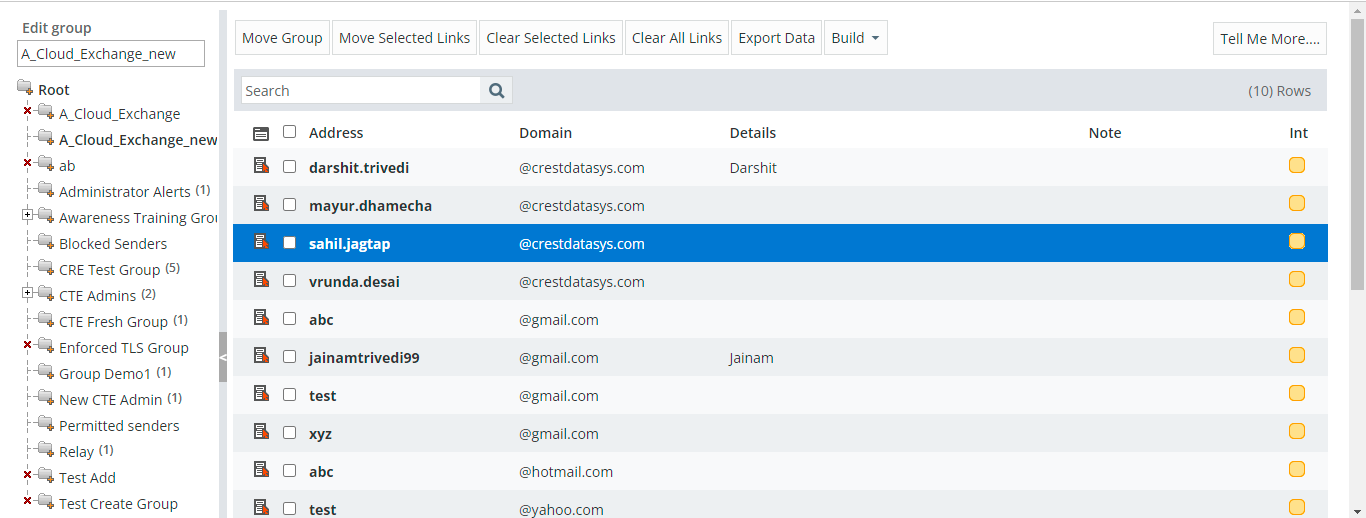
Go to Administration > Directories and select Profile Groups
Find the group that you added while creating the Action configuration and click on that group.
