Next Generation API Data Protection Retroactive Scan
Note
Currently, retroactive scan is available for Citrix ShareFile, Google Drive, Microsoft 365 OneDrive & SharePoint (Commercial), and Workday. New SaaS apps will support it in due course.
A retroactive policy scans all the files, folders, repositories, and entities for the app instance right from the inception of the SaaS app. A retroactive scan is decoupled from ongoing policy scan (a.k.a activity scan).
While ongoing policy processing evaluates content as it changes to ensure compliance of these (both data and metadata) changes versus set policies, retroactive scan fulfills the need to re-evaluate all or a portion of the content in the protected cloud application in case of more structural changes. Some example of the changes that would trigger the need for a retroactive scan are as follows:
Create a SaaS app instance on the Netskope UI for the first time to ensure pre-existing violations are detected and remediated.
Note
Netskope implementation of retroactive scan allows you to scan content only on `already discovered content`. This ensures no additional listing/metadata API calls are made beyond the API quota. The implication is that for the first retroactive scan when Netskope is deployed for the first time, or a new data set inherited by the customer - e.g. post organization merger, customers should take a two-step approach: firstly, complete listing of the full repository and only once this is complete, start a retroactive scan.
Merger or acquisition of a new company. Similar to the previous case, a retroactive scan ensures that new content that the acquiring company is inheriting as a result of the merger is compliant to company regulatory requirements.
Changes in internal and external regulations requiring policy changes. A retroactive scan can be used to ensure compliance of content already in the protected apps against new policies.
Threat intelligence updates. As new malware is discovered, and Netskopes' threat intelligence database expands, customers would like to periodically re-evaluate content in the protected apps to ensure there is no malicious content.
Breach response. This is the most common scenario for a retroactive scan. Anytime there is a breach alert or a breach that has happened, customers have the judiciary duty to evaluate if sensitive data was compromised and if so notify the impacted parties the extent of the compromise. As customers may not normally detect sensitive data in private (or in some cases internally shared content), this changes in case of breach as any file in the repository could have been exposed as a result of that breach. A retroactive scan can help run this evaluation.
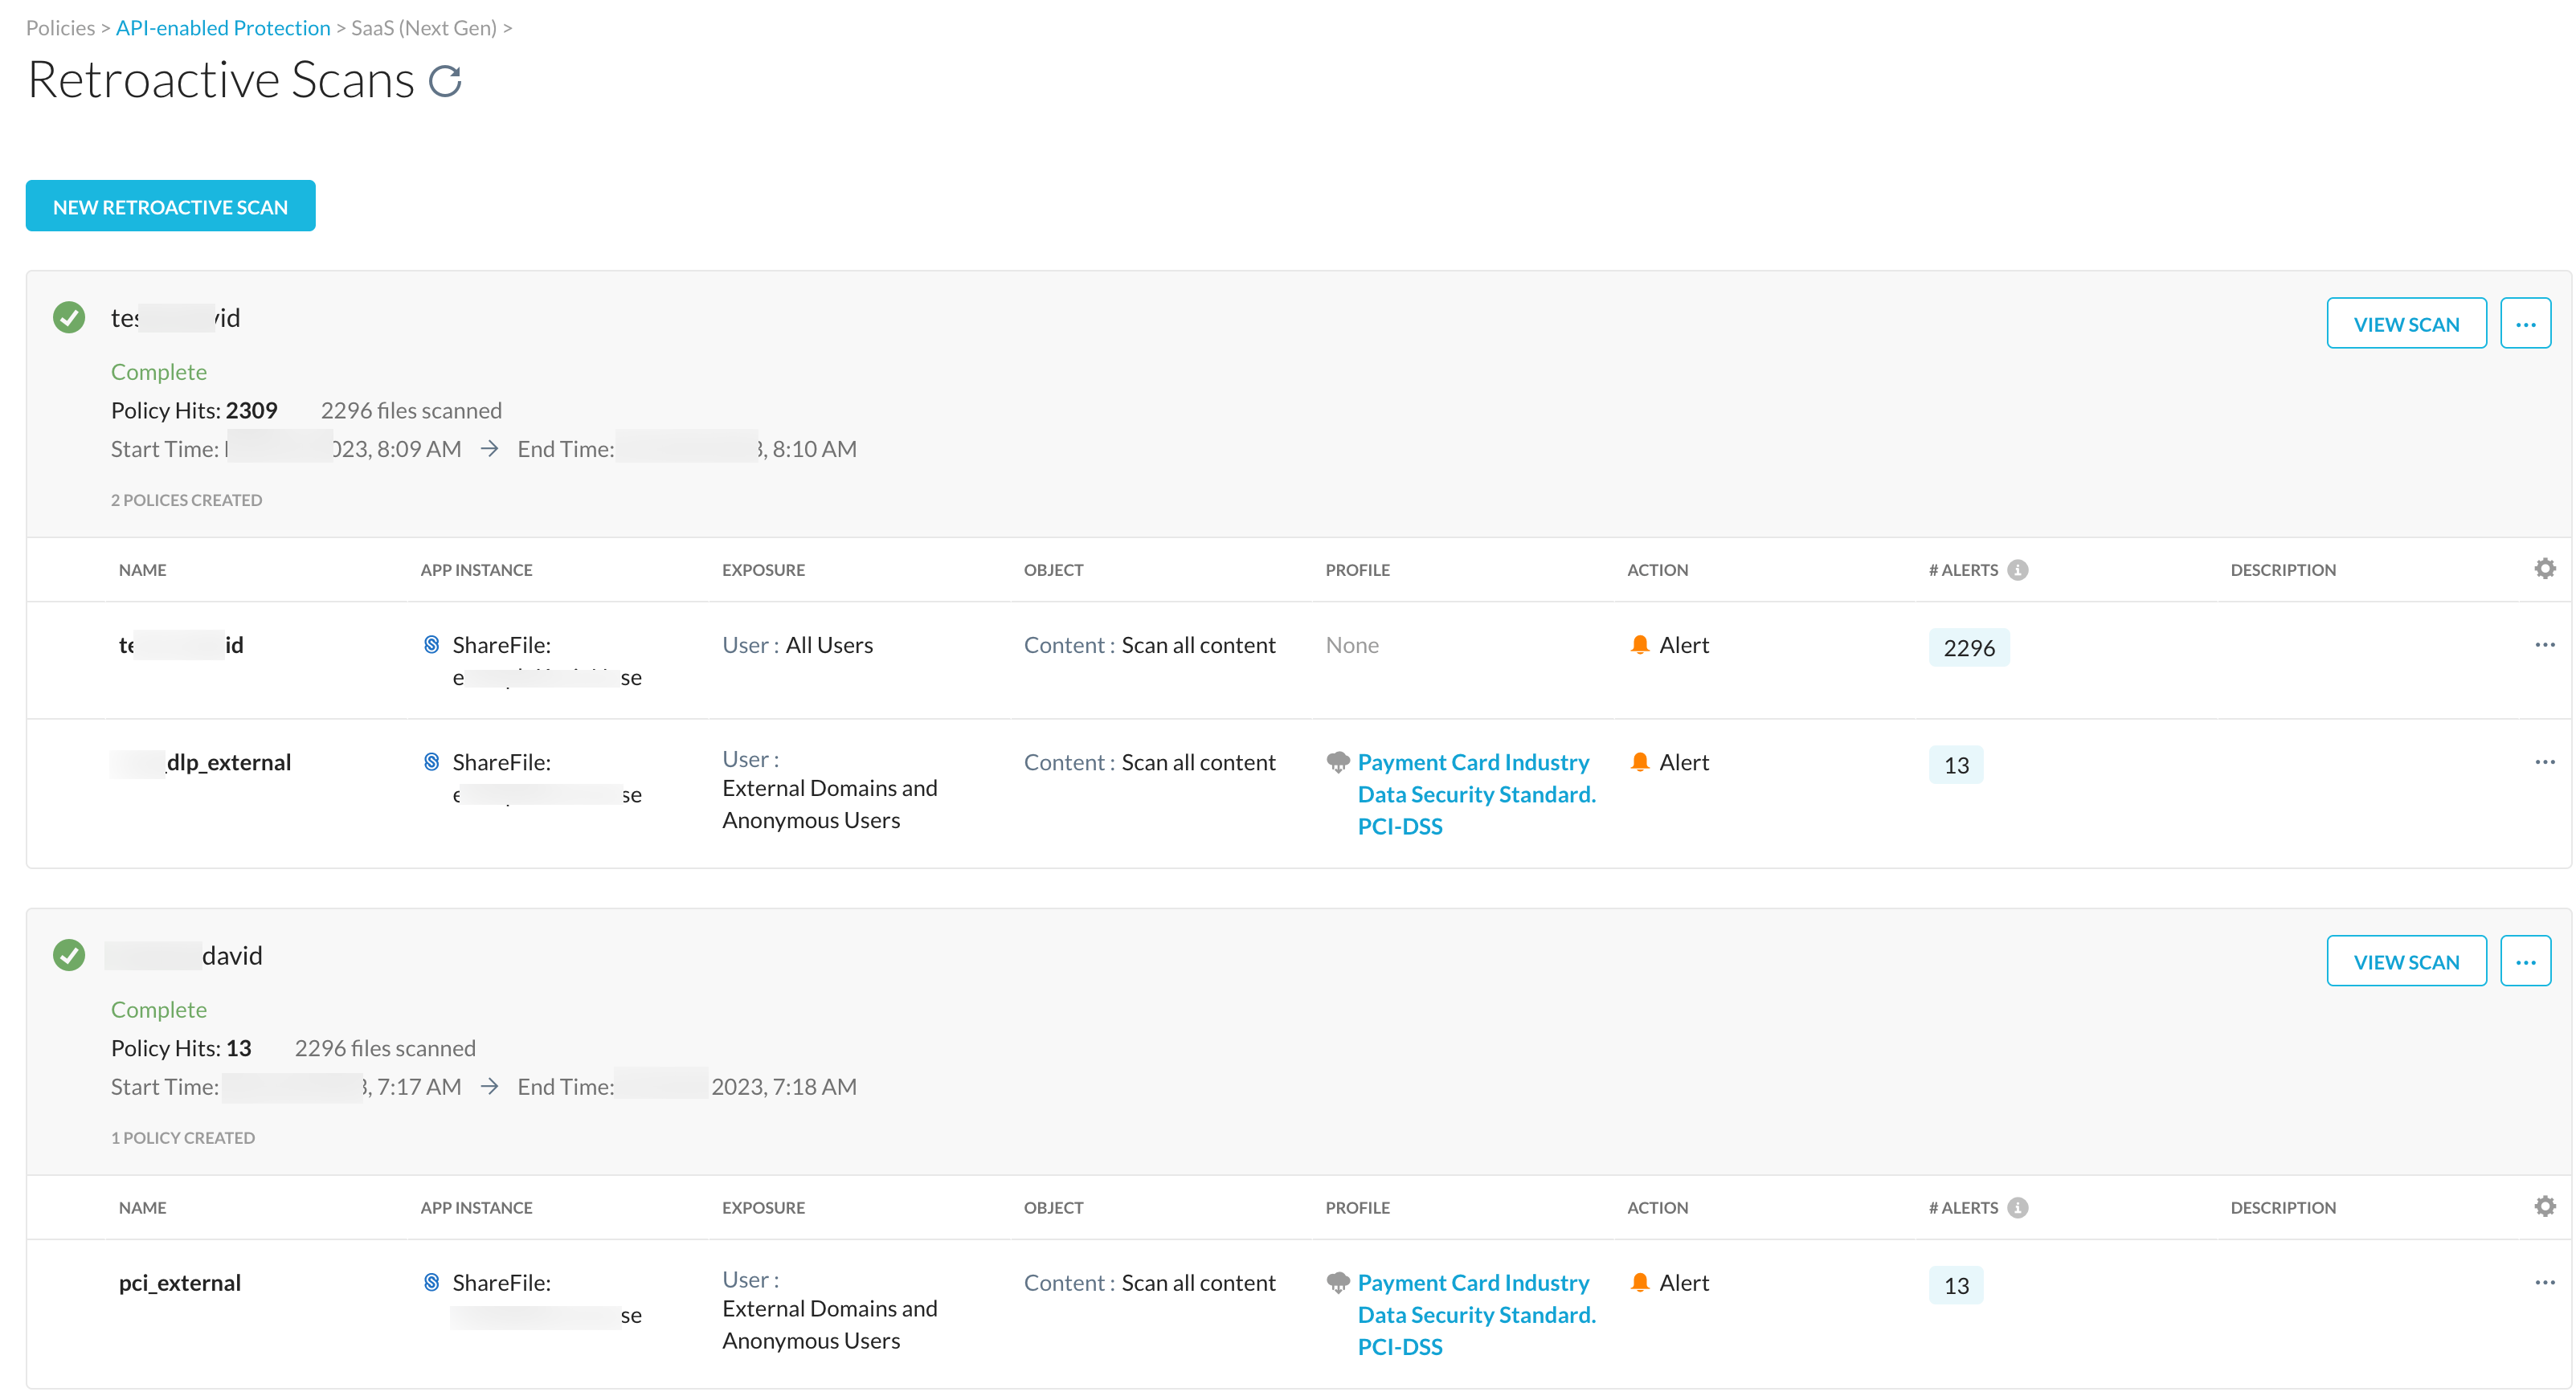
To access the retroactive scan page, log in to your Netskope tenant, navigate to Policies > API Data Protection > Next Gen. The page displays a list of retroactive scans, status of the scan, policy hit and files scanned count, start/end time, and a list of policies per retroactive scan.

To initiate a new retroactive scan:
Log in to your Netskope tenant.
Navigate to Policies > API Data Protection > Next Gen.
Click New Retroactive Scan.
The New Retroactive Scan window opens.
Enter the name of the retroactive scan.
Under Object, select the SaaS app instance for which you intend to run the retroactive scan.
Note
You can select one app instance only.
Click Next.
The New Retroactive Scan Policy page opens.
Fill in the applicable details:
Exposure: User, Internal Collaborators
Object: Enter the following details:
The app instance is per-selected.
Under Content, you can scan all content or specific resource.
Select the file-type or keep it blank to scan all file types.
Profile & Action
Enter the name of the policy and click Save.
(Optional) On the Retroactive Scans page, click Add Policy to add more policies to the newly created scan.
(Optional) On the Retroactive Scans page, under the newly created scan, you can edit the existing policy.

To start the retroactive scan, click Start Scan.

(Optional) While the retroactive scan is in progress, you can pause, cancel, clone, or delete a scan.

Once the retroactive scan is complete, you can view the following status:

Retroactive Scan Actions
Important points to note on retroactive scan actions and states:
You can edit a retroactive scan or policy as long as the retroactive scan has not started yet.
In the scan/pause/complete/canceled state, you can only view, clone, or delete the retroactive scan or policy, i.e. you cannot edit a retroactive scan once it’s started.
Netskope allows only one active retroactive scan per app-instance. If a tenant has multiple app-instances connected, Netskope allows each app-instance to have an active retroactive scan.
Status vs Action Matrix
This table lists the available actions against a retroactive scan status.
 |
Important Points to Note
Here is a list of important points to note w.r.t retroactive scan:
You can bind a retroactive scan to a single instance and same for all its policies. You cannot change this after creation. You should create a new retroactive scan with new policies.
A retroactive scan can support multiple policies, and a policy can support multiple profiles.
Netskope supports multiple retroactive scans running across instances. However, only one active scan per instance.
The retroactive scan policy editor has the same look and feel as the ongoing/active policy editor.
Retroactive scan policies are disjoint from ongoing/active policies. That means you cannot use an existing ongoing/active policy for a retroactive scan and vice-versa. In addition, when you create a new retroactive scan policy, the policy does not list under ongoing/active policy page and vice-versa.